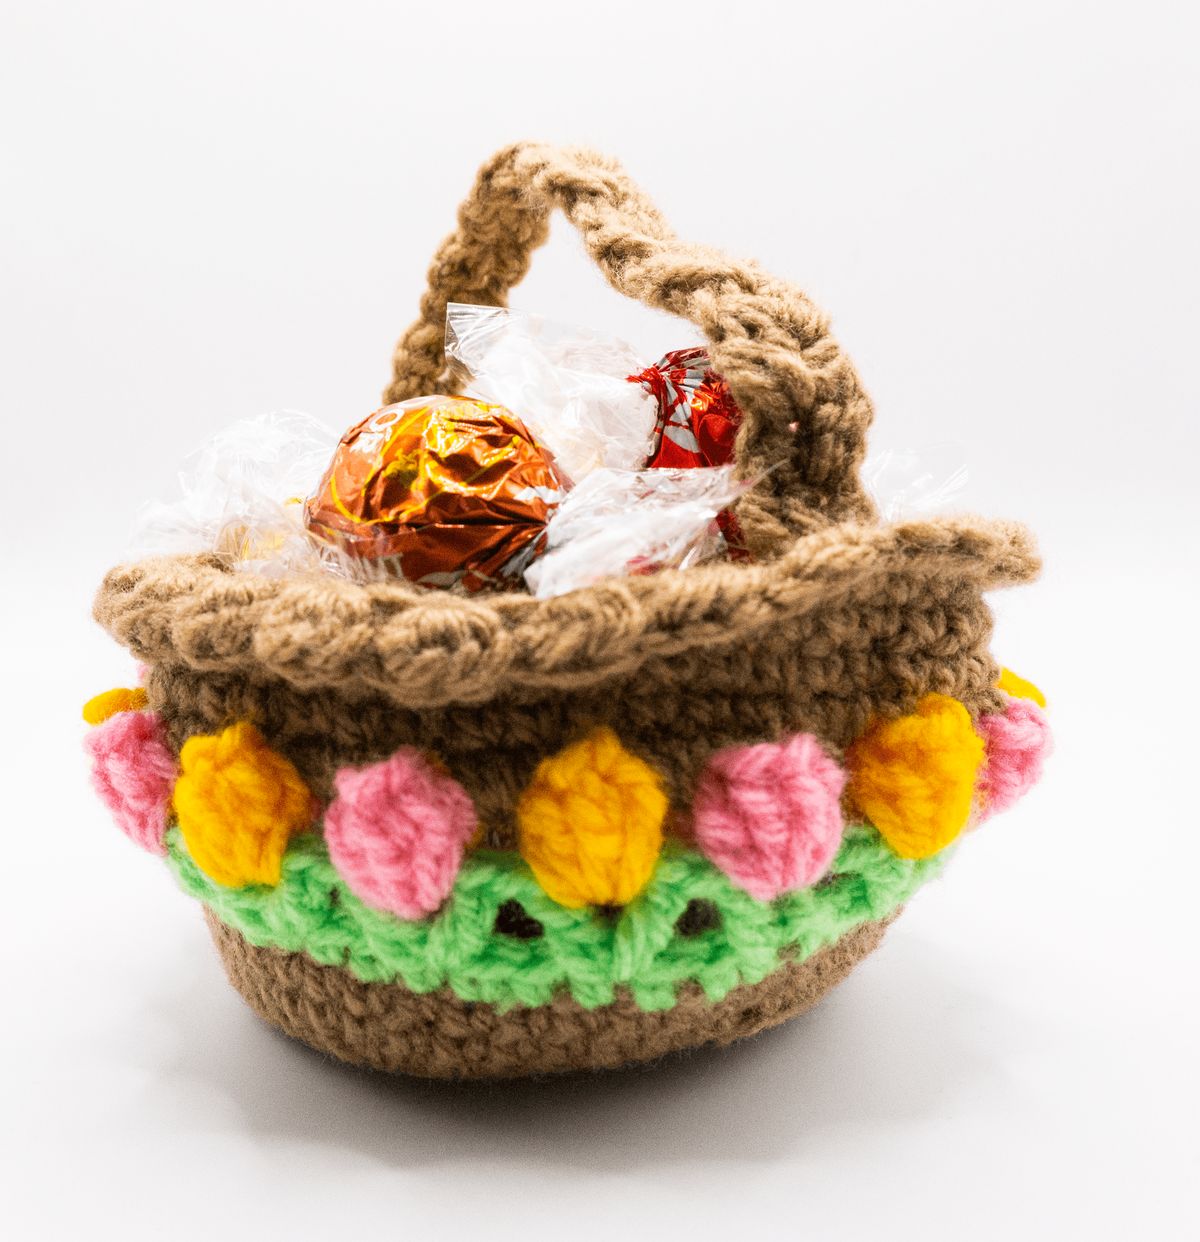
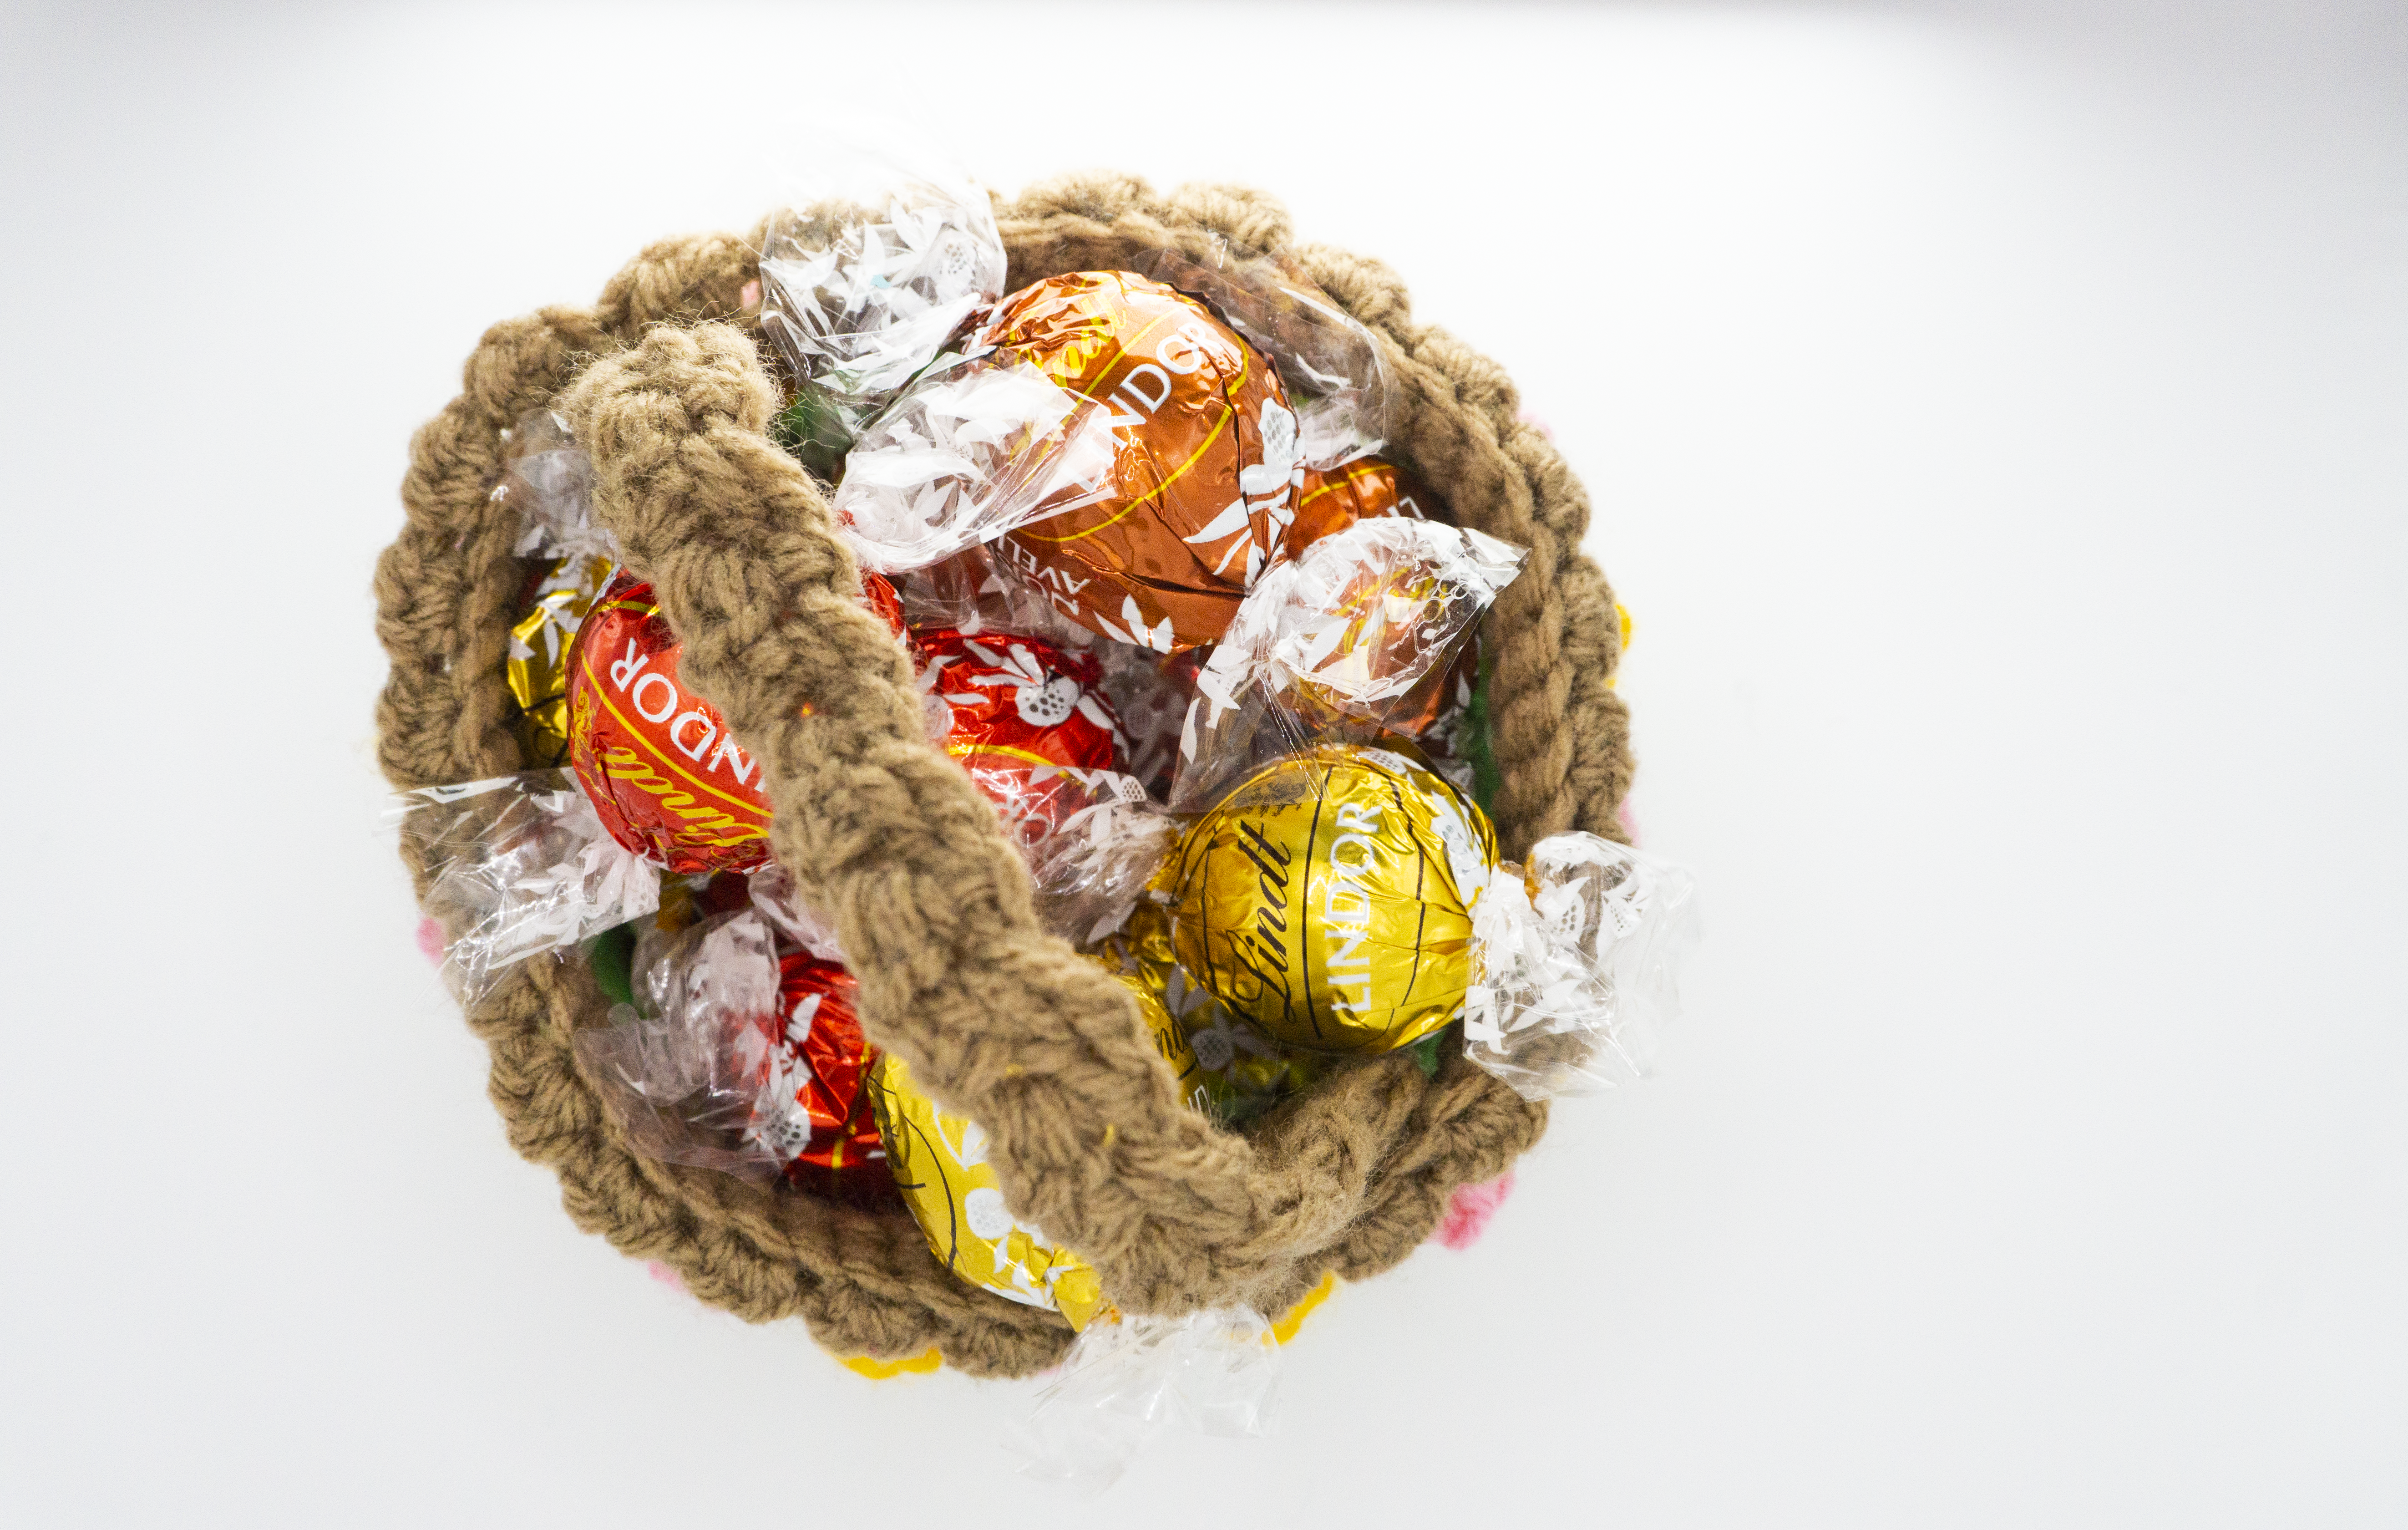
Crochet Tulip Basket
The Crochet Tulip Basket is a delightful and practical project that adds a touch of whimsy to any room. By combining the charm of tulip petals with the functionality of a basket, this crochet piece is not only visually appealing but also useful for storing small trinkets or organizing your space. The vibrant colors and intricate stitches create a cheerful design that can brighten up any corner of your home. Whether you're looking to add a pop of color to your decor or searching for a unique gift idea, the Crochet Tulip Basket is sure to bring a smile to your face. So grab your crochet hook and yarn, and let's create something beautiful together!
Materials Needed: Basket Crochet Pattern
To begin your tulip basket, you will need the following materials:
Yarn: DK yarn in four colors: one for the basket and three for the tulips. For the basket, a natural or earthy tone works best, while bright pinks, reds, or yellows are perfect for the tulips, with green for the stem.
Crochet Hook: A size 3.25 mm (D) crochet hook
Other Supplies: You will also need a yarn needle to weave in ends, a pair of scissors, and a stiffener (optional) if you want your basket to have extra support.
Abbreviations
CH – Chain
MR – Magic Ring
FO – Finish Off
SC – Single Crochet
SK – Skip
BLO – Back Loop Only
SLST – Slip Stitch
DC – Double Crochet
ST – Stitch
HDC – Half Double Crochet
YO – Yarn Over
Cluster stitch: *yo, insert hook, yo, pull through two.* Repeat until have 3 loops on hook. Yo, pull through all 3 loops. Ch 1.
Crochet Pattern Overview
Start with brown yarn (Basket colour)
Round 1: 6 SC in MR (6)
Round 2: Inc (12)
Round 3: Inc (18)
Round 4: Inc (24)
Round 5: Inc (30)
Round 6: Inc (36)
Round 7: Inc (42)
Round 8: Inc (48)
Round 9: Inc in BLO (54)
Round 10-11: SC around(54)
Change to green yarn with SLST into 1st from previous.
Round 12: Ch 1. SC in same and around.
Round 13: SLST into 1st SC. CH 3. DC into same. CH 1. *SK 2. DC, Ch 1, DC in next. Ch 1.* Repeat around from * to *. FO.
Attach pink yarn to CH 1 any of the “v” from round 13.
Round 14: CH 3. DC 4 in same space. Take hook out of loop and SLST top of CH 3 with last DC. CH 2. Change to yellow yarn. *DC 5 in next CH of the “v”. Take hook out of loop and SLST 1st DC with last DC. CH 2. Change yarn colour.* repeat around.
Attach brown yarn to the centre of the first tulip.
Round 15: SC 1 in same stitch. SC 2 in CH 2 space between each flower. *SC 1 in centre of tulip. SC 2 in CH 2 between each flower.* Repeat around. (54).
*Note: make sure to SC around both strands of the flower colours from the colour change when doing the 2 SC to hide them.*
Round 16 – 18: SC around (54)
Round 19: HDC 2 in 1st SC. SLST in next. *HDC 2 in next. SLST in next.* Repeat around. (27 shells)
Strap
Leave tail for sewing. Chain 3.
2 DC in first chain. Turn. CH 2. Cluster in space left in CH 2. Turn. *Ch 2. Cluster in CH 2 space from previous. Turn* Repeat until desired length. (Mine had 22 clusters total, including the first and last cluster)
For last cluster: Do it until there’s 3 loops on hook and then YO pull through two loops, yo pull though the last two loops. FO. Leave tail for sewing.
Finishing Touches: Basket Crochet Pattern
Once the basket and tulips are assembled, add any finishing touches you desire. Consider lining the basket with a pretty fabric for a polished look or adding a bow for an extra touch of charm.
Tips for Success
Yarn Choice: Using a cotton or a sturdy acrylic yarn will help your basket hold its shape better.
Stiffener: If you want your basket to be more rigid, consider using a fabric stiffener on the finished basket before attaching the tulips.
Personalization: Feel free to customize the colors of your tulip basket to match your decor or personal taste. Adding more tulips or creating a multicolored effect can make your basket even more unique.
No comments
Write a comment