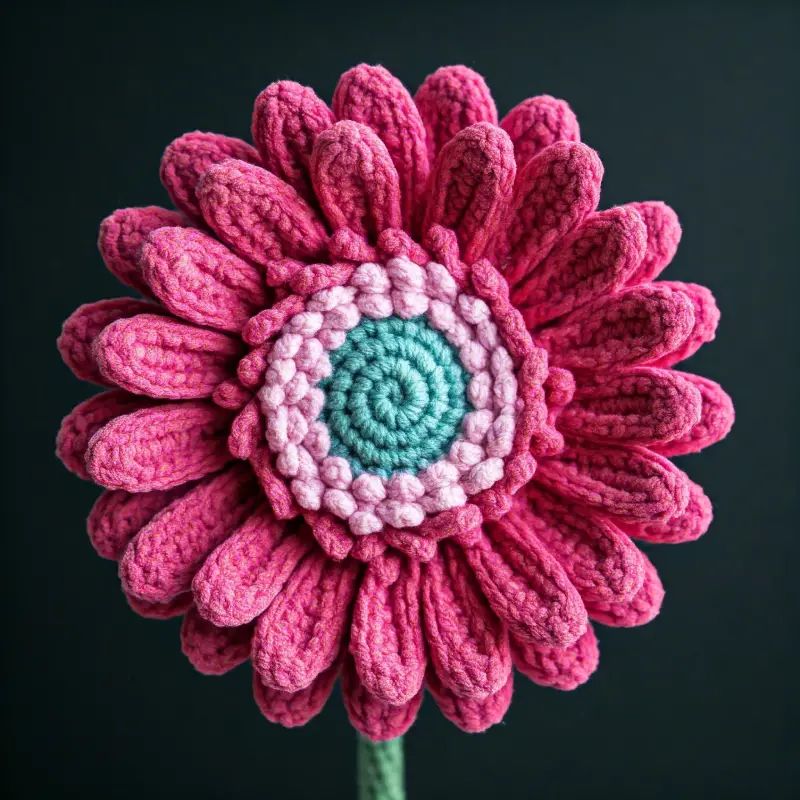
Crochet Amigurumi Gerbera Flower
Crochet Amigurumi Gerbera Flowers are a delightful and playful way to add a touch of whimsy to your crafting projects! These charming creations bring a pop of color and joy to any space they adorn. With their intricate details and vibrant hues, they make for a fun and rewarding crochet project. Whether you're a seasoned crocheter or a newbie looking to try your hand at something new, making a crochet amigurumi gerbera flower is sure to bring a smile to your face. So grab your yarn and hook, and let's get crafting!
Materials You’ll Need:
First things first, let’s make sure we have everything we need for this project:
Yarn: You’ll need two main colors—one for the flower petals and one for the center of the flower. You’ll also need green for the stem and leaves.
Petals: Any bright, happy color (pink, orange, yellow, red—Gerberas come in so many shades!).
Center: A darker contrasting color (like brown or black) or a bright yellow for a sunny look.
Stem and Leaves: Green, of course!
Crochet Hook: A 3.0 mm or 3.5 mm hook works well for amigurumi.
Stuffing: A small amount of polyfill for stuffing the flower center and stem.
Tapestry Needle: For sewing the pieces together and weaving in ends.
Wire: Optional, but if you want your stem to stand upright, use floral wire.
Scissors: For trimming yarn ends.
Stitch Marker: Optional, but handy for keeping track of rounds.
Stitches You’ll Need:
Here’s a quick breakdown of the stitches used in this project. If you’re new to any of them, I’ll walk you through it!
Magic ring (MR): The perfect way to start your amigurumi without leaving a hole in the center.
Chain (ch): A foundation stitch.
Single crochet (sc): The go-to stitch for amigurumi.
Slip stitch (sl st): Great for joining rounds or finishing off a piece.
Increase (inc): Two single crochet stitches in one stitch.
Decrease (dec): Combine two stitches into one.
Step 1: Crochet the Center of the Flower
We’ll begin by making the center of the Gerbera flower, which is the part that anchors all those lovely petals.
With your contrasting color (e.g., yellow or brown):
Start with a magic ring.
Round 1: Work 6 sc into the ring. (6)
Round 2: Inc in each stitch around. (12)
Round 3: (Sc in the next stitch, inc) repeat around. (18)
Round 4: (Sc in the next 2 stitches, inc) repeat around. (24)
Round 5: (Sc in the next 3 stitches, inc) repeat around. (30)
Fasten off and leave a long tail for sewing. Set aside—we’ll attach the petals to this later.
Step 2: Crochet the Flower Petals
Now for the fun part—those bright, beautiful petals!
With your chosen petal color:
Round 1: Ch 6.
Row 1: Starting in the second chain from the hook, sc in each stitch across.
Row 2: Ch 1, turn. Sc in each stitch across.
Row 3: Ch 1, turn. Sc2tog in the first two stitches, sc in the next stitch, sc2tog in the last two stitches.
Row 4: Ch 1, turn. Sc across.
Row 5: Ch 1, turn. Sc3tog (single crochet 3 together).
Fasten off and leave a long tail for sewing.
You’ll need to make about 12 to 16 petals, depending on how full you want your Gerbera flower to look.
Step 3: Assemble the Flower Head
Now that we have our center and petals ready, it’s time to assemble the flower head.
Take the center of the flower and arrange your petals around it.
Use the long tail from each petal to sew them securely around the edges of the center.
You can layer them slightly for a more natural, overlapping effect.
Once all the petals are sewn in place, weave in any loose ends, and fasten off.
Step 4: Crochet the Stem
Now let’s make the stem to attach to our beautiful flower head.
You can either make a simple crocheted tube or use floral wire to help the stem stand upright.
With green yarn:
Start with a magic ring.
Round 1: Work 6 sc into the ring. (6)
Round 2: Sc in each stitch around. (6)
Continue working in a spiral, sc in each stitch around until the stem is your desired length. For a longer stem, keep crocheting rounds, and for a shorter stem, you can stop whenever it feels right.
If you’re using wire, cut a piece of floral wire that matches the length of your crocheted stem.
Insert the wire into the crocheted tube as you go, or slide it in at the end.
This will help the flower stand up and keep its shape.
Step 5: Crochet the Leaves
What’s a flower without some greenery? Let’s crochet a few leaves to attach to the stem.
With green yarn:
Round 1: Ch 9.
Row 1: Starting in the second chain from the hook, sc in each stitch across.
Row 2: Ch 1, turn. Sc2tog in the first two stitches, sc in the next 4 stitches, sc2tog in the last two stitches.
Row 3: Ch 1, turn. Sc across.
Row 4: Ch 1, turn. Sc2tog in the first two stitches, sc in the next 2 stitches, sc2tog in the last two stitches.
Row 5: Ch 1, turn. Sc across.
Row 6: Ch 1, turn. Sc2tog in the first two stitches, sc2tog in the last two stitches.
Row 7: Ch 1, turn. Sc2tog.
Fasten off and leave a long tail for sewing.
You can make 2-3 leaves, depending on how full you want your stem to look.
Step 6: Assemble the Stem and Leaves
Use the long tail from the stem to attach it securely to the back of the flower head.
Sew the leaves onto the stem, arranging them in a way that looks natural—slightly offset or spiraling up the stem.
If you’ve used floral wire, you can now bend the stem and leaves into your desired shape.
Step 7: Add Finishing Touches
Your Gerbera Flower is nearly complete!
At this point, you can fluff the petals, adjust the stem, and make sure everything is secure.
Feel free to make multiple flowers in different colors to create a whole bouquet.
They’ll look gorgeous in a vase or even as part of a crocheted flower arrangement!
No comments
Write a comment