Gorgeous Photo Wreath from Lids
Oh, creating a gorgeous photo wreath from lids is such a fun and creative idea! It's a fantastic way to upcycle and add a personal touch to your home decor. Collecting lids from jars and bottles to use as frames is not only environmentally friendly but also adds a unique and charming element to your space. You can personalize it by choosing meaningful photos to display, making it a great conversation starter when guests visit. This DIY project is a wonderful way to showcase your creativity and create a beautiful, one-of-a-kind piece that you can be proud of. So, gather those lids, select some photos, and get crafty to create a lovely photo wreath that will undoubtedly brighten up any room in your home.
Materials

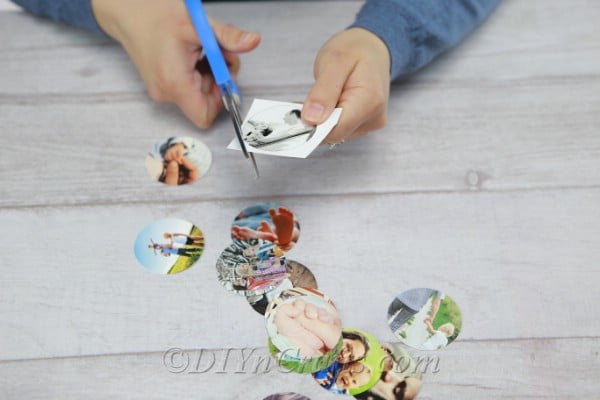
Before you actually start the project, you need to gather the pictures that you are going to use. You will likely need to trim these down so choose pictures that you don’t mind cutting.
Measure your pictures to see how much you need to trim them in order to make them fit inside your jar lids. If you are using different sizes of lids, make sure that you measure one picture for each lid.
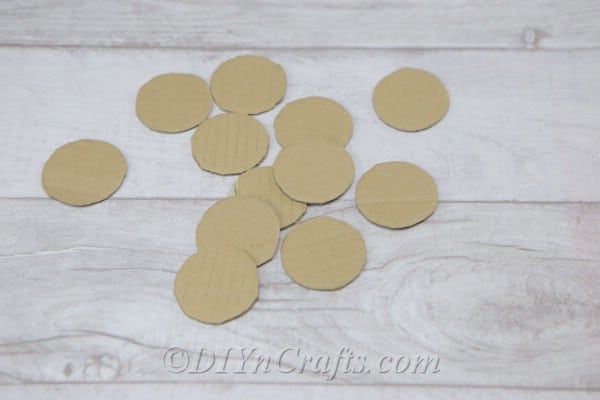
You also need to trim the cardboard to fit into each lid so again, if you are using lids of different sizes, make sure you measure each one and trace around the cardboard.
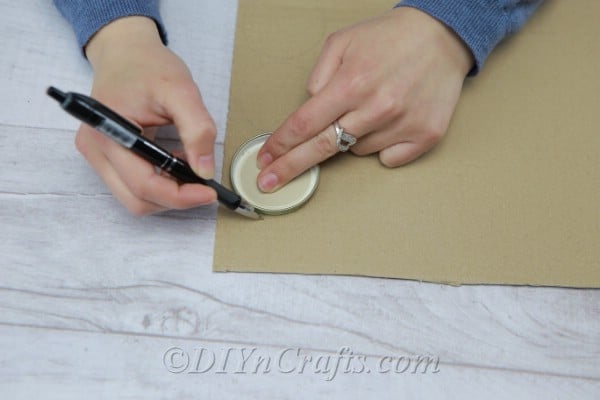
If all of your lids are the same size, you can trace one lid onto the cardboard and then cut it out. You can now use piece of cardboard as a guide for cutting out the remaining 11 cardboard circles.
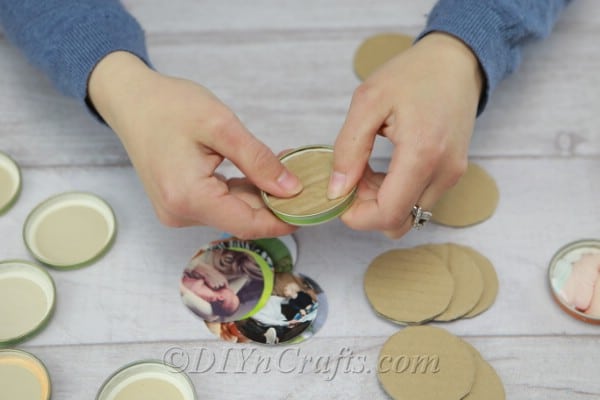
You need a piece of cardboard in each lid. If they won’t stay in on their own, you can add a drop of hot glue to keep them in place.
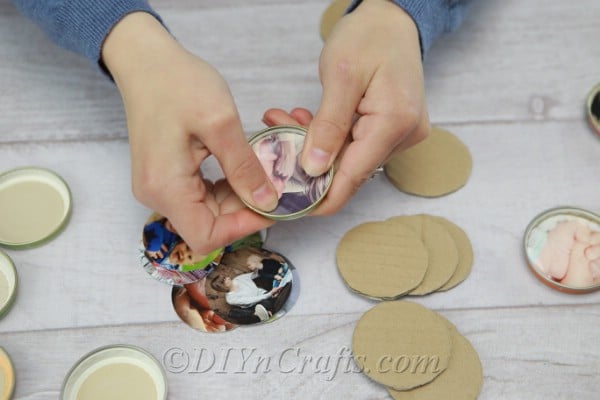
Now add a picture to each lid. Again, if needed, you can use a drop of hot glue to hold your pictures in place. Just make sure that you are only using a tiny drop as you do not want the glue to seep through to the front of your picture.
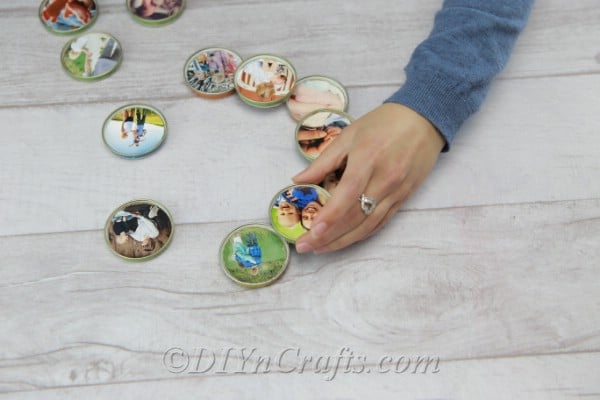
Arrange your lids into a circle. You will start by placing 6 of your lids in a circle. You want to leave room in between the lids so that you have space to glue on another lid on the top between 2 lids.
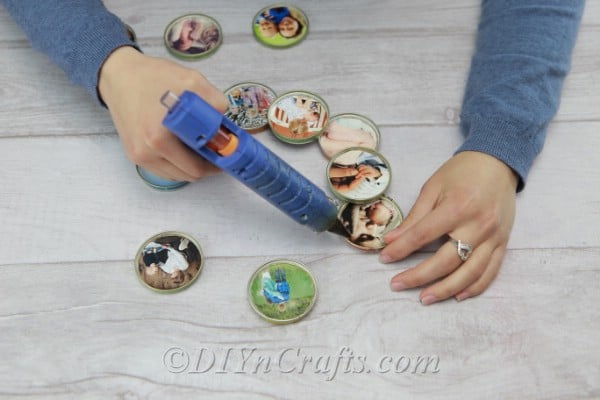
Basically, you will create a circle of 6 lids and then use your remaining 6 lids to go on top of those. You want to be sure that you are not blocking your pictures when you glue on the top lids.
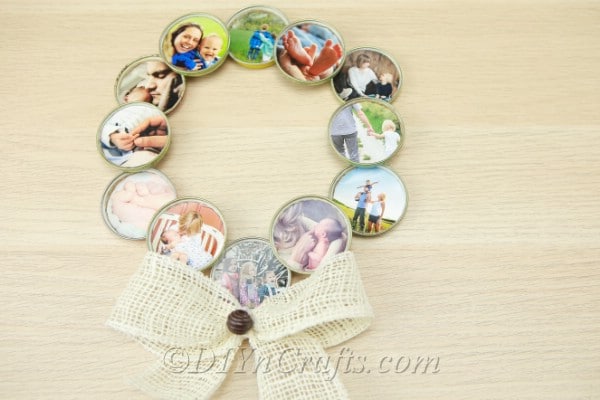
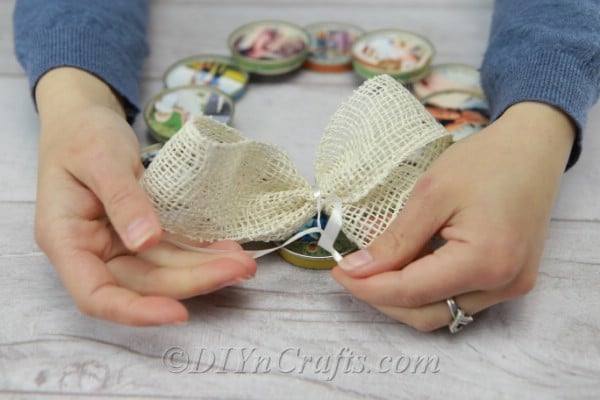
Now, add your rustic bow or flower or any other decoration that you want, and you can add twine or a small picture hanger on the back to make this easier to hang.
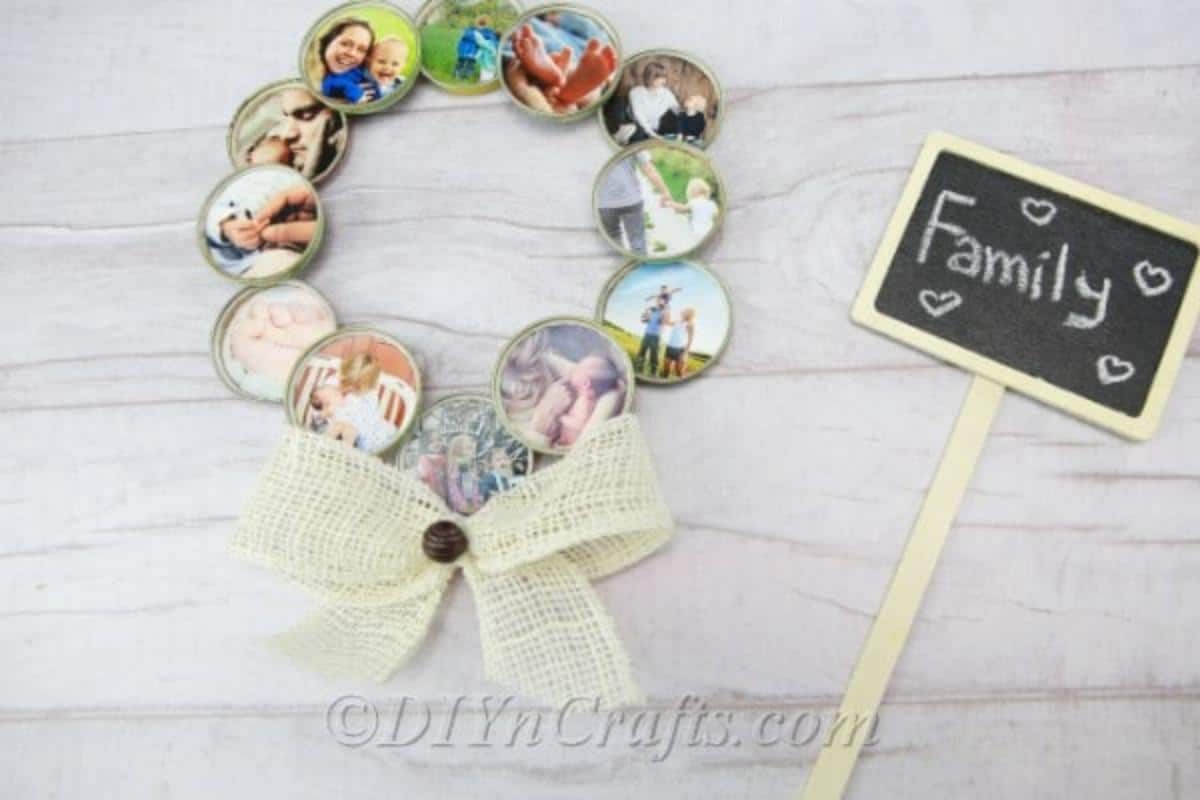
When you are finished, your DIY repurposed lid photo wreath should look something like this: