Make a Stylish No‑Sew Drawstring Handbag from Fabric and a Scarf (DIY Tutorial)
Want a unique accessory without sewing? This easy no‑sew DIY turns a circular piece of fabric, a scarf (or wired headband) and a thin belt into a fashionable round drawstring handbag. The project is simple, customizable (play with colors and textures), and uses basic tools like scissors and a hot glue gun.
Materials
Leather or fabric circle (large enough for a small handbag)
Scarf or cloth headband (a scarf works as the drawstring — a headband with wire inside also works)
Thin belt (for the handle)
Tools
Pen
Hot glue and glue gun
Scissors (or a hole punch)
Instructions
1. Lay your fabric flat and place a large circular object (plate, lid, etc.) on top. Trace around it with a pen so you have a full circle marked on the fabric.
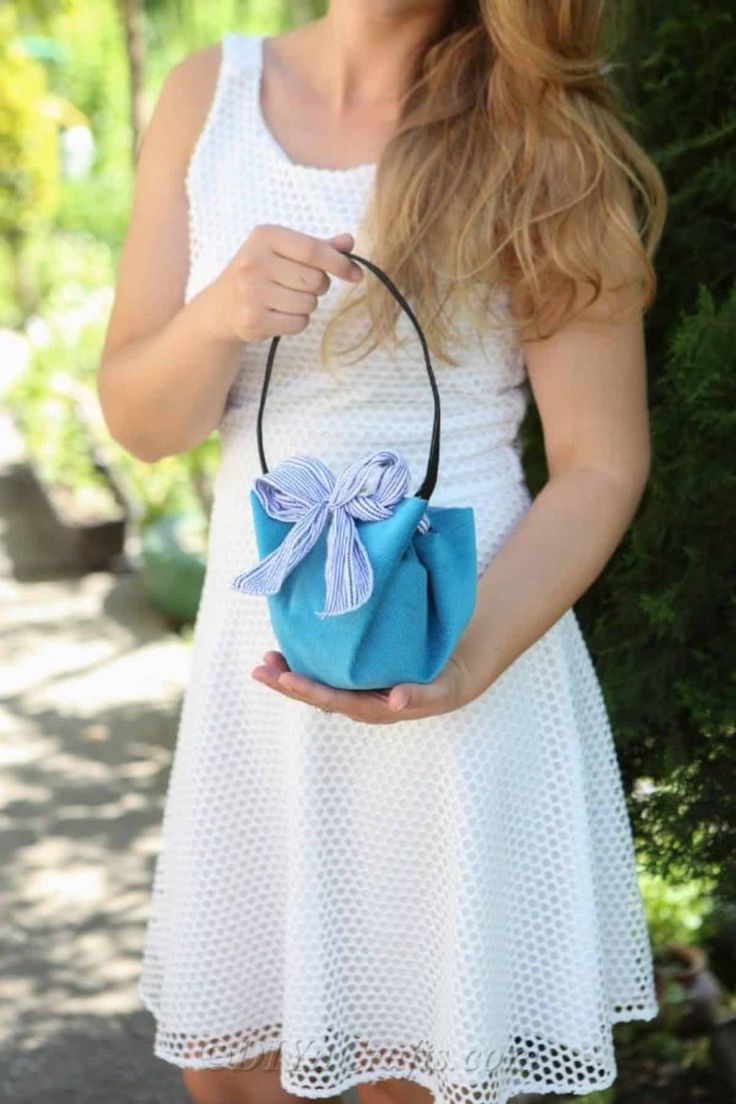
Finished round drawstring handbag — the goal of this project.
2. Cut out the circle along the traced line.
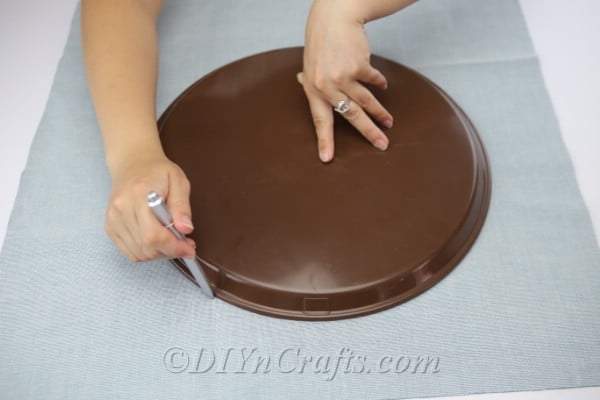
Trace a large circle on your fabric using a round object.
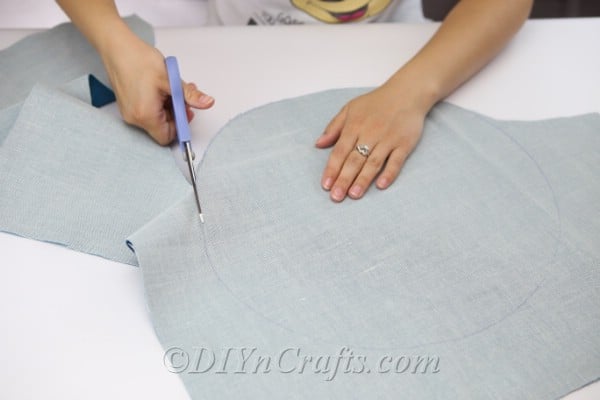
Cut out the circular piece carefully.
3. Lay the fabric circle flat with the side you want on the outside facing up (in this tutorial the blue side is the exterior and the white side is the interior).
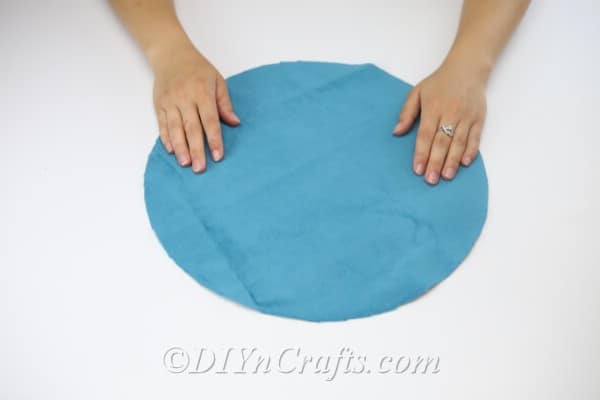
Place the fabric circle right-side-up (blue side for this example).
4. Fold the circle in half so you have a semi‑circle (the interior side will face outward when folded this way). Using a pen, mark equidistant spots along the curved edge of the semi‑circle a little inward from the edge — these will become the holes for threading.
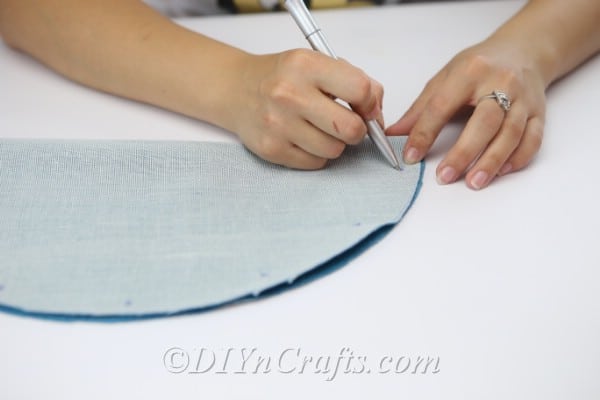
Fold the circle in half and mark equidistant stitch points along the curved edge.
5. Use scissors or a hole punch to create small holes where you made your marks.
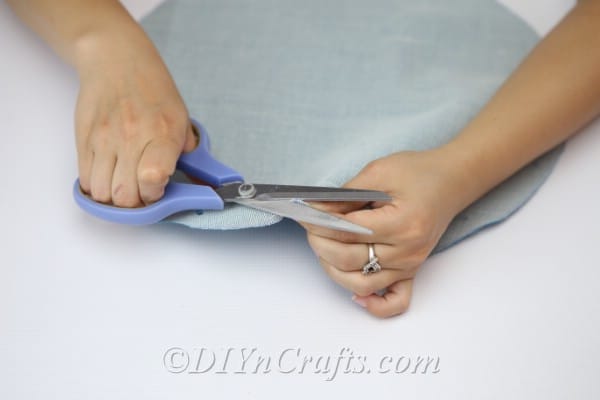
Cut small holes along the marked curve (a hole punch works well if you have one).
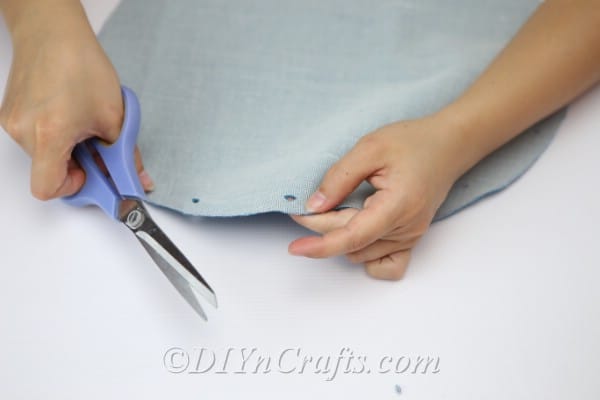
Holes should be evenly spaced to allow the drawstring to weave through neatly.
6. Fold the circle the other way so the exterior (blue) side faces outward. Hold the folded circle together and mark through the holes to transfer matching marks to the opposite half. This ensures the holes line up while keeping any transfer marks tucked on the interior.
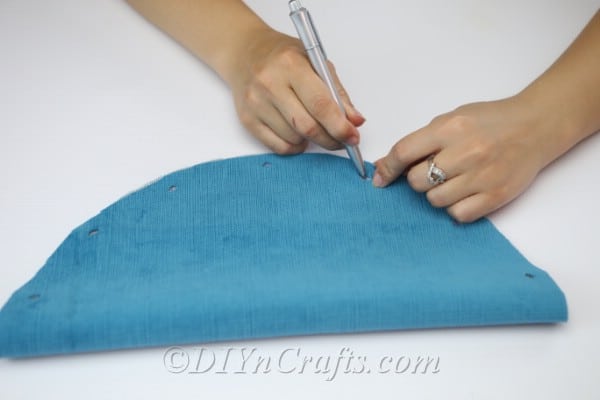
Fold the circle the other way and mark through the holes to transfer alignment marks.
7. Take your scarf or cloth headband and weave it through the holes around the entire perimeter, going back and forth so the scarf functions like stitching. This creates a drawstring that will gather the circle into a bag.
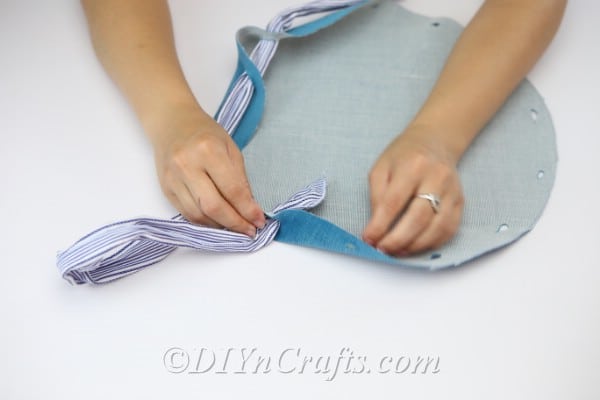
Weave the scarf through the holes around the circle to form a drawstring.
8. Pull the scarf ends so they emerge on the exterior side; tugging them will cinch the circle into a bag shape. Tie the ends into a bow for a finished look — you can untie it when you need to open the bag wider.
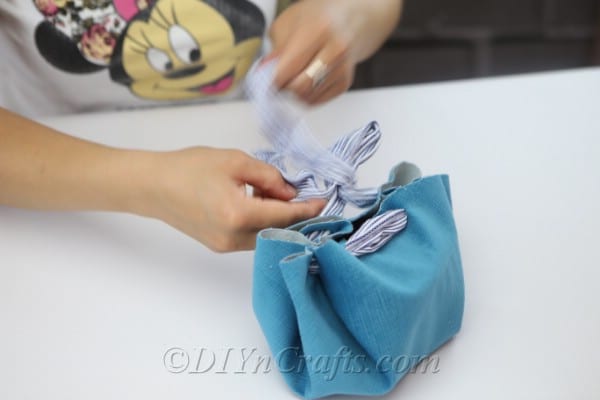
Pull the scarf ends to gather the fabric into a bag; the drawstring closes it.
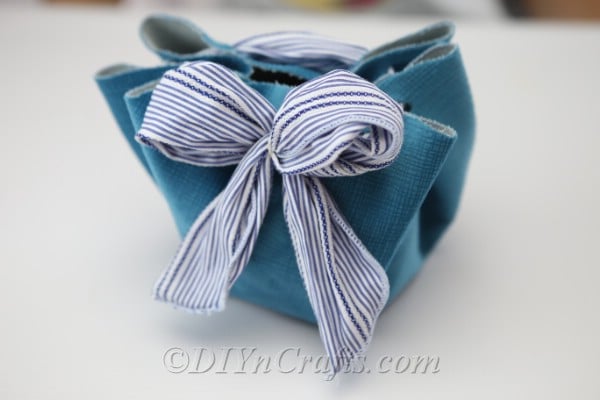
Tie the scarf ends into a bow on the exterior for a decorative finish.
9. Use hot glue to attach a thin belt to the top edges of the bag to serve as a handle. Press and hold until the glue sets. If you prefer, sew the handle on instead of gluing for extra durability.
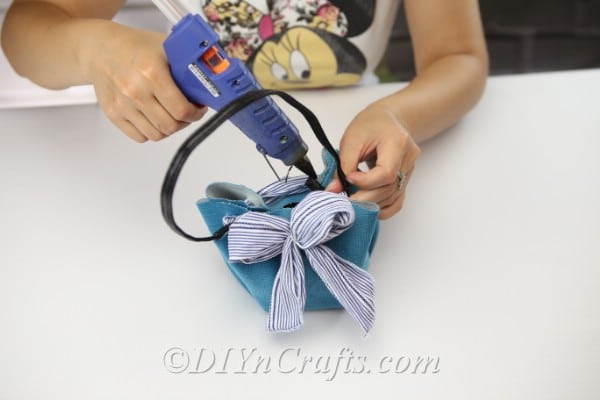
Attach a thin belt to the bag with hot glue to create a handle.
10. Your bag is complete — customize by using different fabrics, patterned scarves, or adding embellishments like beads or charms to the drawstring.
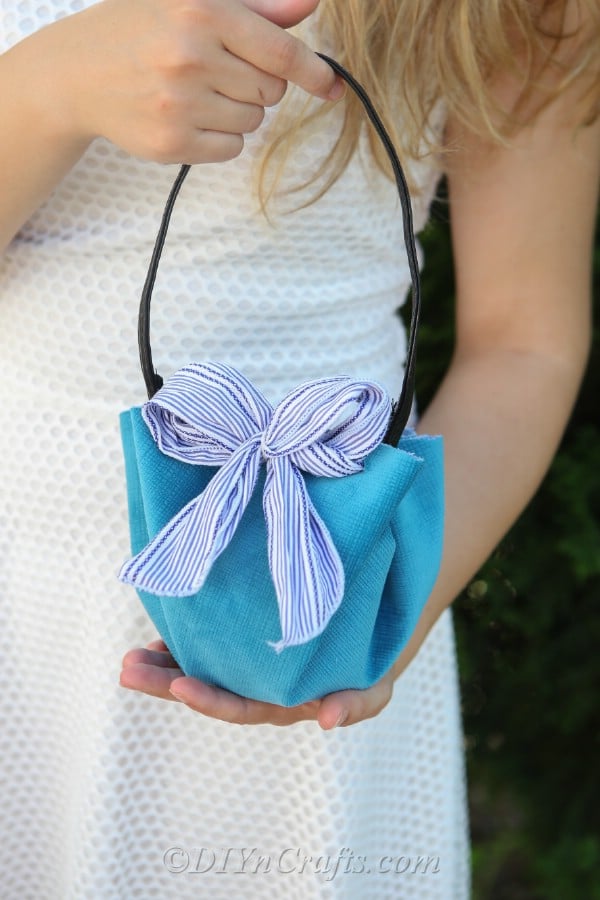
Final result: a personalized round drawstring handbag made without sewing.
Tips: choose a sturdy fabric for the bag body if you plan to carry heavier items; if using hot glue, avoid overfilling the bag. Swap the scarf for a decorative ribbon or braided cords for a different look.