DIY Placemat Door Hanger Basket — Easy Upcycle for Front Door Décor
Turn an old round placemat into a charming door hanger basket with just a few supplies. This simple, beginner-friendly project repurposes a placemat into a cone-shaped pocket, reinforced with a small wood bead wreath, and finished with greenery and a pretty bow. It makes a lovely seasonal or year-round accent for your front door or wall.
Materials Needed
- Hot glue gun + glue sticks
- Ribbon (for hanging and a bow)
- Greenery and floral stems (faux or real)
- Round placemat
- 10-inch wood bead wreath
Instructions
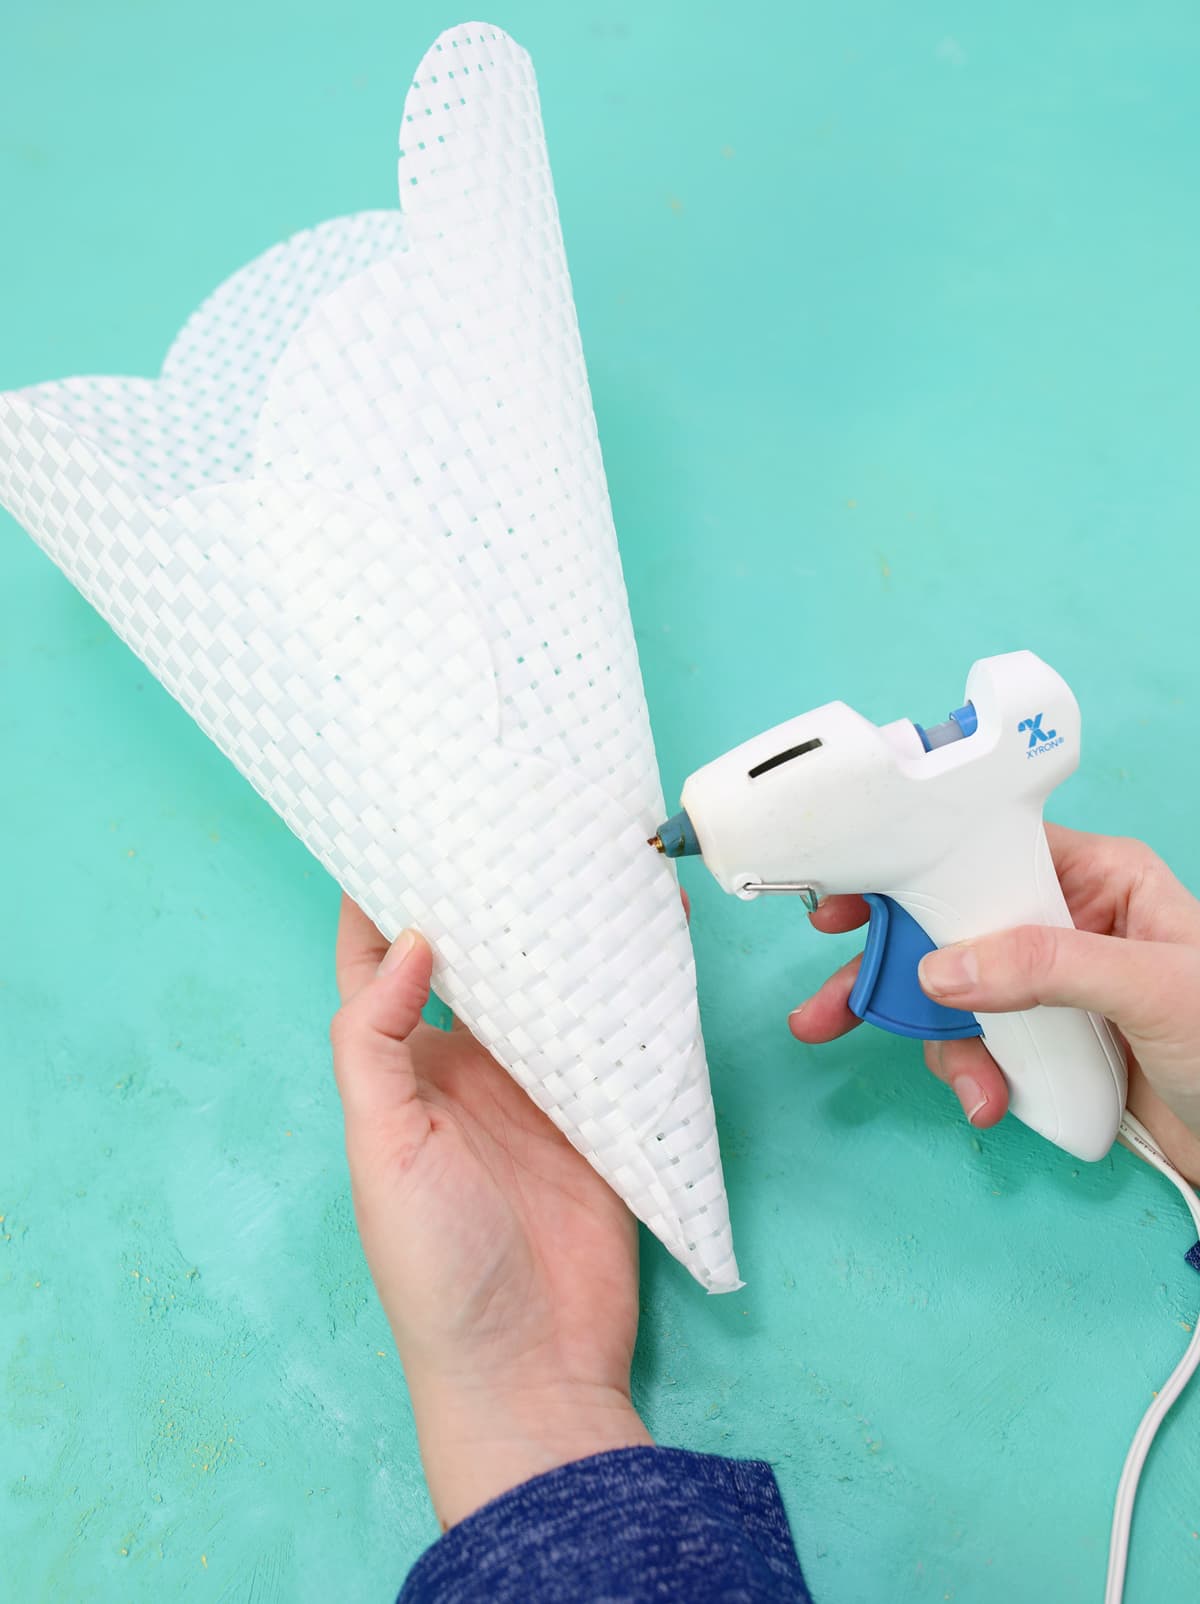
Step 1: Roll the placemat into a cone shape and glue it into place along all the edges. Press firmly until the glue sets so the cone keeps its shape.
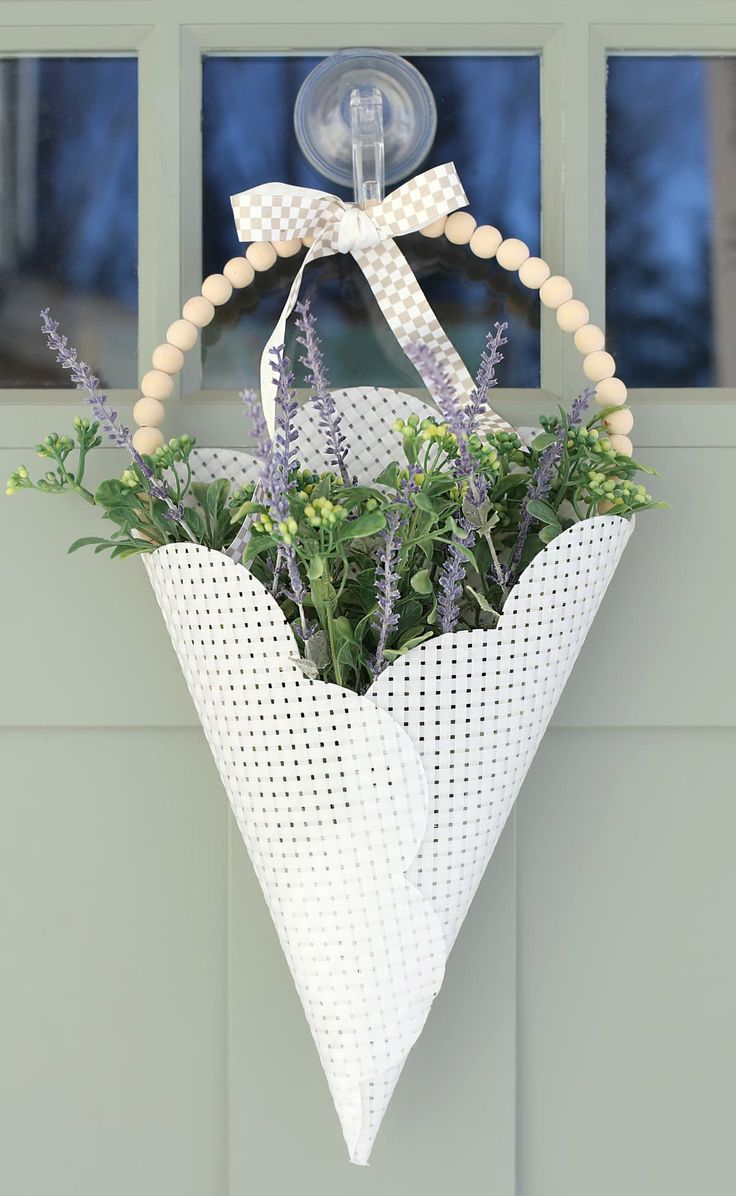
Finished placemat door hanger basket, styled with faux lavender and a ribbon bow.
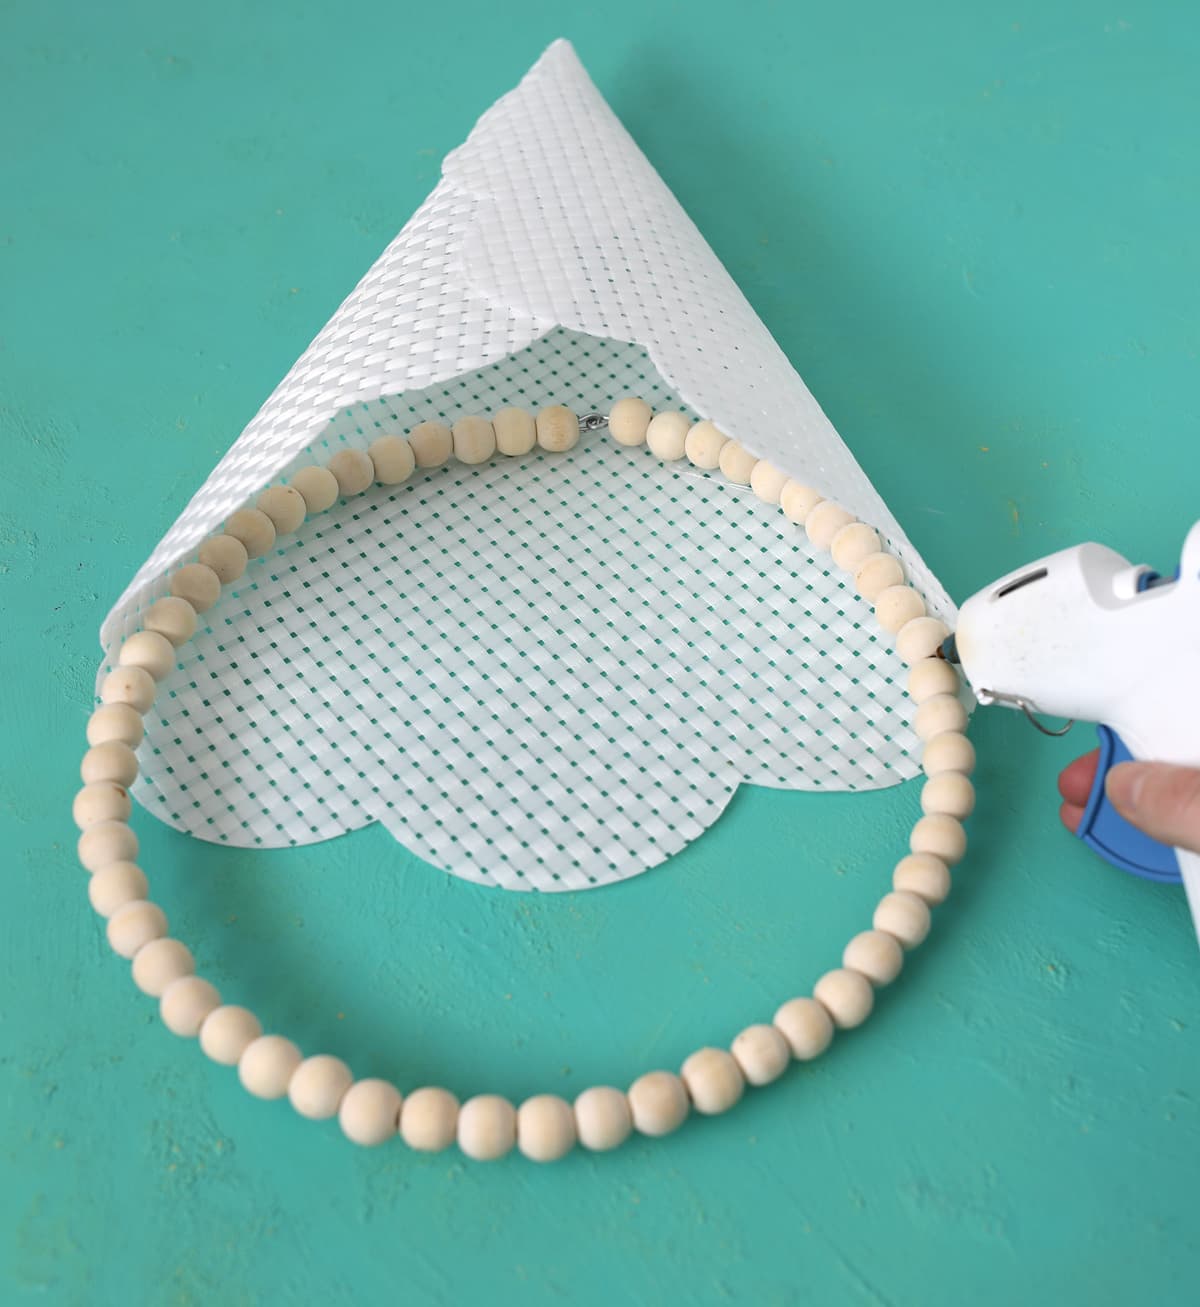
Step 2: Insert the wood bead wreath so it fits inside the top of the cone and glue it into place. The bead wreath helps keep the opening round and gives a tidy finished edge.
Fit the 10-inch wood bead wreath inside the cone to stabilize the top opening.
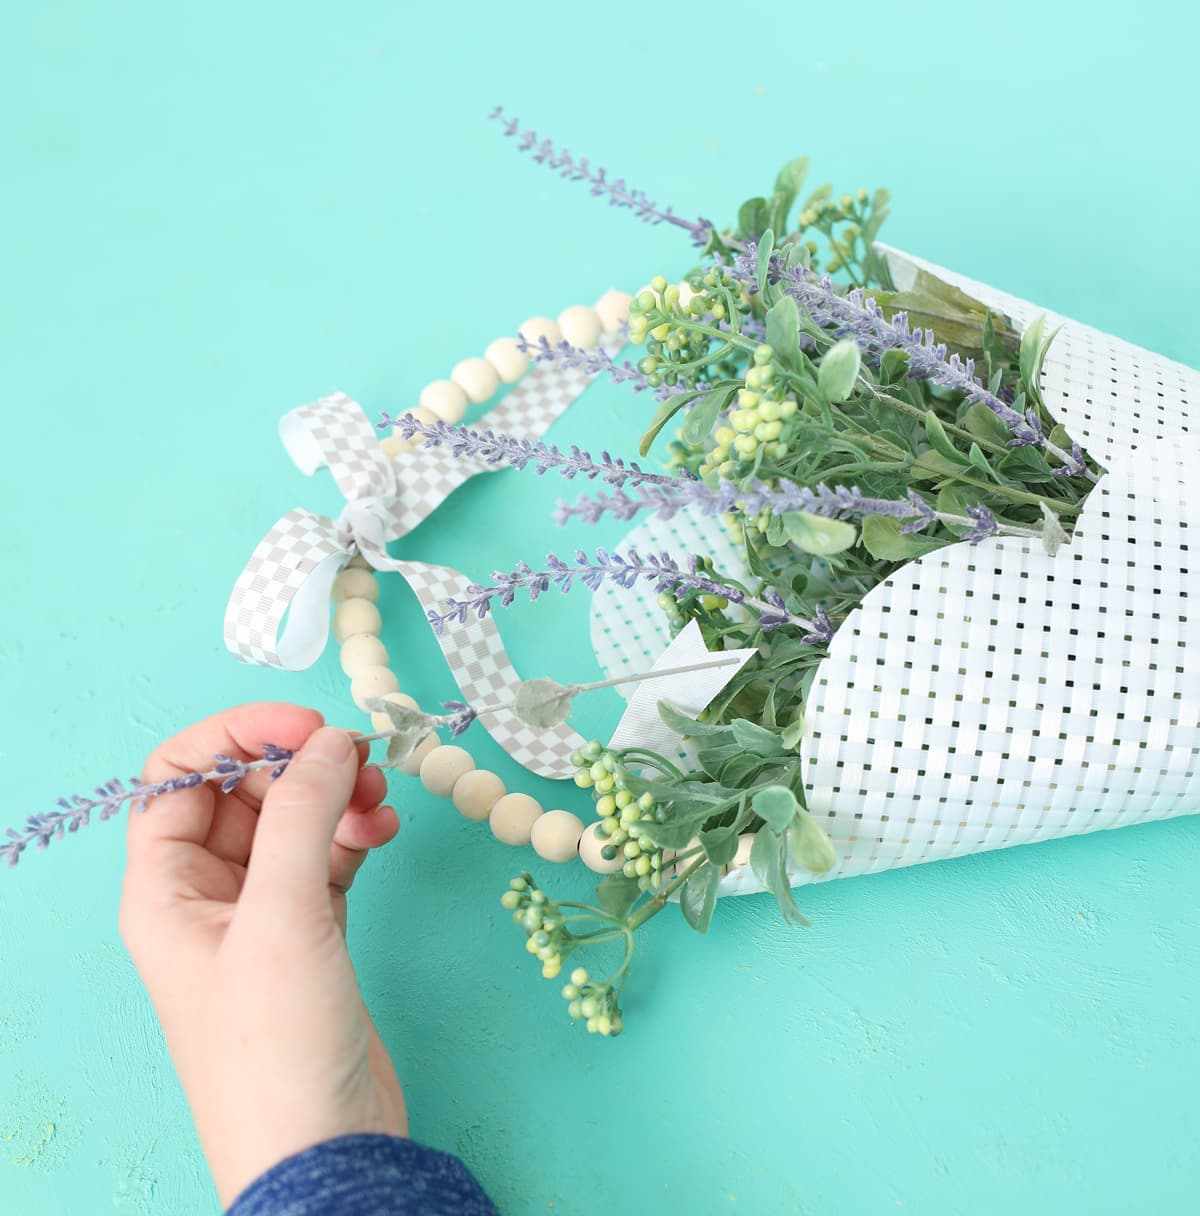
Step 3: Fill the pocket you created with greenery and/or flower stems. I love the faux lavender I used — but any stems or seasonal picks will work. Trim stems as needed so the arrangement sits nicely without weighing down the cone.
Arrange faux lavender and other stems in the pocket to create a full look.
Step 4: Finish it off with a cute bow at the top and create a ribbon loop for hanging. Secure the ribbon with hot glue or tie it through the bead wreath so the hanger hangs straight.
Tie a ribbon bow and form a loop for hanging — adjust ribbon length to suit your door or wall.
Tips: Choose a placemat material that holds shape when rolled (straw, woven or stiffer fabric works well). If you want extra durability outdoors, use faux greenery and weather-safe ribbon.
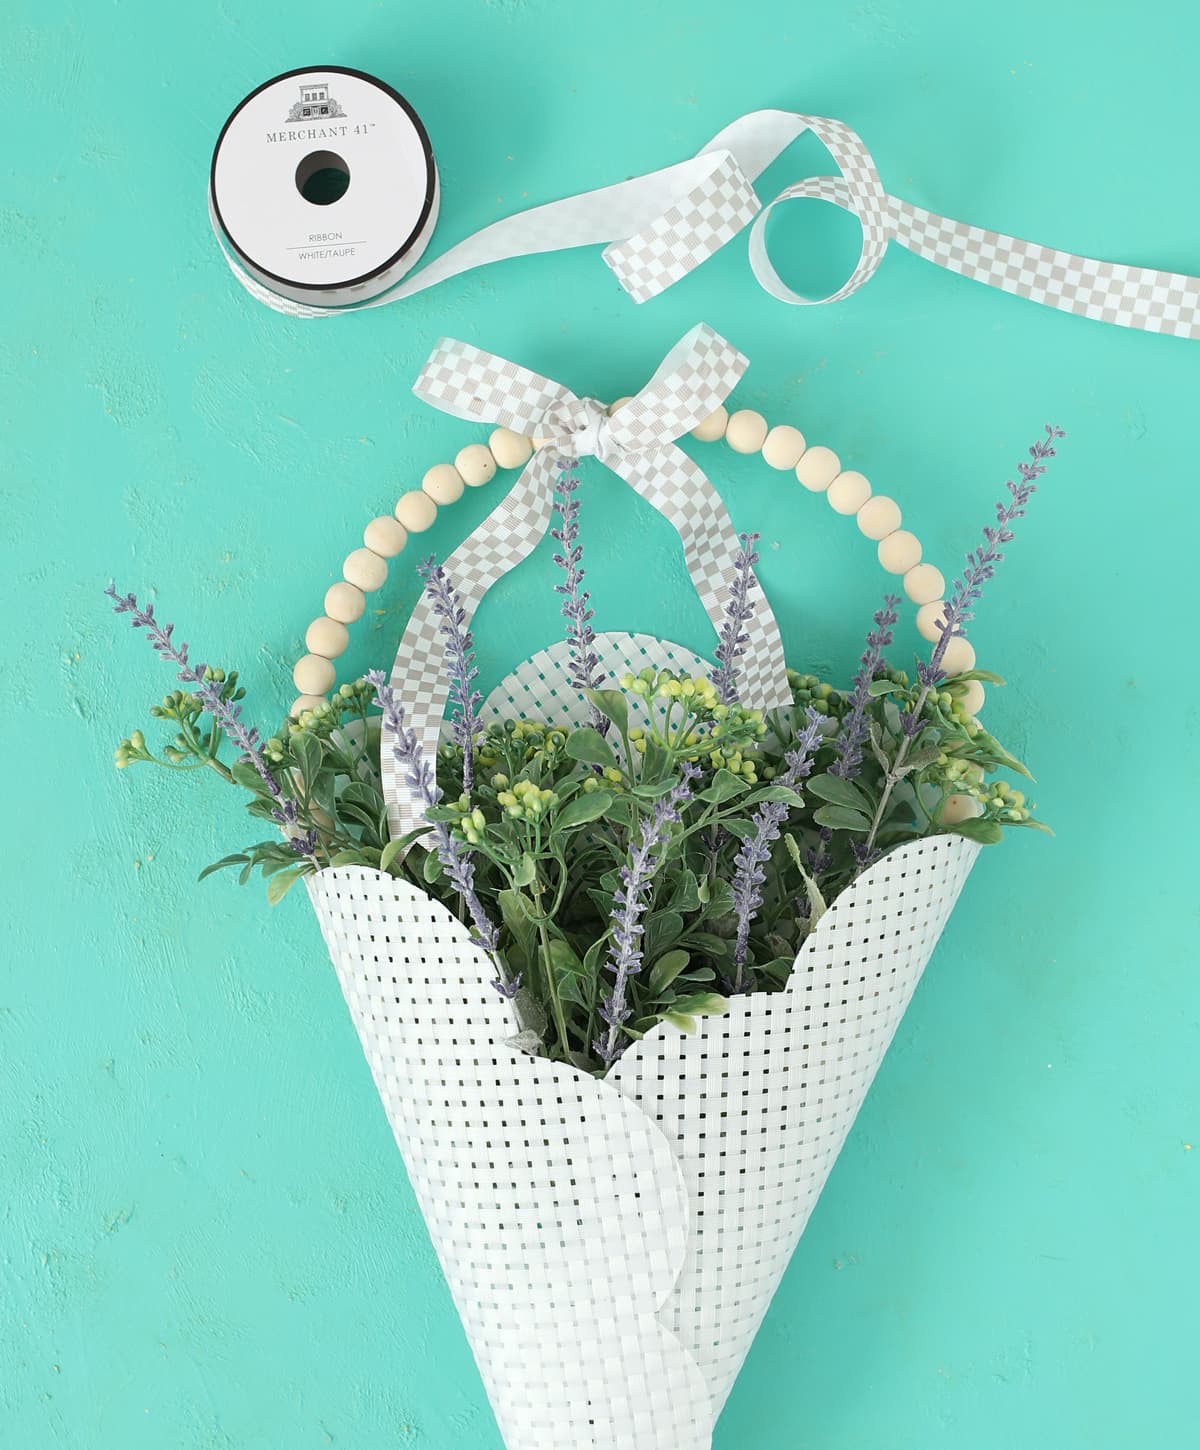
Complete project showing the placemat basket filled and ready to hang.