Make Charming Block-Printed Tulip Napkins — Easy DIY Tutorial
Make your table settings bloom with a simple, handmade touch: DIY block-printed tulip napkins. This project is beginner-friendly, portable, and perfect for gifting or setting a fresh spring table. In this guide you'll find what materials you need, how to carve simple tulip shapes, and tips for clean, repeatable prints that look great on cotton or linen napkins.
Creating your own DIY block print tulip napkin is a fun and creative way to add a personalized touch to your table setting. Get inspired by different tulip designs online or try your hand at creating your own unique patterns. It's a great project to do solo or with friends and family, making it a lovely way to spend a crafty afternoon together. So unleash your inner artist and let your creativity bloom with these charming DIY block print tulkins!
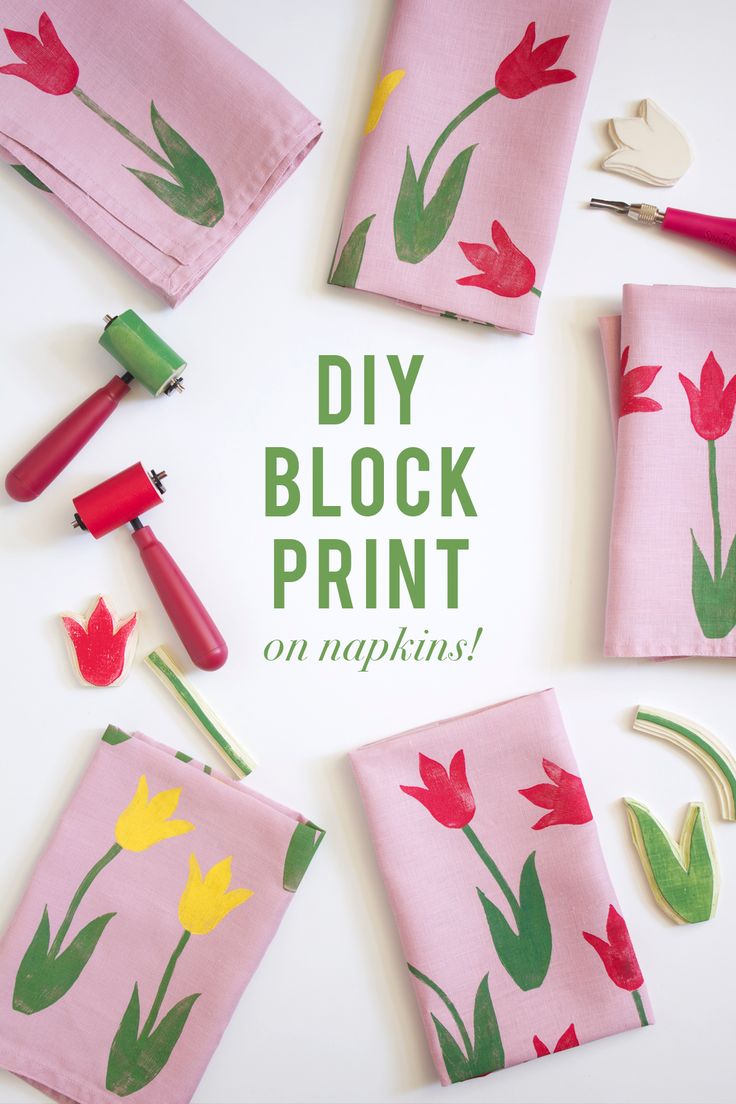
Materials:
- Cotton or linen napkins
- Craft paint suitable for fabric
- Speedy cut printing block
- Linoleum cutter
- Brayer (optional, you could use a foam brush)
- Pencil and scrap paper
- Iron and ironing board
Make your blocks! I opted to carve the stem and leaves separate so I could achieve different gestures with each flower: I cut one straight stem and one curved. Using the linoleum cutter, carve out the shapes. This is easier than it sounds; each cutter comes with a variety of different tips. You’ll want to use the smallest tips to get the finer detail between each petal of the tulip and a larger tip to more quickly remove the excess material from the flower shape. The cutter also comes with a blade similar to an X-Acto knife so you can cut around the shape to remove any excess block.
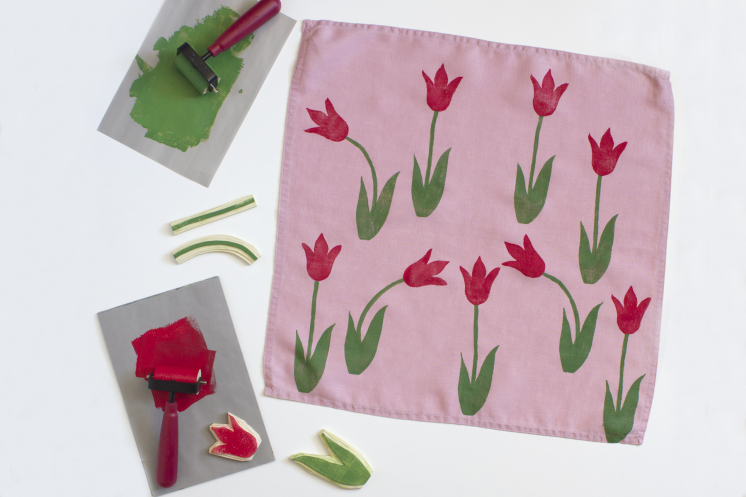
When I am block printing, I like to use a brayer to roll the paint evenly onto the block. I find it distributes the paint more smoothly, but you can also use a foam brush to apply paint. Test your prints on a scrap sheet of paper or fabric until you feel comfortable with the amount of paint and the pressure you use. Iron any wrinkles out of your napkins and start printing—press evenly and lift straight up to avoid smudging. Once prints are dry, follow the fabric paint manufacturer's instructions to heat-set the design with an iron so the napkins are washable and durable.
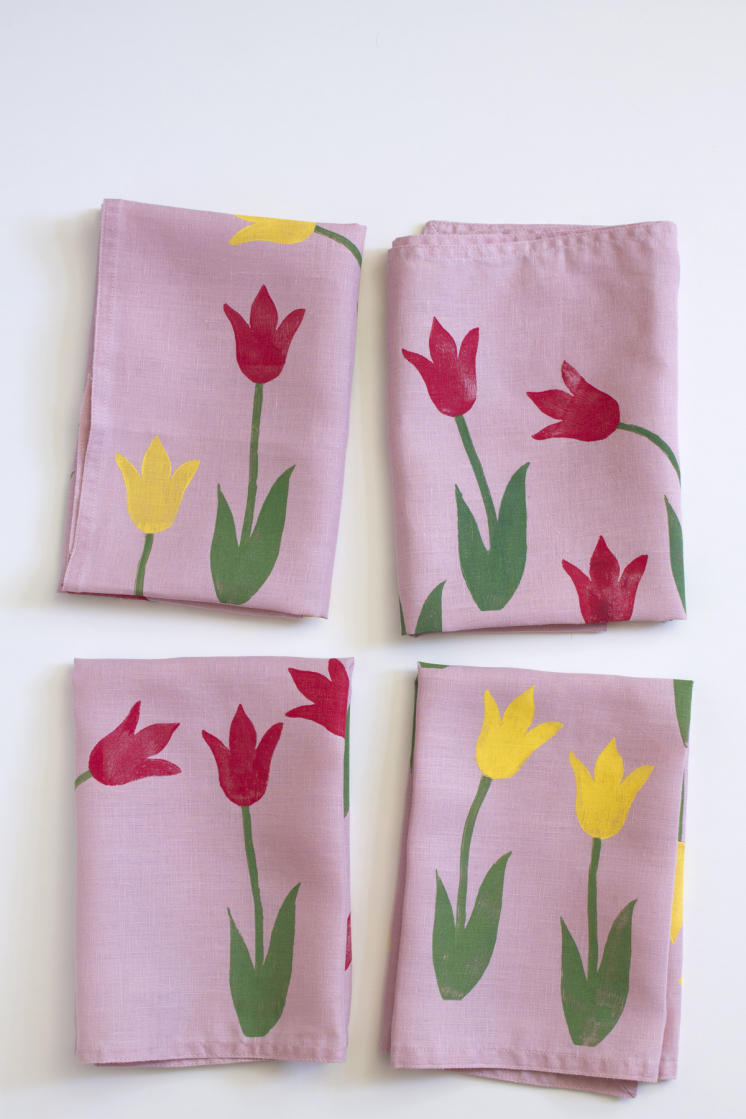
Finishing tips: plan your layout before you begin stamping to keep spacing consistent; practice with different pressures to vary the intensity of the print; and always follow the fabric paint label for curing and laundering instructions. With a little practice you’ll have a set of beautiful, custom napkins ready for any season.