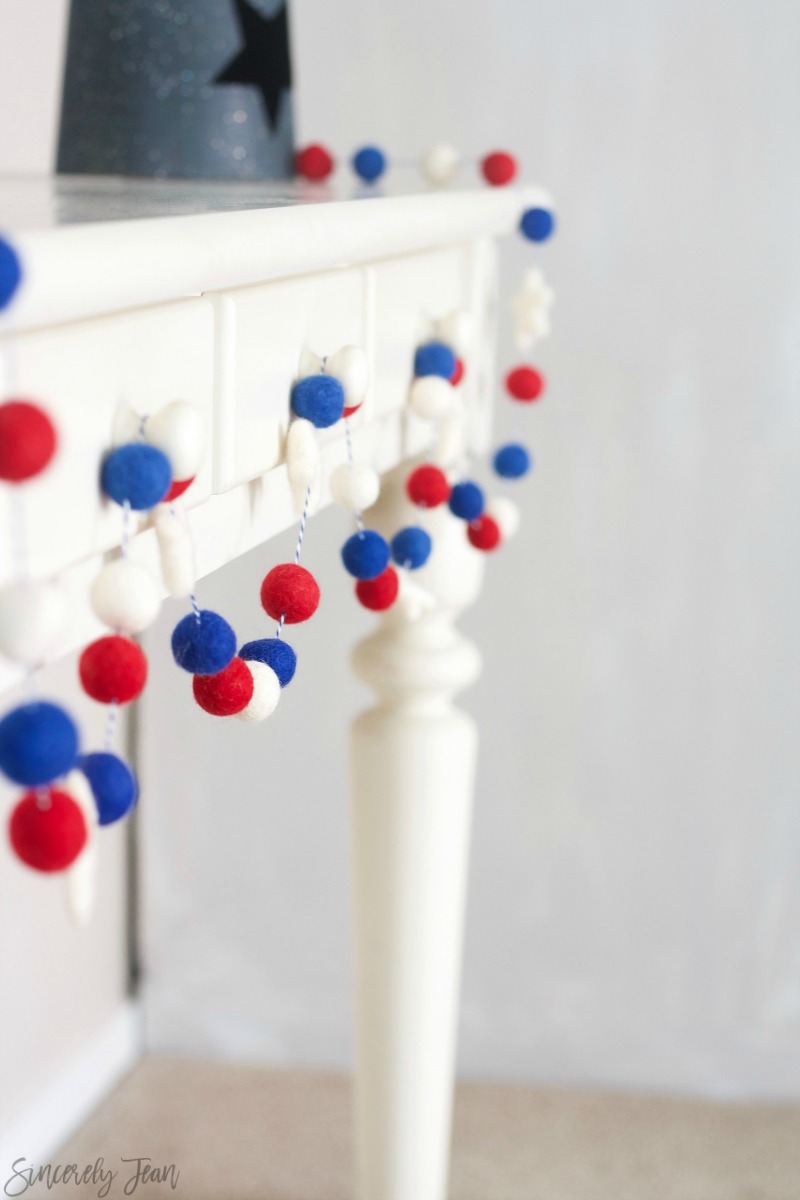
Easy DIY 4th of July Felt Ball Garland — Quick Patriotic Decor
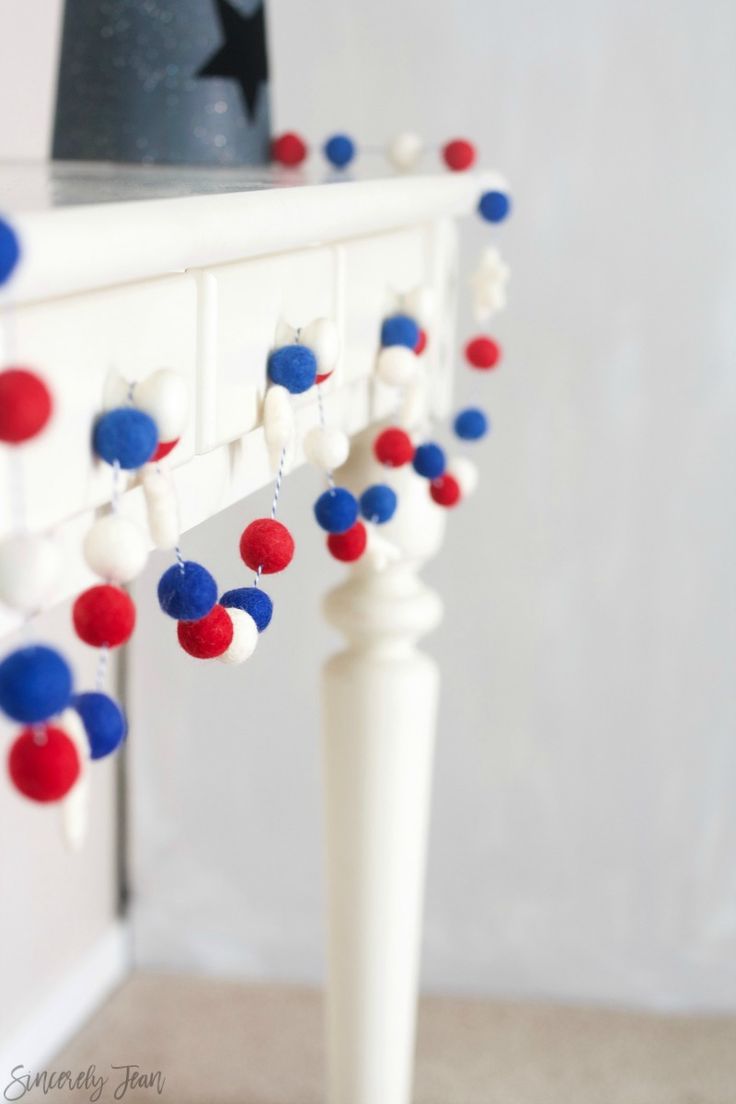
Add an instant patriotic touch to your Independence Day celebration with this easy DIY 4th of July felt ball garland. Using simple supplies like wool felt balls and embroidery floss, you can create a lightweight, reusable decoration in red, white, and blue. This project is beginner-friendly and finishes quickly — a great last-minute craft for porches, mantels, party tables, or as photo-backdrop decor.
Items needed:
- Wool felt balls, 2.5 cm
- Embroidery floss (color of your choice; red, white, and blue for a 4th of July look)
- Sharp needle that fits the floss
- Scissors
Tutorial:
1. Lay out your felt balls in the order and pattern you want them to appear on the garland. Arranging them first makes it easy to tweak the color sequence and spacing before you start stringing.
2. Cut a length of embroidery floss slightly longer than the desired finished garland to allow for tying loops or hanging. Thread the needle and knot one end of the floss if you want a stopper to keep the first ball from sliding off.
3. Pierce the center of each felt ball with the needle and slide it onto the floss. Continue until all balls are threaded. You can space them tightly together or leave small gaps — adjust spacing as you go.
4. When you have all the balls in place and spacing looks right, tie secure knots at each end of the floss. Create small loops with the excess floss to make hanging easier.
Tips: If you want a longer, sturdier garland, double the floss or knot between balls to keep spacing consistent. Store the garland flat or rolled to avoid crushing the felt balls so it’s ready for next year.