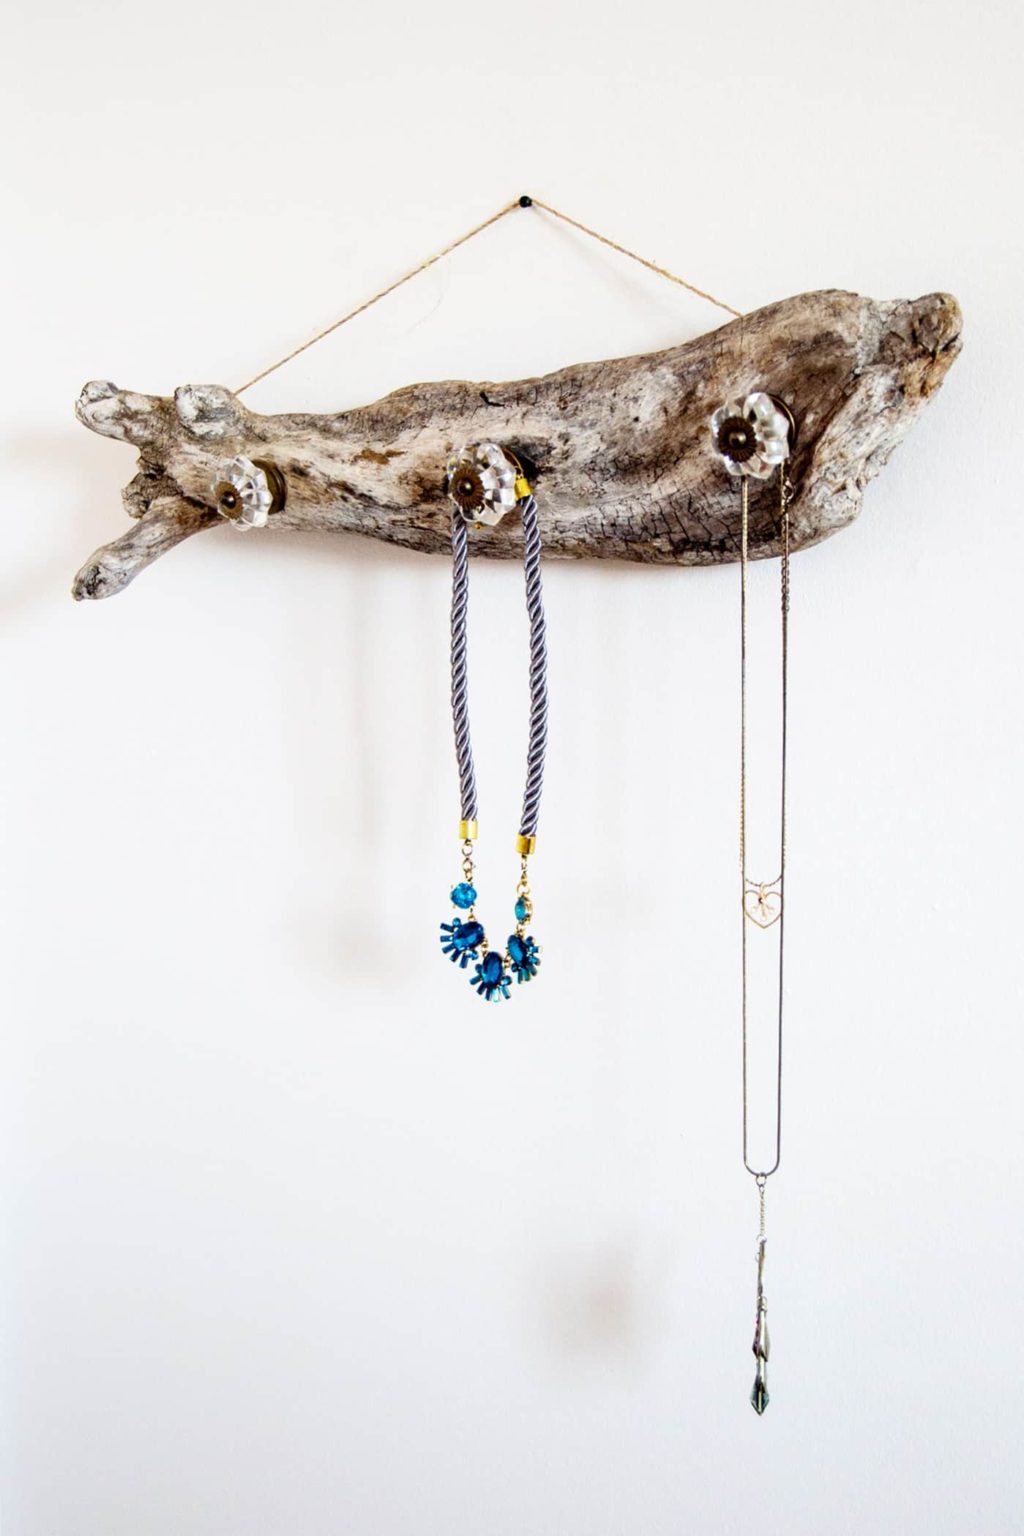
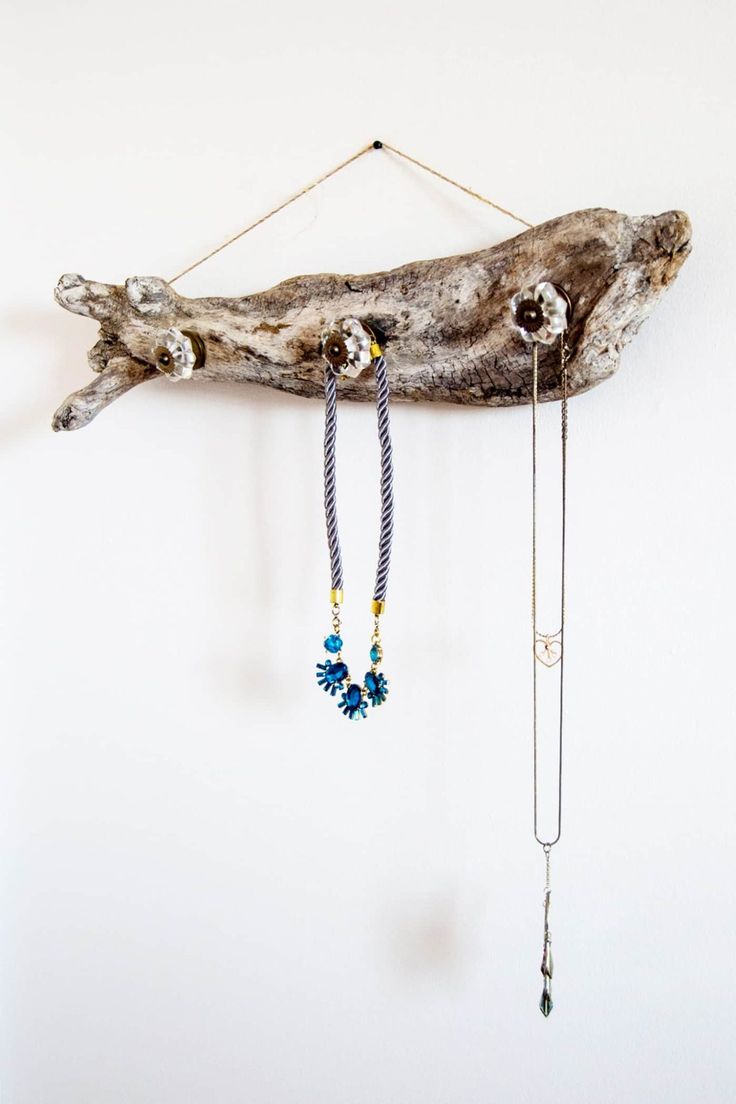
DIY Driftwood Jewelry Hanger: Easy Coastal-Chic Organizer with Crystal Knobs
Add a touch of coastal charm to your home with this simple DIY driftwood jewelry hanger. It turns a natural piece of driftwood into a functional, decorative organizer for necklaces, bracelets and other accessories. Below you'll find a clear supplies list and step-by-step instructions to build a sturdy, wall-ready hanger using crystal knobs and simple tools.
Gather These Supplies
- Driftwood piece or wood base
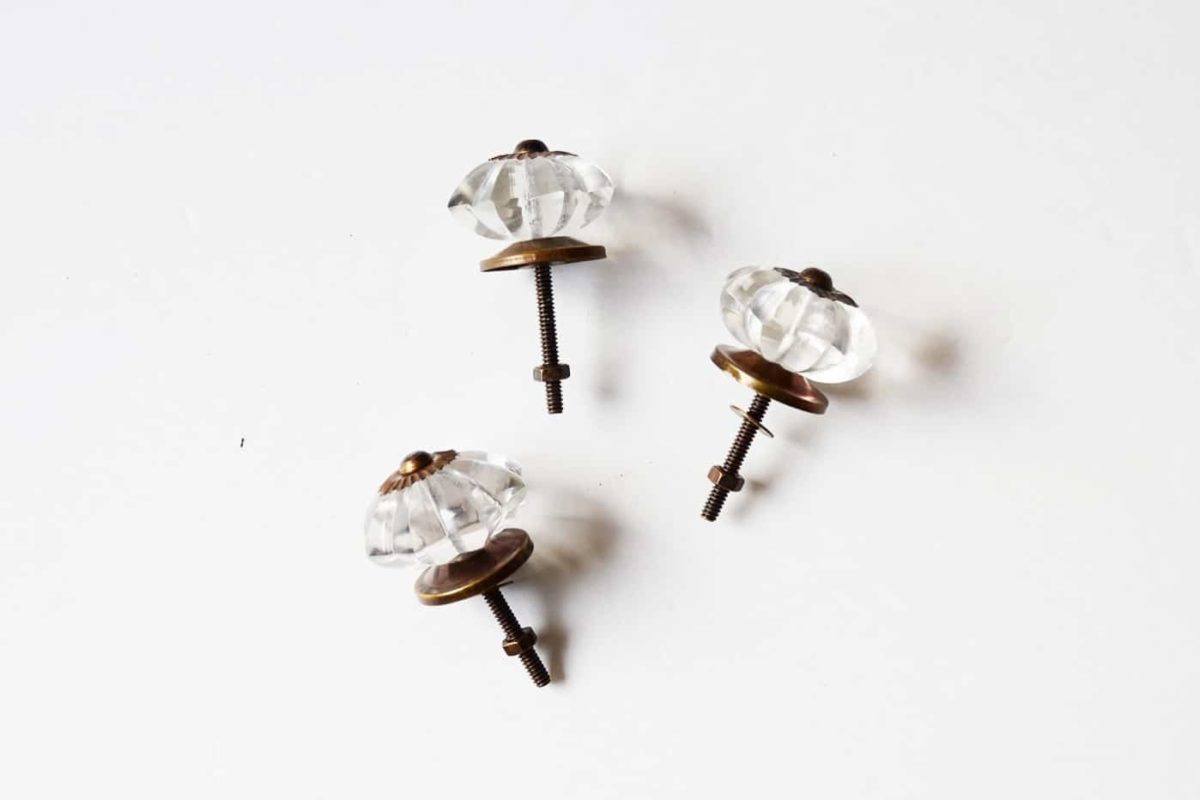
- Crystal knobs
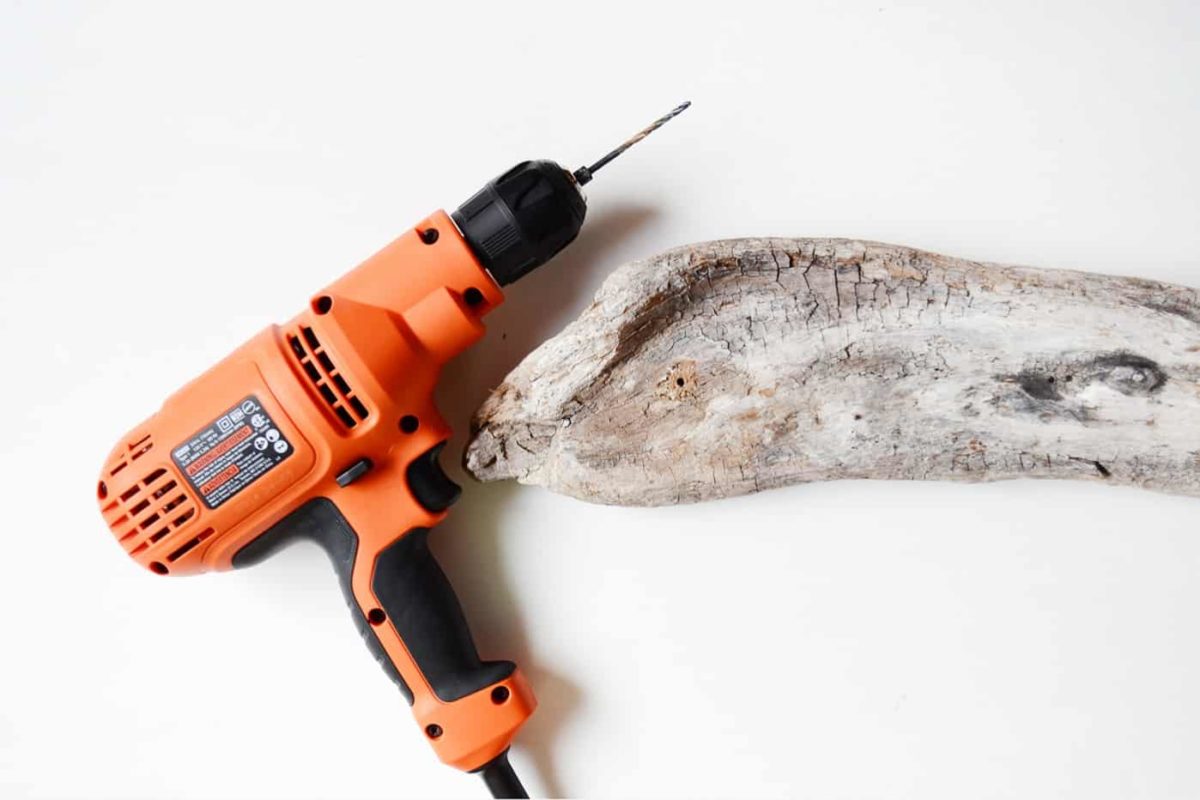
- Drill, 3/16″ bit (plus bits for pilot and final holes)
- Flat nose pliers
- Dremel rotary tool (optional)
- Picture hanger
- Screws or eye hooks – 2
- Jute string
- Sharpie
- Tape measure
- Wood glue (optional)
Equipment
Drill with drill bits including 3/16″ bit
Flat nose pliers
Dremel tool (optional)
Picture hanger with nail
Hammer
Scissors
Tape measure
Materials
1 Driftwood piece
3 Crystal knobs
2 Screws or eye hooks
Jute string
1 Sharpie(s)
Wood glue optional
Instructions
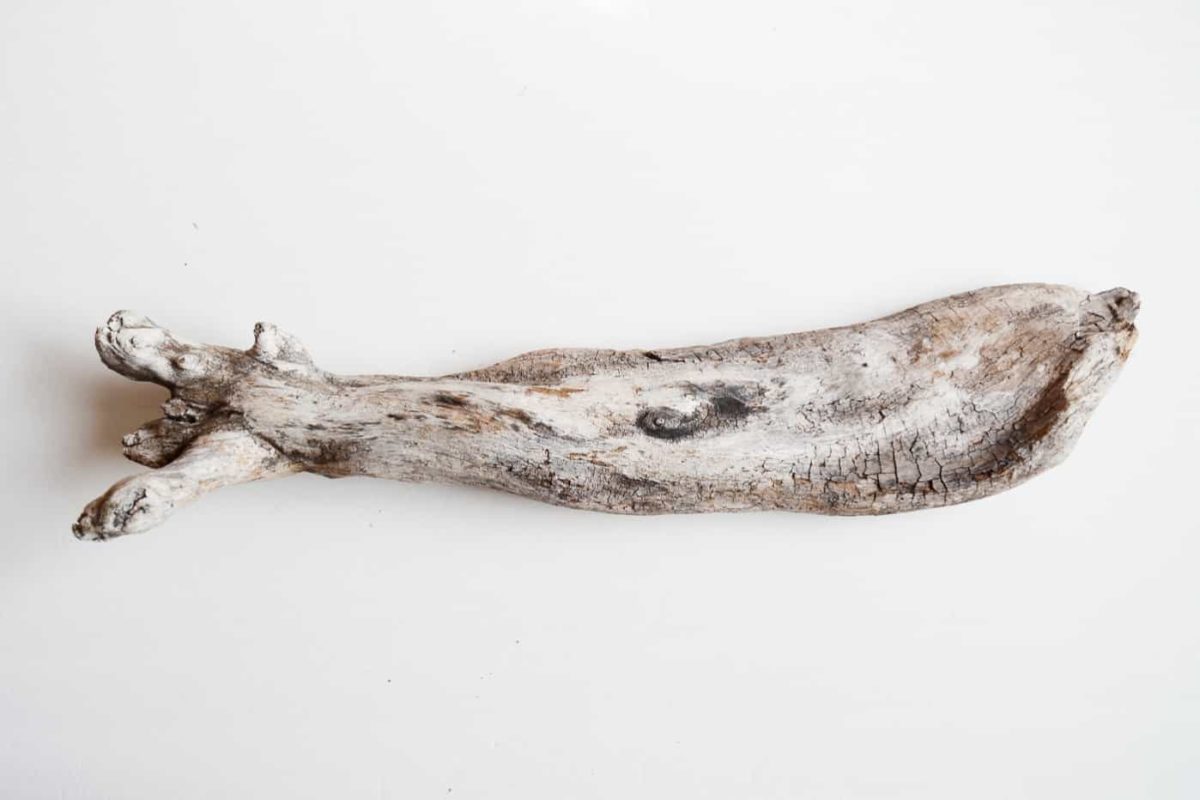
1. Clean the driftwood with a slightly damp cloth and let it dry completely.
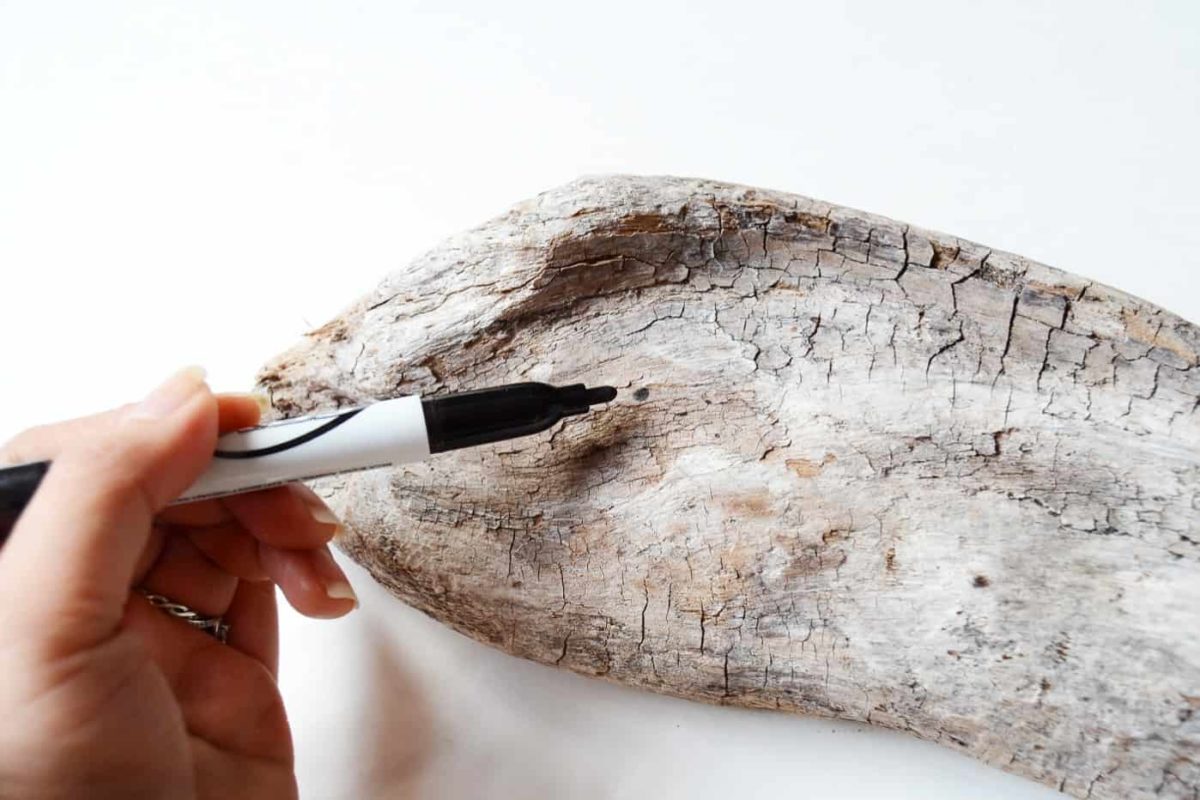
2. Decide where to place your knobs. I planned for three knobs and spaced them roughly 6 1/2" apart—measure and mark the locations with a Sharpie.
3. Choose the knobs for your project. Start by drilling a small pilot hole at each marked spot so the wood won't crack.
4. Once pilots are drilled, switch to a bit sized for the knob screws and widen each hole so the screw will fit through the driftwood.
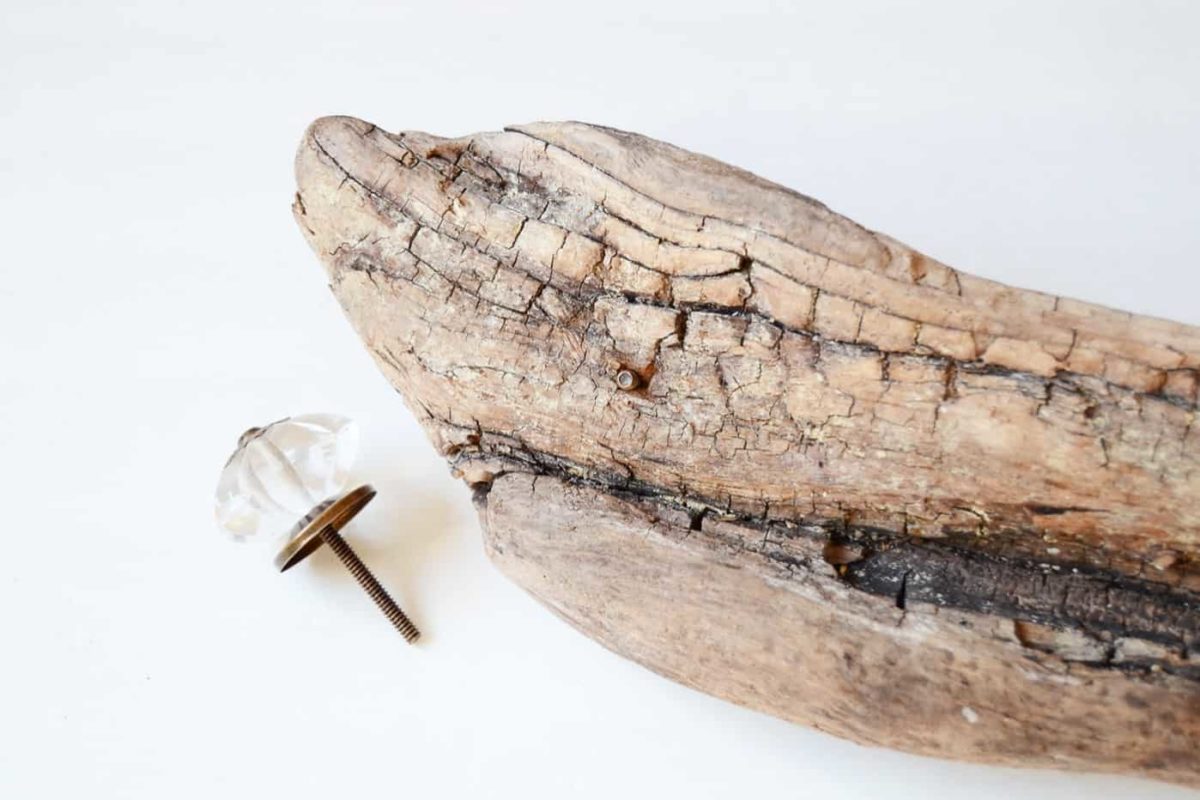
5. Drill through the back of the driftwood so the knob screw can pass through. If necessary, shave excess wood from the back with a rotary tool or cut the screw end so the knob sits flush and the hanger will lie flat against the wall.
6. Secure the knobs by tightening hex nuts on the screw ends from the back. This holds the knobs firmly in place.
7. For hanging, add two screws or eye hooks to the top-most stable area of the driftwood. I used 3/4" screws; use longer screws if your wood permits for extra stability.
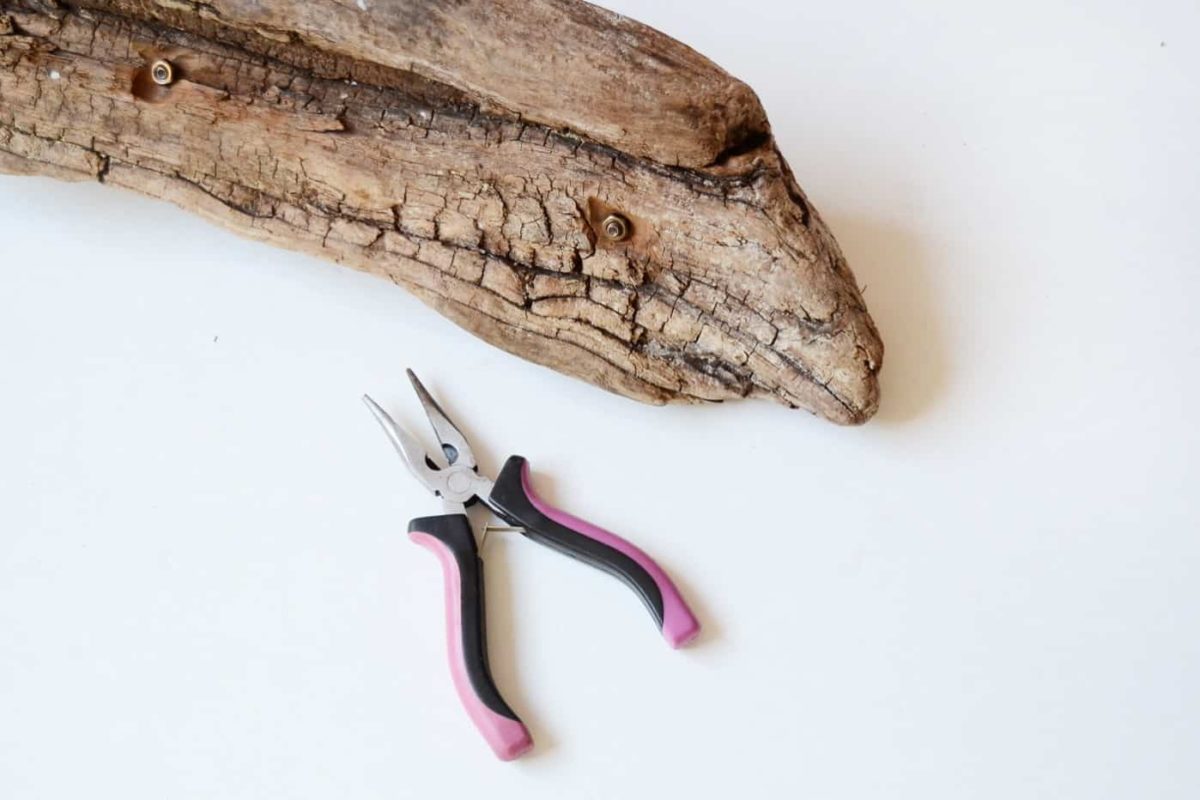
8. Tie jute string to the hooks and hang the finished piece on a picture hanger mounted to the wall. Adjust string length so the hanger sits level.
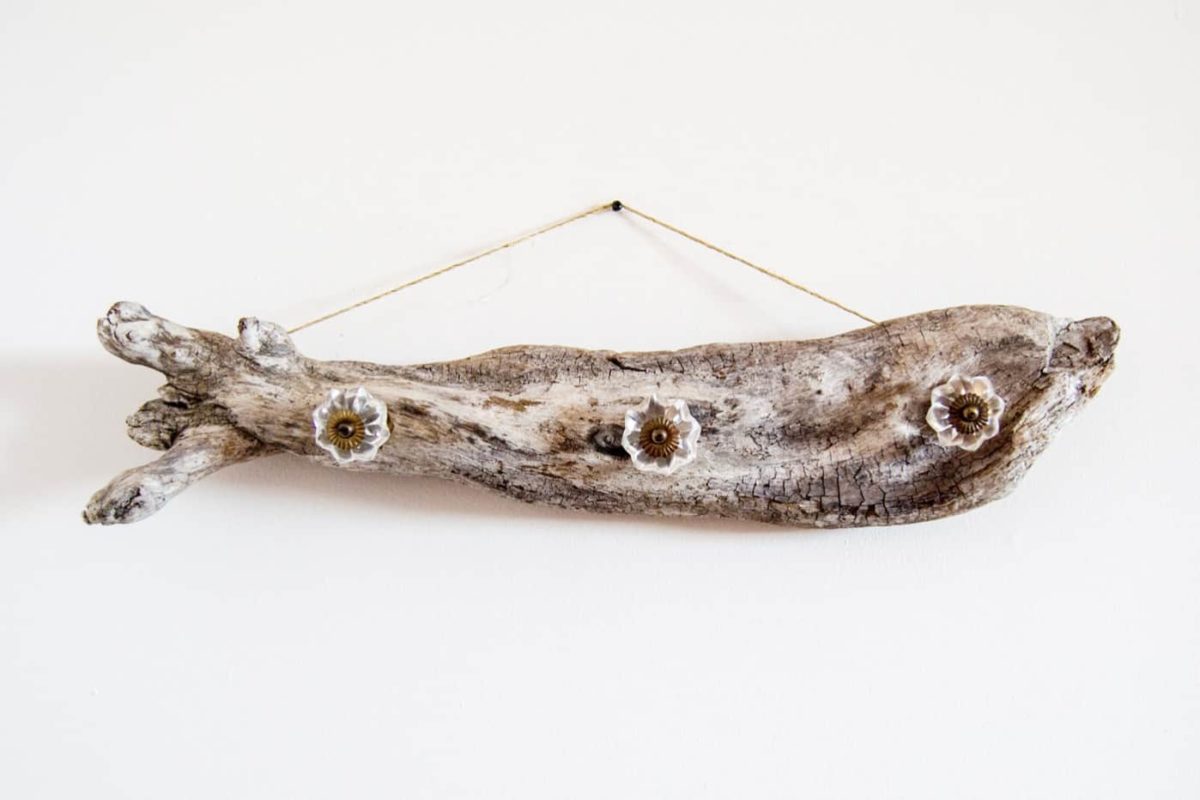
9. Hang your necklaces, bracelets and other accessories on the crystal knobs and enjoy your new, coastal-inspired organizer.