Easy No-Sew Bandana Tote Bag Kids Can Make
A fun, no-sew craft that turns two bandanas into a cute, reusable tote kids can personalize. This simple project helps kids practice fine motor skills and creativity while producing a lightweight bag perfect for toys, library books, or snacks.
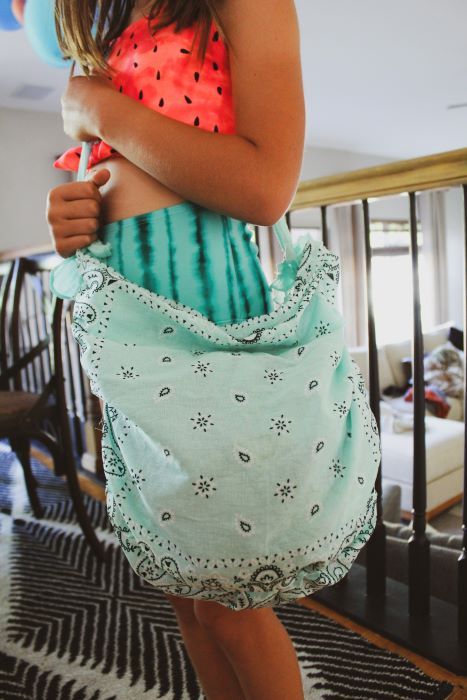
Example finished tote bag made from two bandanas, showing the braided edge and simple strap.
Materials Needed:
2 bandanas in coordinating colors or patterns
Scissors
Step 1: Select Your Bandanas
Start by choosing two bandanas that complement each other. Opt for bright and playful patterns to make the tote more fun. If you want the bag to last, choose 100% cotton bandanas rather than thin polyester ones.
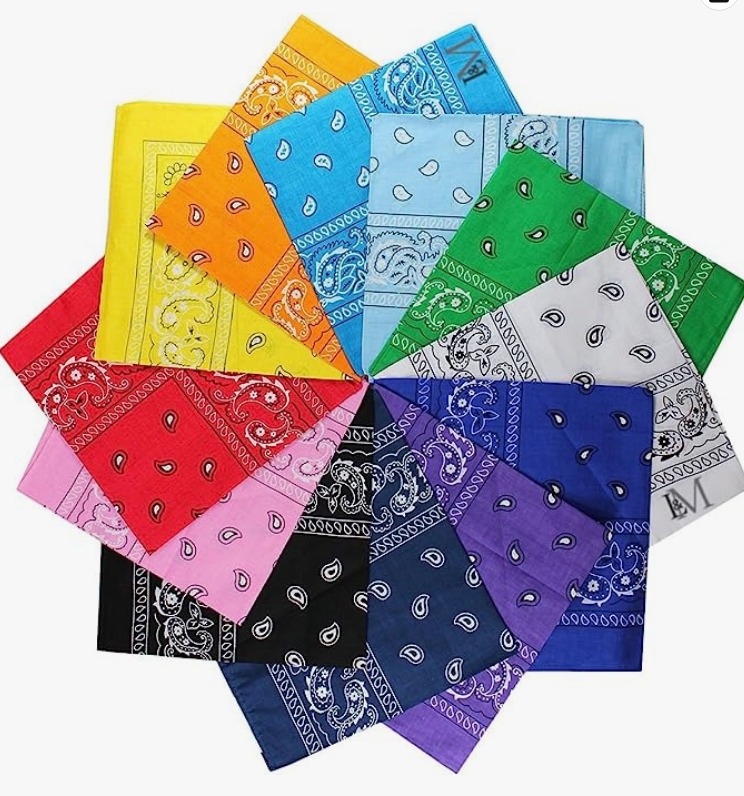
Two coordinating bandanas ready to be turned into a tote—pick patterns your child will love.
Step 2: Prepare Your Bandanas
Lay your two bandanas on top of each other with the “right sides” facing in (so the back sides are showing). We will be turning the bag inside out at the end so the seams are hidden.
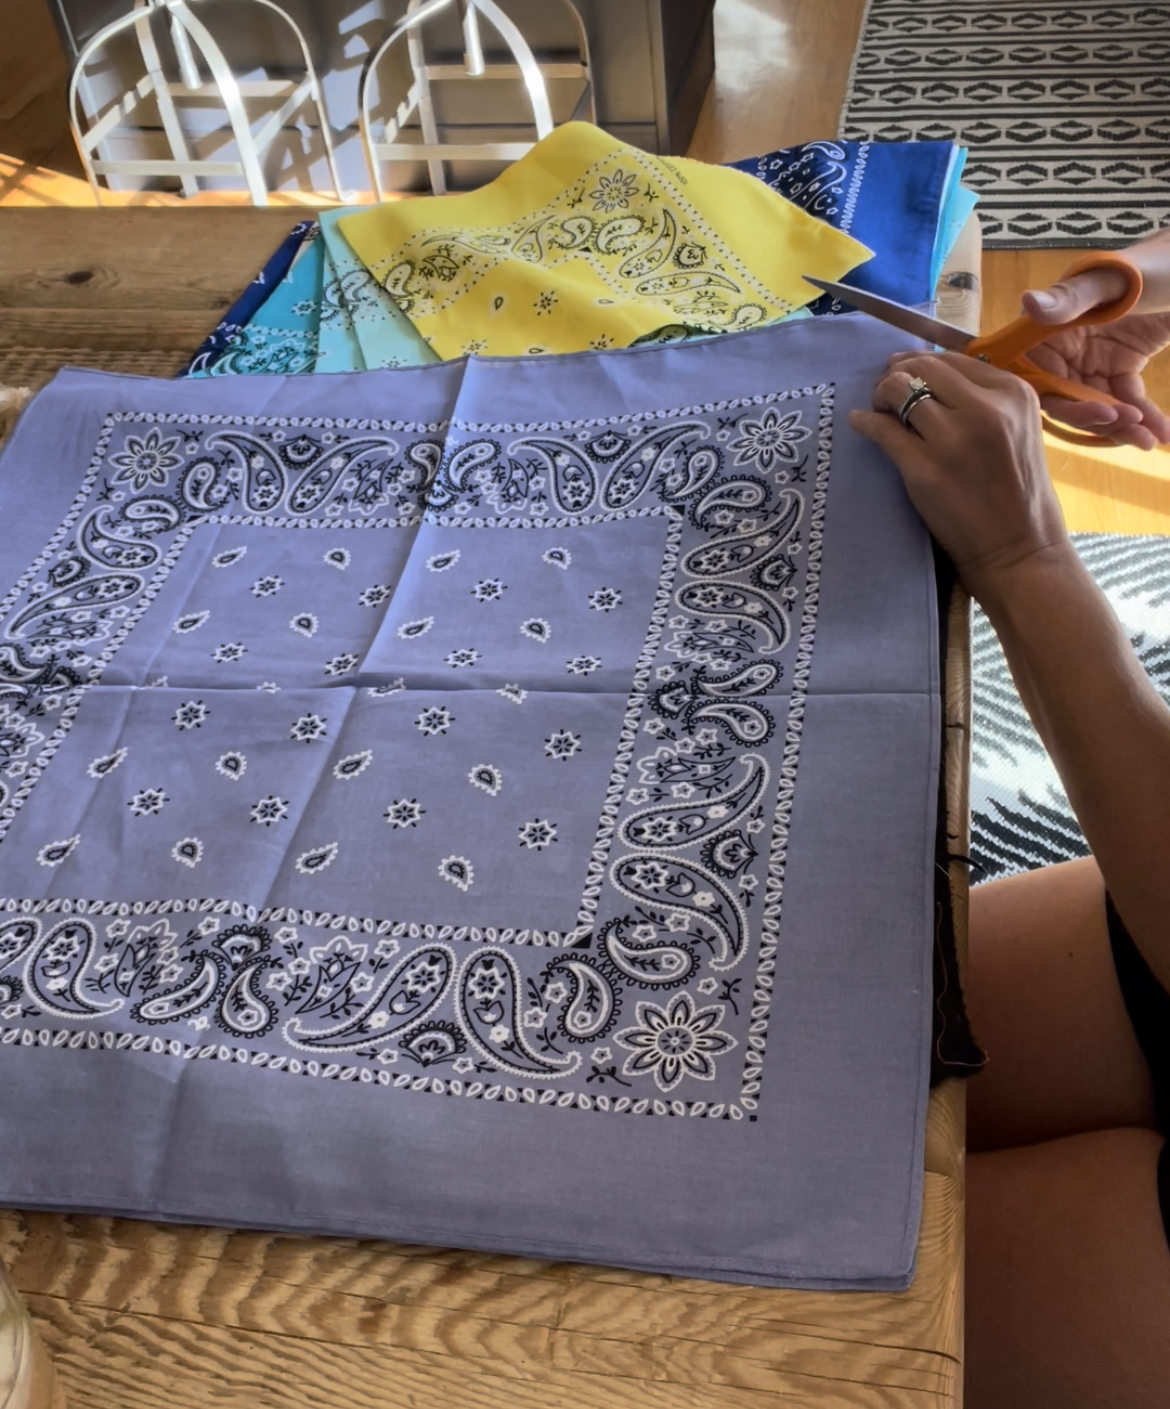
Bandanas laid right sides together and aligned before cutting and tying.
Step 3: Prepare the Straps
Cut the border from one edge of one bandana; this strip will become the strap. Tie the cut pieces together as needed to make one long strap and set it aside.
Step 3: Create Tabs Along the Sides
Along the other three sides of the stacked bandanas, make 1 to 2-inch cuts about every 1 to 2 inches. When you reach each corner, cut small triangles so the corners will tie neatly. These cuts create the tabs that will be tied to form the bag.
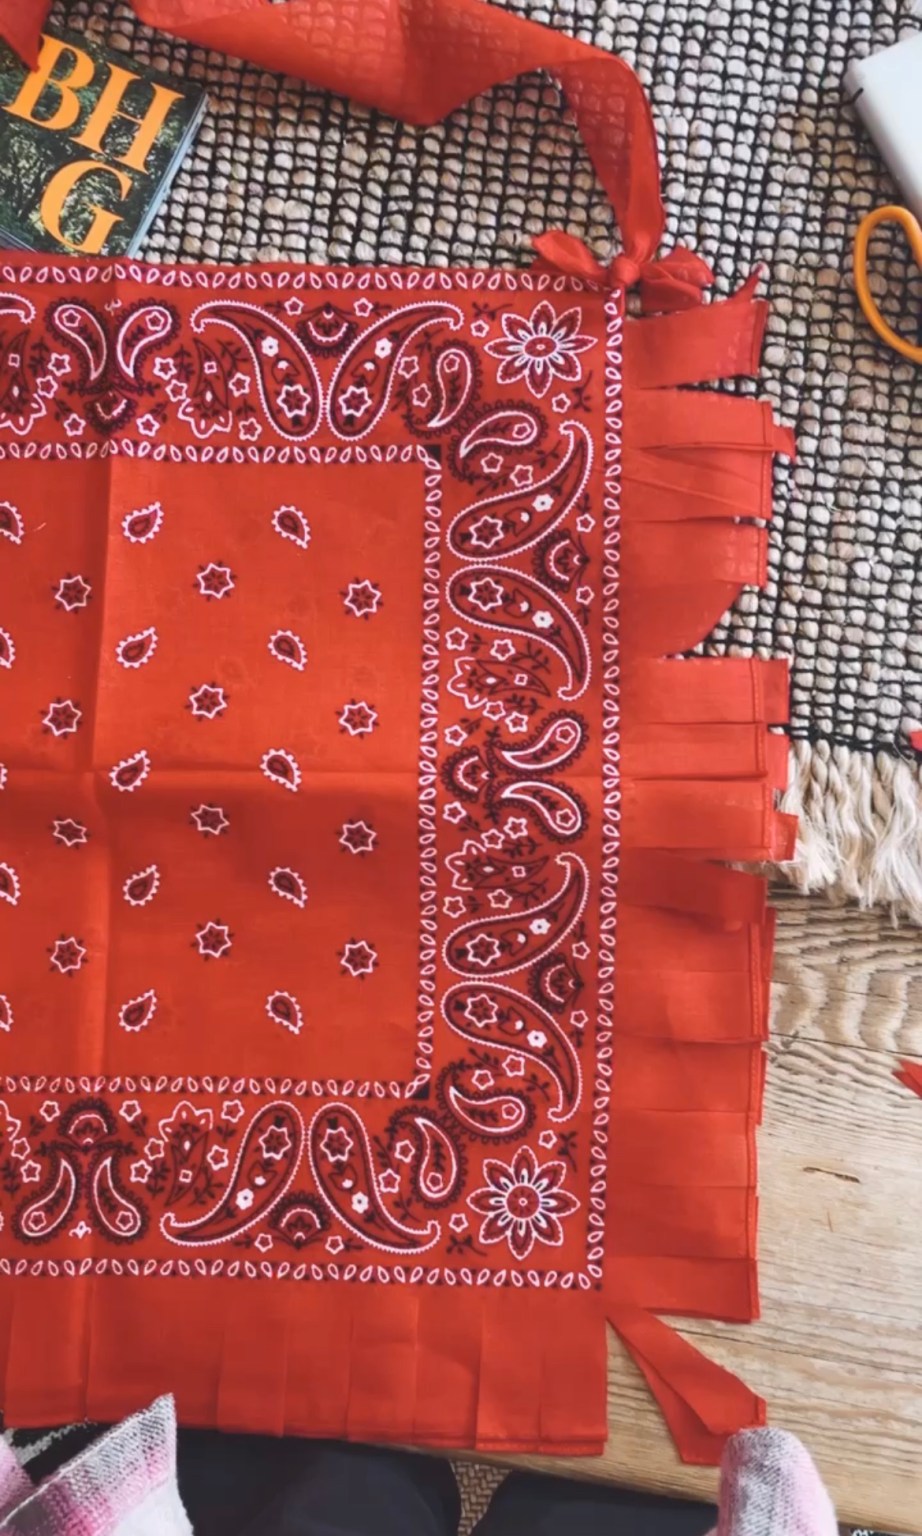
Make evenly spaced cuts along the sides to create tabs that will be tied to form the bag's base.
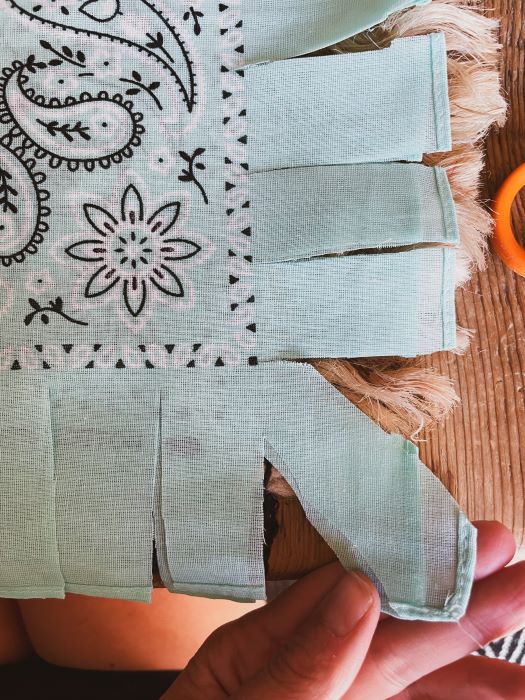
Cut small triangle shapes at the corners so the tabs will tie cleanly without bunching.
Step 4: Tie the Tabs
Match each corresponding tab from the two bandanas and tie them together in secure knots. Double-knot each one for durability. Continue tying around three sides until you reach the top opening.
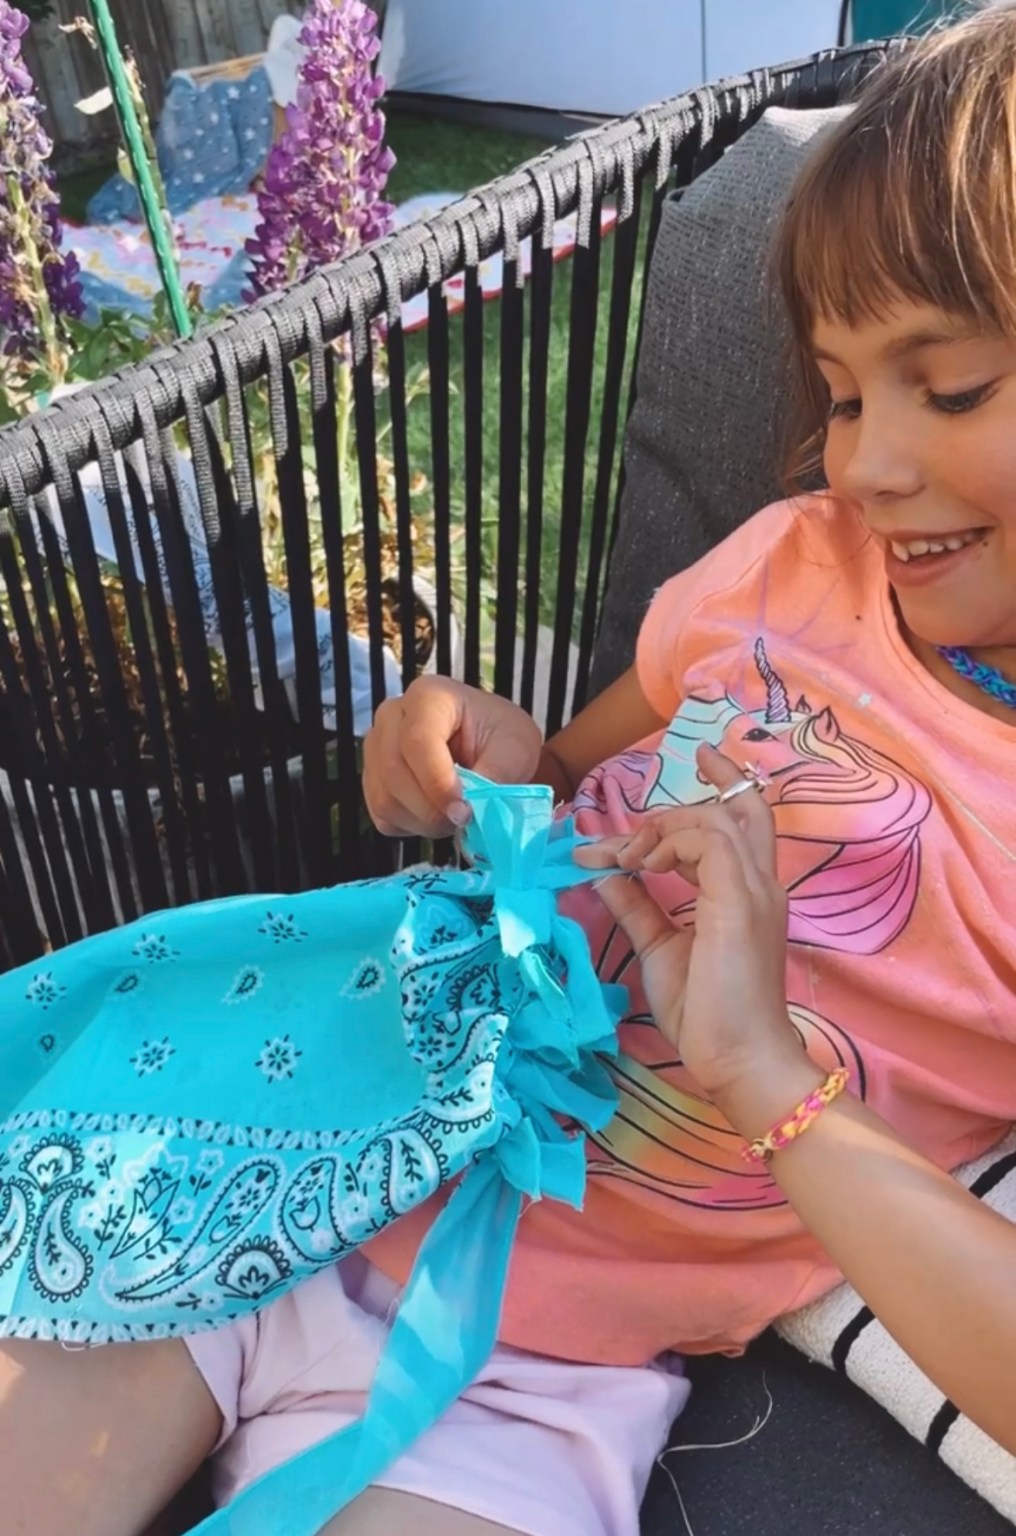
Tabs tied together form the bottom and sides of the tote—double-knot for extra strength.
Step 5: Attach the Strap
Take the strap strip you set aside and tie each end securely to the top corners of the tote. Make sure the knots are tight so the strap holds when carried.
Step 6: Finishing Touches
Give the bag a gentle shake to even out its shape and confirm all knots are secure. Turn the bag right side out to reveal the finished look with the braided/stitched edge along the tied seams.
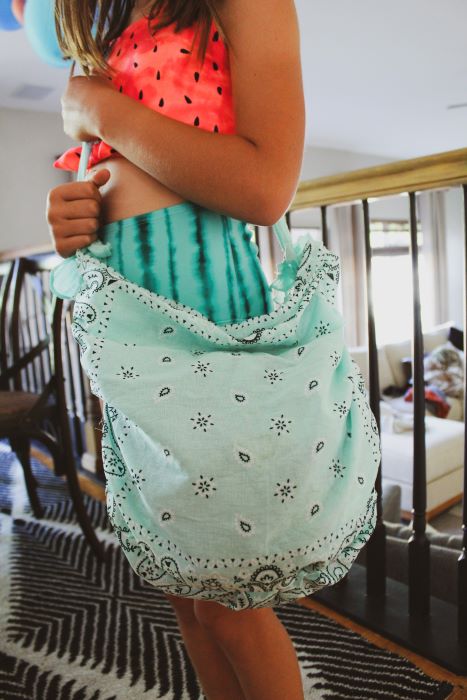
Final step: the tote turned right side out, showing the tied edge and the attached strap—ready to use or decorate.
Step 7: Repeat and Experiment
Make more totes using different bandana combinations or add simple decorations if desired. These make great quick gifts or party activities.