DIY Crochet Plant Pot Cover — Easy Pattern to Freshen Up Your Planters
Give your houseplants a handmade touch with this easy crochet plant pot cover. This simple pattern is beginner-friendly and can be adjusted to fit any pot by increasing the base to the correct diameter and working the sides to the desired height. Use cotton or medium-weight yarn for good structure and a tidy look.
Materials
Yarn: Medium-weight yarn (cotton recommended for structure).
Crochet Hook: Size H (5 mm).
Scissors and yarn needle for cutting and weaving in ends.
Basic Stitches Used
Chain (ch), Slip Stitch (sl st), Single Crochet (sc), Double Crochet (dc).

Instructions
Step 1: Create the Base
Start with a Magic Ring (or chain 4 and join with a slip stitch to form a ring).
Round 1: Ch 1, work 6 sc into the ring. Join with a sl st to the first sc.
Round 2: Ch 1, 2 sc in each stitch around (12 sc). Join with a sl st.
Round 3: Ch 1, *1 sc in next st, 2 sc in next st* repeat around (18 sc). Join with a sl st.
Round 4: Ch 1, *1 sc in next 2 sts, 2 sc in next st* repeat around (24 sc). Join with a sl st.
Round 5: Ch 1, *1 sc in next 3 sts, 2 sc in next st* repeat around (30 sc). Join with a sl st.
Continue increasing in this pattern (adding one more single crochet between increases each round) until the base diameter matches the bottom of your plant pot.
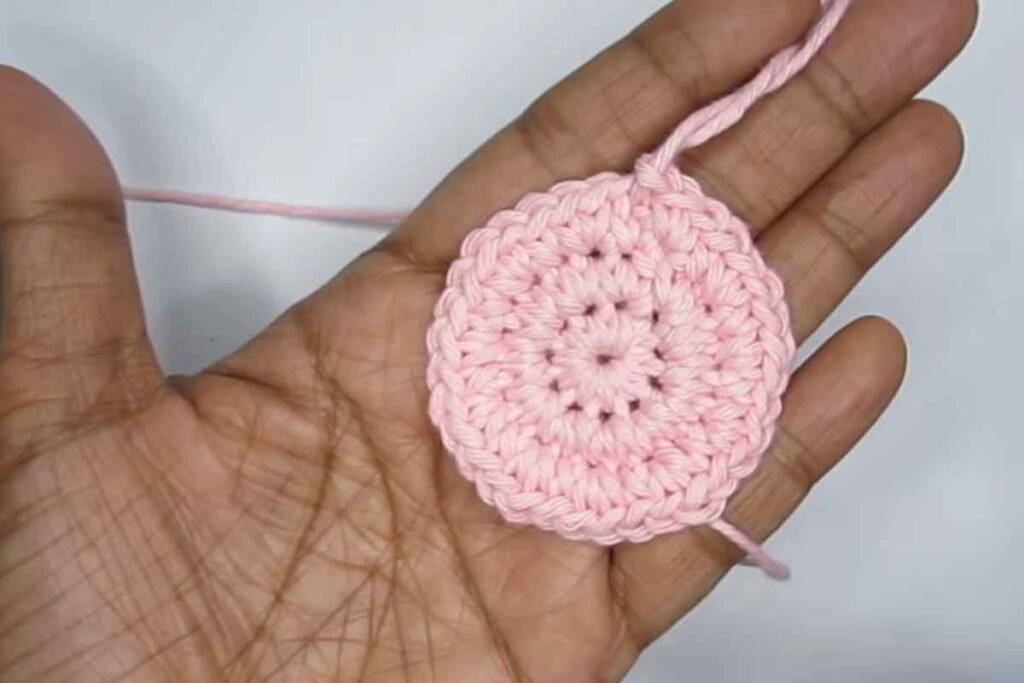
Step 2: Build the Sides
Foundation Round: Ch 1, work 1 sc in the back loop of each stitch around to create a neat edge where the base becomes the sides. Join with a sl st.
Subsequent Rounds: Ch 1, work 1 sc in each stitch around. Join with a sl st. Repeat until the cover reaches the height you want.
Step 3: Add Decorative Touches
For texture, alternate rounds of single crochet and double crochet.
Double Crochet Round: Ch 2, work 1 dc in each stitch around. Join with a sl st.
Single Crochet Round: Ch 1, work 1 sc in each stitch around. Join with a sl st.
Finish with a border such as a scallop or picot edge:
Scallop Edge: Skip 1 stitch, 5 dc in the next stitch, skip 1 stitch, sl st in the next stitch. Repeat around.
Picot Edge: Sc in next stitch, ch 3, sl st in first ch (to form a picot), skip 1 stitch, sc in next stitch. Repeat around.
Step 4: Weave in Ends
Use a yarn needle to weave in all loose ends securely.
Customization Ideas
Color Stripes: Change yarn colors every few rounds to create stripes.
Embellishments: Attach small crocheted flowers or buttons for extra detail.
Different Stitches: Try alternative stitch patterns to create varied textures.