The Mermaid Blanket
Discover the enchanting world of the Mermaid Blanket with this unique sewing pattern. Dive into the depths of creativity as you bring to life your very own cozy and whimsical mermaid tail blanket. Whether you're a seasoned seamstress or a beginner looking for a fun project, this pattern is perfect for all skill levels. With detailed instructions and step-by-step illustrations, you'll be able to create a magical blanket that will make you feel like a mythical sea creature every time you snuggle up in it. Imagine curling up on the couch or in bed, wrapped in a mermaid tail blanket that you made with your own hands. The possibilities are endless when it comes to choosing fabrics and colors, allowing you to customize your blanket to suit your personal style. Whether you're making it for yourself or as a gift for a loved one, the Mermaid Blanket sewing pattern is sure to bring joy and warmth to anyone who receives it.
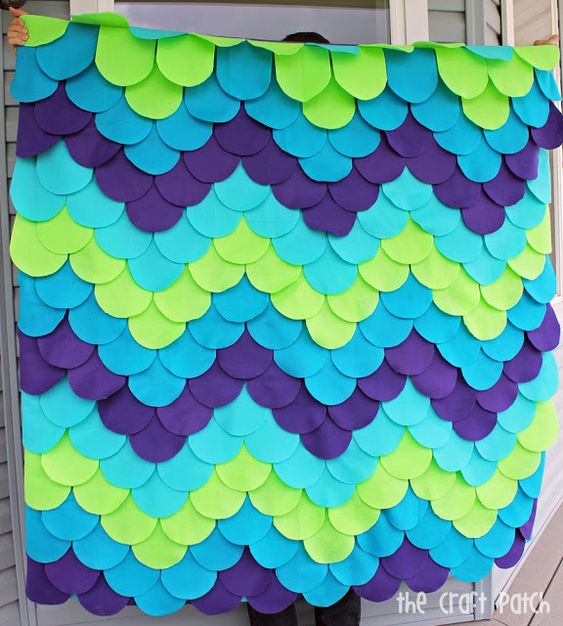
- 4 colors of 72 inch felt, 2/3 yard each (or less if you use more colors)
- Backing fabric (I used a cheap $5 sheet from Wal-Mart)
- Fleece (60×70)
- Rotary cutter and mat
- Sewing machine/thread/scissors
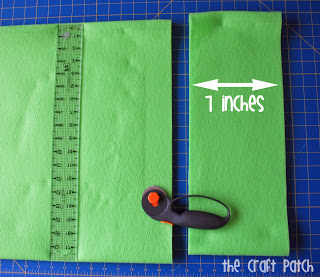
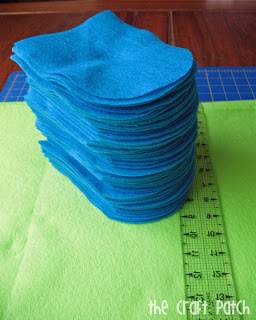
Step 2: Now cut the strips into rectangles 5.5 x 7 inches.
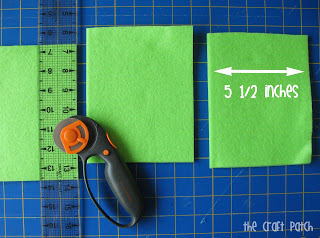
Step 3: Find something hard and round that you can use to cut one edge into a circle shape. I cut through two layers at a time to speed up the process.
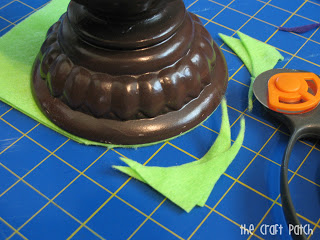
Now you should have a big stack of mermaid scales!
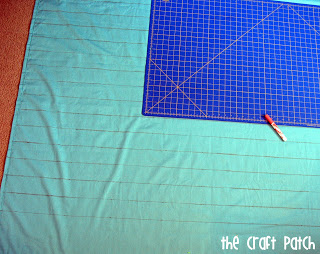
Step 4: Draw lines onto your backing fabric. Mine were 2 3/4 inches apart and I used my cutting mat as a straight edge because it was the biggest thing I could find.
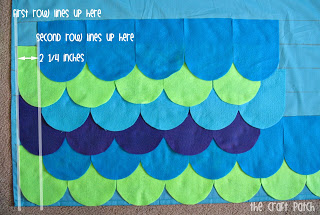
Step 5: Lay out your design. I did a chevron pattern, but you could choose any design you want! The first row starts 1/2 inch from the edge. To off-set the pattern, start the second row 2 3/4 inches from where you started the first edge.
Step 6: Now stack up all your rows carefully, so your design pattern stays in order when you are ready to sew.
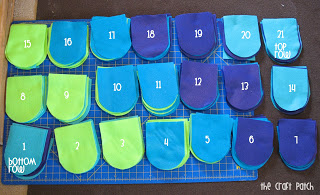
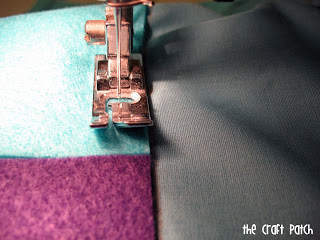
Step 7: Start sewing! Line up the felt pieces with the lines you drew on the backing fabric and just zip across the top straight edge, grabbing the next piece in the stack until you get to the end of the row.
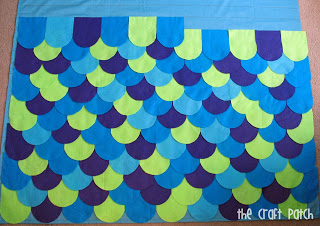
Here’s a more random pattern I laid out before choosing the chevron design
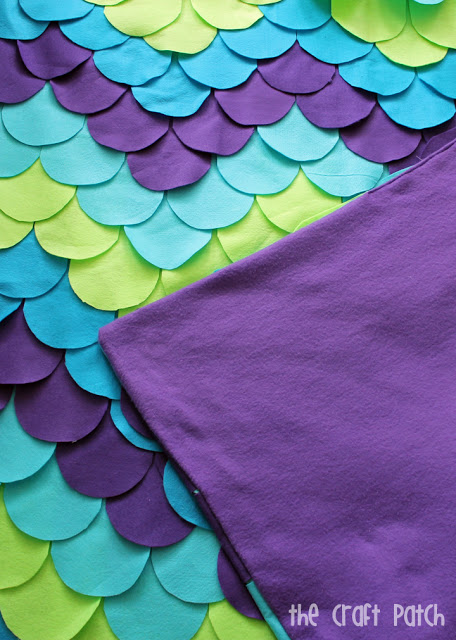
Step 8: Sew on the fleece backing just like you would sew a pillow: right sides together, sew around the edges and leave a hole to turn it right-side-out. This step was challenging because cotton and fleece do not mix well. I had to pin like crazy. I easily used 100 pins to make sure the fleece did not stretch or move as I sewed it to the cotton. And I hate pinning. But it was necessary for this project.
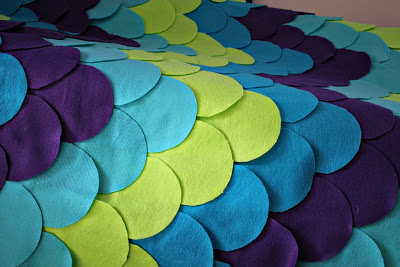
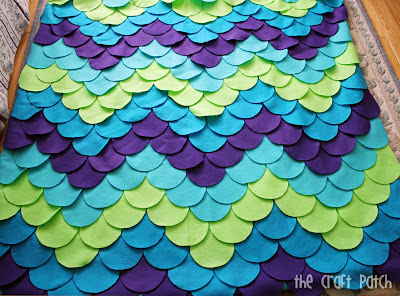
Perty, ain’t it?!? Very mermaid-ish and funky. Perfect for a college apartment.
