DIY Easter Bunny Treat Bag
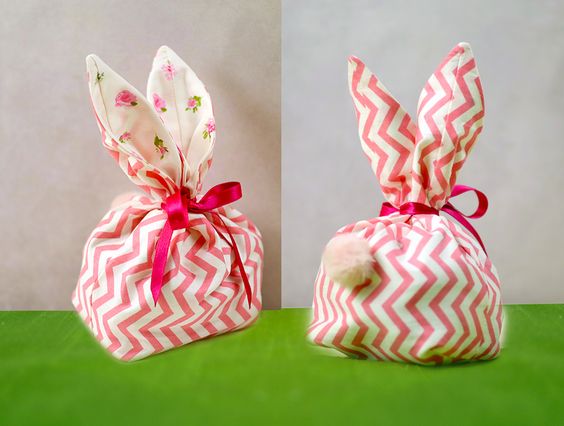
Looking for a fun and creative way to celebrate Easter? Why not try making your very own DIY Easter Bunny Treat Bag? This adorable project is perfect for both kids and adults alike, and it's a great way to add a personal touch to your Easter festivities. Looking for a fun and crafty project to get into the Easter spirit? Why not try your hand at making a unique DIY Easter Bunny Treat Bag? This delightful activity is not only a great way to spend some quality time, but it also allows you to create a personalized treat bag that will bring joy to anyone who receives it.
Supplies and tools
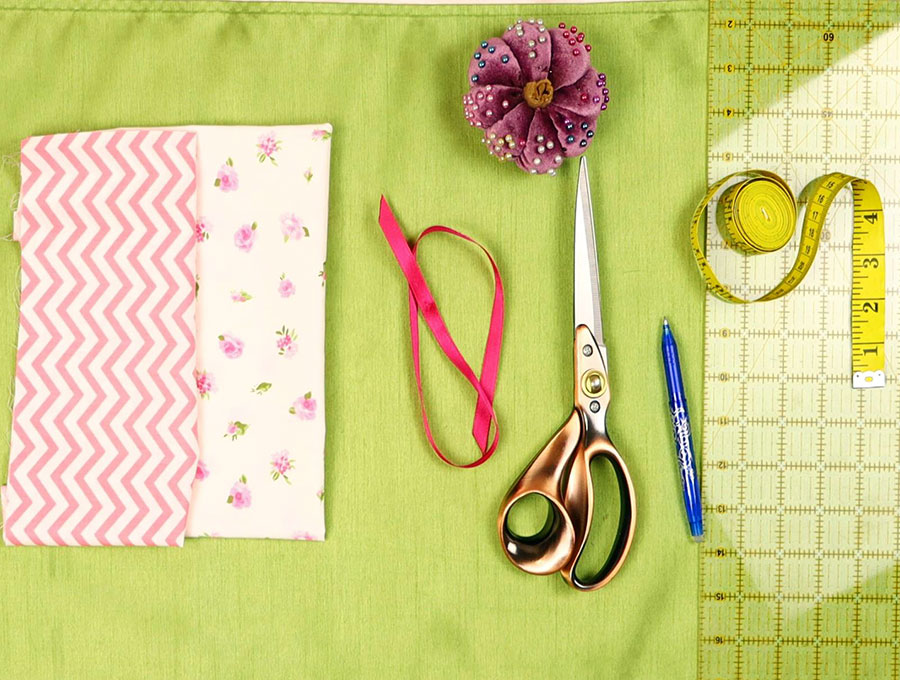
- printed outer fabric – 8 x 24″ (20 x 61cm) – quilting cotton is good
- plain lining fabric – 8 x 24″ (20 x 61cm)
- matching thread
- scissors (or rotary cutter and a cutting mat)
- ruler or measuring tape
- iron and ironing board
- sewing clips or pins
- Fabric marker or a pencil
- Point turner – a chopstick will do if you don’t have a point turner
- Ribbon to finish off the bag
INSTRUCTIONS:
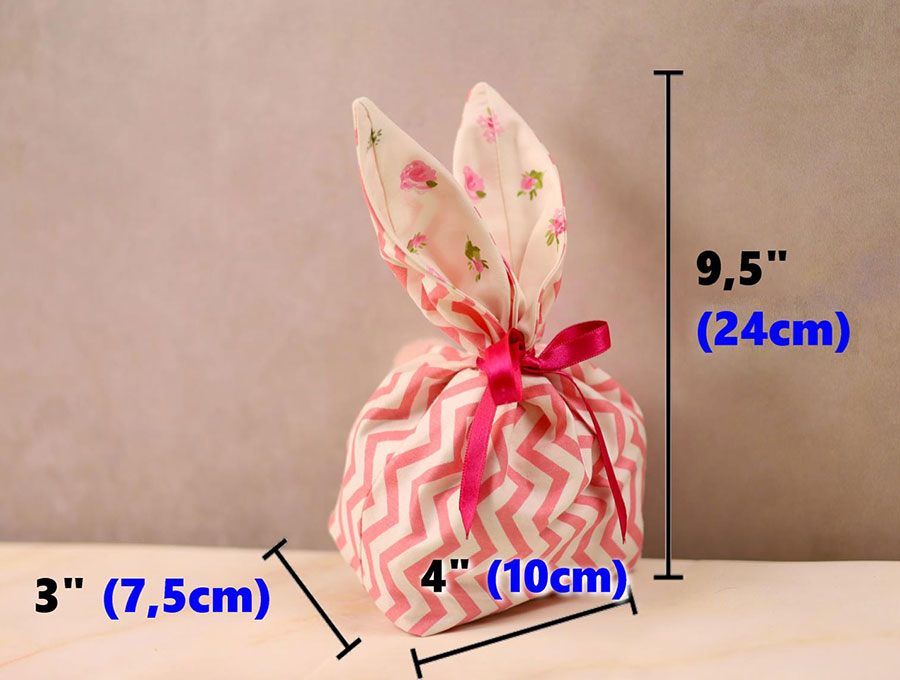
We will be making the medium size today
Finished medium sized bag measures: ~9.5 x 4.5 x 3″ (24 x 10 x 7.5cm)
Area to store the treats approximately 4 ½ x 4 ½ inches
Small bunny treat bag:
- printed outer fabric – 6 x 18″ (15 x 46cm) – quilting cotton is good
- plain lining fabric – 6 x 18″ (15 x 46cm)
Medium bunny treat bag:
- printed outer fabric – 8 x 24″ (20 x 61cm) – quilting cotton is good
- plain lining fabric – 8 x 24″ (20 x 61cm)
Large bunny treat bag:
- printed outer fabric – 10 x 30″ (25.5 x 76cm) – quilting cotton is good
- plain lining fabric – 10 x 30″ (25.5 x 76cm)
STEP 1:
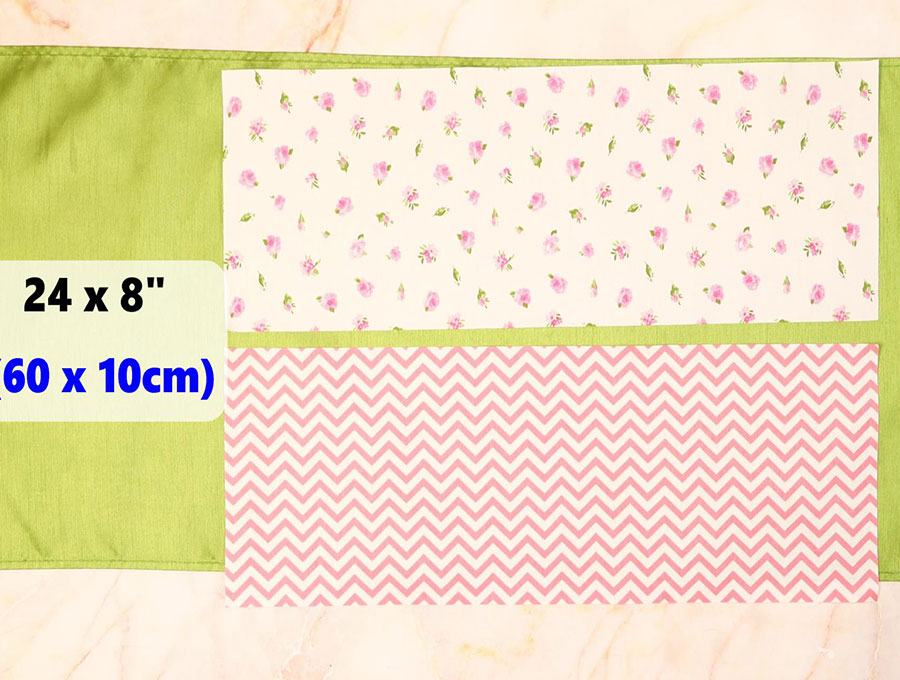
Fold lining fabric in half, right side together so you have a piece 8 inches by 12 inches.
Place the fold at the bottom of your cutting mat. We are going to mark on the plain lining fabric as it is easier to see the marks.
At the top mark 1/4″ (6mm) in from left and right.
STEP 2:
Find the center of the fabric rectangle. To do this use your ruler to measure 4 inches across and 5 ½ inches up from the bottom and mark this point.
STEP 3:
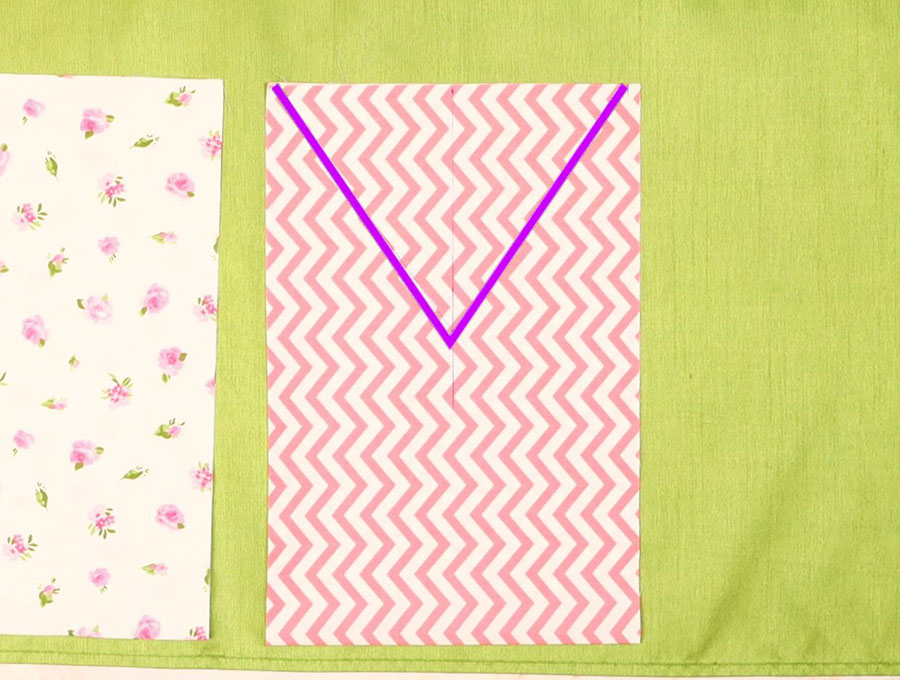
Take your ruler and line it up from the center point to the left hand top corner – keep your ruler at the ¼ inch mark and draw a line with the pencil – this is to ensure you don’t have bunny ears that are slightly rounded and makes turning the fabric easier.
Repeat this drawing a line from the center point up to ¼ inch (6mm) from the left hand corner.
STEP 4:
Place the folded lining fabric on top of the folded outer fabric, lining up the edges and putting a few pins in to keep the 4 layers of fabric from moving when you use fabric scissors to cut out the V shape line you drew.
STEP 5:
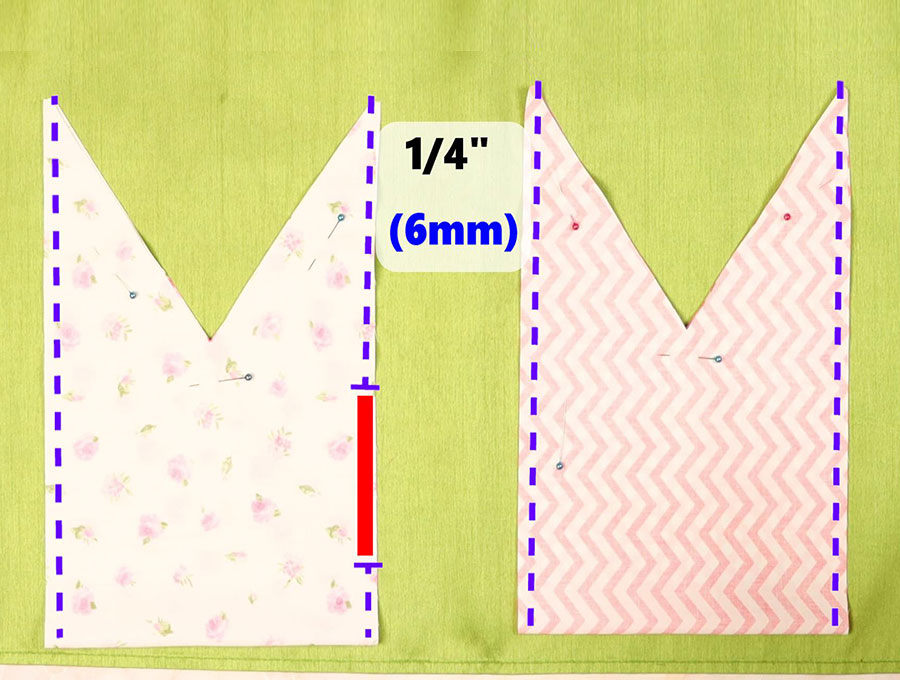
Remove the pins and separate the folded layers. The lining and the printed outer fabric will have the right sides together. Now, take the lining fabric and mark a 4 inch opening on the right hand side, around 4 ½ inches up from the fold – this is to enable you to turn the Easter bunny treat bag the right way out later. Pin or clip the edges of both lining and outer fabric.
STEP 6:
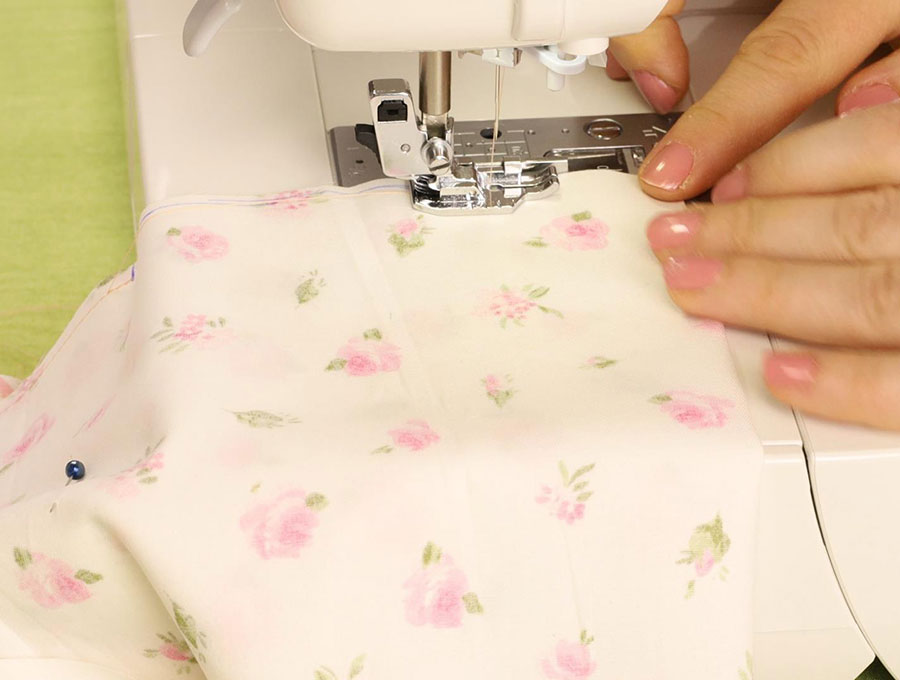
Stitch down the sides of the lining ¼ inch (6mm) from the edge. Remember to leave that gap open and back tack at the start and finish. Do not stitch across the V shape of the ears.
With the printed fabric pin the folded halves together and stitch right down the sides, ¼ inch (6mm) from the edge back tacking at the start and finish – there is no need to leave a gap on the printed fabric.
STEP 7:
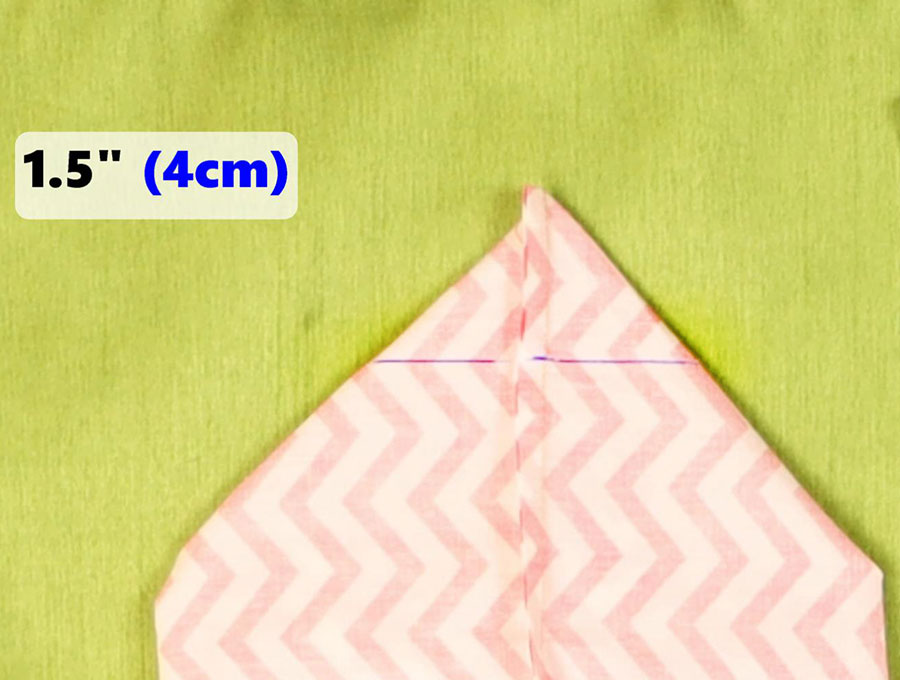
To make the boxed out corners grab the corner at the fold and pull the fabric apart to create a square shape. Flatten and using your quilting ruler measure 1 ½ inches (4cm) in from the corner. To get a straight line use one of the diagonal lines on the quilting ruler to line up with the fold on one side. Use your fabric pen or a pencil to mark a straight line from edge to edge, then use a pin to keep that flattened corner in place.
Repeat on the other side of the treat bag, then move on and do exactly the same with the lining.
STEP 8:
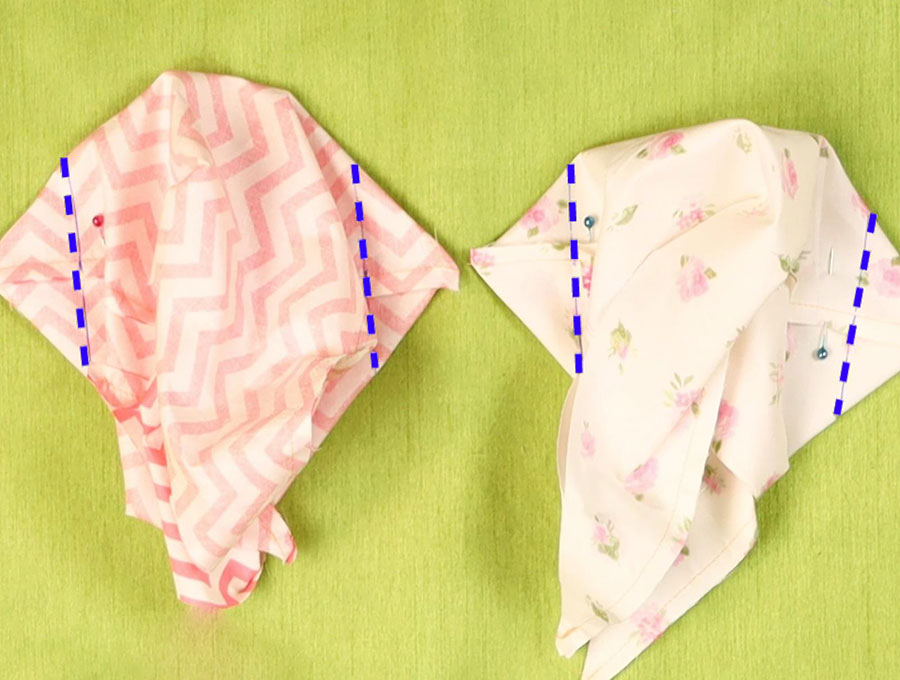
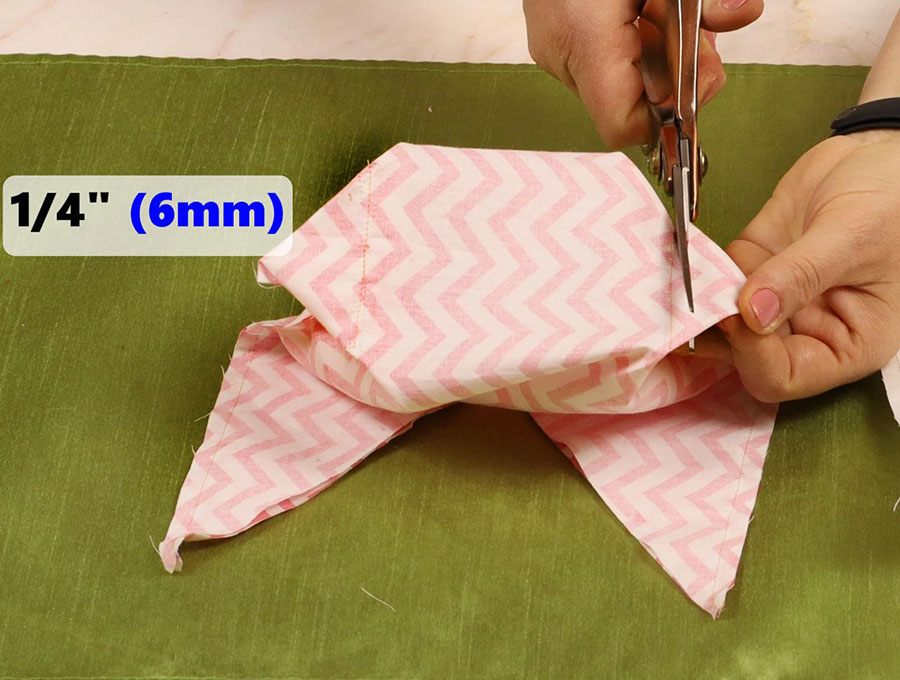
Stitch across the pencil lines back tacking at the start and finish on each side of the outer fabric and the lining, then trim off the excess on the corners – just don’t get too close to the stitch line – about 1/8 of an inch (3mm) away.
STEP 9:
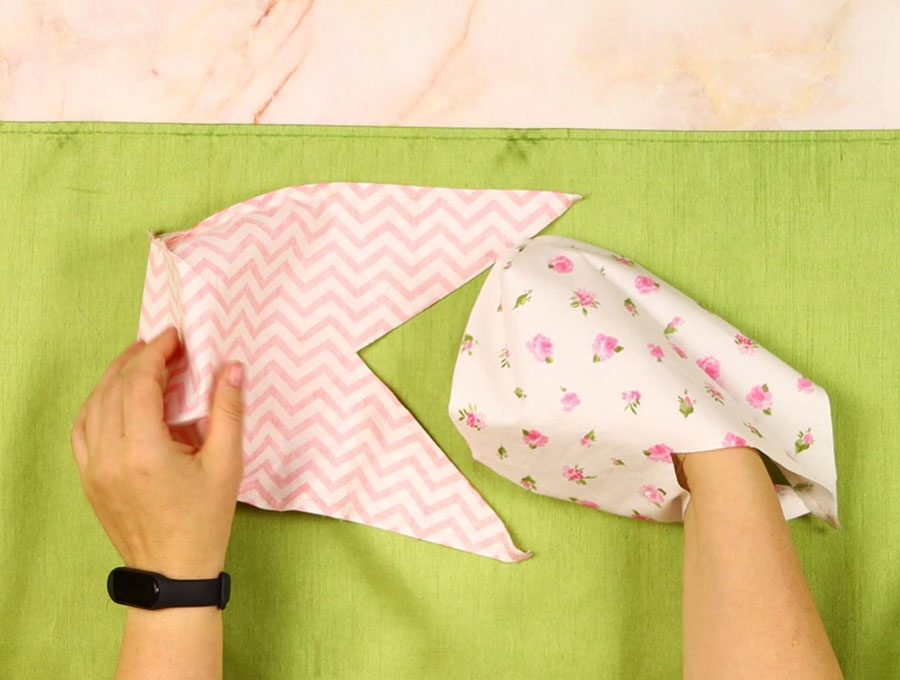
Turn the lining the right way out. Now slip it inside the outer fabric so you have right sides to right sides facing each other.
STEP 10:
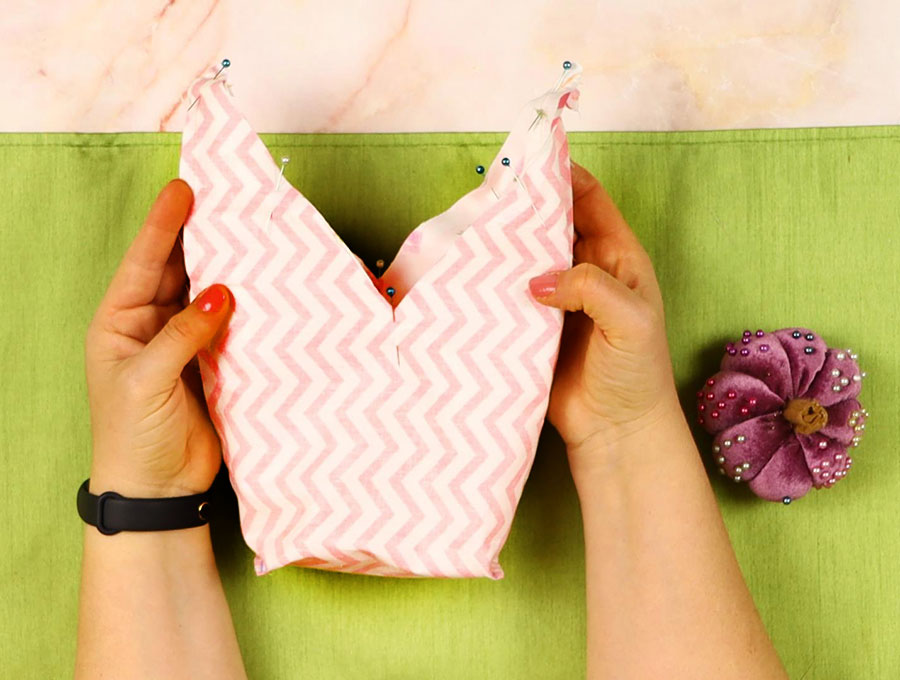
Line up the edges and starting with one bunny ear place one seam to the left and the other seam to the right of the stitch line – this avoids having to stitch through multiple layers of fabric and nests the seams. Check so see the stitch lines are directly in line with each other and place a pin to hold in place. Repeat with the other ear.
Line up the outer fabric and lining on the bottom of the V shape of the ears and put in a pin on either side of the bottom of the V to hold in place. Repeat with the other side.
Place pins across the rest of the V on each side so the fabric lies flat.
STEP 11:
Stitch the ears ¼ inch (6mm) from the edge. When you come to the V leave the needle in the fabric, lift the presser foot and swing the fabric, depress the foot again and carry on stitching to get a neat turn.
STEP 12:
Trim the excess fabric off the tips of the ears taking care not to get too close to the stitch line – we don’t want an Easter treat bag with fraying ears! Also clip the V points
STEP 13:
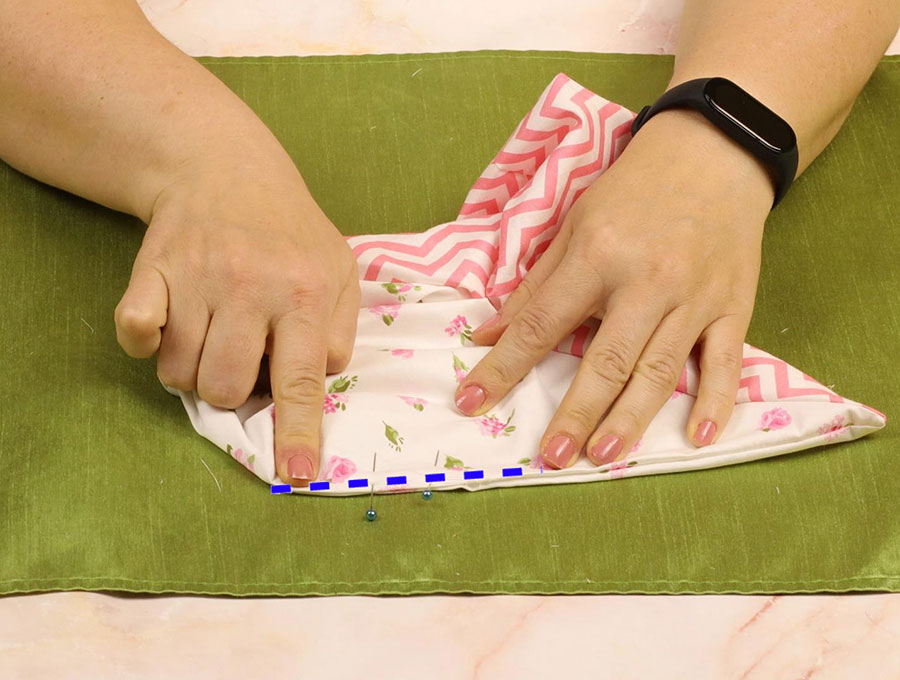
Turn the whole Easter treat bag through the opening in the lining and carefully push out the ears using a turning tool or chopstick. Fold the raw edges of the gap in line with the seam and press, then, either sew closed using your machine or slip stitch closed.
STEP 14:
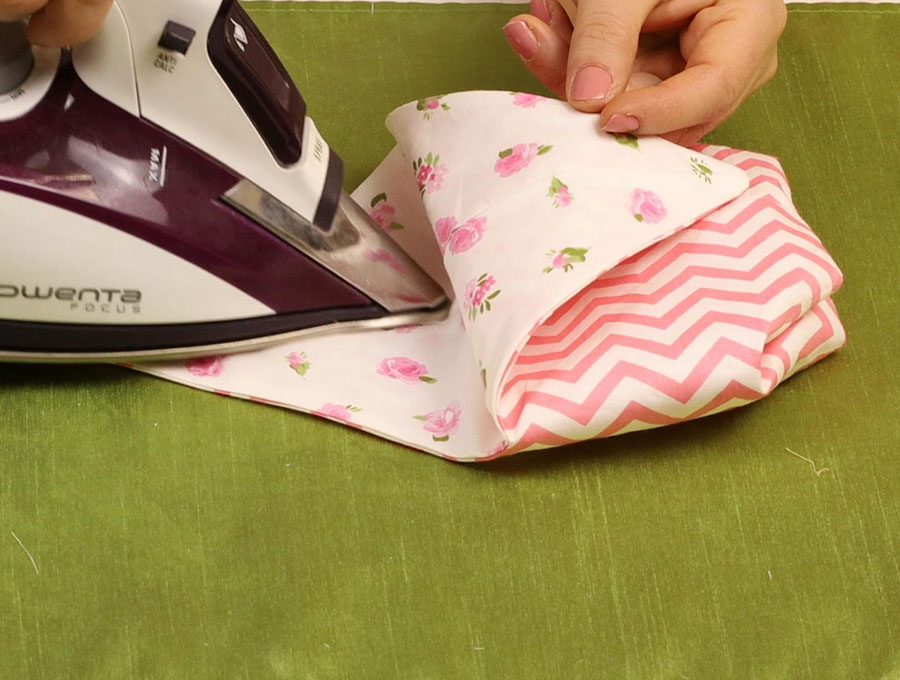
Press the edges of the ears, making sure the fabric is turned out.
STEP 15:
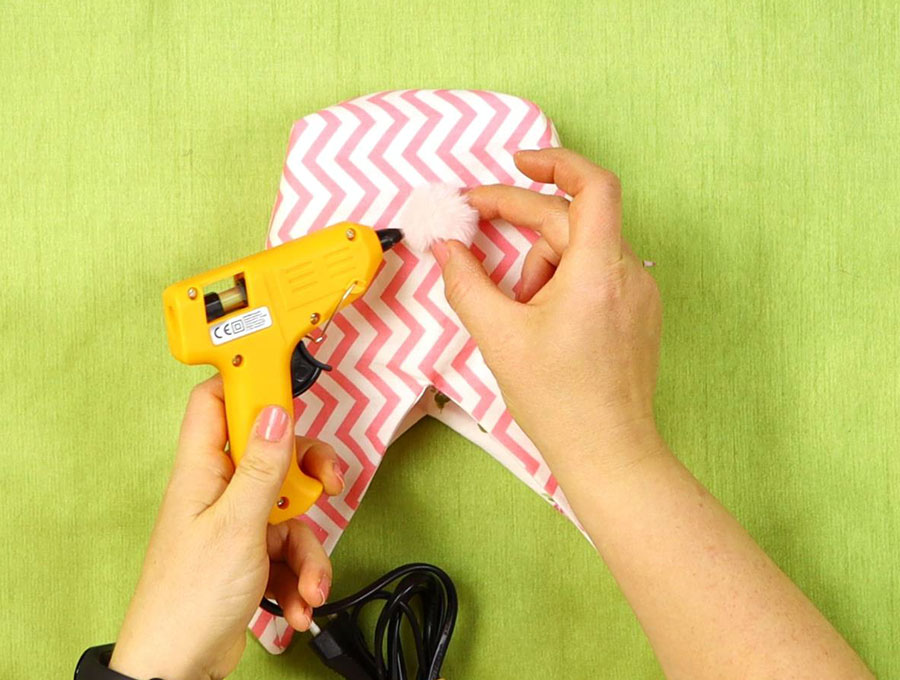
Add the pom pom tail either using hot glue gun or by handsewing it to the treat bag,
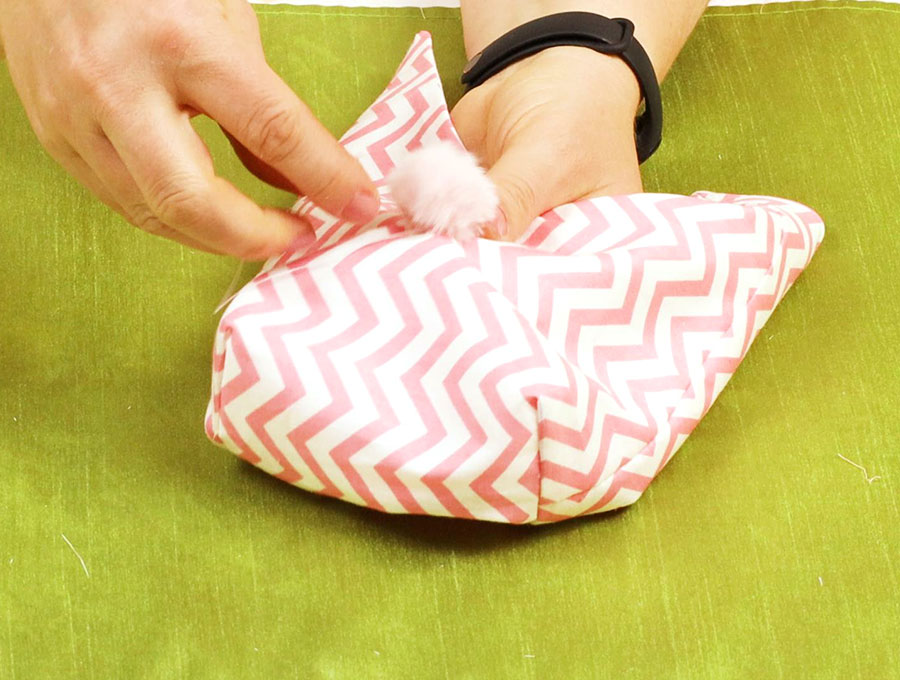
STEP 16:
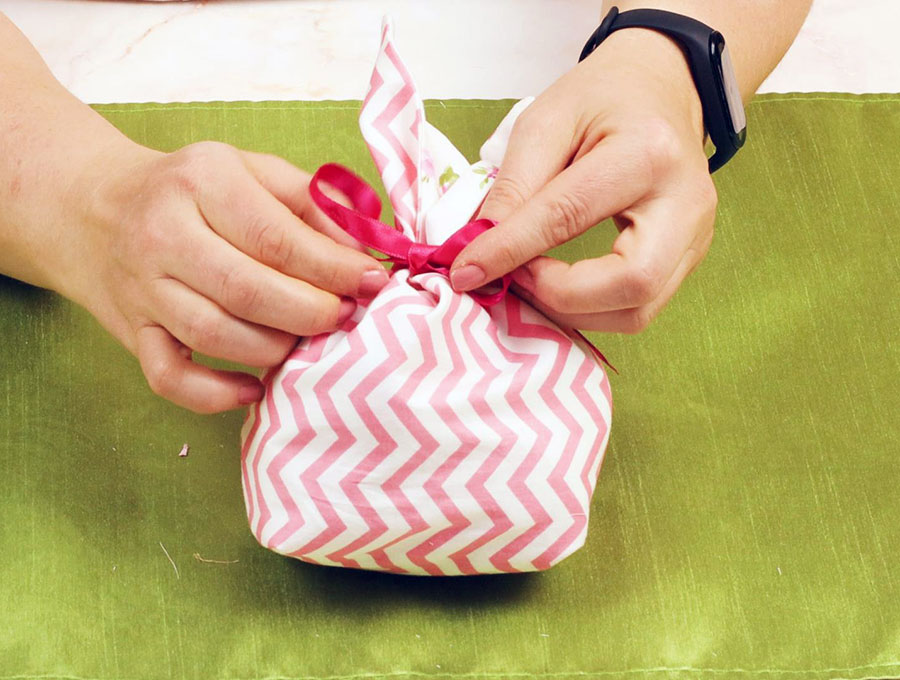
Now comes the fun part – putting the treats into the treat bag, cutting a length of ribbon and tying a bow around the base of the ears and making sure the ears are turned a little so some of the lining shows.
If you don’t have a matching ribbon, you can use a fun-colored elastic hair tie or make your own fabric ties out of matching fabric.
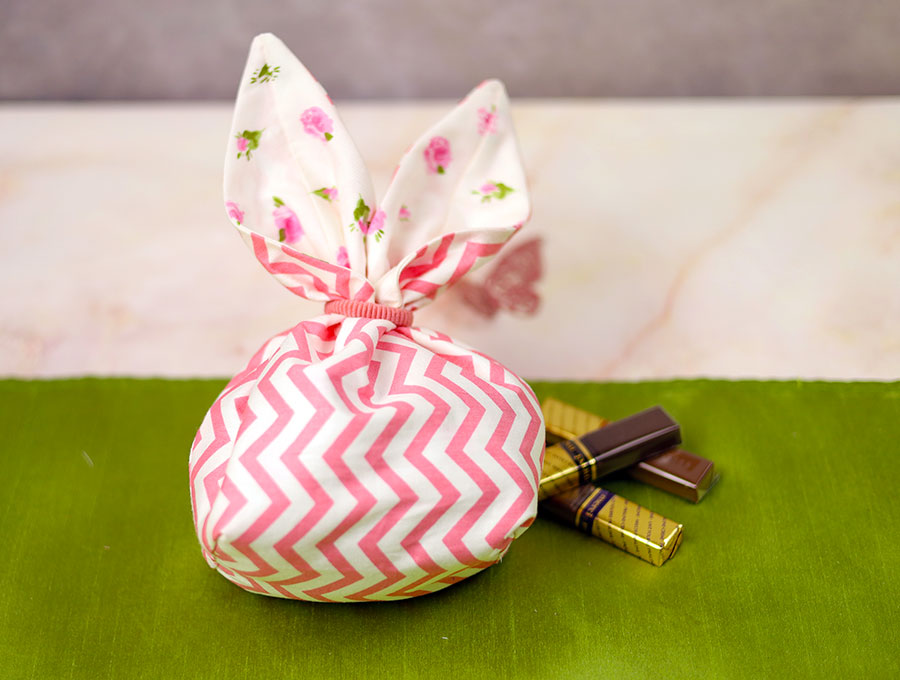
Voila – Easter bunny treat bag ready to go and make someone’s day sweet.
loved these ideas. Am Great Grandma x 2 and always looking for thoughtful n fun gifts for special days