Stuffed Paper Bag Turkey
Hey there! Let's talk about the DIY Stuffed Paper Bag Turkey project, a fun and creative activity perfect for the upcoming Thanksgiving season. This project is not only a great way to keep busy on a cozy fall day but also makes for a festive and thoughtful gift for friends and family. So, grab your supplies and get ready to craft your very own stuffed paper bag turkey that's sure to bring smiles all around!
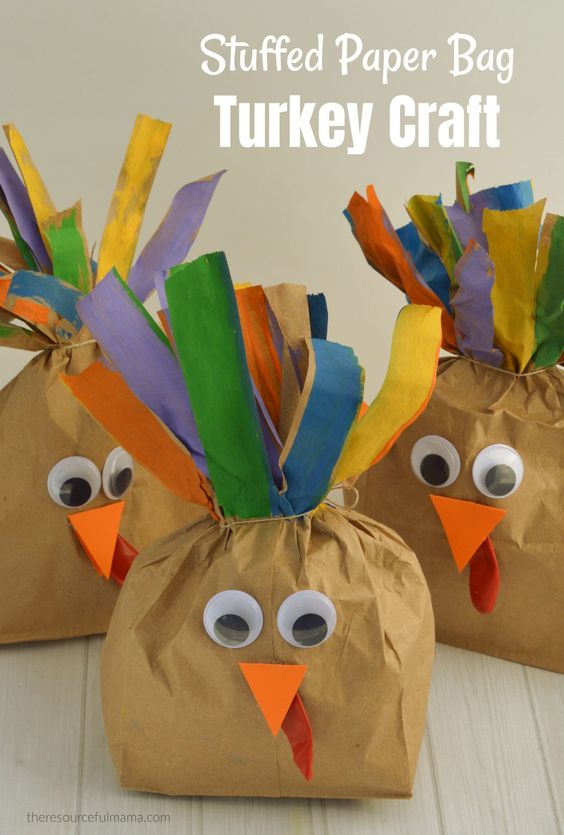
SUPPLIES
- Brown Paper Lunch Bag
- Twine or String
- Googly Eyes
- Orange or Yellow Paper
- Small Red Balloon
- Scrap Paper
- Paint, Markers or Crayons
- Scissors
- Glue
DIRECTIONS FOR PAPER BAG TURKEY CRAFT OPTION #1
We made this paper bag turkey craft a couple different ways. You really can’t go wrong no matter how you make it.
1. Get started by cutting slits into both sides of a brown paper lunch bag about a 1/3 of the way down.
2. Fold down the front to where you cutting ends and paint the inside of the paper bag.
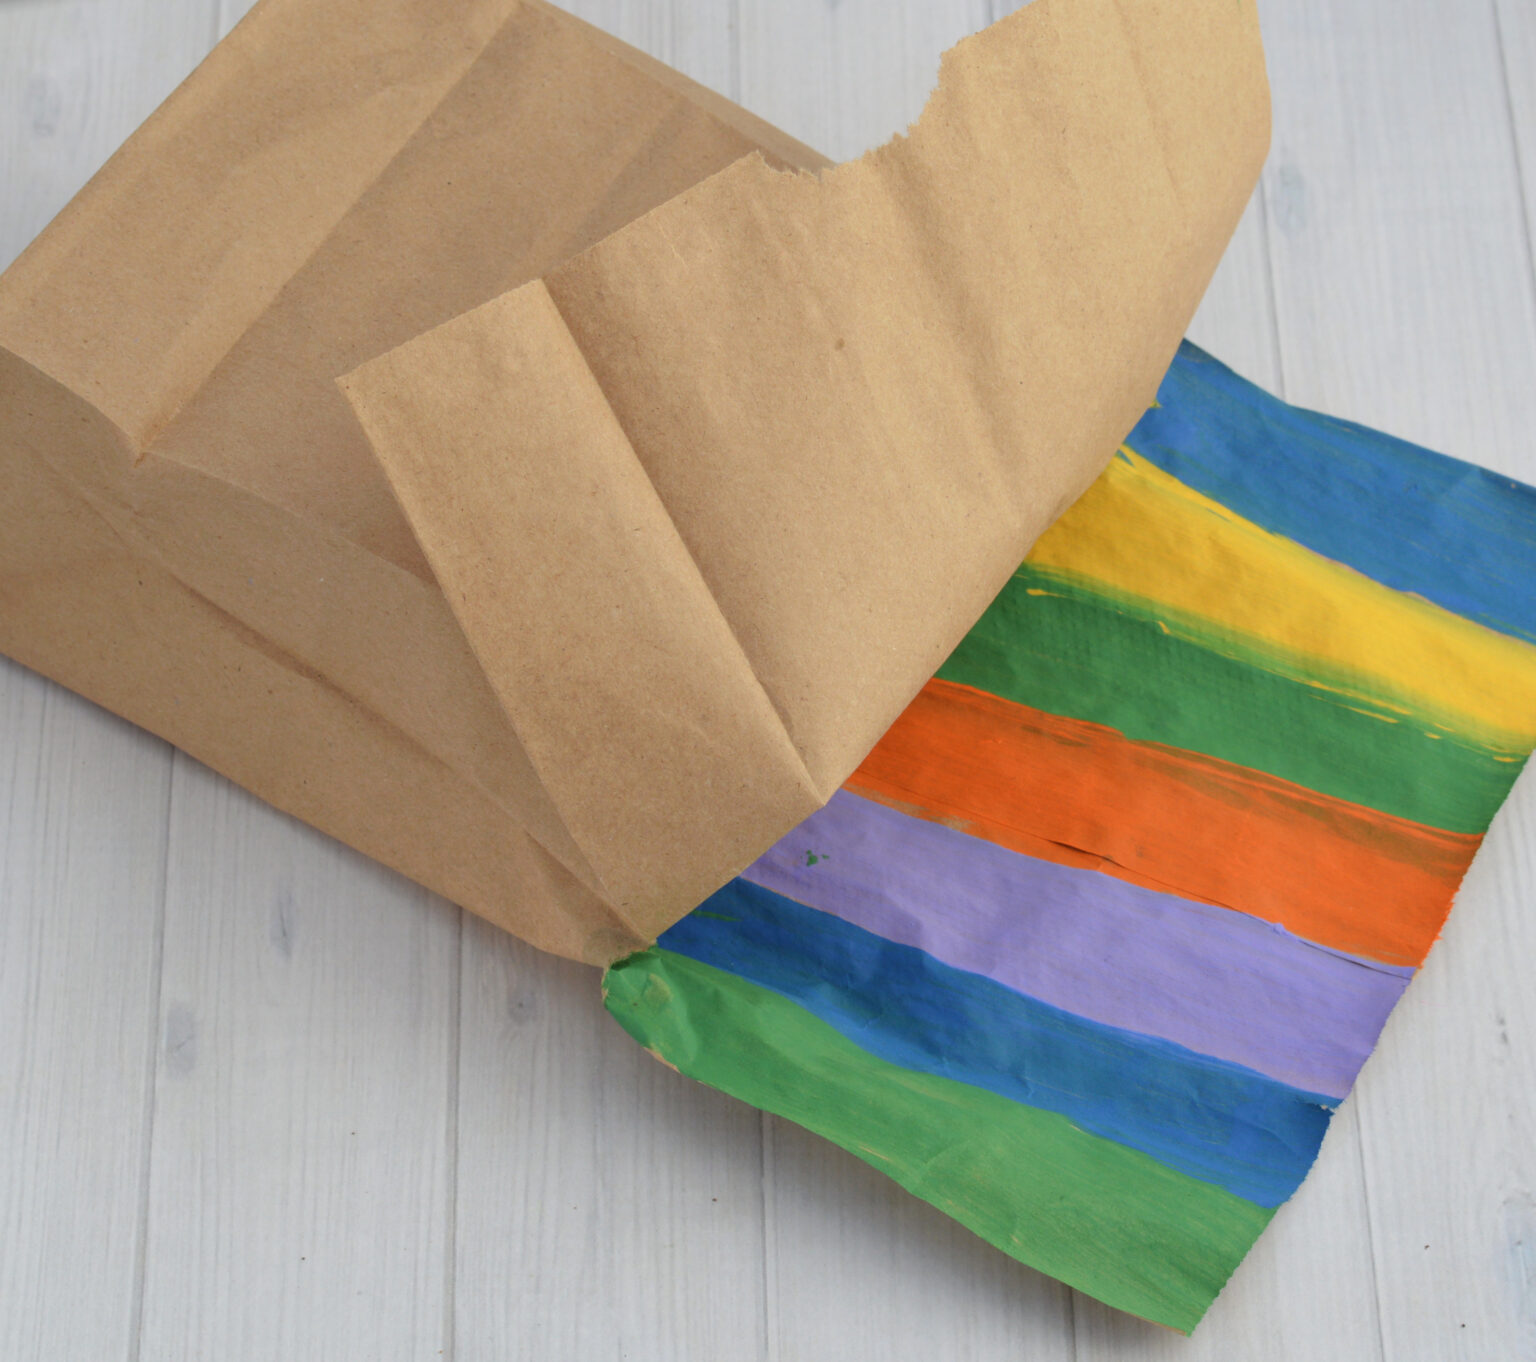
Once the inside has dried, paint the front of the paper down to where the cutting ends.
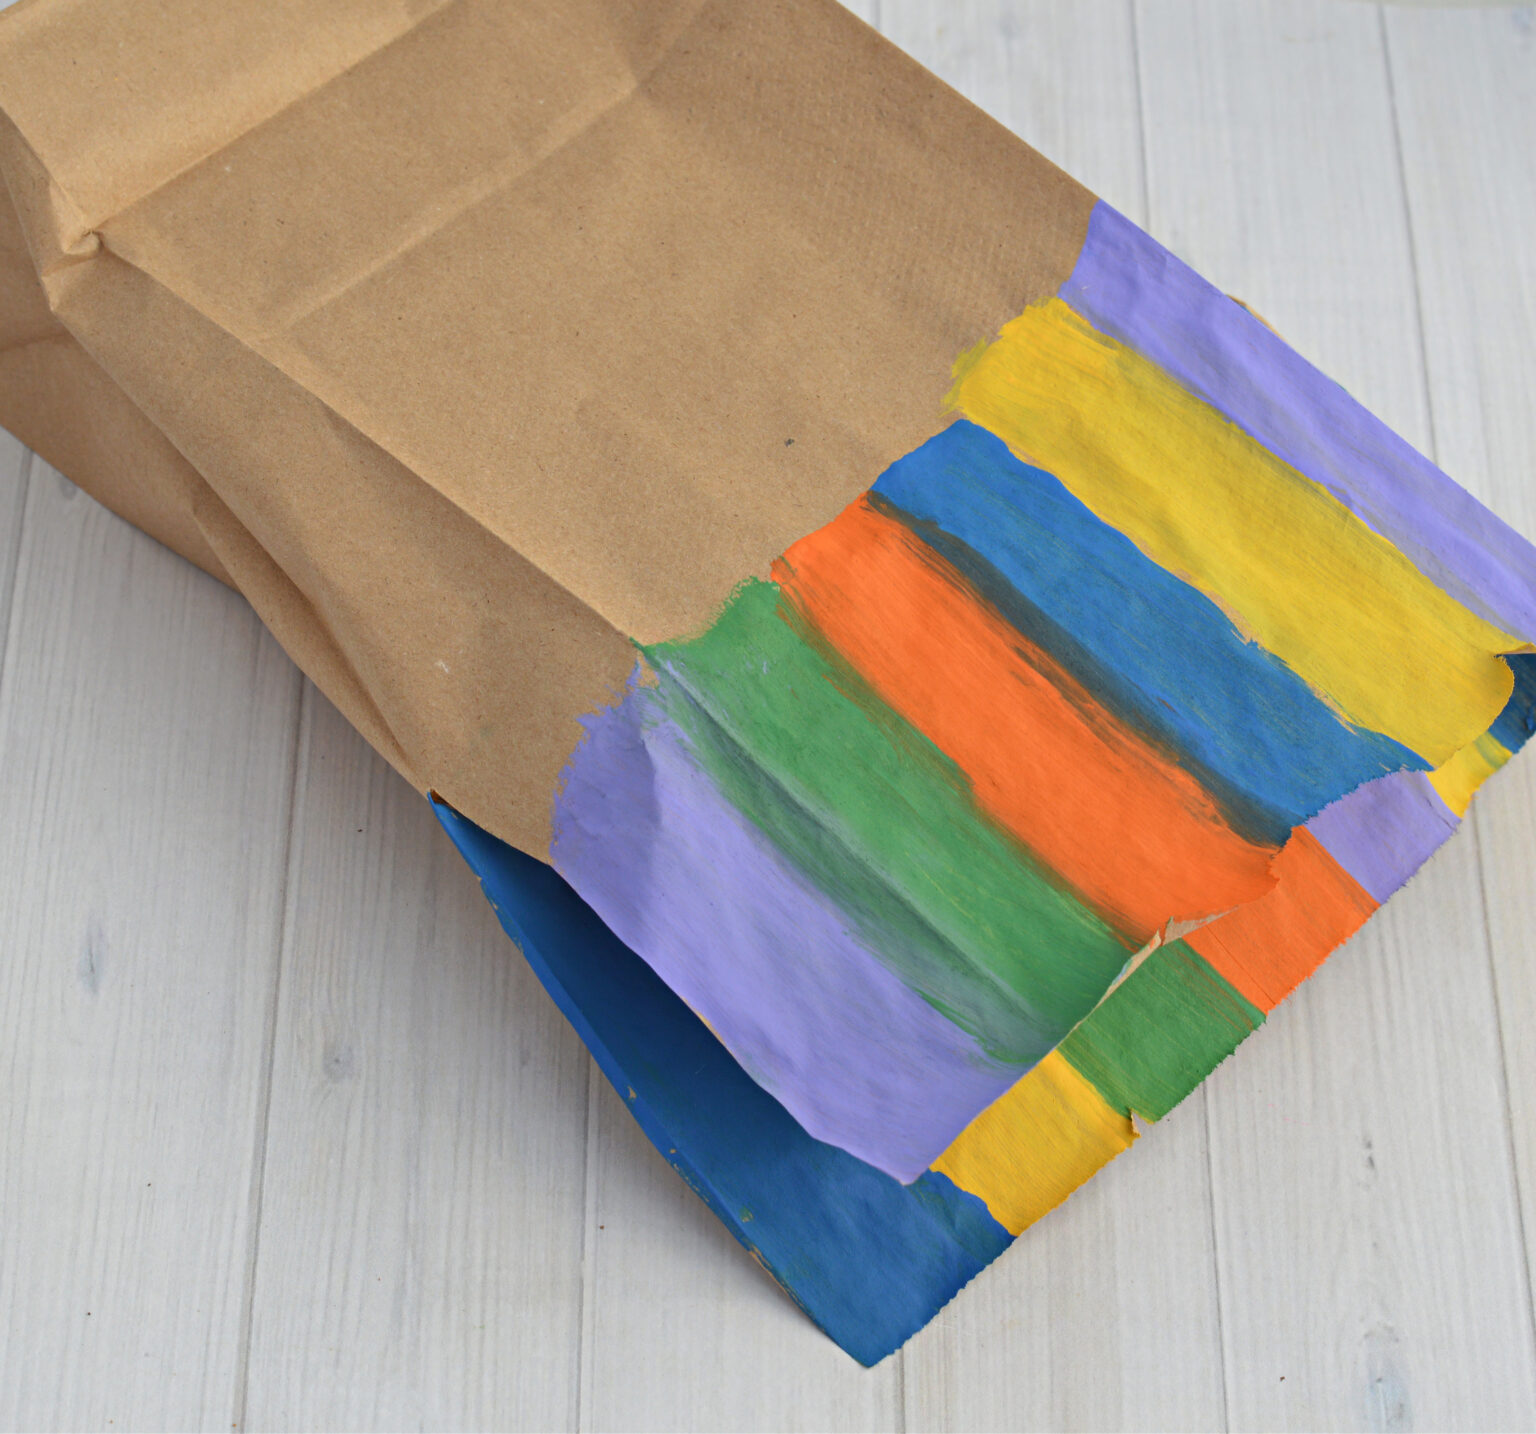
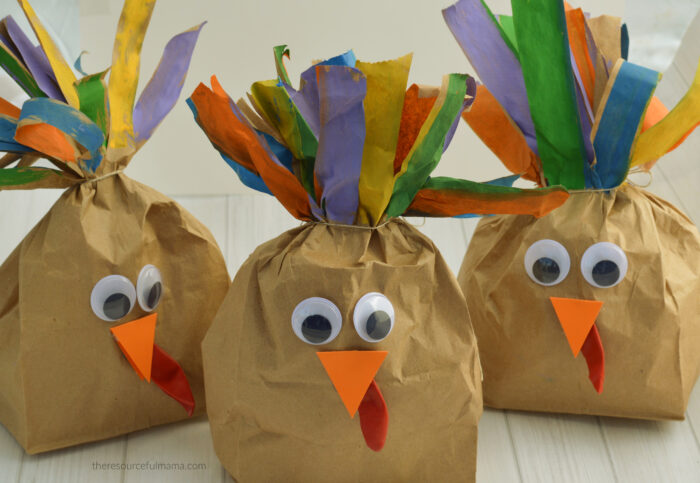
Once the paint has dried it’s time to create your turkey’s body. Create your turkey’s body by adding pieces of crumbled up scrap paper to your paper lunch bag to plump up your turkey. We added about five pieces of paper to fill the bag about 2/3 of the way.
5. Gather in the top of your bag and tie off with a piece of twine or string. The painted portion of the paper bag should be above the string. This will be your turkey’s feathers.
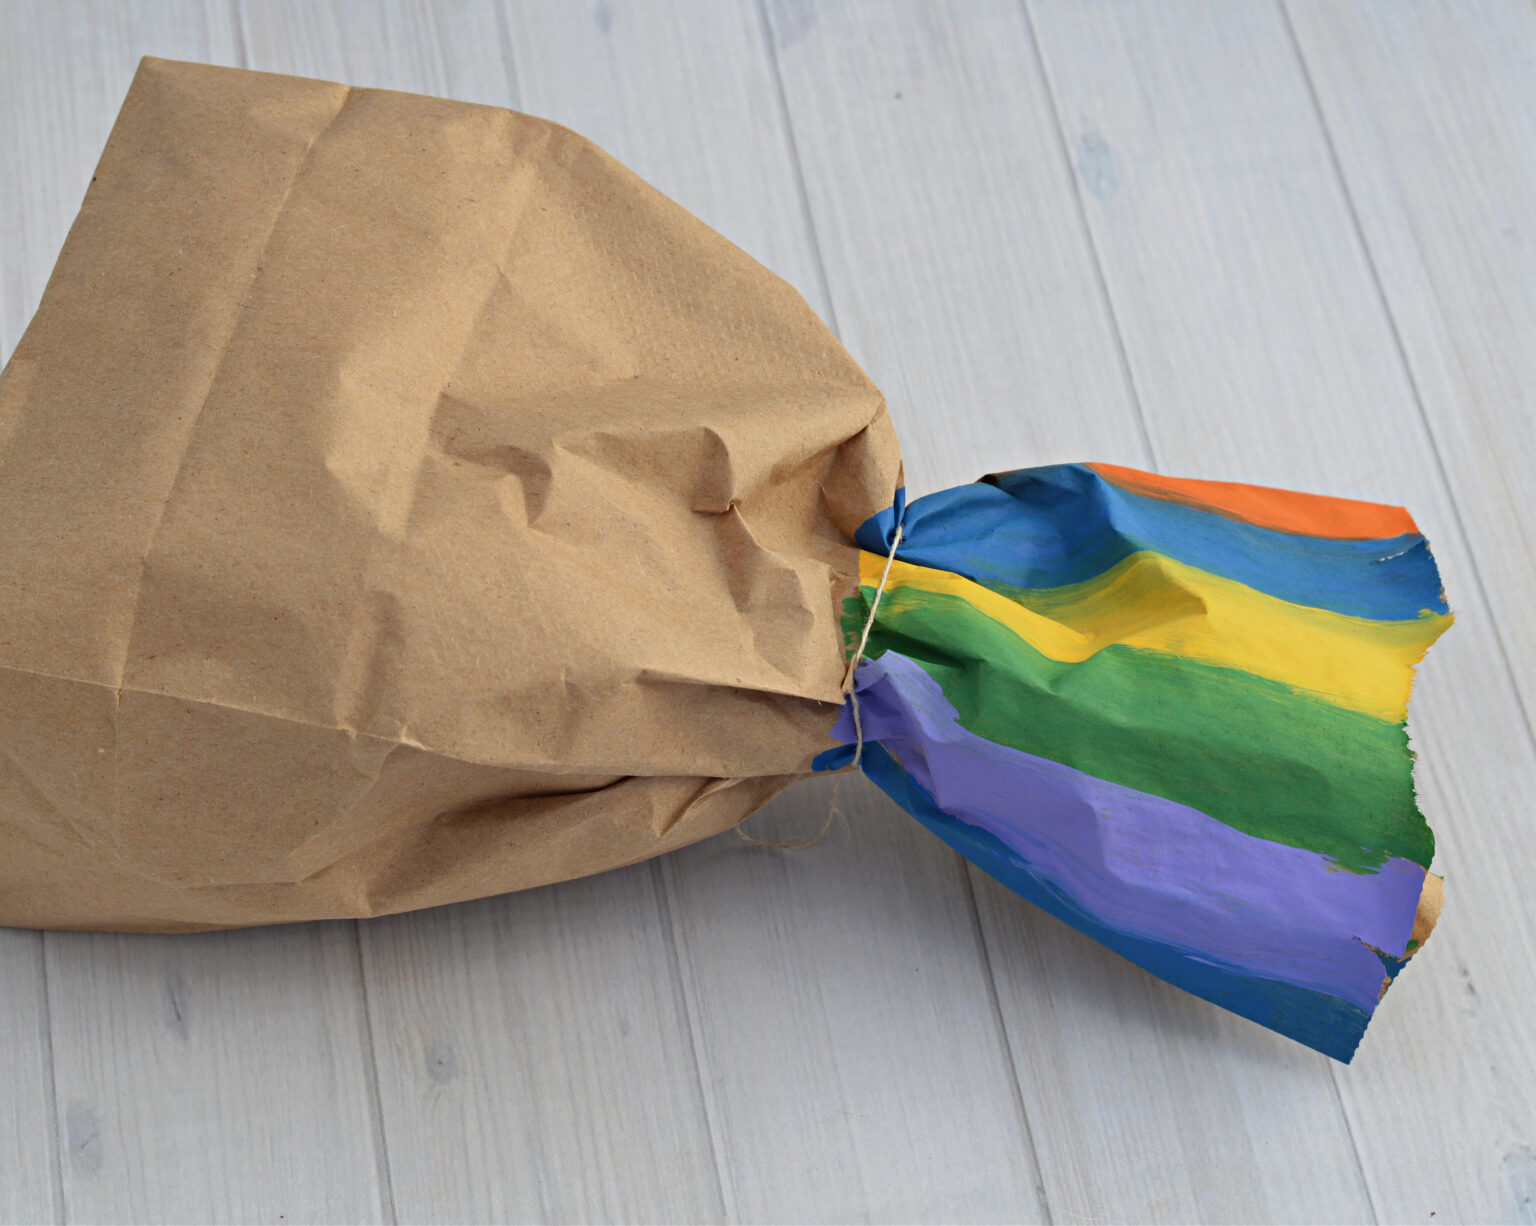
6. To make your turkey’s feathers, cut strips into the paper from the top about a 1/3 of the way down. These strips are your feathers. We tried to cut along or close to the paint lines.
7. Once you have made your turkey’s feathers, it’s time to work on your turkey’s body. Start off by adding googly eyes to the paper bag turkey.
8. Next glue the small red balloon to the paper bag turkey to make a wattle. (We had a larger red balloon, so we cut it into pieces to make three wattles). You could also cut a wattle from red construction paper.
9. The final step is to cut a beak from the orange paper and glue it to the paper bag.
DIRECTIONS FOR PAPER BAG TURKEY CRAFT OPTION #2
We also made paper bags turkeys by making the body of our turkeys before painting. This method was a little more messy with the paining.
1. Start off by adding pieces of crumbled up scrap paper to your paper lunch bag to make a plump turkey body. We added about five pieces of paper to fill the bag about 2/3 of the way.
2. Once you have your turkey stuffed, gather in the top of your bag and tie off with a piece of twine or string.
3. Using a pair of scissors cut into the top of bag down to the string making strips of paper to make your turkey’s feathers.
4. Add some color to your turkey’s feathers with paint, markers or crayons. We like to use paint sticks when we are looking for a less messy craft project.
5. Once you have made your turkey’s feathers, it’s time to work on your turkey’s body. Start off by adding googly eyes to the paper bag turkey.
6. Next glue the small red balloon to the paper bag turkey to make a wattle. (We had a larger red balloon, so we cut it into pieces to make three wattles). You could also cut a wattle from red construction paper.
7. The final step is to cut a beak from the orange paper and glue it to the paper bag.