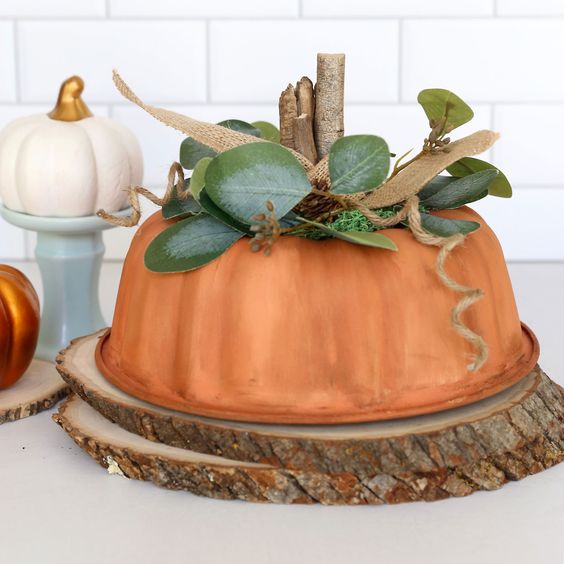
Bundt Pan Pumpkin Craft
Creating a Bundt Pan Pumpkin Craft is not only a fun and creative activity but also a great way to add a touch of fall charm to your home decor. To make this delightful craft, simply spray paint a Bundt pan in a festive orange color and embellish it with ribbons, twine, or faux leaves for the stem. This simple DIY project is perfect for getting into the autumn spirit and can be a wonderful addition to your seasonal decorations. So grab a Bundt pan, unleash your creativity, and enjoy crafting your own adorable pumpkin to brighten up your home with a splash of autumn warmth!
Supplies
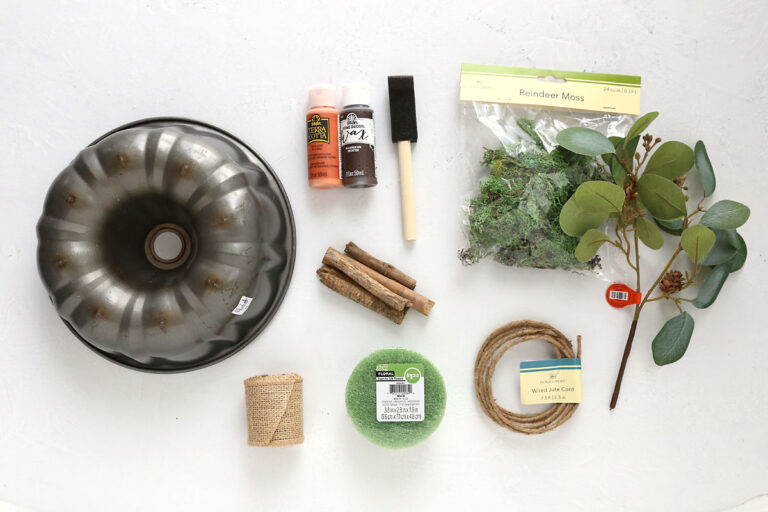
Here’s what you need to make a bundt pan pumpkin:
- Bundt Pan: Keep a lookout at goodwill or other thrift stores for an old bundt pan – they are usually only a dollar or two. Or if you can’t find one thrifting, grab an inexpensive bundt pan from Walmart.
- Orange Paint and Paintbrush: I used a textured acrylic paint from Hobby Lobby (the color is clay pot) as well as some white acrylic paint so I could give the pumpkin some color variation so it looks more like a real pumpkin. You could use spray paint if your prefer.
- Home Decor Wax (optional): I used a small bottle of wax found in the paint aisle of Hobby Lobby to give the pumpkin an aged, rustic look.
- Sticks: I tied four sticks together to make a stem for the pumpkin.
- Floral Foam Pot Insert: The green round pot inserts from Dollar Tree fit perfectly into the depression at the top of the bundt pan.
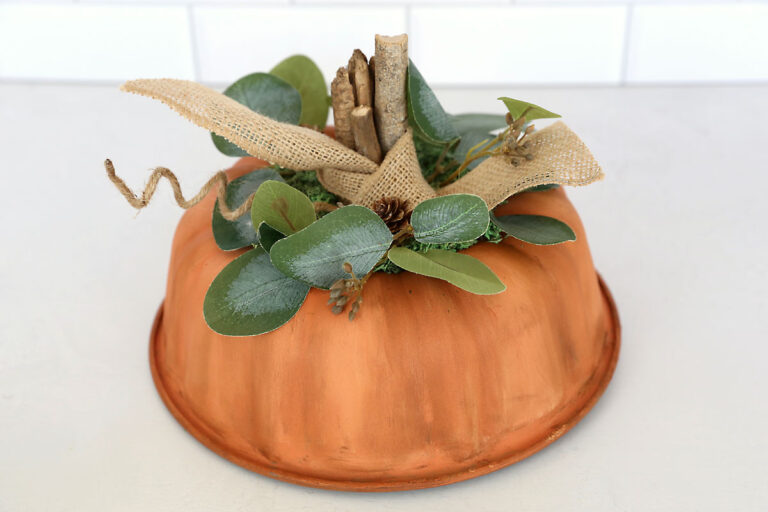
- Items to decorate the pumpkin: This is where you can get creative! Choose whatever items you like to decorate the top of your pumpkin. I used burlap ribbon (HL), wired jute cord (DT), reindeer moss (DT), and a stem of faux leaves (HL).
- Fine Grit Sandpaper and Matte Sealant Spray (optional but recommended)
How To Make A Bundt Pan Pumpkin
This craft is easy, but because painting is involved you may not be able to complete the entire thing in one sitting. I painted the pumpkin one day and let it completely dry and cure overnight, then decorated it. If you want to complete the entire project in one sitting, be sure to have a hair dryer handy to speed up the drying process.
Prep The Bundt Pan
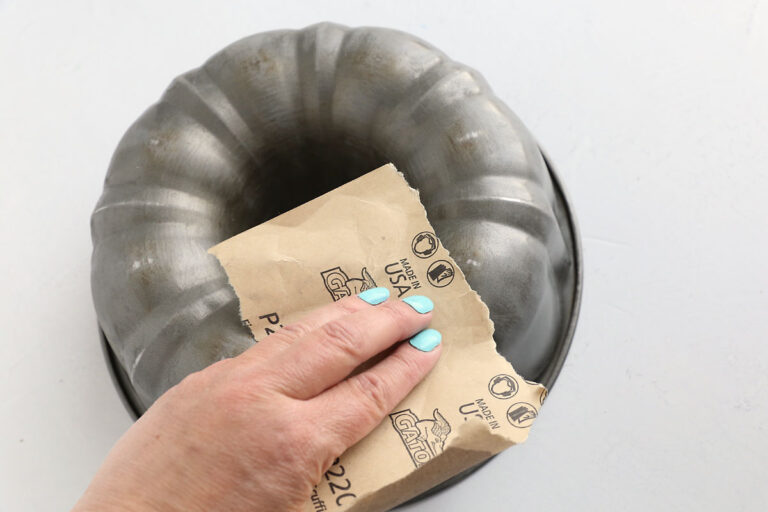
To begin, lightly sand the outer surface of the bundt pan with fine grit sandpaper. This will help the paint stick to the metal. If the pan is old and dull you won’t need to sand very much, but if the pan is new and very shiny you will want to spend a few minutes roughing up the surface. After sanding, wipe off any residue. (If you don’t want to sand the bundt pan, you could use some sort of primer instead.)
Paint The Bundt Pan
Now it’s time to paint the bundt pan. You can use spray paint if you’d like, but I wanted a really rustic look so I used a lightly textured acrylic paint and applied it with a foam paintbrush. The first coat is going to look very streaky and not cover super well – that’s just fine! Plan on two coats of paint.
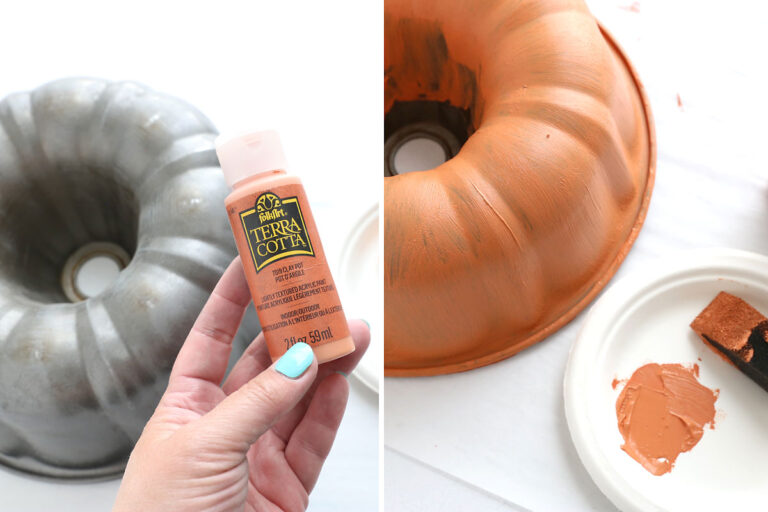
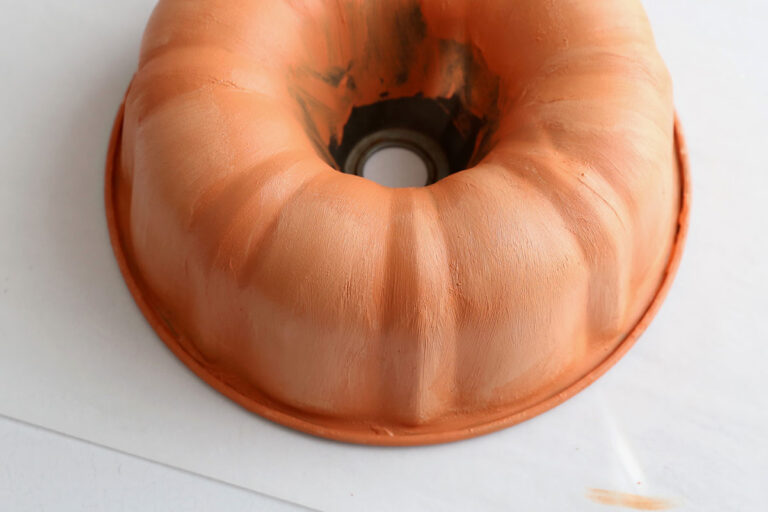
Allow the pumpkin to dry completely (use a hair dryer to speed drying time) and give it a second coat. The second coat will go on much smoother and will cover a lot better. As I applied a second coat, I mixed a little white paint in with the textured paint and applied that in some areas to give it some color variation. You don’t have to worry about painting all the way inside the center depression.
Apply Wax If Desired
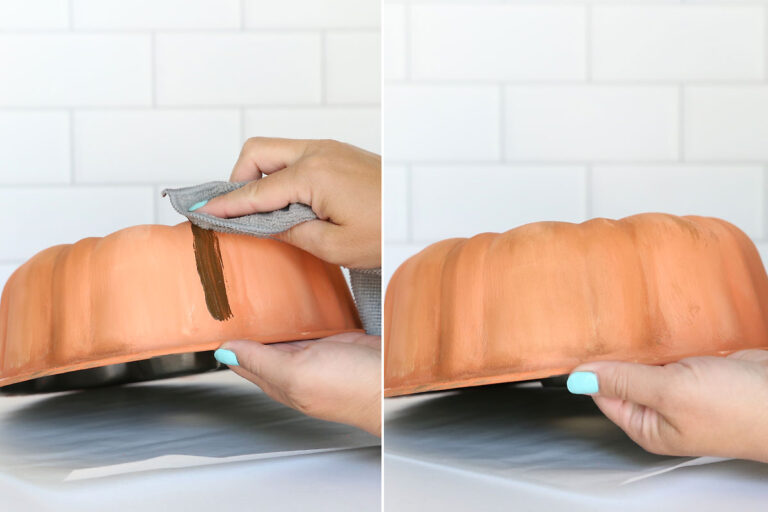
To give the pumpkin an aged look, you can use home decorating wax (you can find this in small bottles in the paint aisle of a craft store). Using a cloth, swipe on a little wax, then immediately rub it in the with the cloth, letting some of the wax settle in the depressions on the pan.
Seal The Paint
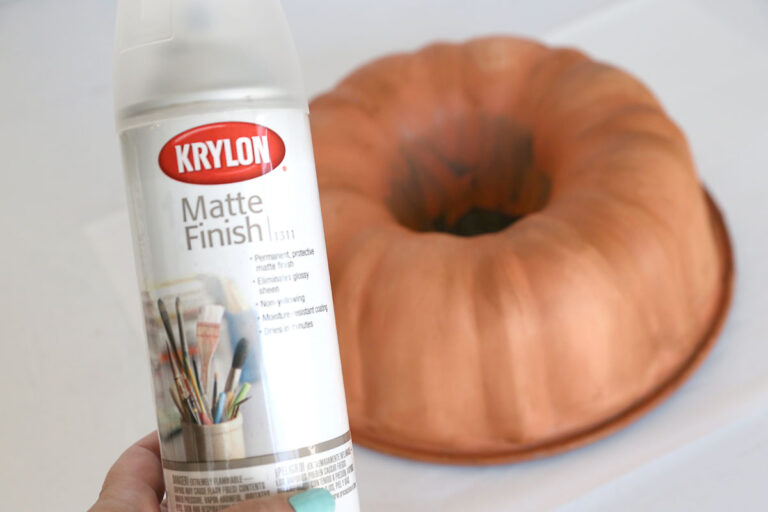
It’s a good idea to spray the pumpkin with some type of sealant so the paint doesn’t scratch or chip. I used Krylon Matte Finish, and then let it dry and cure for 24 hours. This step is optional but it makes the paint much more durable. Be sure to do this outside or in a well-ventilated area.
Create A Stem
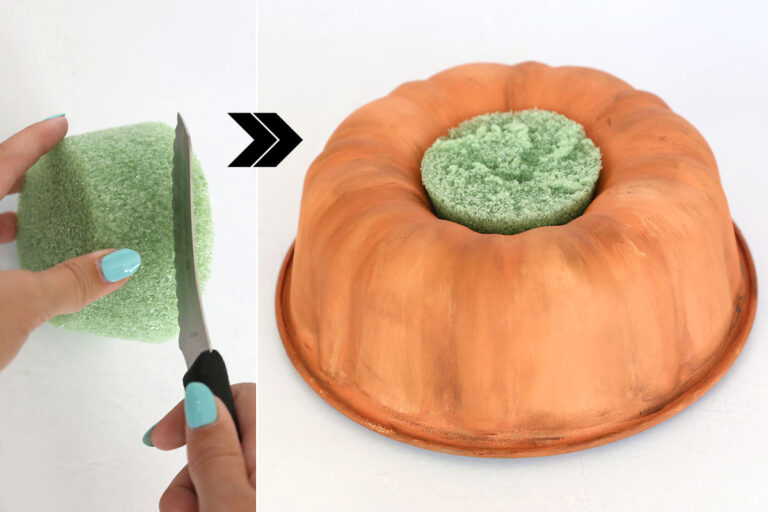
Now that the pan is painted, it’s time to give your pumpkin a stem. Start by slicing off the very top (widest part) of the foam pot insert, so that when you place it in your bundt pan the top is flush with the top of the pan.
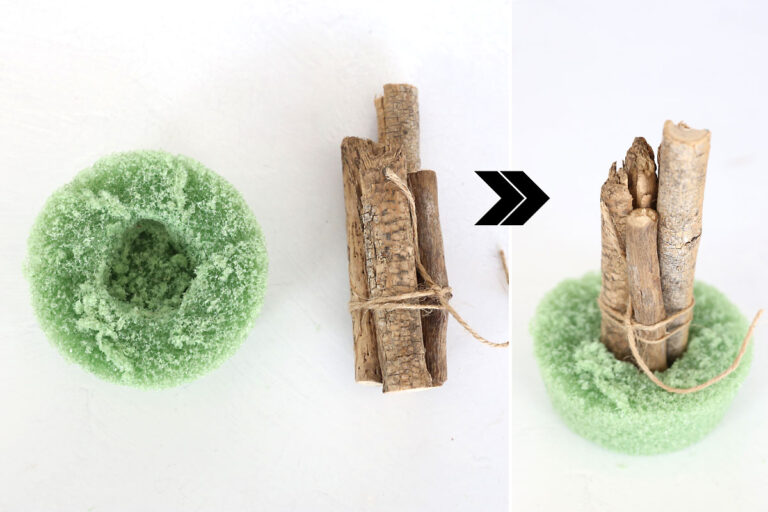
Next, decide what you’ll be using for a stem. I used four sticks tied together. Hollow out a depression in the foam pot insert that’s just big enough to fit the stem. Use hot glue to adhere the stem inside the foam insert as shown below. Then glue the foam insert into the depression in the bundt pan.
Decorate The Pumpkin
Now it’s time to decorate! Start by gluing moss to the floral insert to completely cover it.
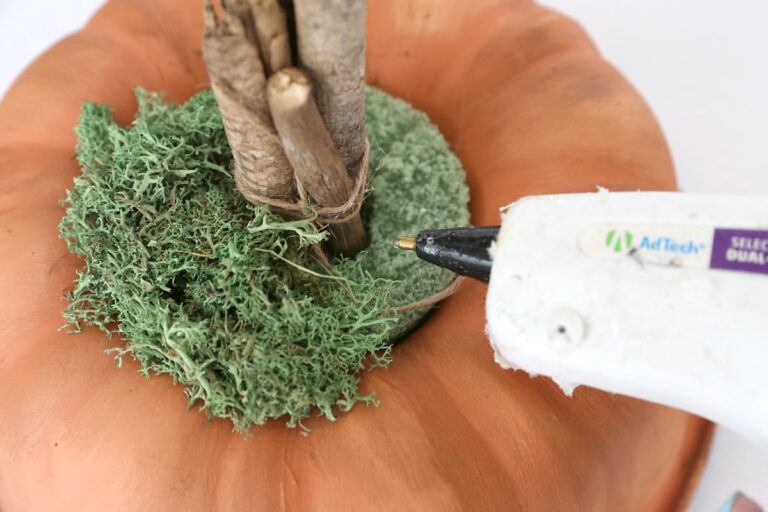
Then add whatever other decorations you like – here’s where you can get creative! I tied a length of burlap ribbon around the stem. Then I cut apart a stem of faux leaves and arranged the leaves around the pumpkin stem (you can poke them directly into the floral foam). Finally, I cut a few lengths of wired jute cord and wrapped them around a pencil to make coils that look like vines.
Other Decorating Options
Try one of these ideas to make this project your own:
- Add a ribbon bow
- Tie fabric strips around the stem
- Cut out small leaf shapes from felt, burlap, or another material to use instead of the faux leaves
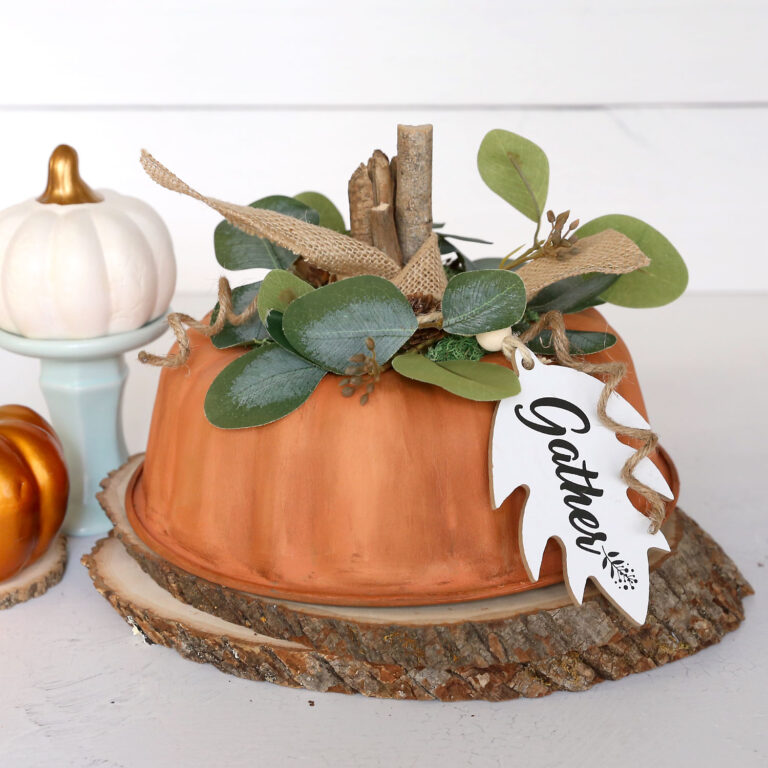
- Add flowers, a string of beads, or a cute tag.
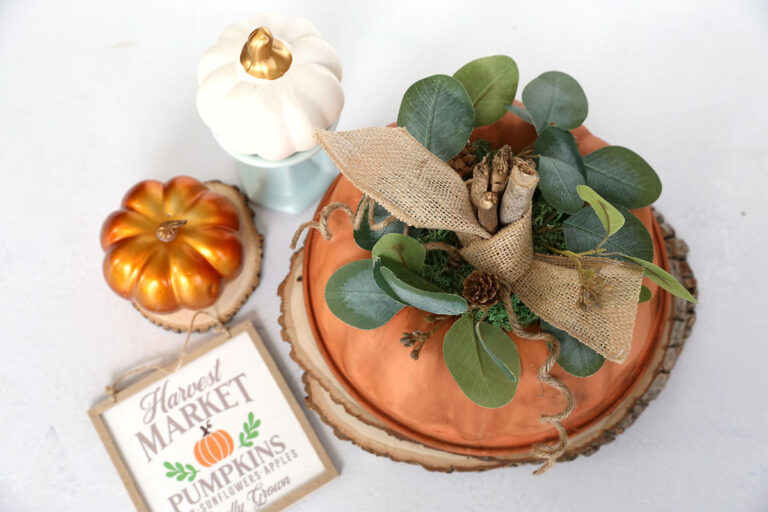
- Display your pumpkin in a group with other pumpkins and a cute sign (like the one below from Hobby Lobby).
