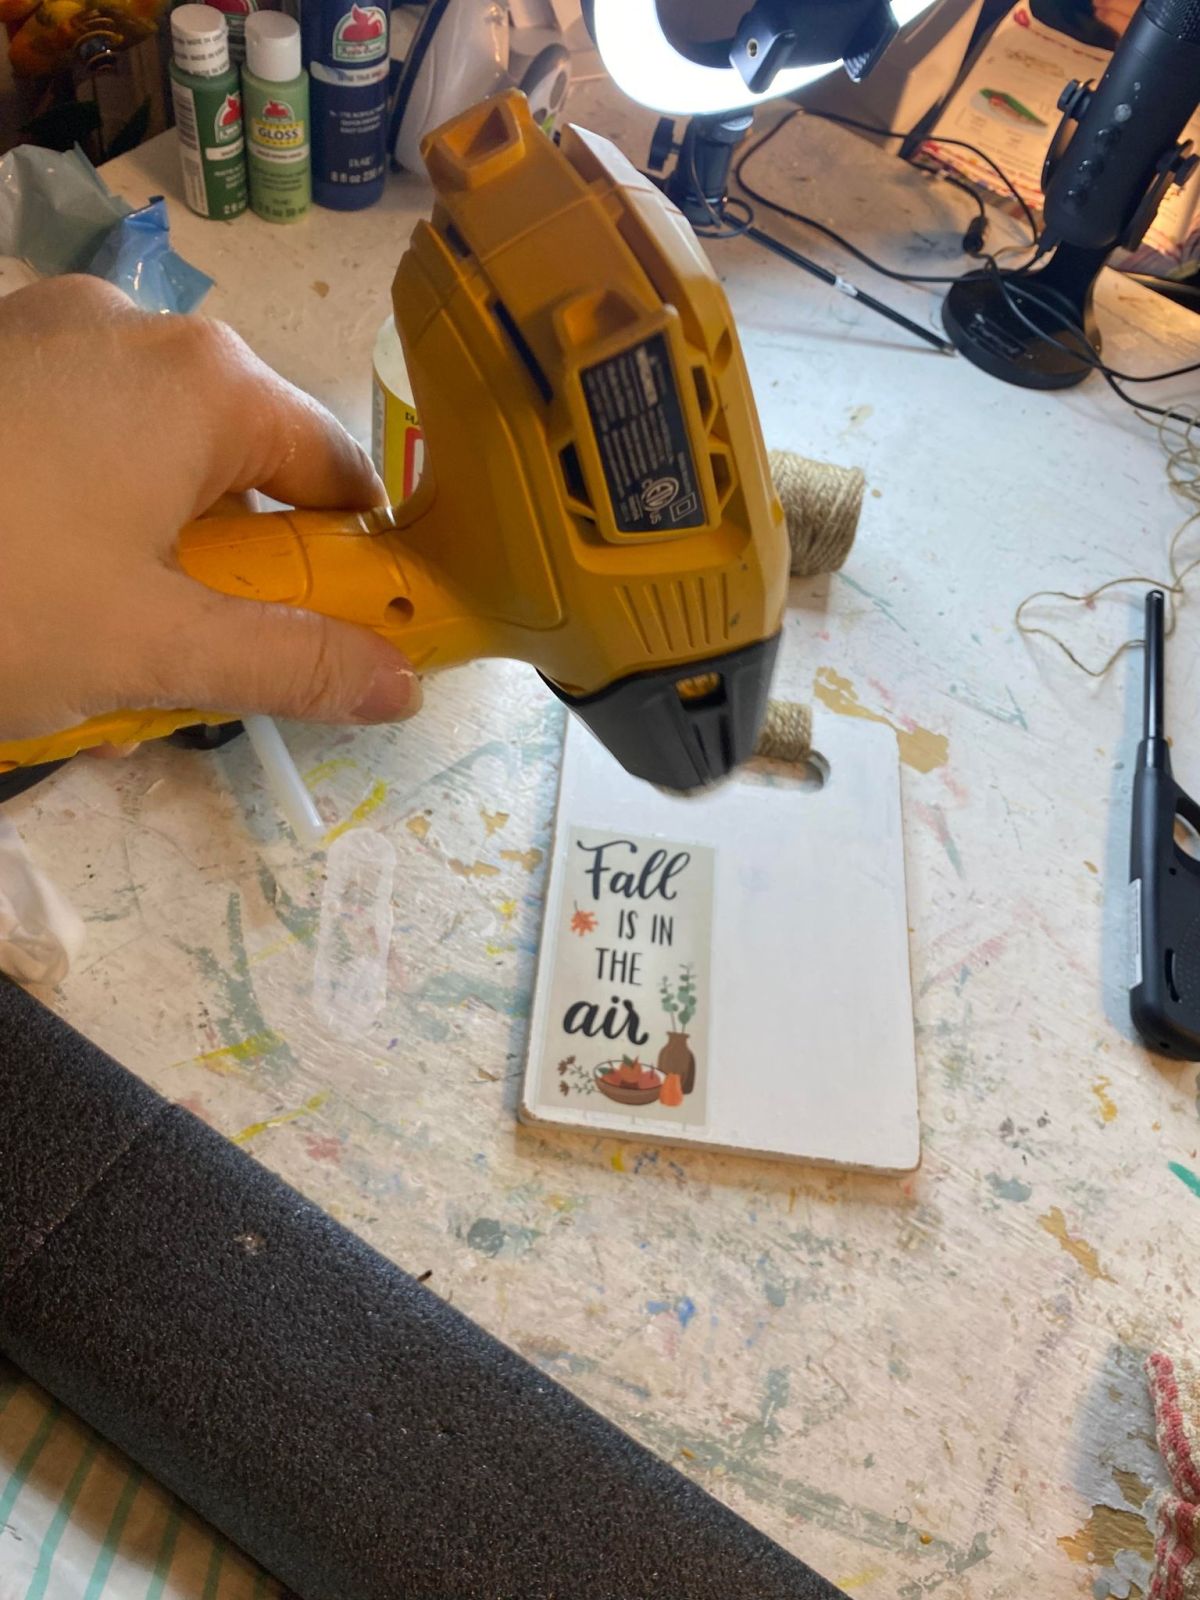
DIY Fall Cutting Board
Looking to add a cozy touch to your kitchen this fall? Why not try creating your own DIY fall-themed cutting board? Start by selecting a sturdy wooden board and gather some autumn-inspired elements like dried leaves, acorns, or even a small decorative pumpkin. Using non-toxic craft glue, arrange these items on the board in a pattern that suits your style. Once the glue has dried, give your cutting board a protective coat of food-safe varnish to seal in the design and ensure durability. This fun and easy project will not only add a festive flair to your kitchen but will also make meal prep during the fall season even more enjoyable!
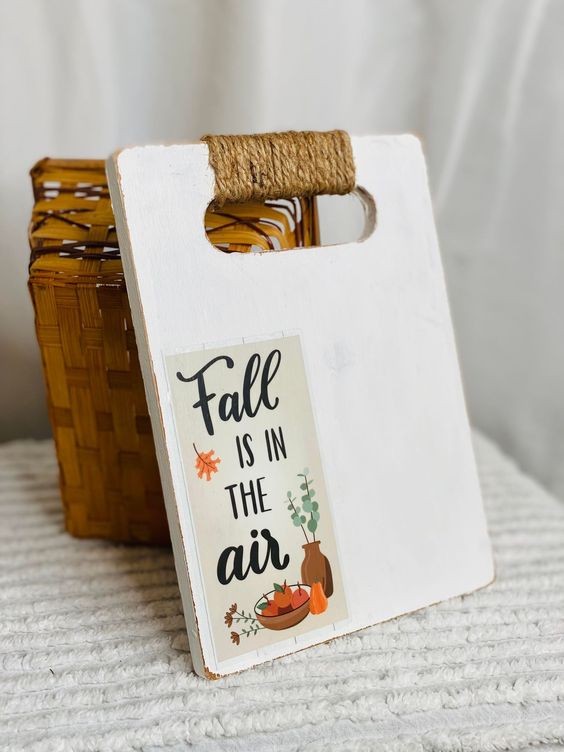
Supplies needed for this Fall Cutting Board Diy:
- Small cutting board
- White chalk paint
- Fall window clings
- Mod Podge
- Jute twine
- Heat gun
- Glue gun
- Sanding block, paper, or a heavy duty nail file
1. Paint your cutting board
I used chalk paint, but you can also use acrylic paint if that is all you have. You will just have to use multiple coats if you use acrylic. Usually, it only takes one coat of chalk paint for small projects like this. And I know I’m using a sponge brush here, but I changed to a regular brush before it was over. No need for a special chalk paint brush either.
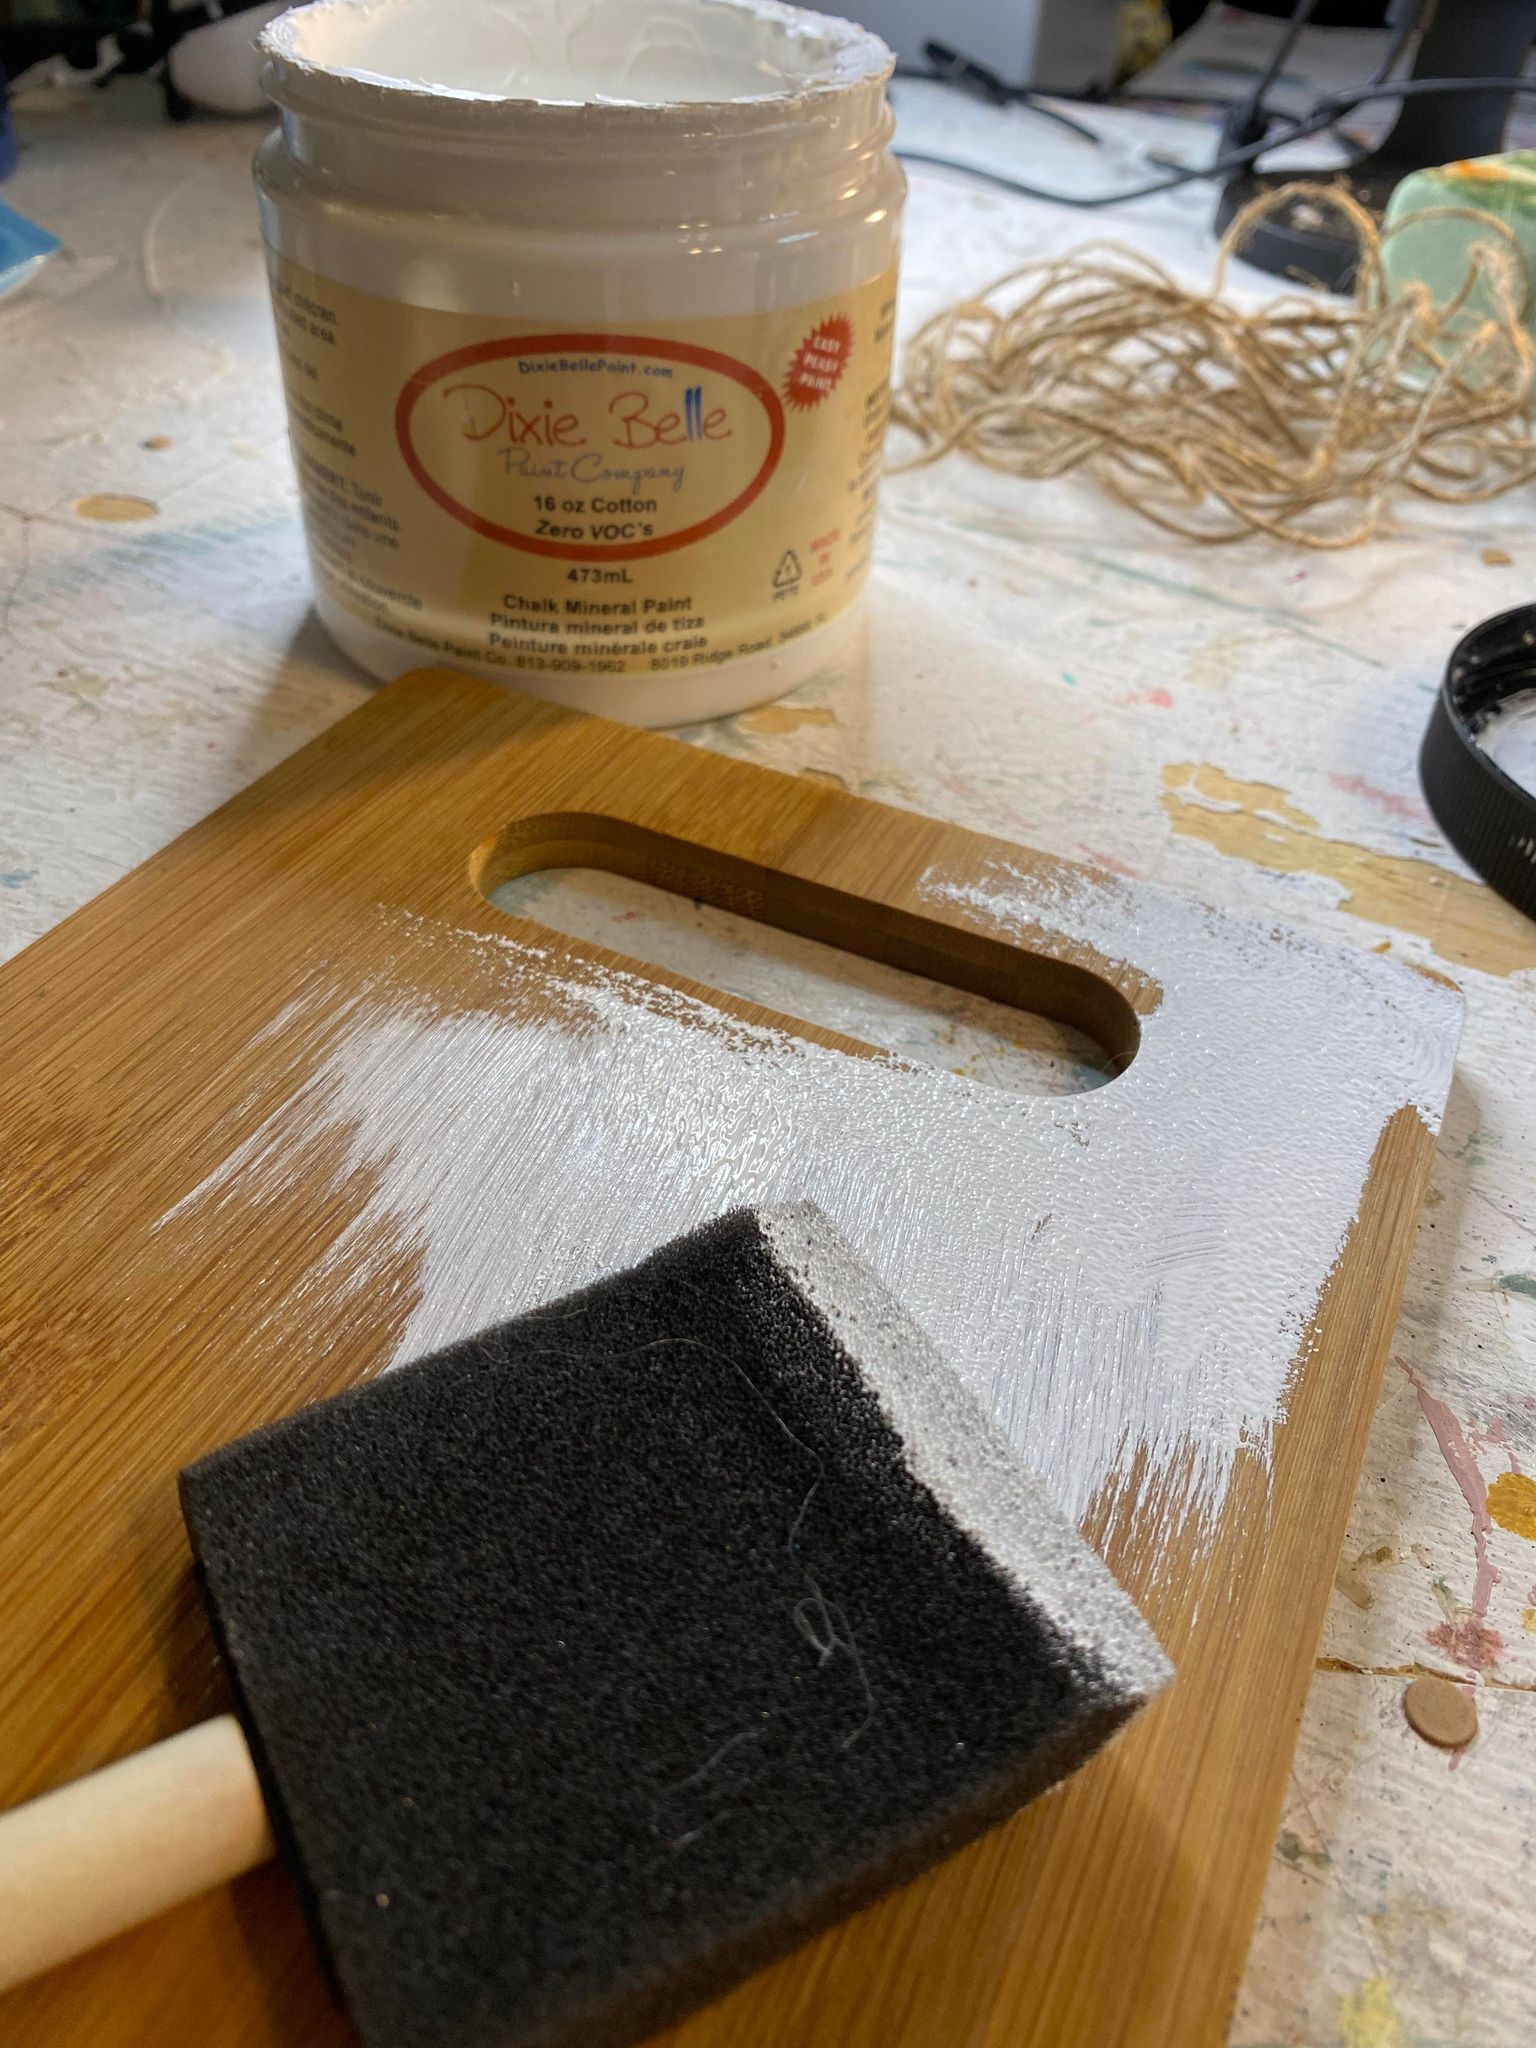
After your cutting board is painted, either let it air dry or hit it with the heat gun.
What can I use if I don’t have a heat gun?
If you do not have a heat gun, you can always use a regular hair dryer.
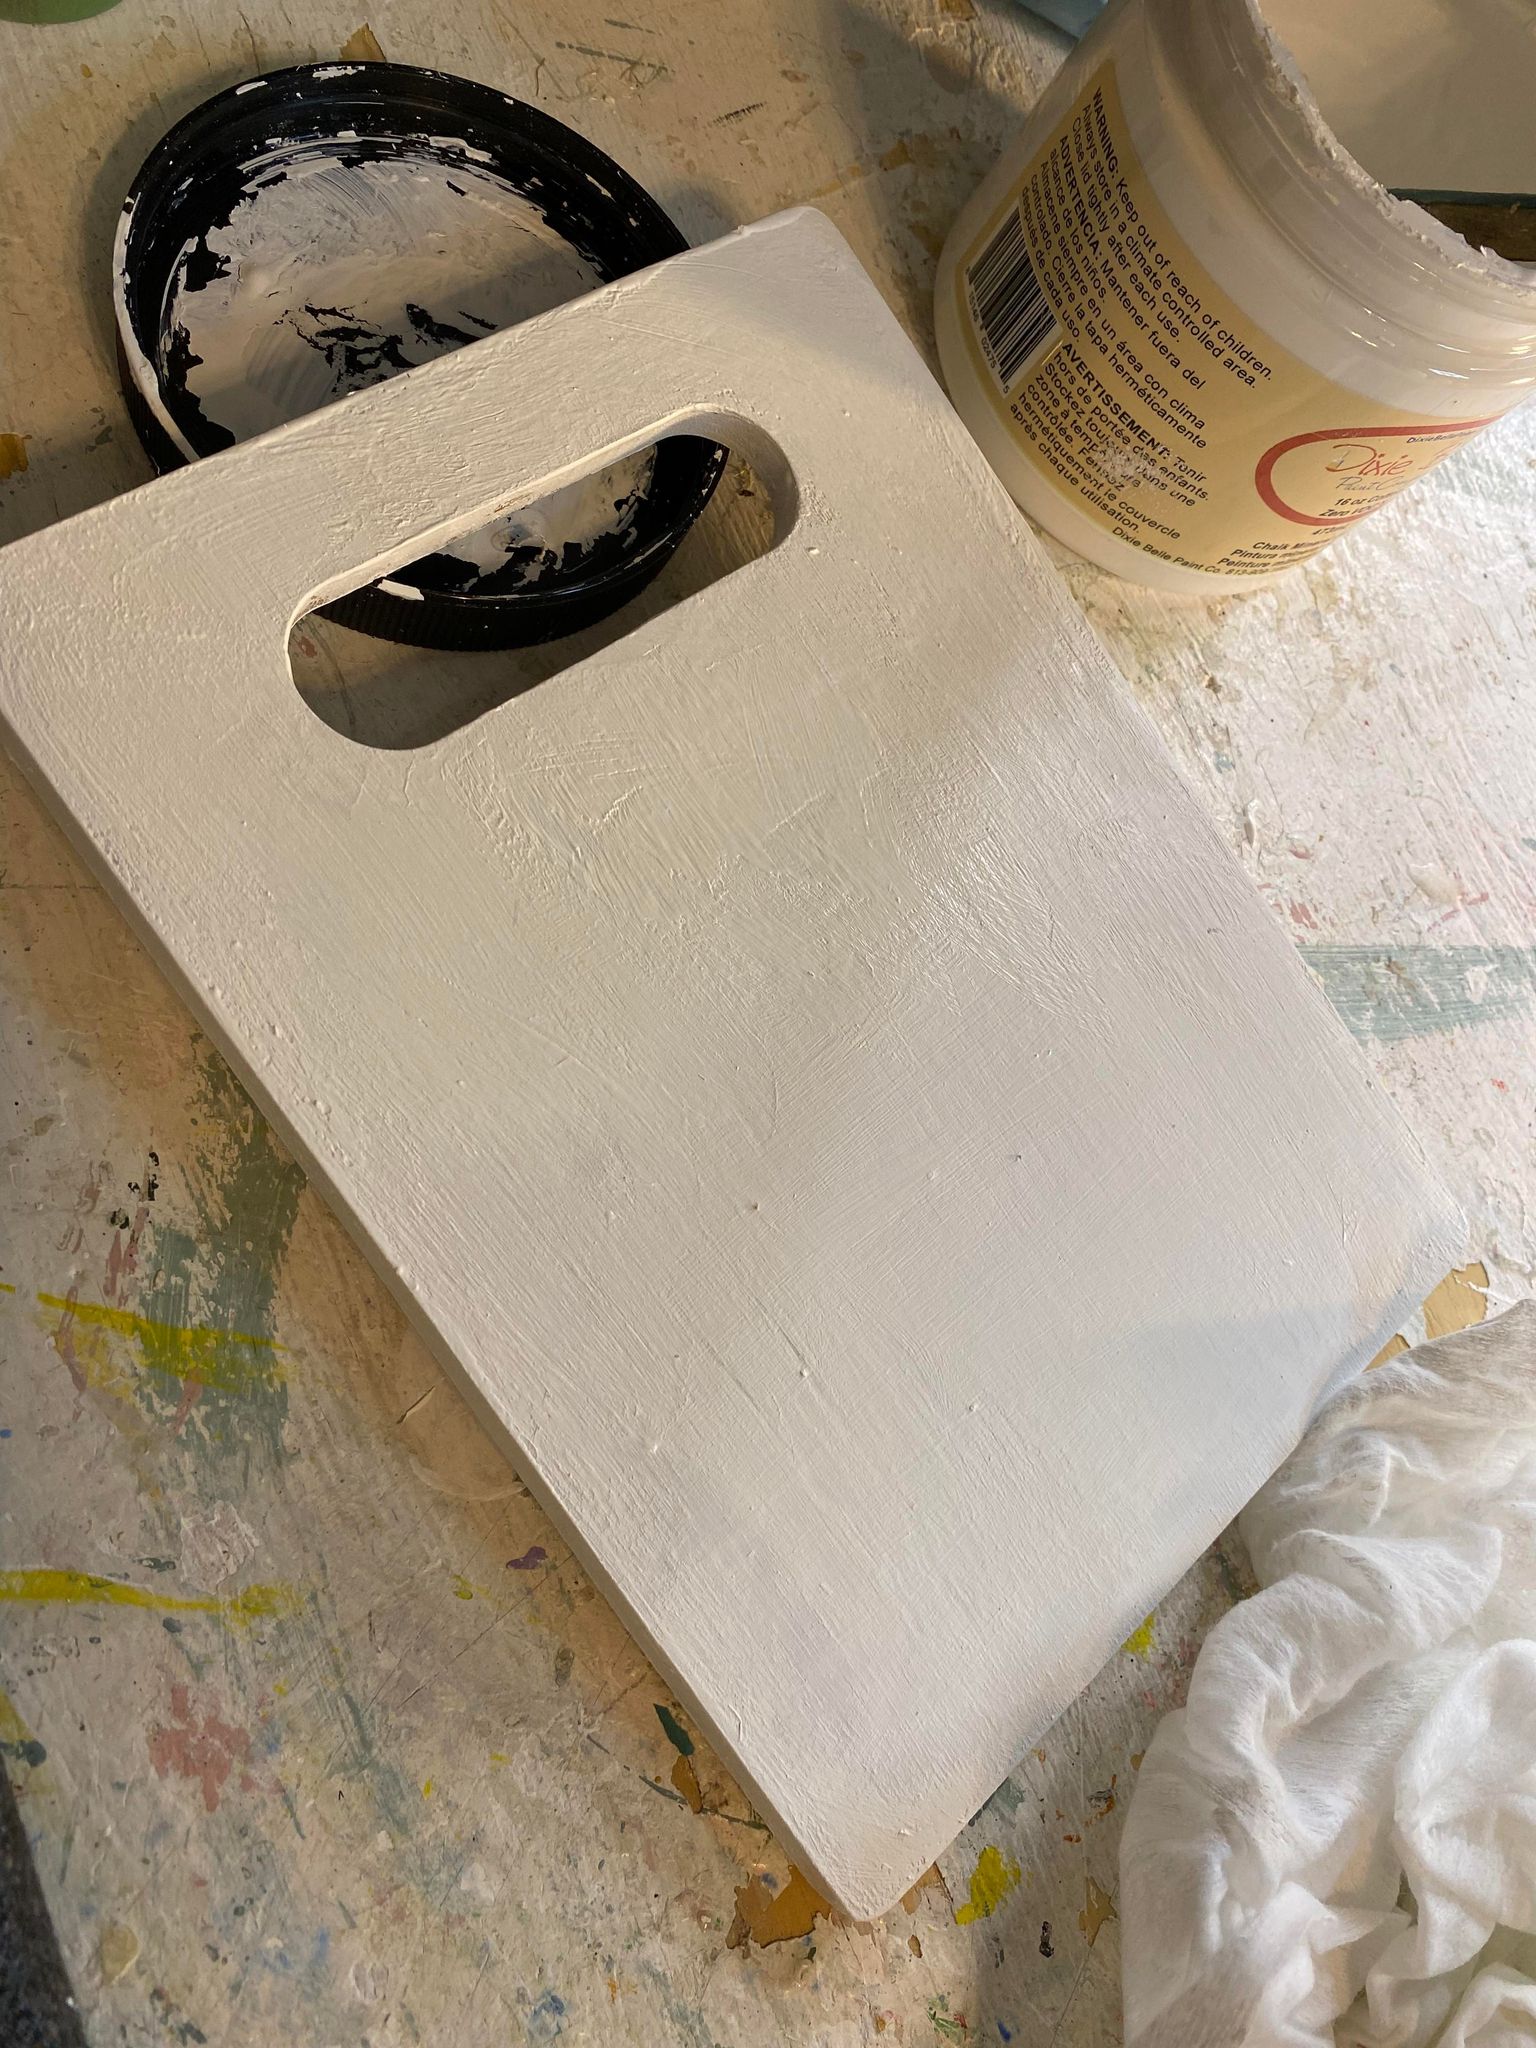
2. Distress the cutting board
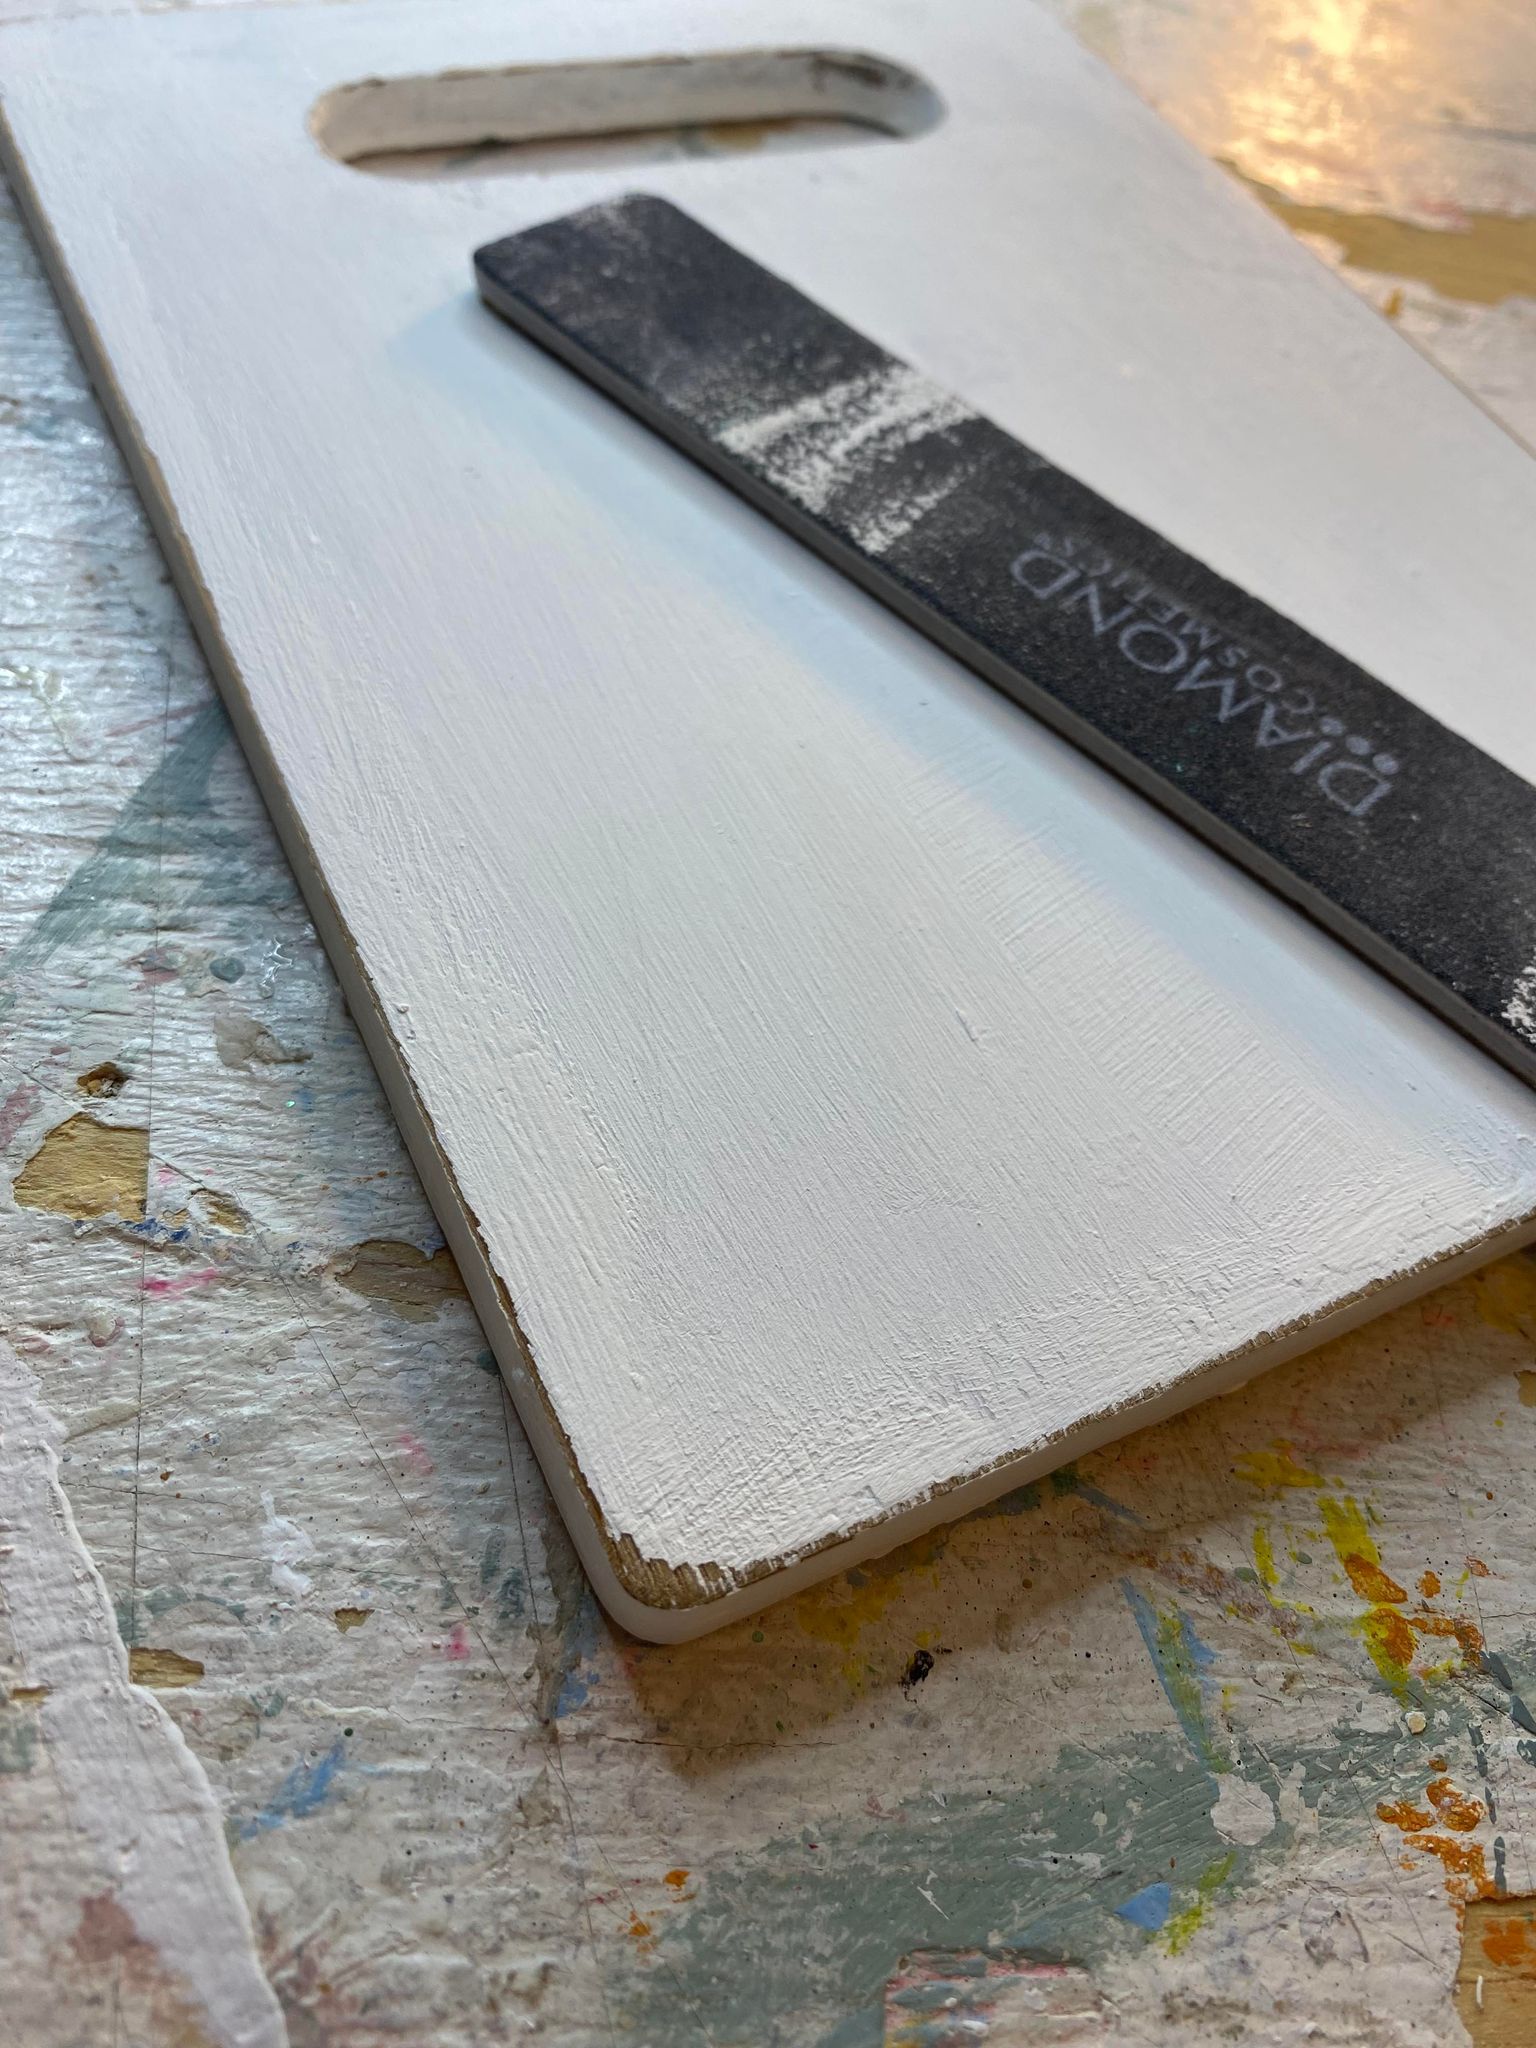
Now, let’s sand the edges of the cutting board to add some distressing. I love using these heavy duty cosmetic nail files. They are perfect for smaller projects like this. If all you have are sanding blocks or paper, those will work perfectly, too!
3. Add jute twine to the handle
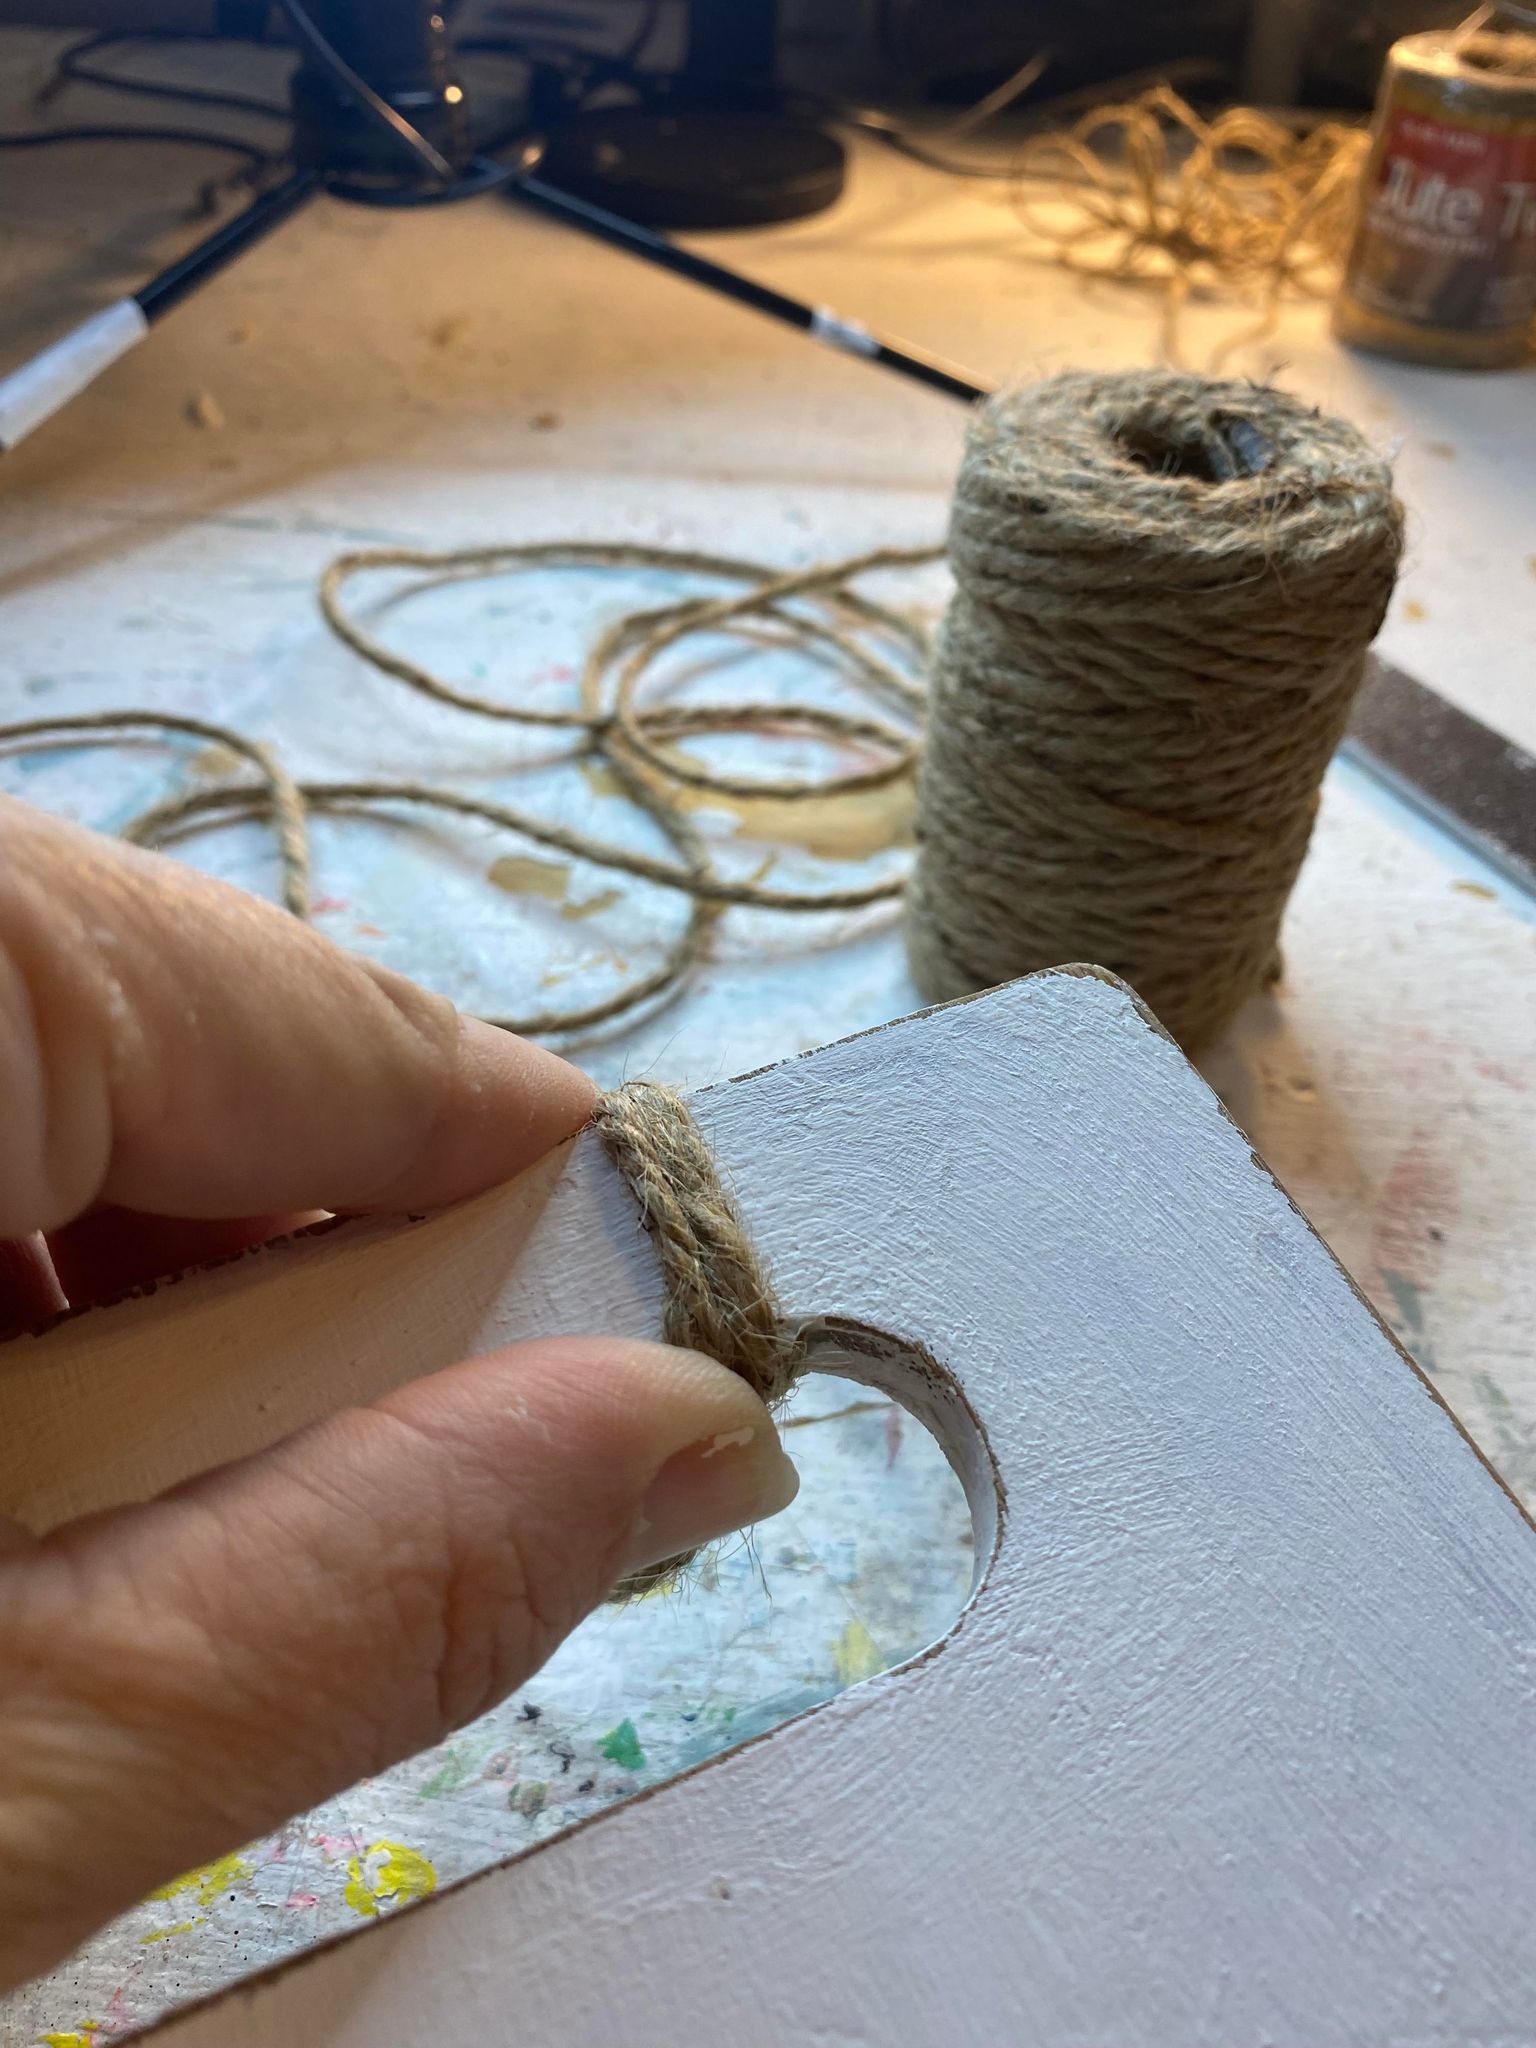
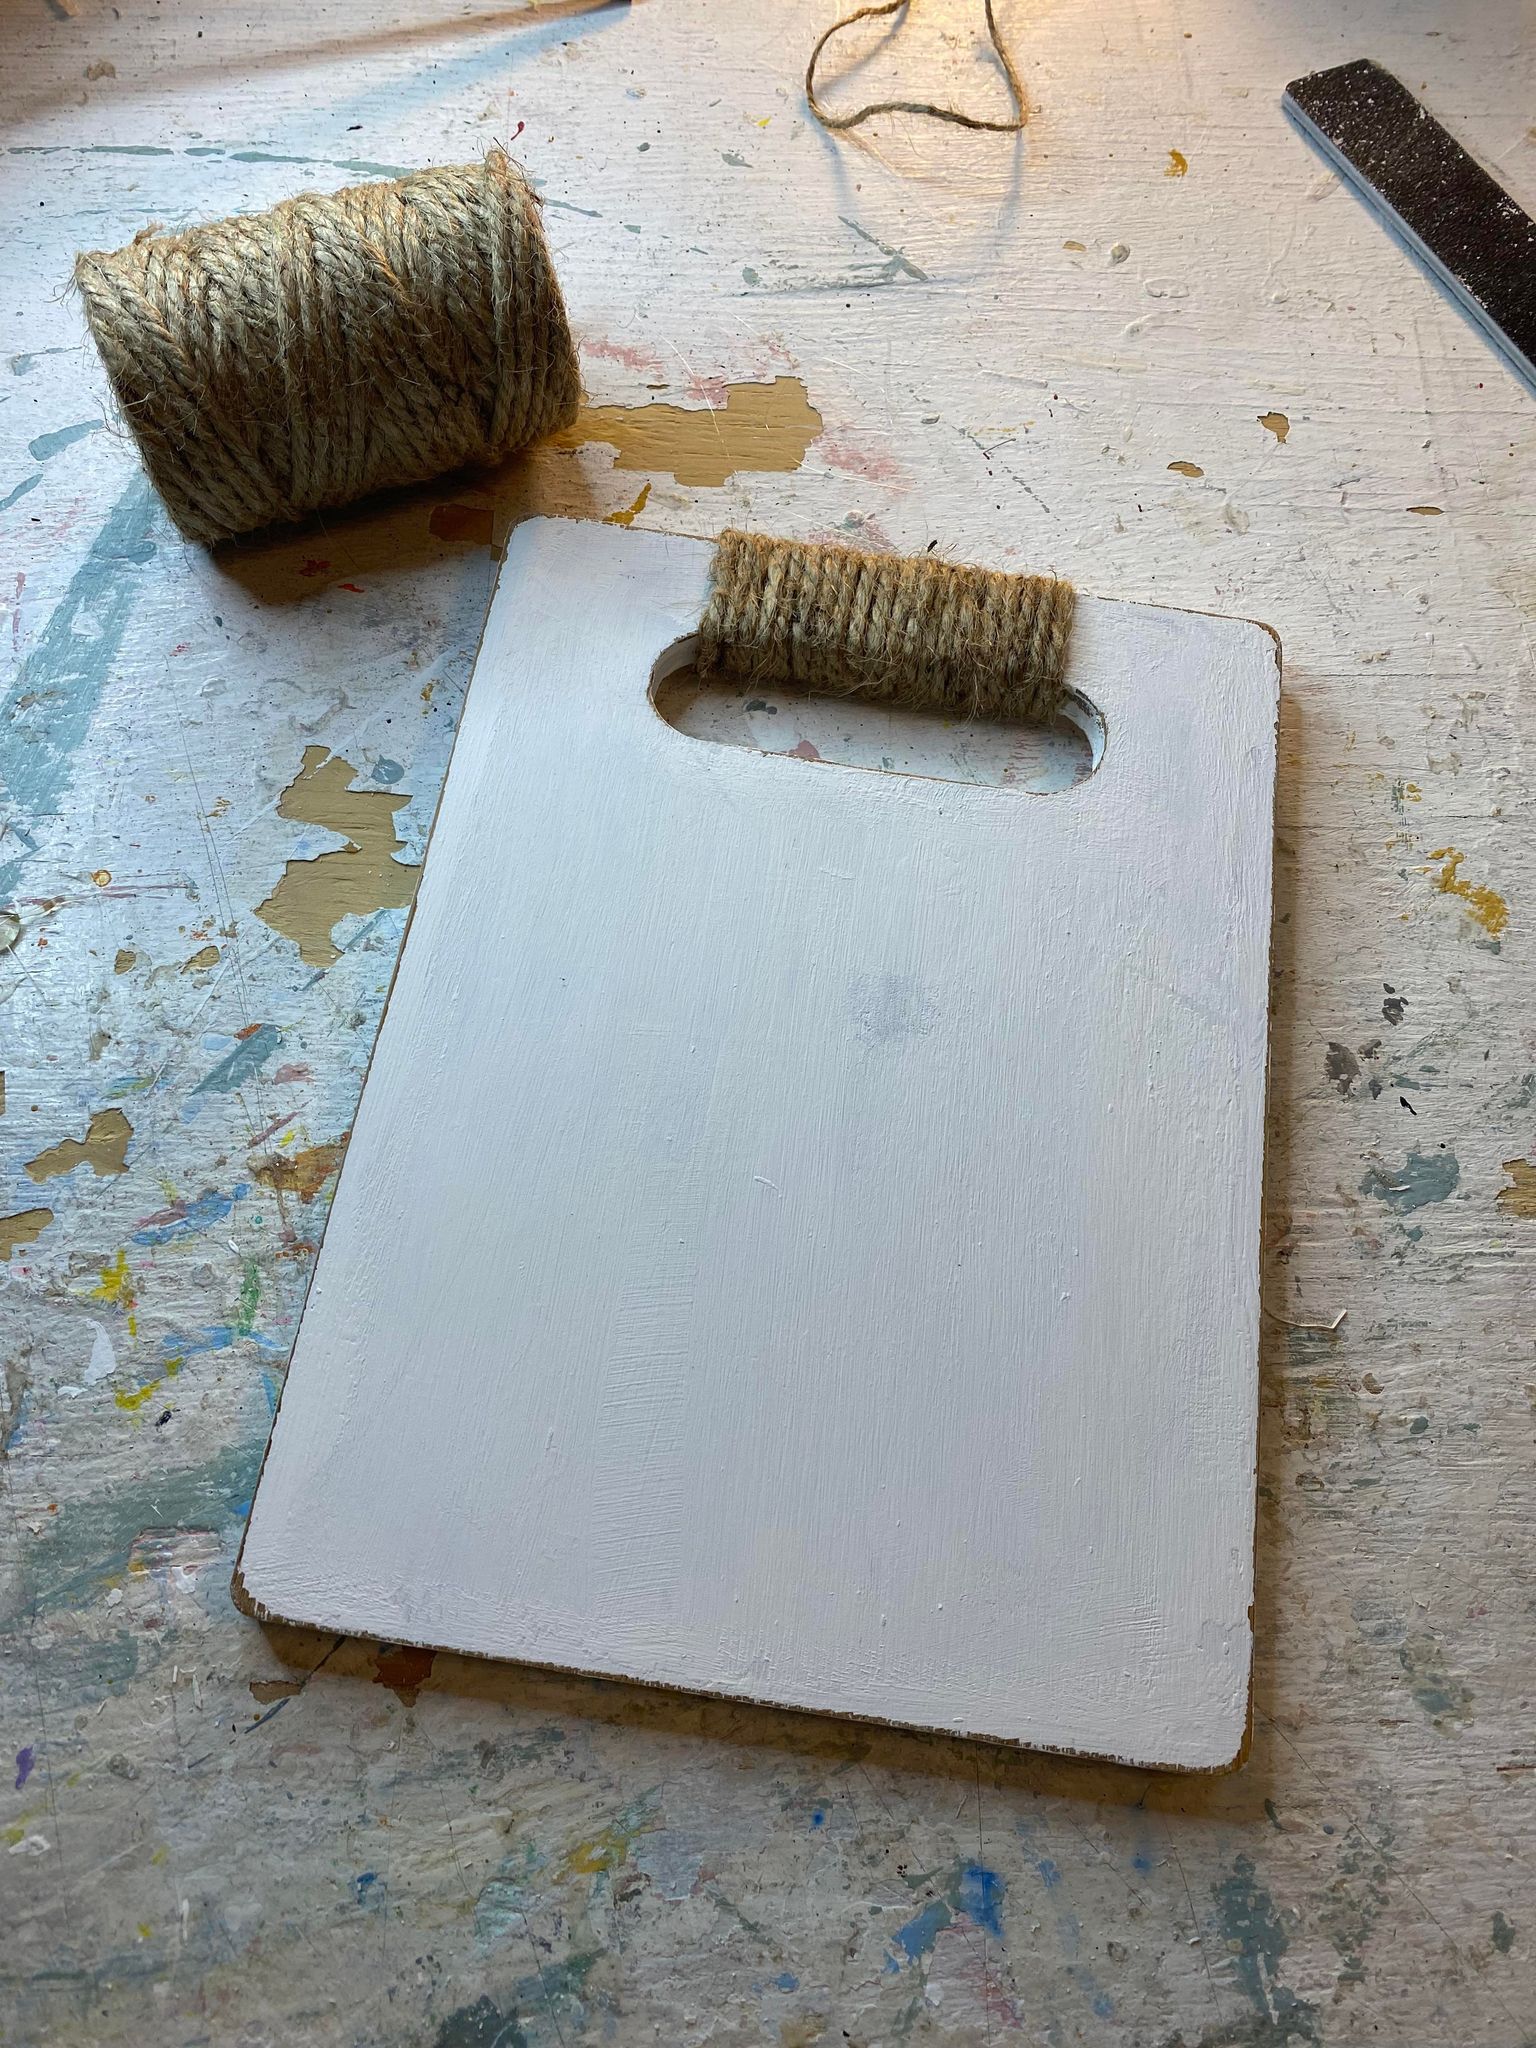
To add a bit of character to this cutting board, I wrapped the handle with some jute twine. Just eyeball how much you think you will need, then cut that length off. Use hot glue to attach the beginning of it underneath the handle, then just start wrapping it. You will have to pull the length of it through each time. It won’t take you long though.
Now, if your cutting board has a different handle, then just wrap it around it differently. Just like I started, I ended with a bit of hot glue underneath and then cut my jute.
4. Add the window cling to our cutting board
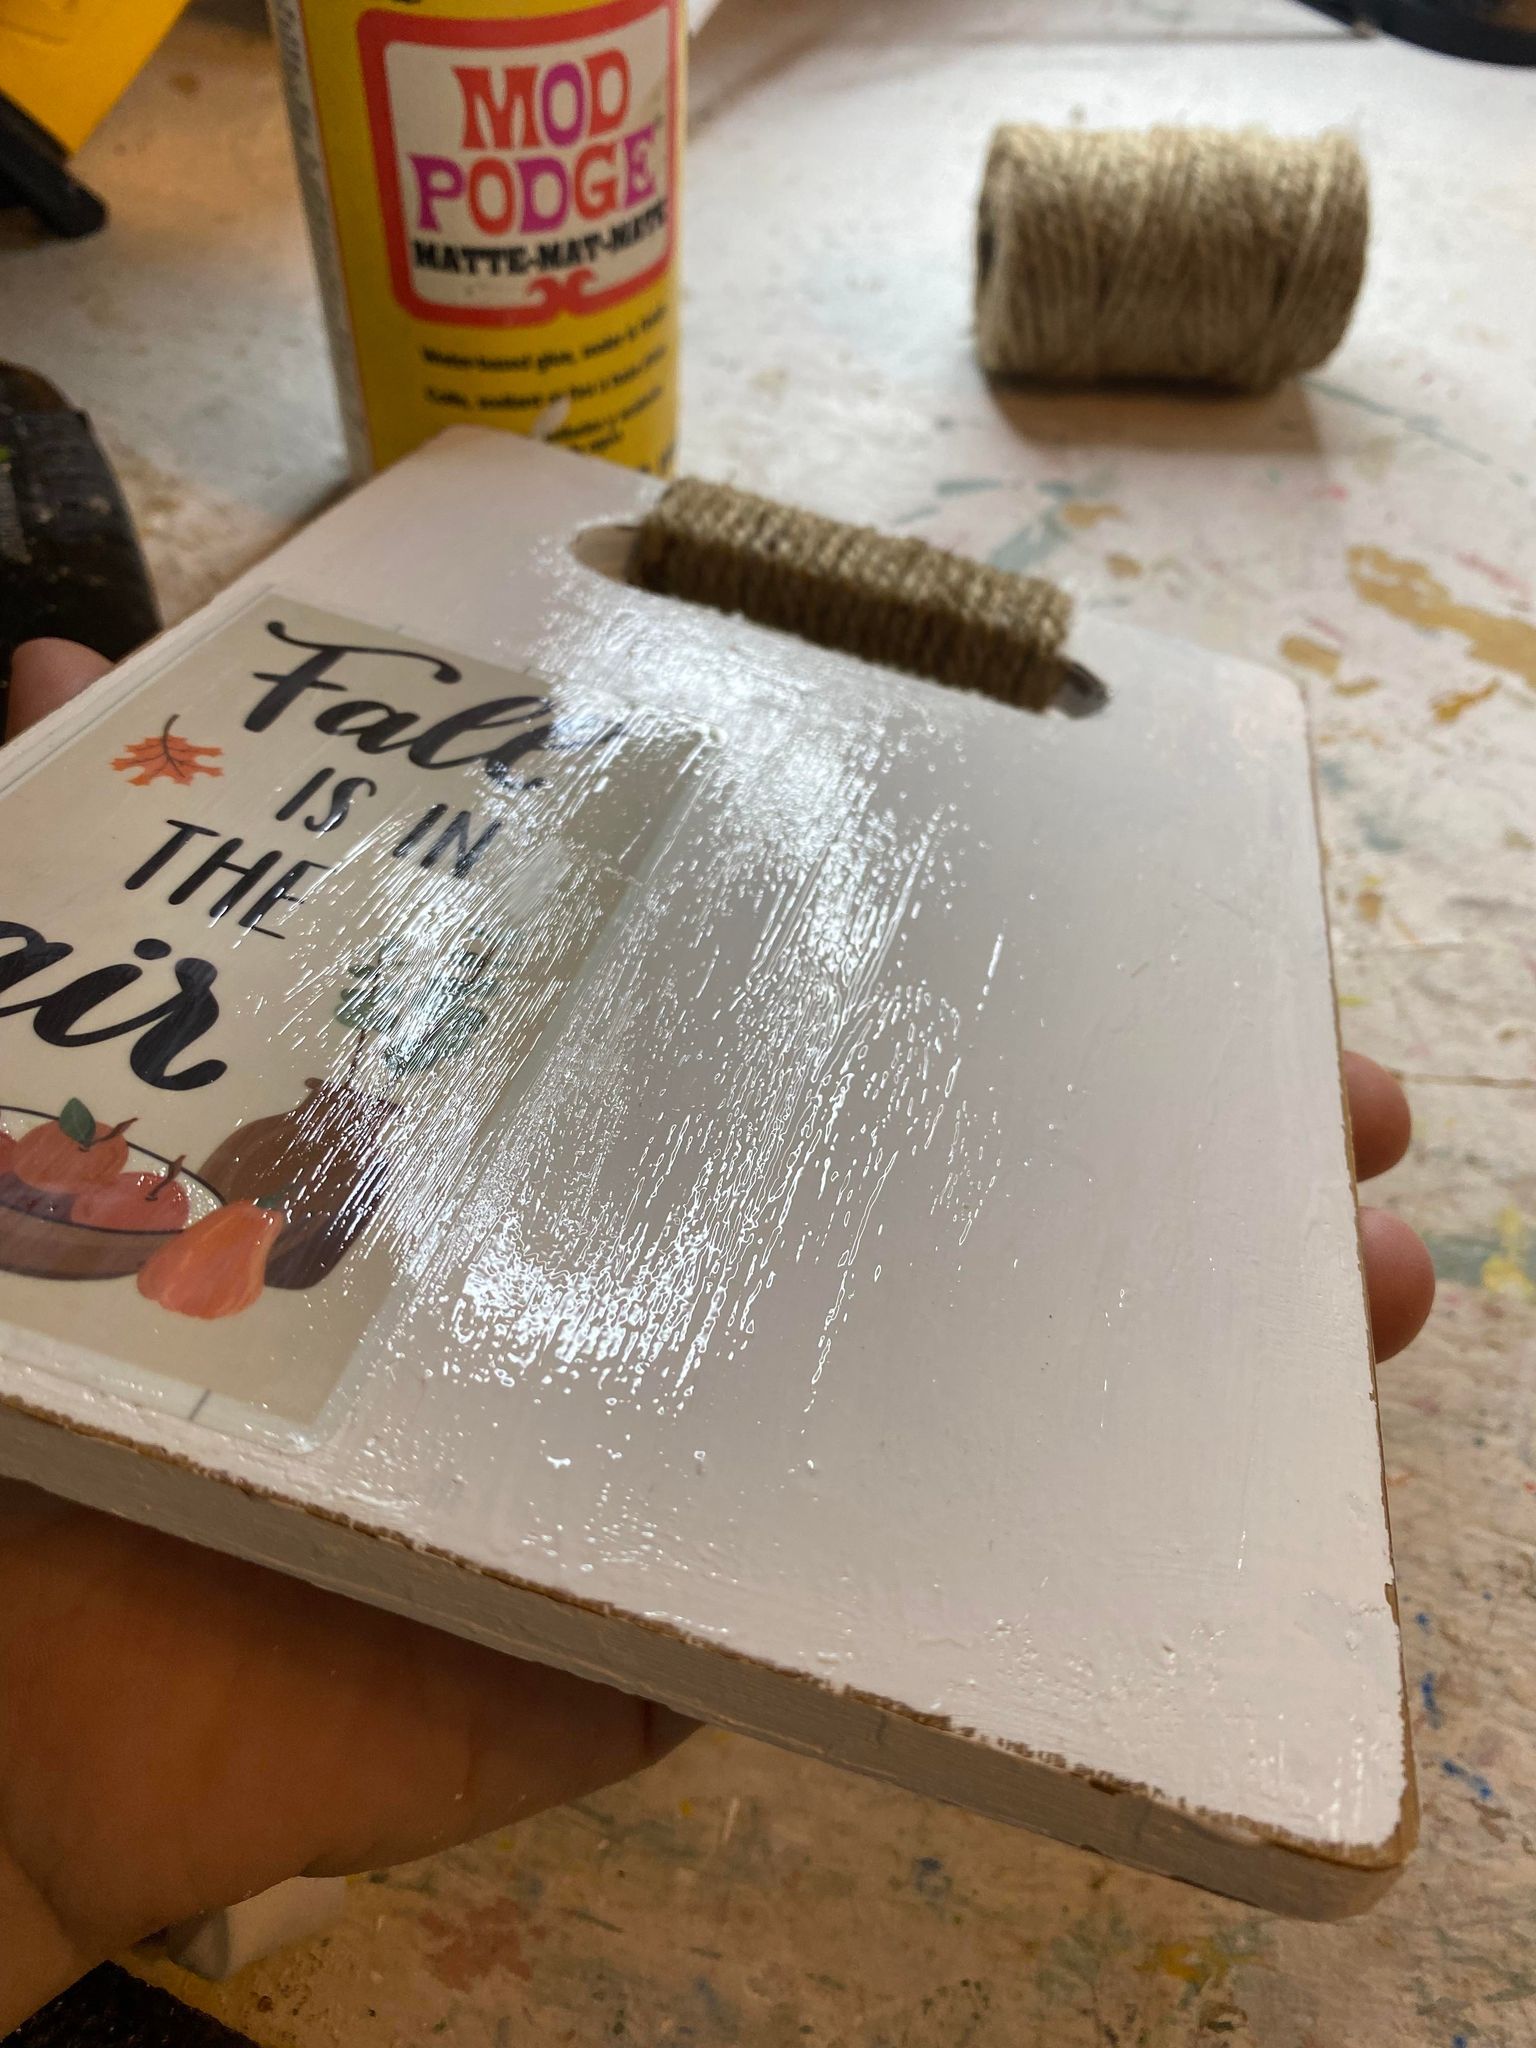
First, I added mod podge to just the area that my window cling was going because you need to add the cling while the mod podge is still wet.
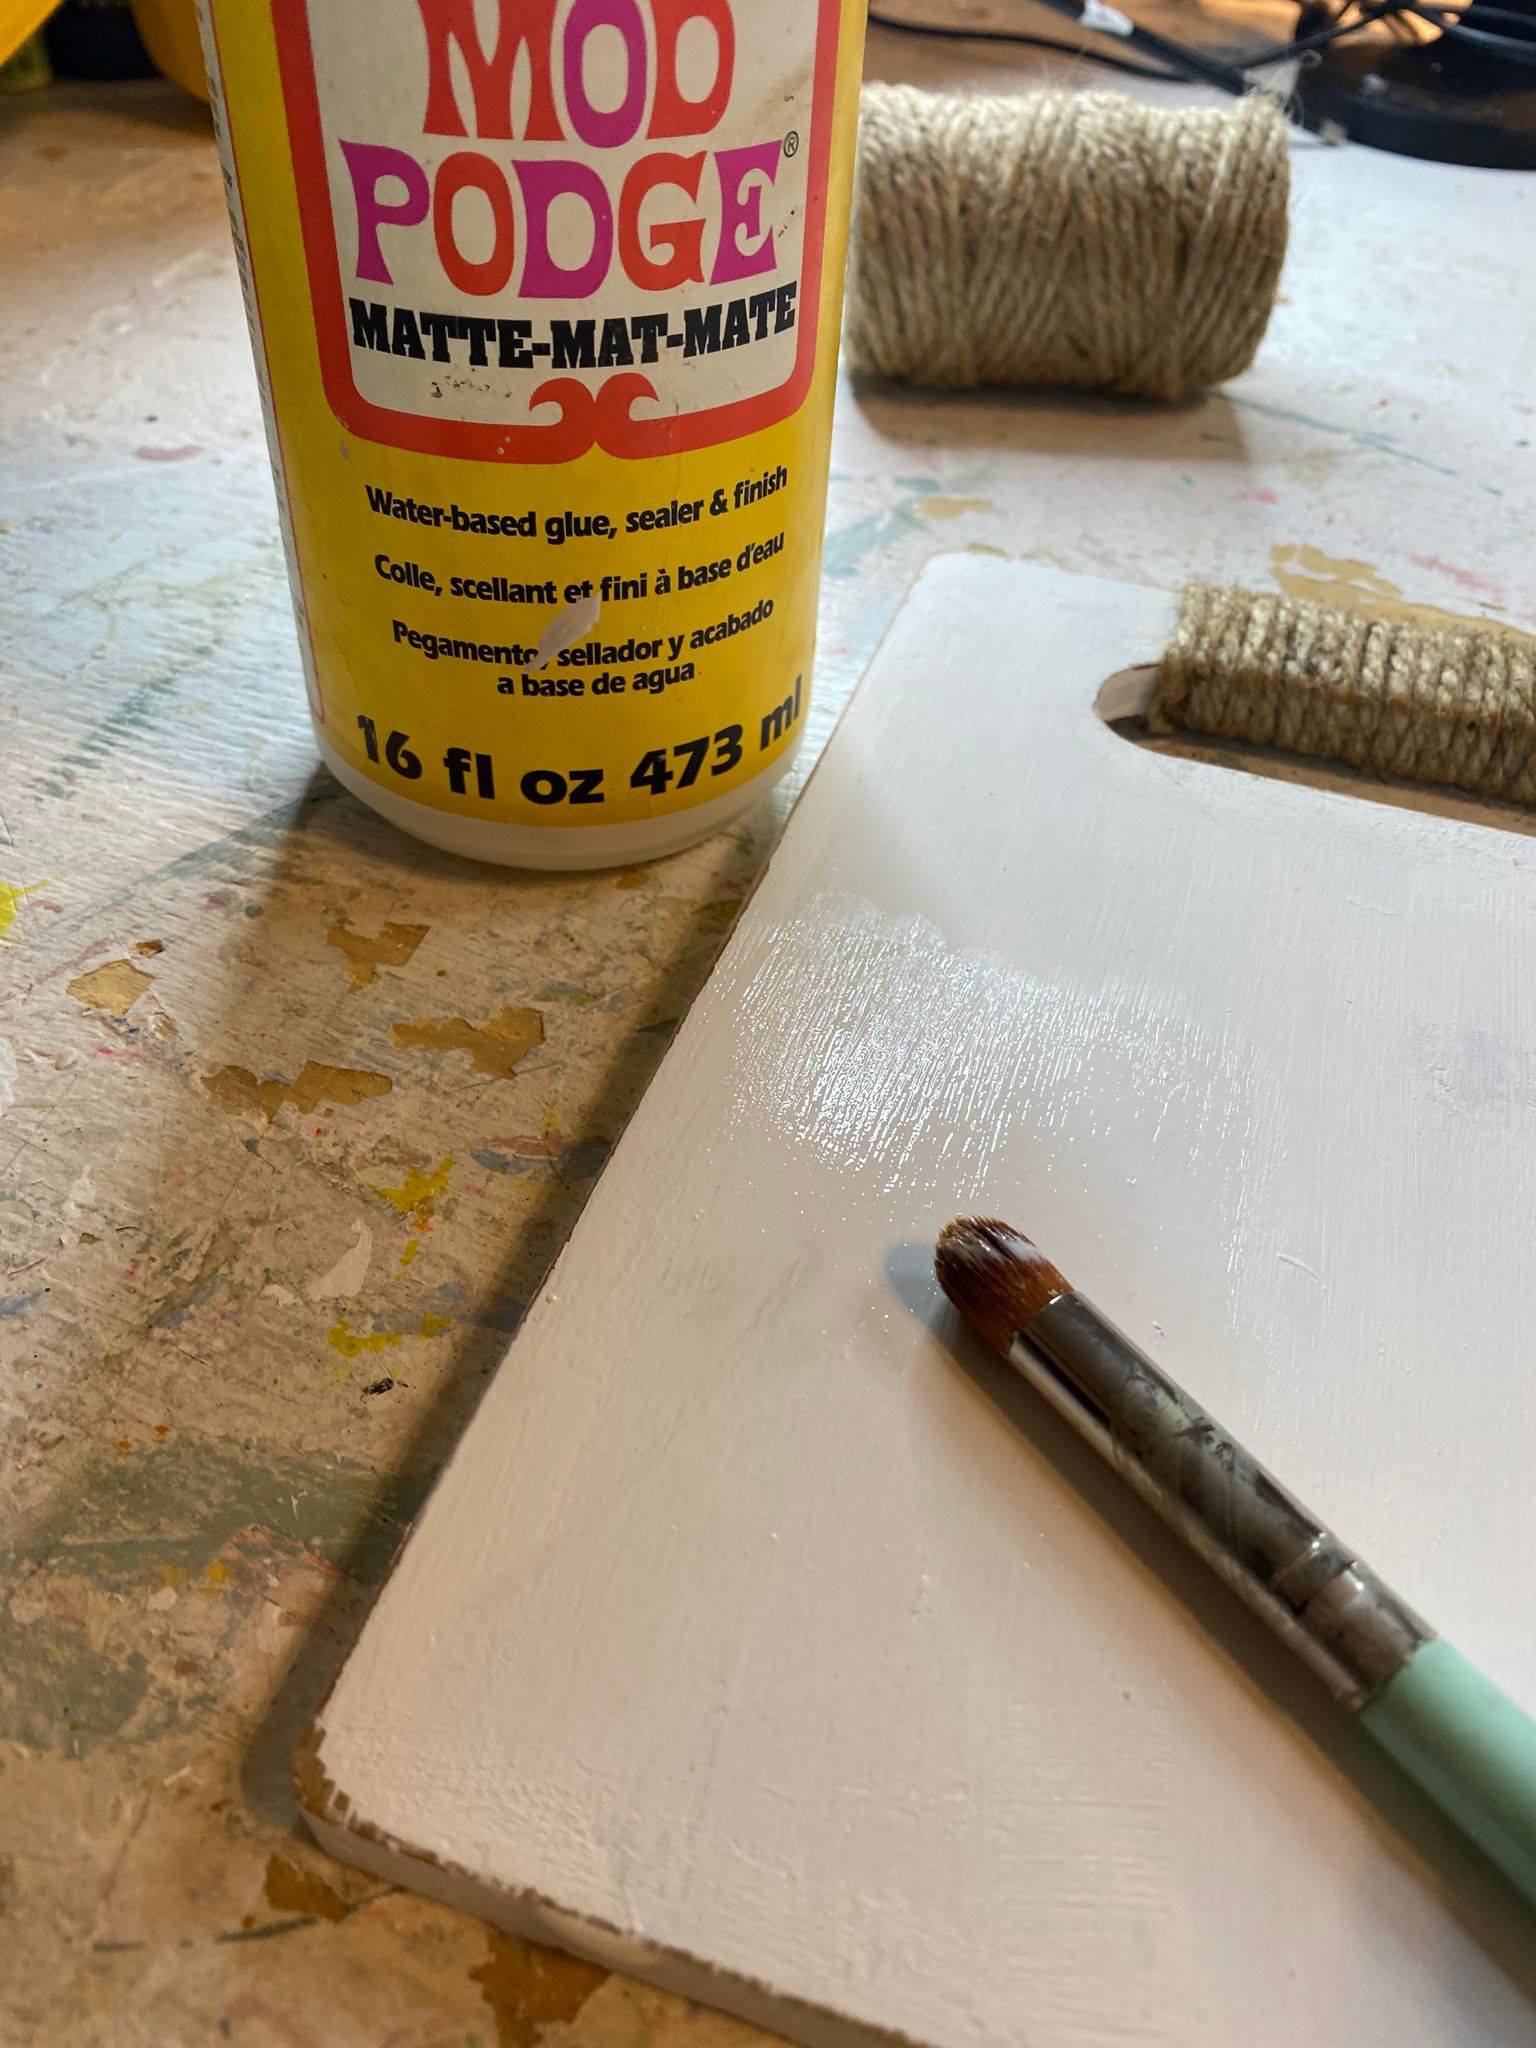
Then place your window cling and smooth out any bubbles. Afterwards, add mod podge to the whole front side of the cutting board to seal it. And that’s literally all you do!
Well, you do want to dry it before you use it.
