How To Make Marbled Pumpkins
If you're looking to add a touch of whimsy and elegance to your fall decor, marbled pumpkins are a fantastic choice! This fun and creative DIY project involves using a mix of nail polish and water to create stunning swirling patterns on pumpkins. Not only are marbled pumpkins a unique way to decorate for the season, but they also make great conversation starters for any gathering. Whether you're hosting a Halloween party or simply want to spruce up your home, marbled pumpkins are a delightful and eye-catching addition that is sure to bring a smile to your face. So grab some pumpkins, your favorite nail polish colors, and get ready to craft your way to a wonderfully marbled autumn display!
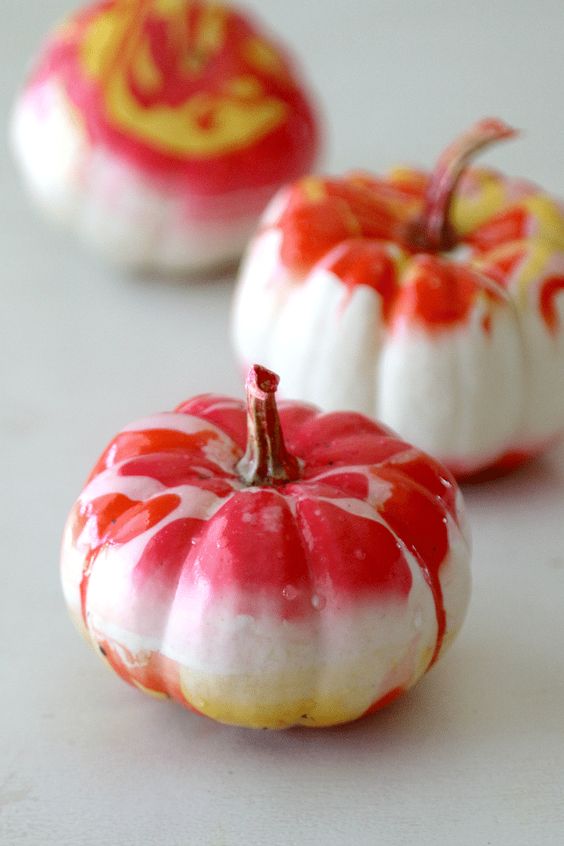
You’ll Need:
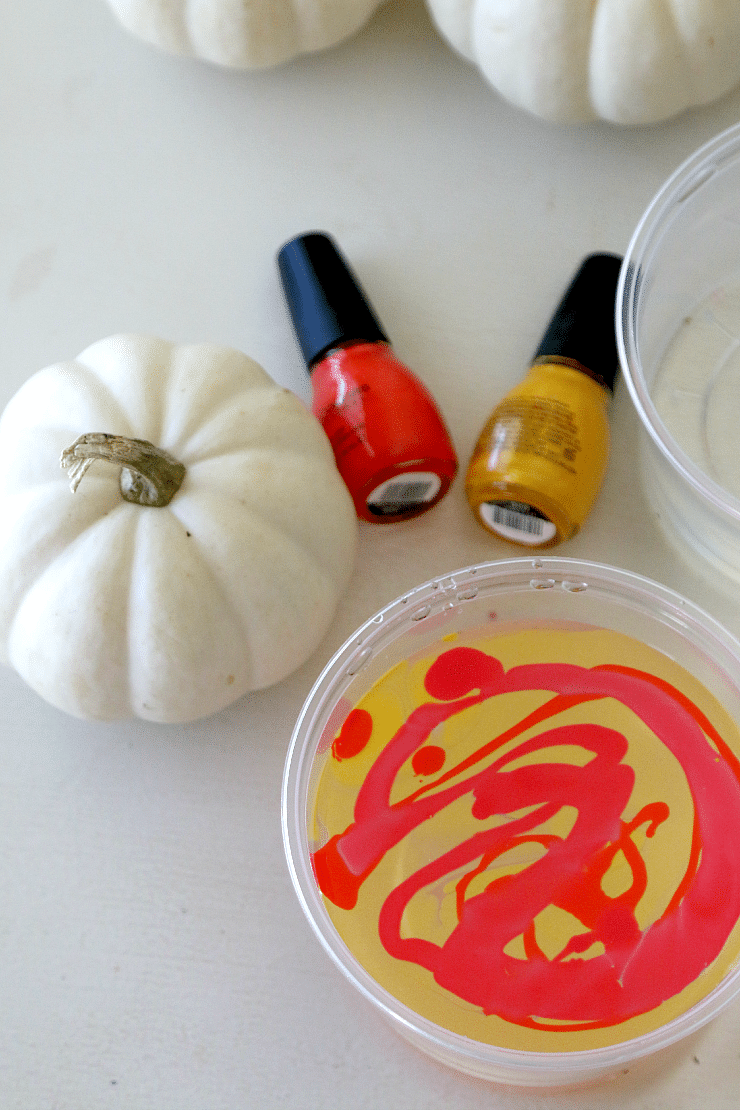
- Nail polish
in a variety of colors
- Nail polish remover
(cause you will probably get it on something you don’t want to get it on)
- A bowl you don’t really care about or are willing to clean up
- Baby white pumpkins
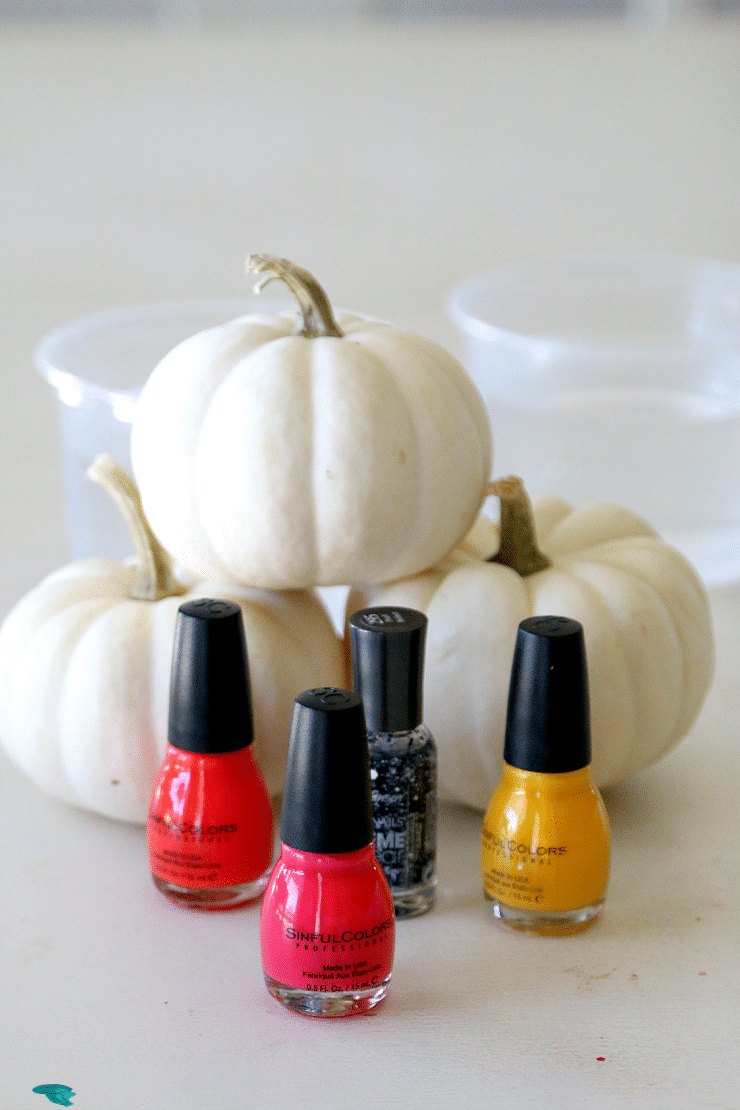
Fill your bowl up with water and then let the bowl sit so it’s not sloshing around. If the water is moving, it can disperse your nail polish and leave fewer designs.
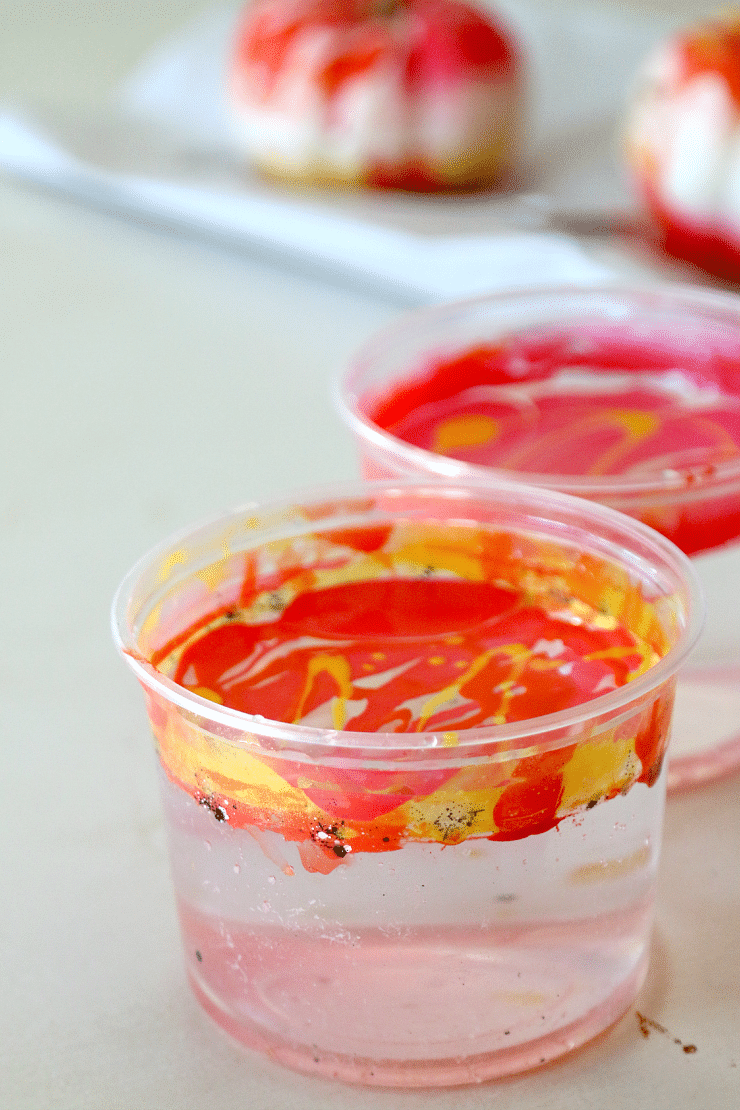
Then pour your nail polish into your bowl. You can use a toothpick or Q-tip to get really intricate, but all I did was slowly pour and create some swirly streams.
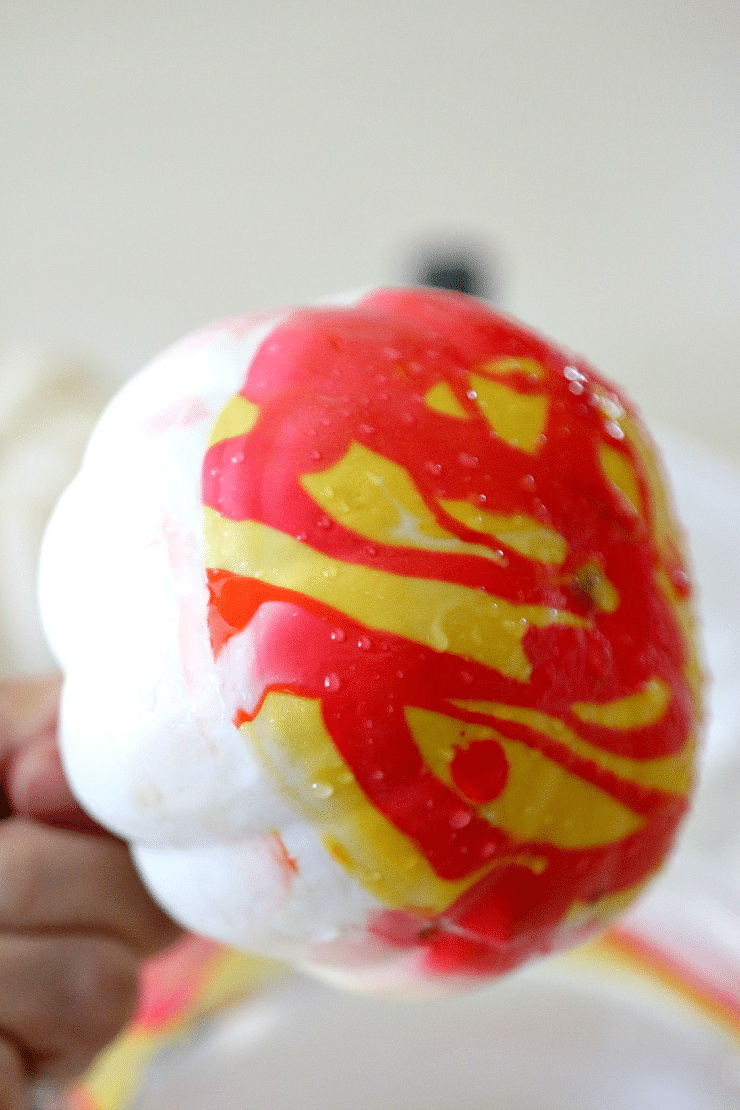
After you have your design, just dip your pumpkin and pull it out!
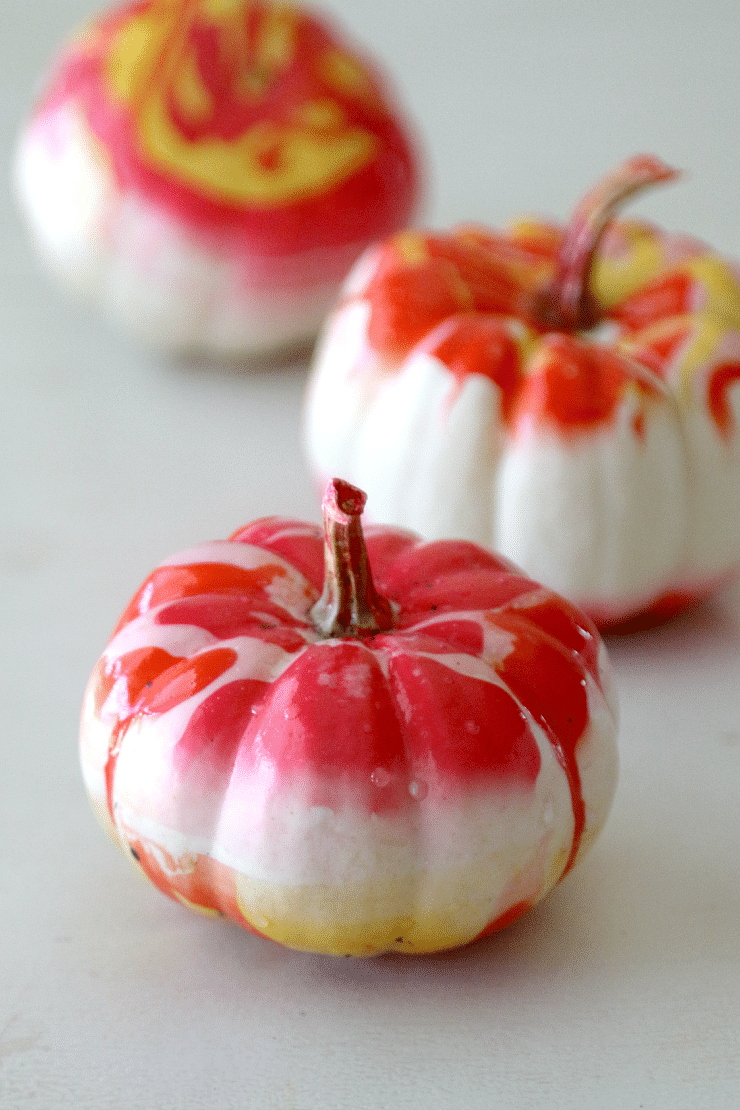
I decided to do the top and bottom of a few, so I would dip the bottom, then dry it off (I used a hair dryer), then poke a fork through the bottom and use the fork handle to dip the top of the pumpkin on the other side.
