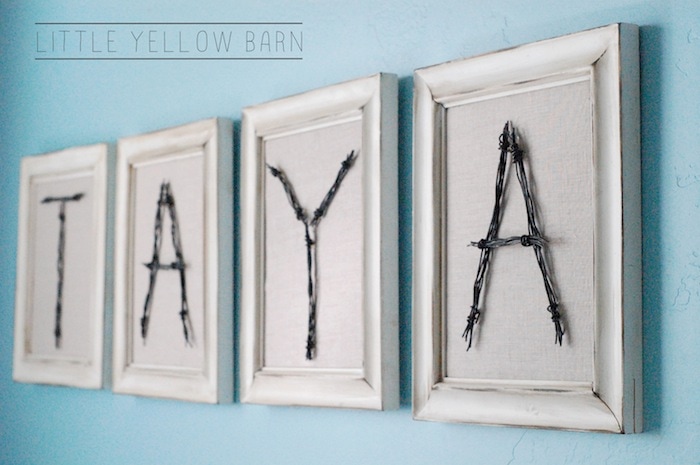
DIY Wire Letters
Creating DIY wire letters is a fun and customizable way to add a personal touch to your decor. To make these charming letter designs, all you need are some wire cutters, pliers, and floral wire of your choice. Simply sketch out the letter you want on a piece of paper to serve as a guide for shaping the wire. Next, bend the wire along the outline of the letter, using the pliers to twist and secure the ends together. Get creative with different wire colors and thicknesses to give your wire letters a unique and playful look. Whether you're decorating your room or preparing for a special event, these handmade wire letters are sure to add a delightful touch to any space!
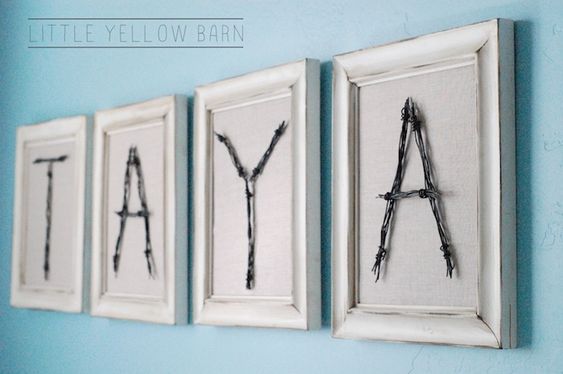
I started out with the idea of gathering tons of little branches, twigs, etc. and cutting them to make letters then tying them together with twine. After doing a project using wire I thought maybe that might work too.
How To
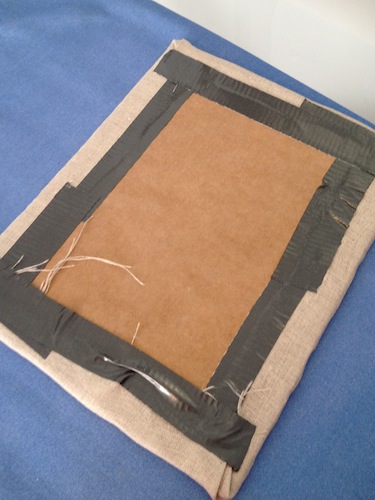
Remove glass and backing from picture frame. Cut cardboard to fit. Cut fabric about an inch bigger on each side of the cardboard.
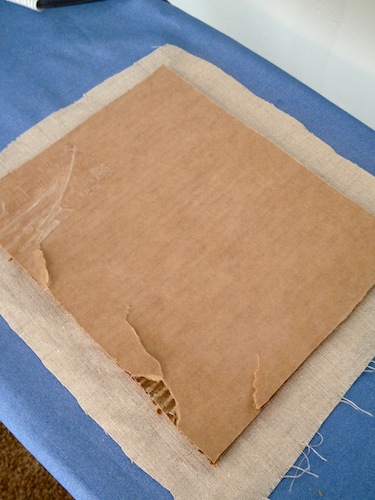
Duct tape or hot glue fabric to the backing pulling tight. I used duct tape because I figured it would be faster, less messy and no chance of getting burned!
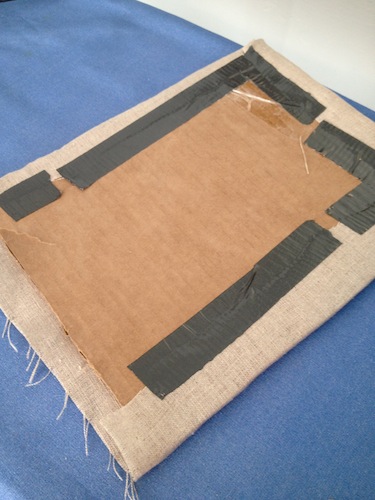
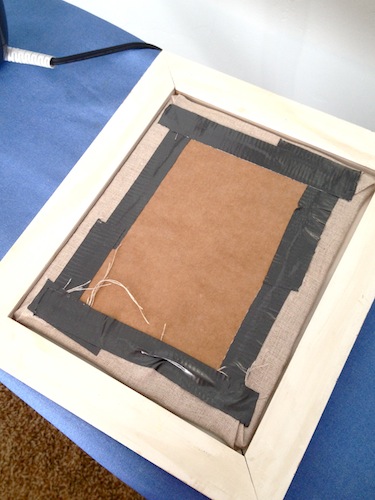
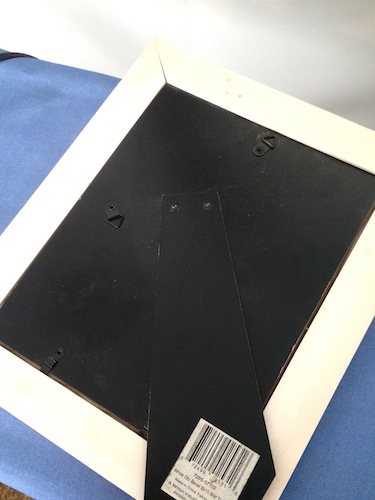
Fit fabric covered cardboard back into picture frame, place the back on top and secure.
Cut wire and shape to size
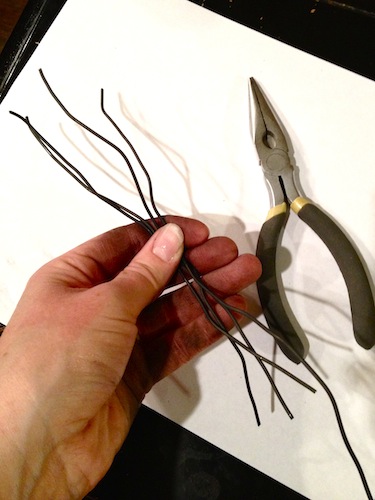
Cut smaller pieces of wire and use fingers and needle nose pliers to secure the ends. Form into letters.
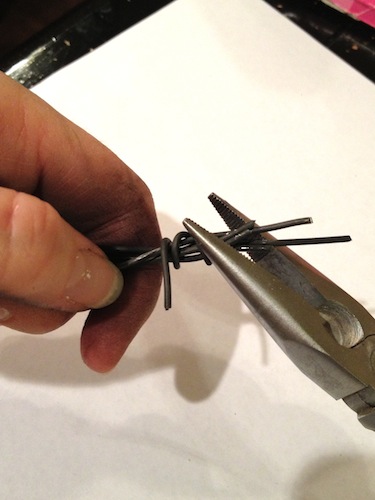
Place your letters on top of the fabric see where you like them. Use hot glue to secure the letters. I placed a drop of glue right where the knots were so it’d be almost impossible to see the glue.
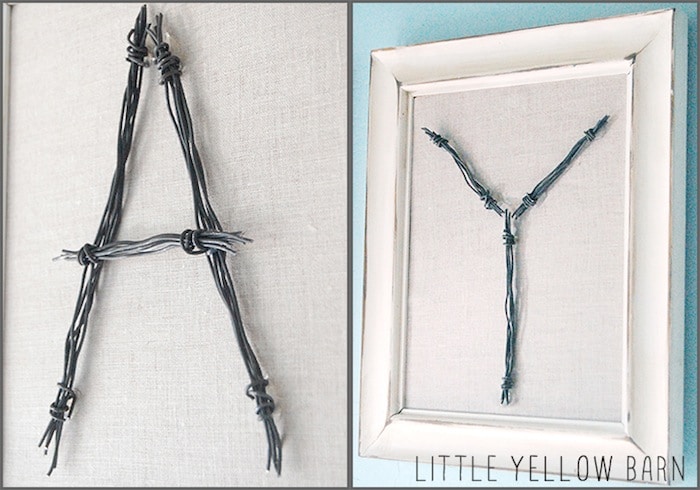
Once all the glue has dried you’re ready to hang them up!
