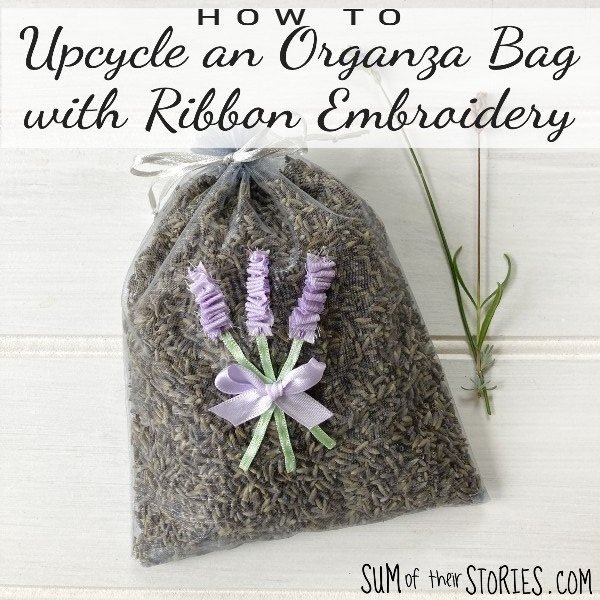
How to Decorate and Upcycle an Organza Bag
Decorating and upcycling an organza bag can be a fun and creative way to add a personal touch to your belongings while being environmentally friendly! You can start by gathering materials like ribbons, beads, fabric paint, or even old jewelry pieces. Get your creative juices flowing by sketching out some design ideas or simply going with the flow as you work on your project. Whether you choose to add intricate designs, playful embellishments, or a mix of different textures, the possibilities are endless! Not only will you be able to give your organza bag a new life, but you'll also have a unique accessory that reflects your style and creativity. So grab your supplies, unleash your imagination, and get ready to transform your organza bag into a one-of-a-kind piece that's as eco-friendly as it is fabulous!
This was my organza bag before decoration.
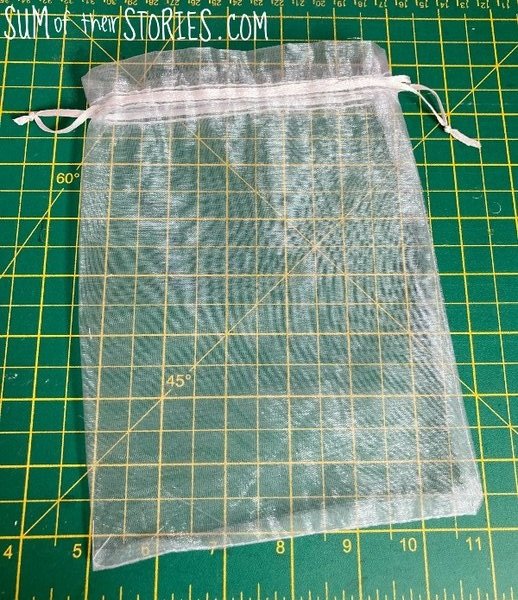
It doesn’t really show in this photo but it’s a light silver colour. It’s not one of those tiny organza bags, this one measures 14cm x 20cm (5.75” x 8”)
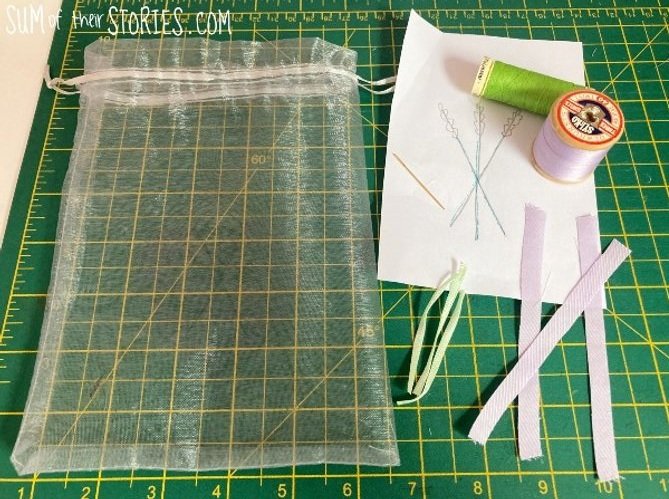
To decorate this bag I also used:
- 3 lengths of thin green ribbon 6cm (2.5” )
- 3 strips of purple fabric approx 12cm (4.5”) long and 1/2cm or 3/5” wide (or use a purple ribbon of course, I just didn’t have enough in my stash)
- Green thread and purple thread
- A small purple bow
- A needle and scissors
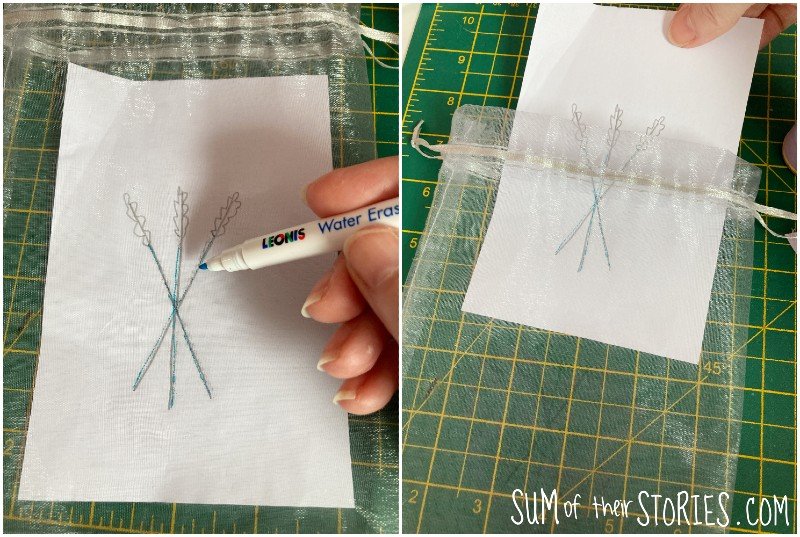
I drew a simple design on a bit of scrap paper and slipped it inside the bag and traced it with an erasable pen. To be honest, it didn’t show very well and on reflection a simple pencil line would have been fine.
Simple lavender design ribbon applique
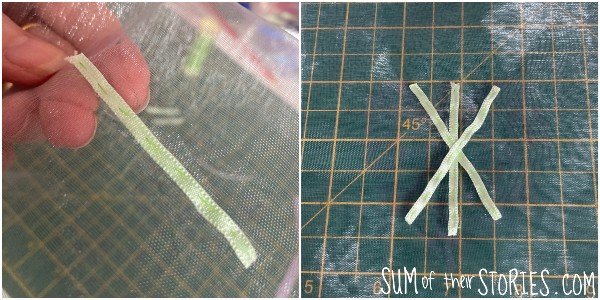
Start by sealing the ends of your thin green ribbon with a flame. Obviously do this very carefully, it only takes the tiniest fraction of a second. This is worth doing, if you catch the end of the ribbon as you sew it on it can come all unravelled (apparently!!) Take a length of green thread and sew the ribbon lengths in place using a simple running stitch, no need for anything fancy here.
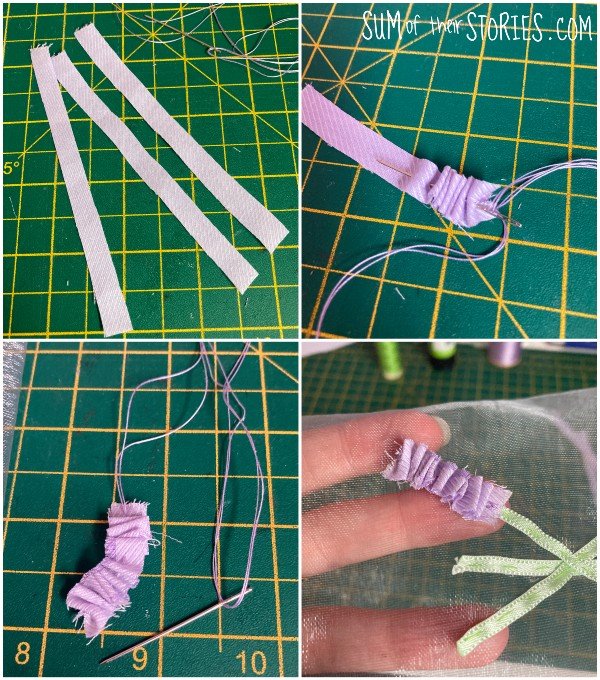
Next take one of your lengths of purple fabric, knot a length of purple thread and run a line of gathering stitches up the centre of the strip. Pull the stitches up until the fabric is a good length for a lavender flower head. Stitch it in place with a few stitches at each end.
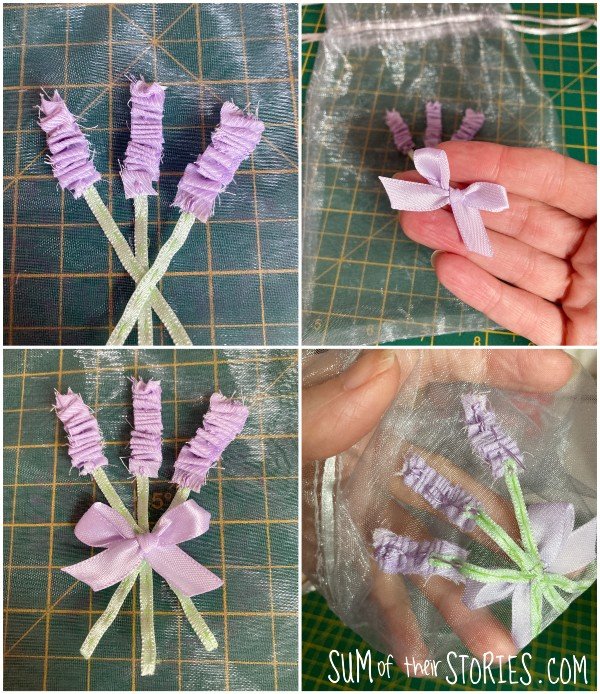
Add a purple bow to the middle with a couple of stitches to finish the decoration. I’ve turned it over in this last photo so you can see what the back looks like. It’s hard to do neat careful stitches on the fine organza, so “not neat” stitches are fine! You do really need to stitch this decoration in place though. I’ve not had any success with glue and organza bags, nothing seems to stick very well!
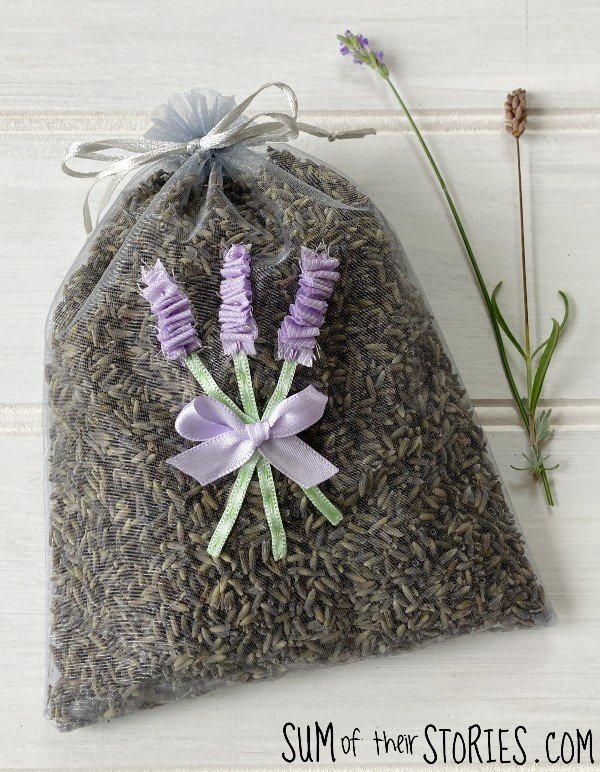
Fill your bag with dried lavender and it’s ready to pop in your wardrobe or gift to a friend.
If you fill an organza bag with your own, home dried lavender you may need to give it a bit of a shake outside to remove any fine dusty bits. My lavender needed that, very fine dusty particles were dropping all over the place to start with. Shop bought lavender must be processed differently as it doesn’t seem to be so dusty. Maybe it gets shaken a lot during the drying process or something?
Dried lavender keeps it’s scent for a while but will fade over time. If you give your lavender bag a bit of a squeeze and a squish every now and again the scent will be refreshed.