Crochet Floppy Disk Cuddle Buddy
The Crochet Floppy Disk Cuddle Buddy is the cutest and most nostalgic craft project you can make for your loved ones. Its charming floppy disk design brings a touch of retro fun to modern crochet creations. Whether you're a seasoned crocheter or just starting, this project is a delightful way to showcase your skills and spread some vintage charm. Imagine gifting this soft and huggable buddy to your tech-savvy friends as a quirky reminder of simpler times. With its bright colors and cozy texture, the Crochet Floppy Disk Cuddle Buddy is sure to bring smiles and warmth to anyone lucky enough to receive it. So grab your yarn and hook, and let's crochet a little piece of whimsical history together!

Materials
Super Bulky Weight Yarn (#6)
- Disk Color (A) [5 oz / 210 yds]
- White (B) [2 oz / 42 yds]
- Gray (C) [1 oz / 21 yds]
- Pink (D) [Scraps]
L/11/8.00mm Crochet Hook
15mm Safety Eyes
Fairfield Poly-fil
Scissors
Gauge
Not important for this project
Finished Measurements
12″ x 12″
Stitch Guide
arnd = around
ch = chain
dc = double crochet
sl st(s) = slip stitch(es)
st(s) = stitch(es)
YO = Yarn Over
Skill Level
Easy
Written in U.S. Terms
Notes
- Beginning chains do not count as stitches
- Bernat Blanket yarn was used for this Cuddle Buddy
Instructions
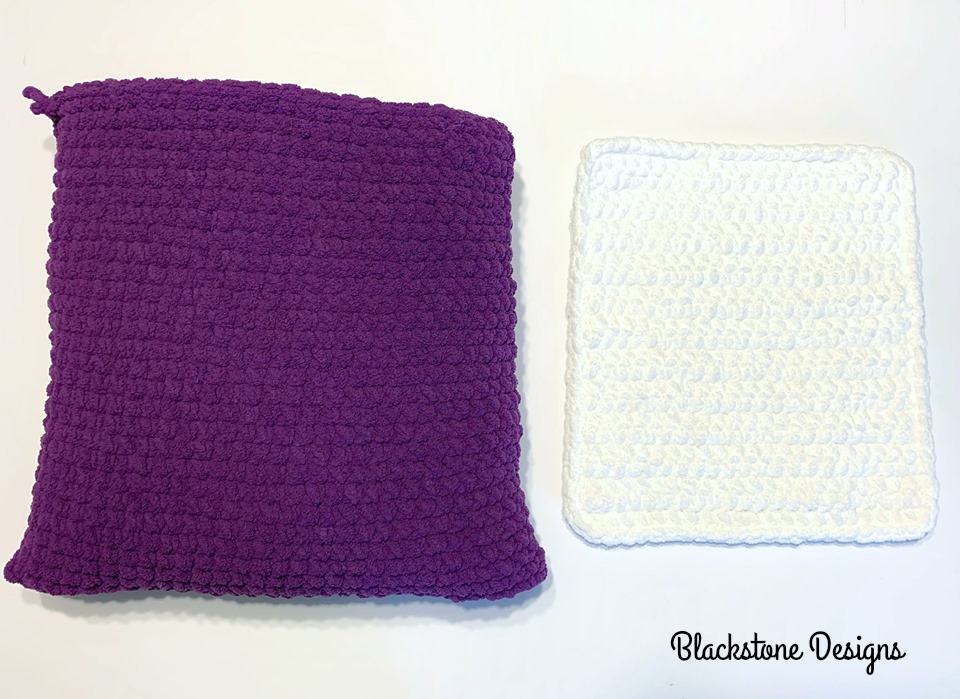
BASE
With Color A,
R1. Ch 31, sc down one side of ch, turn, and sc down opposite side of ch, do not join or chain here or throughout (60)
R2. Ch 1, sc in each st arnd (60)
R3-28. Repeat R2
>>Stuff firmly (do not overstuff) and then Sew closed.
LABEL
With Color B,
R1. Ch 23, sc in back bump of 2nd ch and across, turn (22)
R2. Ch 1, sc in each st across, turn (22)
R3-23. Repeat R2; Fasten at the end of R23.
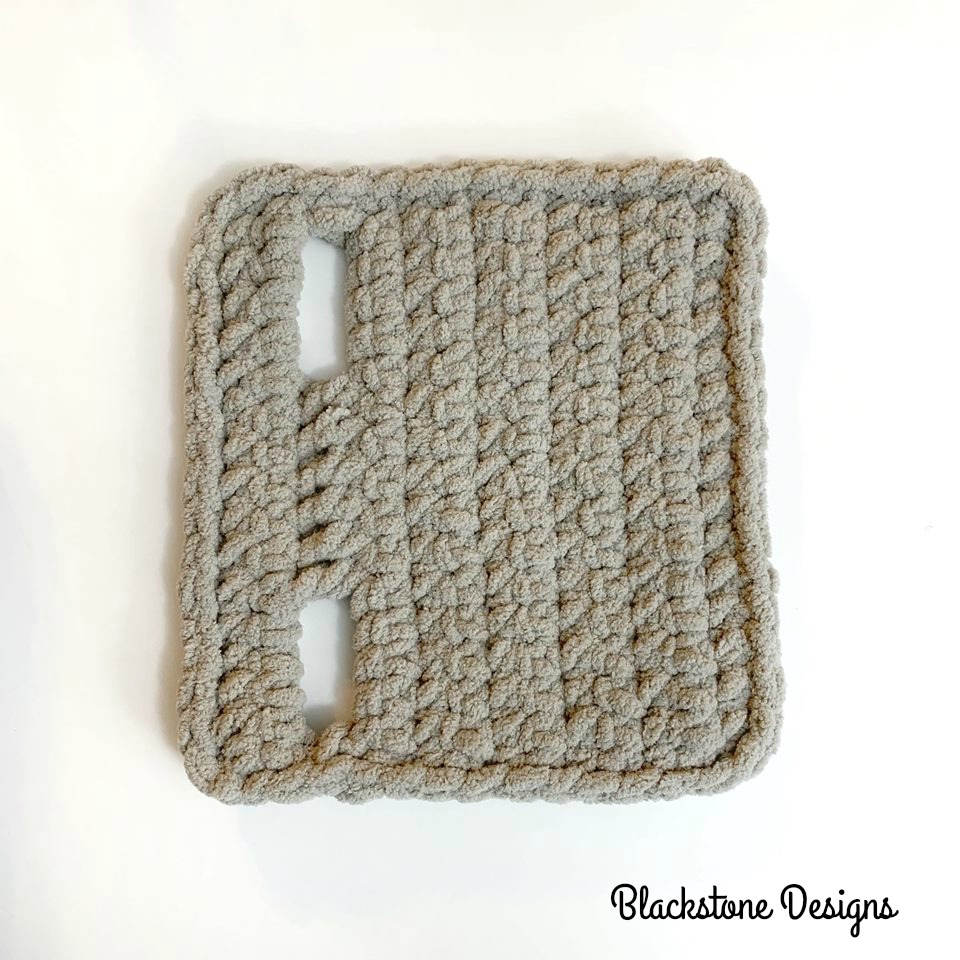
SHUTTER
With Color C,
R1. Ch 17, sc in back bump of 2nd ch and across, turn (16)
R2. Ch 1, sc in each st across, turn (16)
R3-10. Repeat R2
R11. Ch 1, dc in 1st st, ch 4, skip 4, dc x 6, ch 4, skip 4, dc in last, turn (8 dc, 8 skipped sts)
R12. Ch 1, sc in dc, 4 sc in ch-4 space, sc x 6, 4 sc in ch-4 space, sc in dc, turn (16)
R13. Ch 1, sc in each st across, turn (16)
R14. sl st in the end of each row and in each st arnd the outside, sl st to 1st sl st; Fasten.
CHEEKS (Make 2)
With Color D,
R1. Make magic ring, ch 1, 6 sc in ring; Fasten. (6)
Finishing
- Insert safety eyes between rows 6 & 7 (from the bottom) of label, leaving approximately 10 sts between them.
- Attach cheeks to label, underneath the eyes, over rows 3 & 4, leaving approximately 12 sts between them.
- Attach mouth to label over rows 2-4 (from the bottom). I used the embroidery chain stitch, but you could also chain 8 and then glue that to the front.
- Attach label to the front of the disk, lining the bottom edge up with round 12 of the disk and folding down over the top & back.
- Attach shutter to bottom of the disk, lining the top edge up with round 8 of the disk and folding it round the bottom and onto the back side.
- Hide any loose tails.