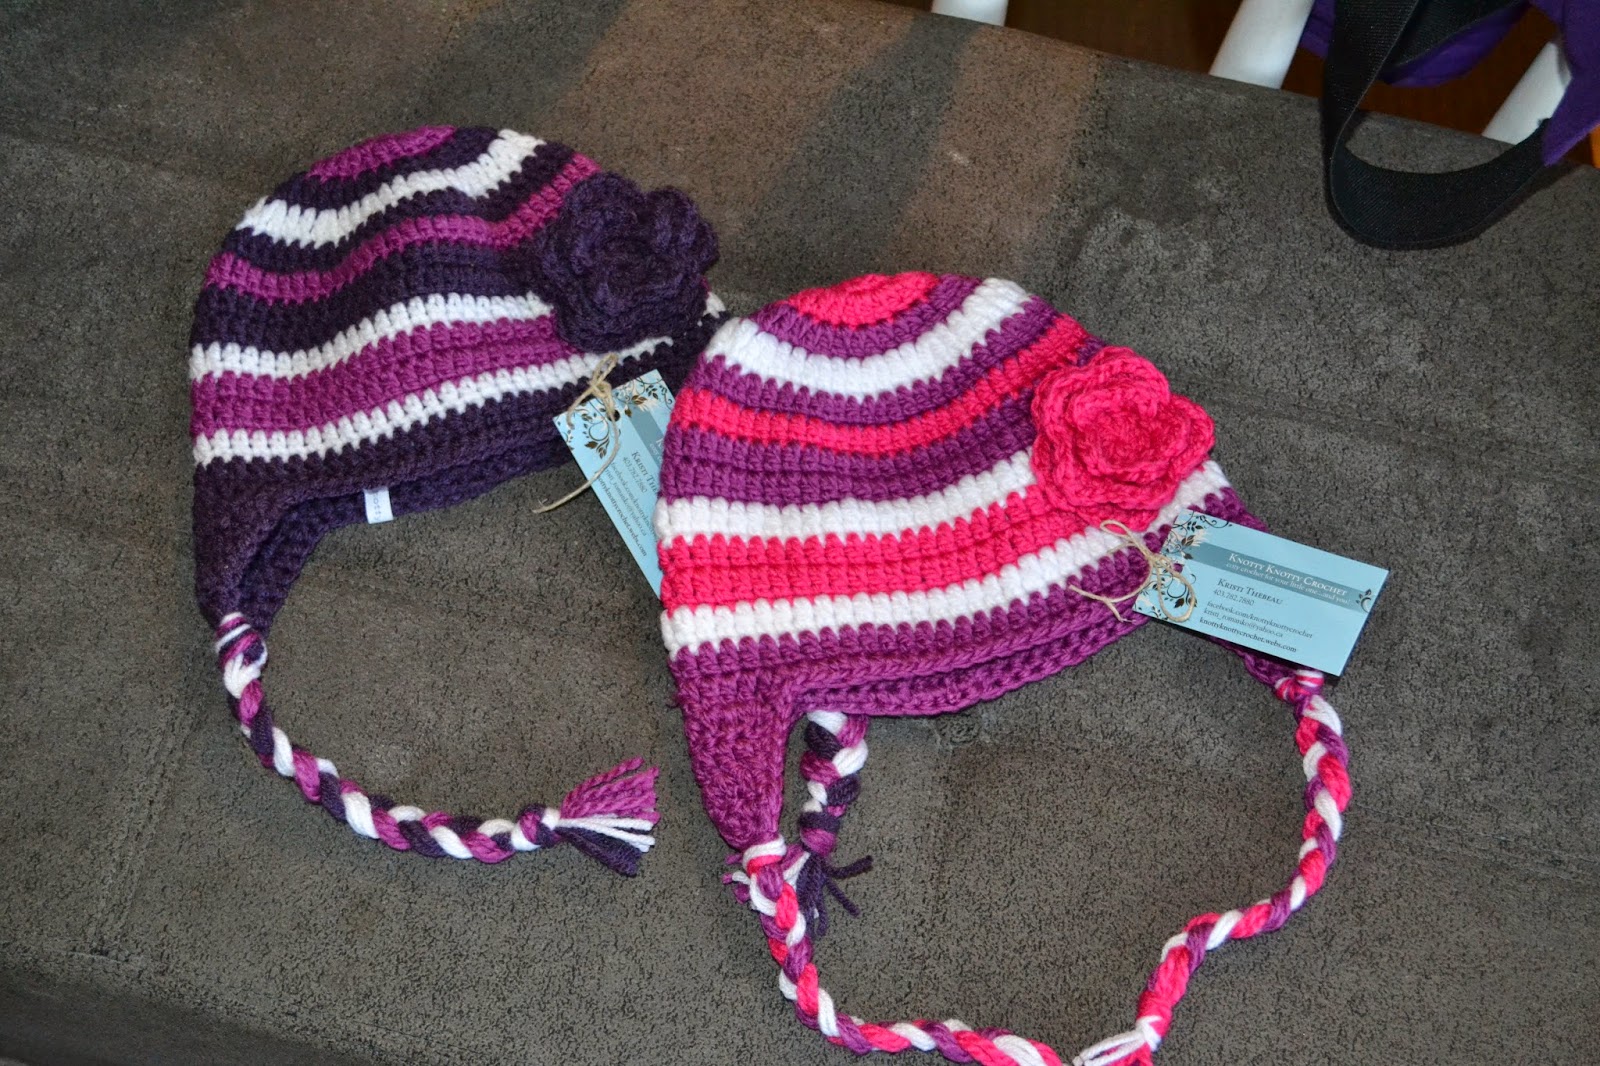
Crochet Super Bulky Striped Hat
Are you ready to stay cozy and stylish this winter? The Crochet Super Bulky Striped Hat is just what you need to add a pop of color and warmth to your cold-weather wardrobe. Handcrafted with love and care, this hat is not only fashionable but also incredibly soft and comfortable to wear. The chunky yarn creates a plush texture that will keep you warm and snug on chilly days. With its vibrant stripes, this hat is a fun and cheerful accessory that will brighten up any outfit. Whether you're out for a winter stroll or simply running errands, this hat is sure to keep you looking adorable while staying toasty. Don't let the cold weather dampen your style – wrap yourself in the Crochet Super Bulky Striped Hat and embrace the winter season with a smile!

Materials
super bulky yarn size 6 in three colors (I used Bernat Softee Chunky in Grape, Dark Mauve and White)
K hook (6.5mm)
Darning needle for weaving in ends
COLOR A
Begin with magic ring
Round 1: 10 hdc in the magic ring. Pull tail closed and join to first hdc. (10 sts)
Round 2: ch1. 2 hdc in each stitch around. Join to first hdc made. (20 sts)
CHANGE TO COLOR B
Round 3: ch 1. *2 hdc in first st. 1 hdc in next st.** Repeat from * to ** 9 more times. (30 sts.)
CHANGE TO COLOR C
Round 4: Ch 1 *2 hdc in first st. 1 hdc in each of the next 2 sts. ** Repeat from * to ** 9 more times. (40 sts)
CHANGE TO COLOR B
Round 5: Ch1. *2 hdc in first st. 1 hdc in each of the next 3 sts.** Repeat from * to ** 9 more times. (50 sts)
CHANGE TO COLOR A
Round 6: Ch1. hdc in each sts around. (50 sts)
CHANGE TO COLOR B
Rounds 7 & 8: Ch1. hdc in each sts around. (50 sts)
CHANGE TO COLOR C
Round 9: Ch1. hdc in each sts around. (50 sts)
CHANGE TO COLOR A
Rounds 10 & 11: Ch1. hdc in each sts around. (50 sts)
CHANGE TO COLOR C
Round 12: Ch1. hdc in each sts around. (50 sts)
CHANGE TO COLOR B
Round 13: Ch1. hdc in each sts around. (50 sts)
Fasten off yarn using invisible knot.
ADDING EARFLAPS1) Fold hat flat with the joining seam in the middle of the back. Be sure the front of the hat is facing you. Count in four stitches from each side and place a marker at both spots. count back 10 sts, including the st the marker is in and place another marker at each spot. This is where the earflaps should be. Join yarn (I join the left earflap from the front of the hat and the right one from the back so my flaps both look the same.) ch 2, dc in same st as ch 2. dc over next 9 st. (10 dc, as ch 2 does not count as dc) ch2 turn2)dc2tog dc till 2 sts remain. dc2tog. ch 2. trun.3) dc2tog over next 2 sts. dc until 2 sts remain. dc2tog. ch 2. turn.4) Dc2tog over next 2 sts. dc until 2 sts remain. dc2tog. ch 2. turn.5) dc2tog over next 2 st. dc. dc2 tog over next 2 st. do not fasten off. turn work so that right side is facing you. sc evenly down side of earflap, sc in each st around. fasten off with invisible knot.
add strands to the bottoms of the earflaps for braiding.
FLOWER
start with a magic ring.
Round 1: 10 hdc in magic ring, join to top of first hdc made. pull tail of yarn tightly to close ring.
Round 2: (ch 3, skip next hdc. sl st into next hdc.) Repeat 4 more times. 5 loops made.
Round 3: working into each loop made by the ch 3: (sc, hdc, dc, hdc, sc) 5 petals made. after completing the last sc, sl st into the back of first petal made where the ch attaches to the original circle made in round 1.
Round 4: Ch 4. sl st to the back between petals 1 & 2. Repeat always connecting to the back behind each petal. 5 new loops made.
Round 5: working into each loop made by the ch 4: (sc, hdc, 2 dc, hdc, sc) 5 petals made. Sl st behind petal and fasten off leaving a long tail for sewing on flower.
You can continue making a third round by making another row of loops (increasing by one more ch) and then another row of petals (increasing by one more dc).
There it is.