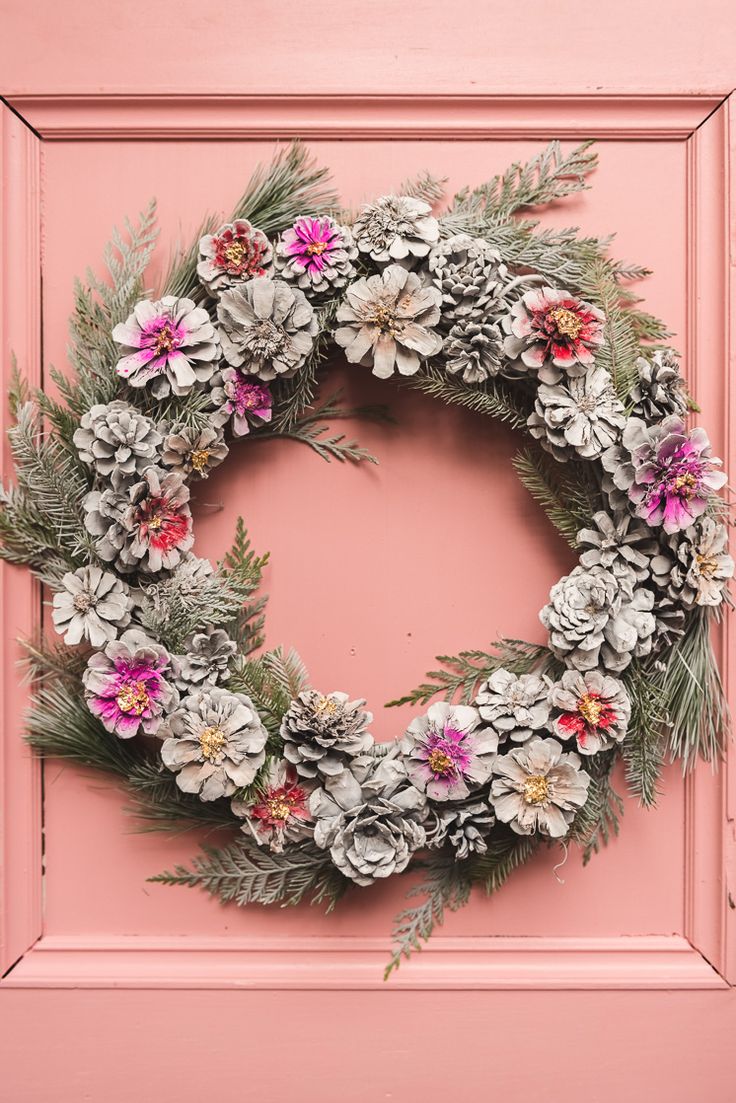
DIY Painted Pinecone Wreath
Welcome to the wonderful world of crafting! Creating your own DIY painted pinecone wreath is not only fun but also a great way to add a touch of homemade charm to your home decor. Add a festive ribbon or bow for a finishing touch, and voila - a beautiful handmade wreath that will impress all your guests! So roll up your sleeves, grab your paintbrush, and let your creativity shine with this delightful DIY project.

Materials:
- Twig Wreath Frame
- Pine cones–just gather them from outside and try and find ones that aren’t too thick.
- Pine Boughs.
- Spray paint in white, blush, hot pink, and red
- Gold Leaf Kit
- Hot Glue Gun
- Sturdy Hand Clippers
- Work gloves
Instructions:
- For the pine cones, we used a mixture of tops, middles, and bottoms to create our wreath. To get the middles, you’ll need your work gloves and clippers.
- Take your pine cones and using your clippers cut the top portion of the pine cone off. This can be difficult, so make sure you’re wearing work gloves to protect your hands. Pine cones with a thinner center stem are much easier to manage. Use a twisting motion to help you separate the pieces.
- We used 32 pinecones total in our wreath. Once you have enough pinecones for your wreath, set them on a large piece of cardboard or other spraypaint safe-surface, making sure the side you’d like to see on your wreath is facing up.
- Spray paint the pinecones, the wreath base, and your pine boughs with white spray paint. You made need a couple of coats on the pine cones. We wanted a bit of the green to show through on the pine, so we only did one coat on those.
- Once dry, take a few of the pine cones and spray the centers with the shades of pink and red. I added color to 18 pine cones, 6 in each color.
- To finish, add a touch of gold leaf to the centers of each colored pinecone, following the directions on the kit.
- Now that all of your components are prepped and ready, use your hot glue gun to attach the cones and pine to the twig wreath base.
- I do the cones and pine boughs at the same time so I can achieve the look I want. You can always add more pine at the end though.
No comments
Write a comment