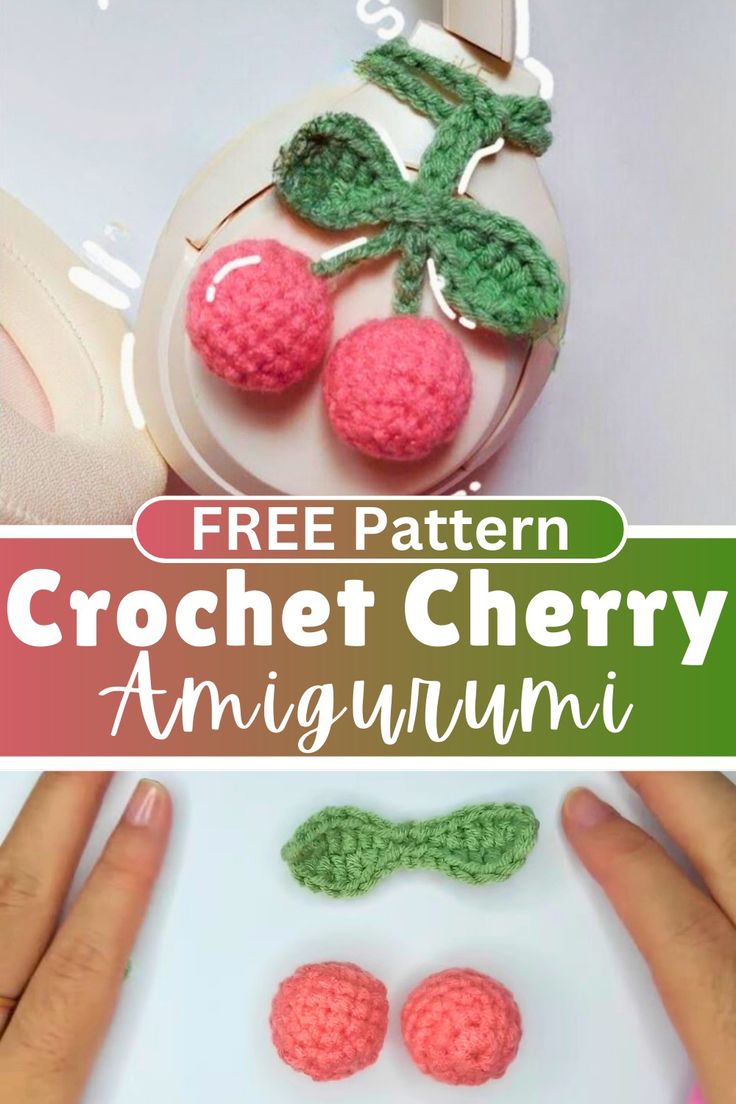
Crochet Cherry Amigurumi
Crochet Cherry Amigurumi is a delightful and charming craft that brings a touch of sweetness to your day. These tiny crocheted cherries make adorable decorations or cute gifts for your loved ones. With their vibrant red color and adorable design, they are sure to put a smile on anyone's face. Whether you are an experienced crocheter or a beginner looking for a fun project, creating these little cherries is a great way to add a pop of color and creativity to your life. So grab your crochet hook and some yarn, and let's get crafting these cute and friendly crochet cherry amigurumi together!
Materials Needed:
- Yarn (Color of your choice for the cherry and green for the leaf)
- Crochet hook (size 3.5mm recommended)
- Stitch marker
- Yarn needle for sewing
- Stuffing material
Step by step Instructions
Cherry Body:
- Round 1: Start with a magic ring. Make 8 single crochets into the magic ring. Pull the tail to tighten the ring.
- Round 2: Make an increase stitch (2 single crochets) in each stitch around. You will have a total of 16 stitches.
- Rounds 3, 4, and 5: Make a single crochet in each stitch around without any increases. Use a stitch marker to mark the beginning of each round.
- Round 6: Make 2 single crochets, then a decrease. Repeat this pattern four times around. By the end, you should have a total of 12 stitches.
- Round 7 (final round): Make a decrease stitch in each stitch around (6 times total). Use normal decrease stitches for easier shaping.
After completing the body, secure the end, add stuffing, and sew the opening closed. Hide the tail inside the cherry.
Cherry Leaf (optional):
- Starting: Make a slip knot, then chain 15.
- Begin shaping the leaf:
- Insert your hook into the second chain from the hook, make a single crochet.
- Make a half double crochet in the next chain.
- Make a double crochet in the next two stitches.
- Half double crochet in the next stitch.
- Single crochet in the next.
- Slip stitch in the next, chain one to turn.
- Repeat the same pattern on the other side of the chain to complete the leaf shape.
- Finish off and cut the yarn, leaving a tail for sewing.
Assembly:
- Attach the leaf to the top of the cherry using the tail from the leaf. Sew securely and weave in any loose ends.
- Optionally, you can attach a loop or a keychain mechanism at the top of the cherry for hanging.
Additional Tips:
- Adjust the hook size or the yarn weight to increase or decrease the size of the amigurumi.
- When stuffing the cherry, ensure it's firm but not overstuffed to avoid gaps in stitches.
No comments
Write a comment