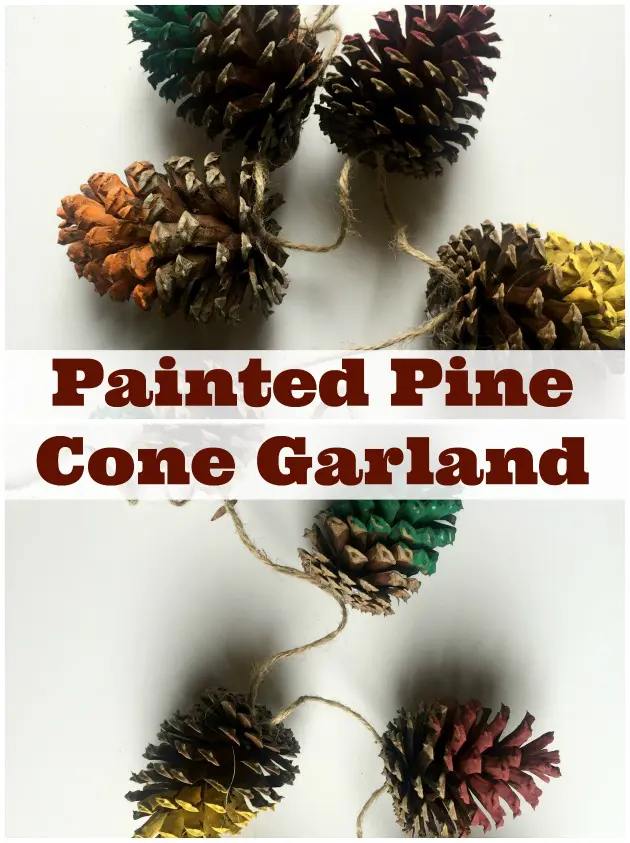
Pine Cone Garland
Creating a Painted Pine Cone Garland is a delightful way to add a touch of rustic charm to your home decor. It's a fun and easy DIY project that you can enjoy with friends or family. This craft is perfect for the holiday season or any time you want to bring a bit of nature indoors. Get creative and enjoy the process of making your space feel warm and inviting with a Painted Pine Cone Garland!
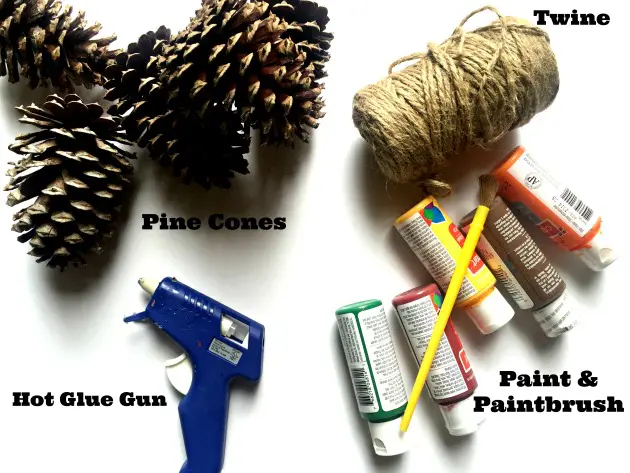
DIY Pine Cone Garland Supplies Needed:
- Pine Cones
- Twine
- Paint
- Paintbrush
- Glitter (optional)
- Hot Glue Gun (available at any craft store)
How To Make Pine Cone Garland:
First gather up a handful or so of pine cones. If you don’t have a pine tree around, you could always head to a local park or local hiking trails. There are bound to be some pinecones laying on the ground at those places! Once you have gathered up your pinecones, grab your other supples and head to a table or your favorite crafting spot. I put newspaper on our table because we all know what happens when kids paint: It gets MESSY!
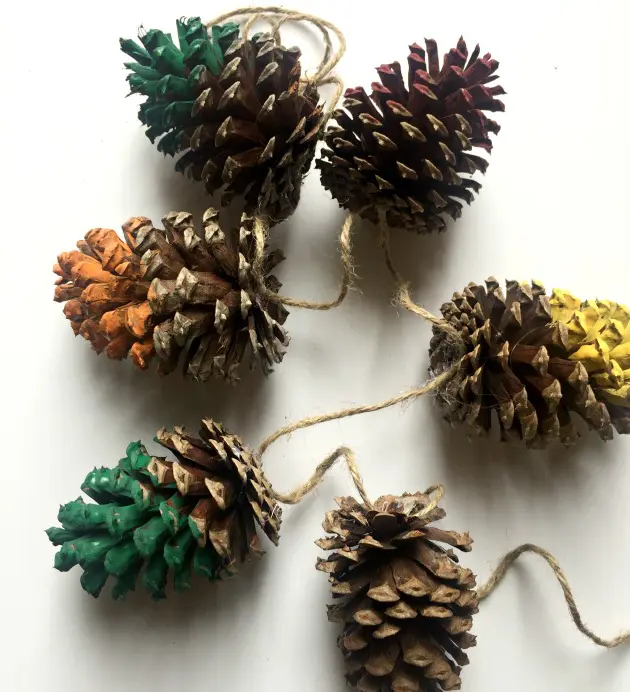
Squirt out your paint on a paper towel or plate and get to painting! Even adults like to get in on this craft! We painted about halfway up on each of our pinecones and chose to use Fall colored paints. If you want to add glitter, just sprinkle it evenly over the wet paint. Silver or gold glitter work best for a more polished, elegant look.

Once you have painted a pinecone, set it aside on its top and let it dry. It only took about 10 minutes or so for all of our pinecones to dry because we used thin layers of acrylic paint.
Once they are dry, you can start glueing them onto your twine. Or you can use a festive ribbon if that is more to your personal preference. First, I cut about a 4 foot piece of twine for our garland. You can make it as long as you want!
Next, drop a small dot of glue on the top of your pinecone (or the bottom of the pinecones). I put the glue on the flat end, what I call the base of each pine cone, so it would stick easiest.
Carefully press the twine down on the glue (this should only be done by an adult since the glue is pretty hot!). Spread the pinecones out about every 2 inches or so along the length of your garland. Once you have glued all your pinecones on your twine, you have your Painted Pine Cone Garland which adds rustic sense of nature to your seasonal décor!
Pinecone Garland Conclusion
You can use screw eye hooks to hang the garland along your mantle or stairs. We just used scotch tape for our own pine cone garland. You can even add a few pine boughs over them for a more polished look.
Using natural materials like pine cones for decorations is environmentally friendly and sustainable. Pine cone garlands can be used in various settings, such as on mantels, doorways, windows, or as part of a table centerpiece. Finally, making a pine cone garland can be a fun and engaging DIY project for families, particularly around the holiday season.