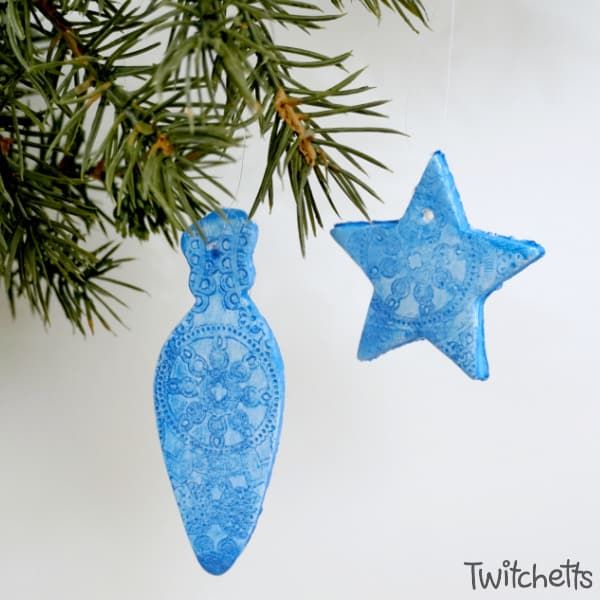
Air Dry Clay Christmas Ornaments
Creating Air Dry Clay Christmas Ornaments is a wonderful way to add a personal touch to your holiday decor! This versatile craft allows you to let your creativity shine as you mold and shape the clay into unique ornaments that reflect your style. Whether you're making simple shapes or intricate designs, air dry clay is easy to work with and perfect for personalized gifts or keepsakes. Once the ornaments are dry, you can paint them, add glitter, or even stamp them to make each one special. They make a thoughtful addition to your tree or can be used as gift toppers or stocking stuffers. So gather your clay, get inspired, and let the festive crafting begin!
Supplies for cookie cutter Christmas ornaments
- Air Dry Clay
- Cookie Cutter.
- Parchment Paper.
- Doilies.
- Rolling Pin. (a play dough one will do)
- Something to poke a hole.
- Paint.
- Paint Brush.
- Water.
- Pallete.
- String.
How to make unforgettable clay ornaments
First, you need to get your clay ready. Start by kneading in a little bit of water. I do this by getting my fingers wet and working it into the clay.
Once it feels nice and smooth place it down on your work surface. Put down parchment paper so your clay doesn’t stick.
Roll it out using something to help keep it even. I used 2 colored pencils.
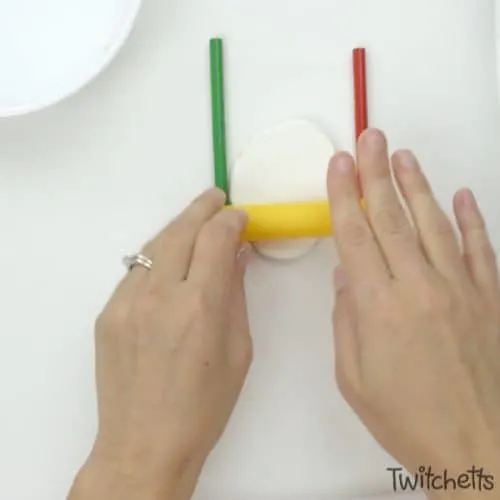
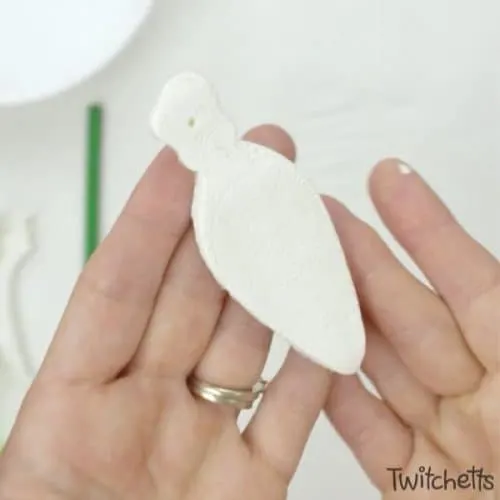
Then use your cookie cutter to make your shape.

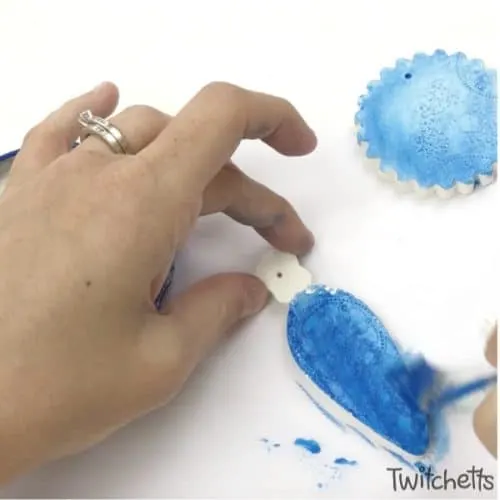
Use something, like a nail, to carefully poke a hanging hole.

Add a little bit of water so your surface is moldable and lay on your doily.

Use your rolling pin to lightly add pressure to the top of your shape.

It won’t leave a huge impression, but it will show up with the paint later.
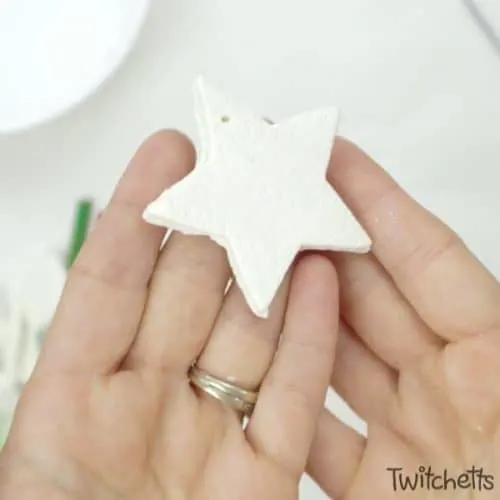
Place your ornaments in a safe place to dry completely overnight.
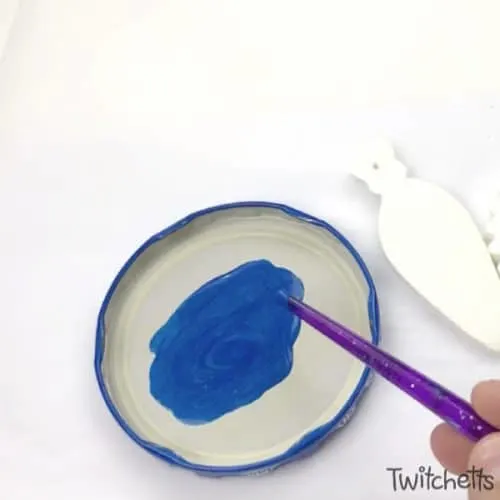
Once dry pick a pretty color to paint your ornaments. Add it to your palate with a bit of water. You want the paint to be thin.
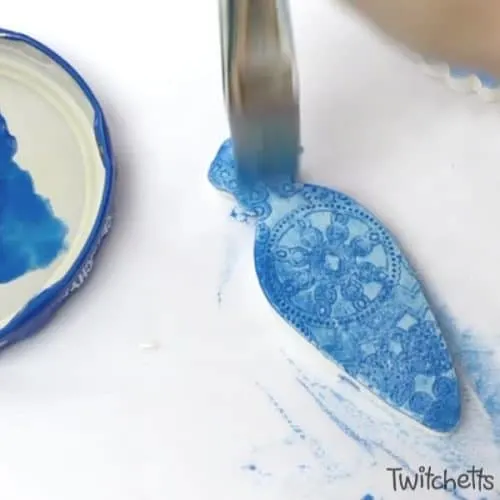
Start brushing on your paint. Let it sink into all the design.
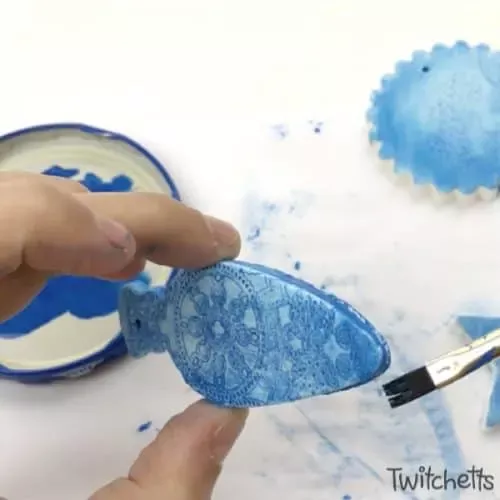
Add a bit more water to your brush and swipe the top of your design.
Add paint along the edges and let dry.
Last, add a bit of string to hang them on your tree!