DIY Nesting Tin Can Bunnies
Looking to add a cheerful touch to your home decor? DIY Nesting Tin Can Bunnies are a delightful and simple project that will bring whimsy to any space. Transforming ordinary tin cans into adorable bunnies is not only a fun activity but also a creative way to upcycle materials. With just a few basic crafting supplies and a dash of imagination, you can create a charming set of nesting bunnies that will surely put a smile on your face. Whether you're a seasoned crafter or a beginner looking for a fun project, these tin can bunnies are a perfect way to add a touch of homemade charm to your home. So gather your supplies, unleash your creativity, and let these cute tin can bunnies hop into your heart and home!
What you need:
- Empty tin cans (three or more sizes)
- Felt
- Scissors
- Hot glue gun
- Paper (black and pink)
Steps:
Step 1
Wash and dry the empty tin cans. Don’t forget to use a can opener that leaves a smooth edge – you don’t want to worry about any sharp edges on these bunnies! You can use as many cans as you like, as long as they fit together. I used a tomato paste can, a regular-sized refried beans can, and a tomato sauce can. I don’t normally buy those large cans of apple juice, but I might have to just to add another large bunny to this set!
Wash and dry the empty tin cans. Don’t forget to use a can opener that leaves a smooth edge – you don’t want to worry about any sharp edges on these bunnies! You can use as many cans as you like, as long as they fit together. I used a tomato paste can, a regular-sized refried beans can, and a tomato sauce can. I don’t normally buy those large cans of apple juice, but I might have to just to add another large bunny to this set!
Step 2
Cut a rectangle of felt to cover the sides of each can.
Cut a rectangle of felt to cover the sides of each can.
Step 3
Cut two felt ears to match the felt.
Cut two felt ears to match the felt.
Step 4
Use hot-glue to secure the ears along the top edge of the can, and then wrap the rectangle of felt on top, gluing this in place to secure on the back so that the seam isn’t visible from the front.
Use hot-glue to secure the ears along the top edge of the can, and then wrap the rectangle of felt on top, gluing this in place to secure on the back so that the seam isn’t visible from the front.
Step 5
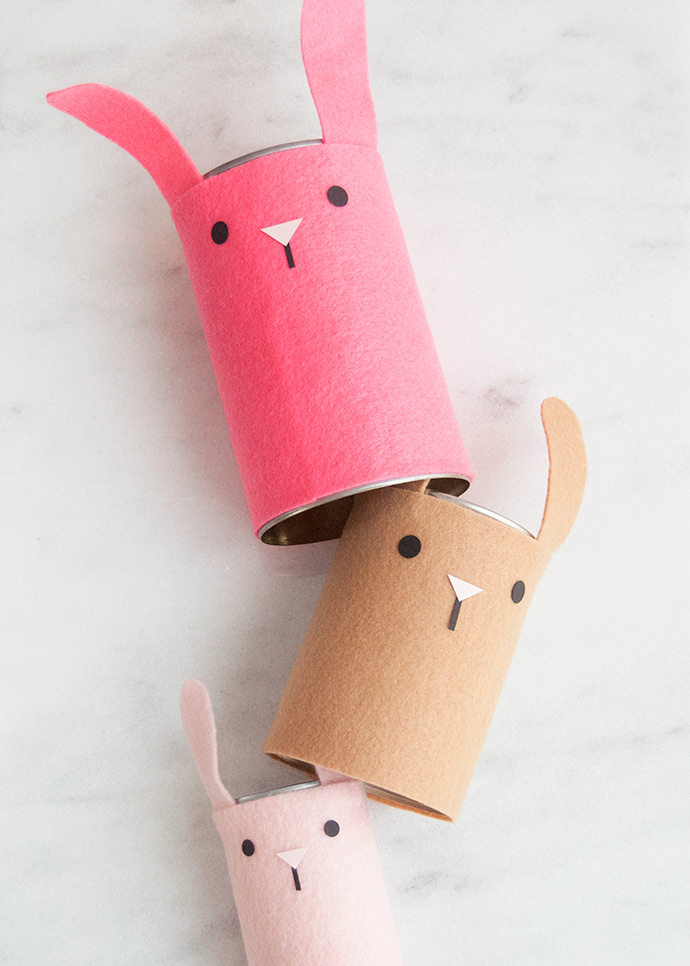
Use scissors (or a hole punch) to cut small circles from black paper for the eyes. Cut a pink paper triangle for the nose, and a thin strip of black paper for the mouth.
Use scissors (or a hole punch) to cut small circles from black paper for the eyes. Cut a pink paper triangle for the nose, and a thin strip of black paper for the mouth.
Step 6
Glue the paper faces onto the front of each bunny.
Glue the paper faces onto the front of each bunny.
No comments
Write a comment