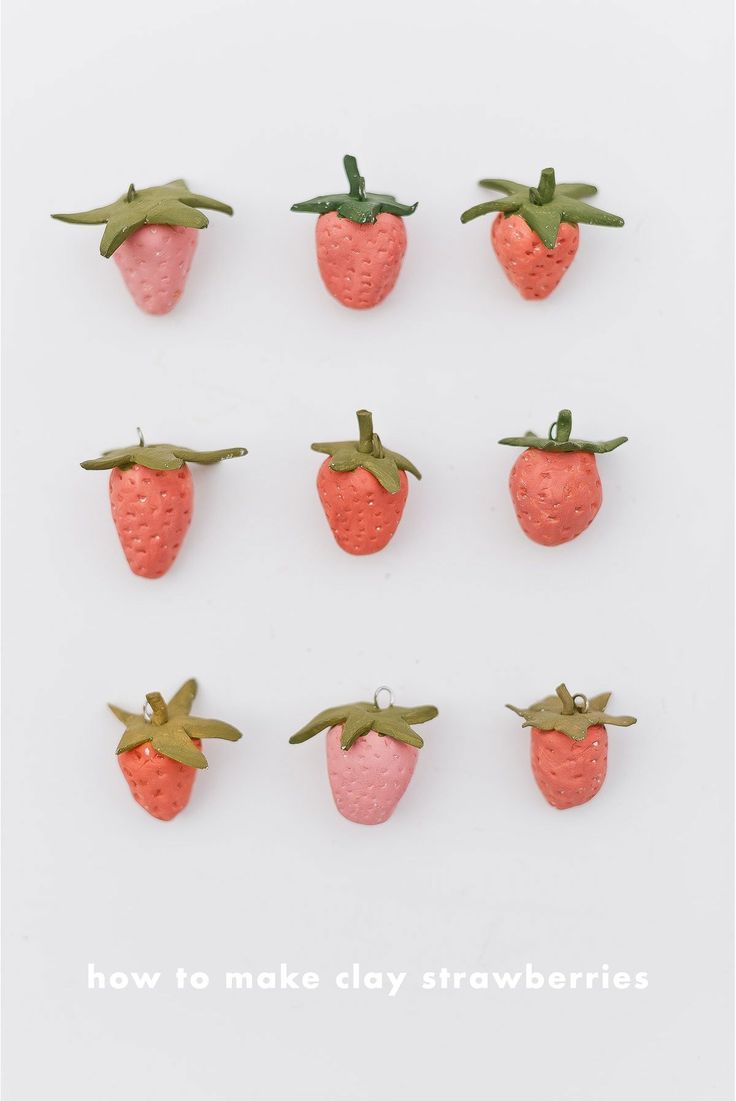
DIY Clay Strawberries
If you're looking for a fun and creative DIY project, making clay strawberries is a delightful choice! These miniature clay strawberries make adorable decorations for jewelry, keychains, or simply to display. So, gather your materials, unleash your creativity, and have a berry good time crafting your own clay strawberries!
Materials for Clay Strawberries
- air dry clay
- wire
- wire cutters and wire pliers
- something to poke small holes (toothpick, etc)
- acrylic paint (or gouache) and paint brush

How to Make Clay Strawberry Ornaments
Pinch off a small chunk of air dry clay and roll it into a ball. I like to roll the ball on the table because it will get super smooth that way (no wrinkles or cracks).
Then lightly pinch on the end to make the bottom a little more pointed, like a strawberry.
Then flip it over and press the top against a flat surface to flatten the top of the strawberry.
Poke small holes / indentions all the way around the strawberry to look like seeds.
I used a drill bit to create indentions, but you can use a toothpick, the prong of a fork, etc. Set side.

Grab a small pinch of clay and roll into a ball and then squish it out flat. This part will become the leaves.
Cut little triangle shapes around the circle to make it look like leaves for the strawberry. See photo.
Then attach to the top of the strawberry.
You can score the top of the strawberry and bottom of the leaves base and then push them together.

Then poke a hole through the center (down through the leaves and a little bit into the strawberry).
Then pinch off a very small piece of clay (smaller than the leaves piece) and roll out into a thin tube. This will be the stem.
Poke the stem down into the hole you made in the previous step.
Cut off any excess of the stem so that it’s relatively short.

Now it’s time to make the hook so it can hang and be an ornament.
Cut a piece of wire 2-3 inches long. And twist the wire into a loop with a tail, for lack of a better way of explaining.
Cut off the long part of the tail (leaving a short length that will stick into the clay).

Press the wire tail into the strawberry, though the leaves, by the stem.
Wait for the air dry clay to dry over night or 24 hours.

Then, paint the hardened strawberries with acrylic paint or gouache.
I wanted the color to be very paint, so I dry brushed the paint on to make the color more muted.
Add a string or a wire hook to the loop you created in a previous step.
I used a small piece of velvet ribbon for each ornament to add a little flair and then a wire hook to actually hang onto the tree.