Crochet Beautiful Dragon
Crocheting a beautiful dragon can be such a magical and rewarding experience! Whether you're an experienced crocheter or just starting out, creating a dragon amigurumi allows you to unleash your creativity and bring a touch of whimsy to your crafting. From choosing the perfect yarn colors to adding intricate details like scales and wings, each step in the process is filled with joy and excitement. As you crochet, envision the dragon coming to life in your hands, promising to be a unique and treasured creation. So, grab your crochet hook, gather your yarn, and let your imagination soar as you embark on this enchanting crocheting journey. Get ready to unleash the magic of creating your very own crochet beautiful dragon!
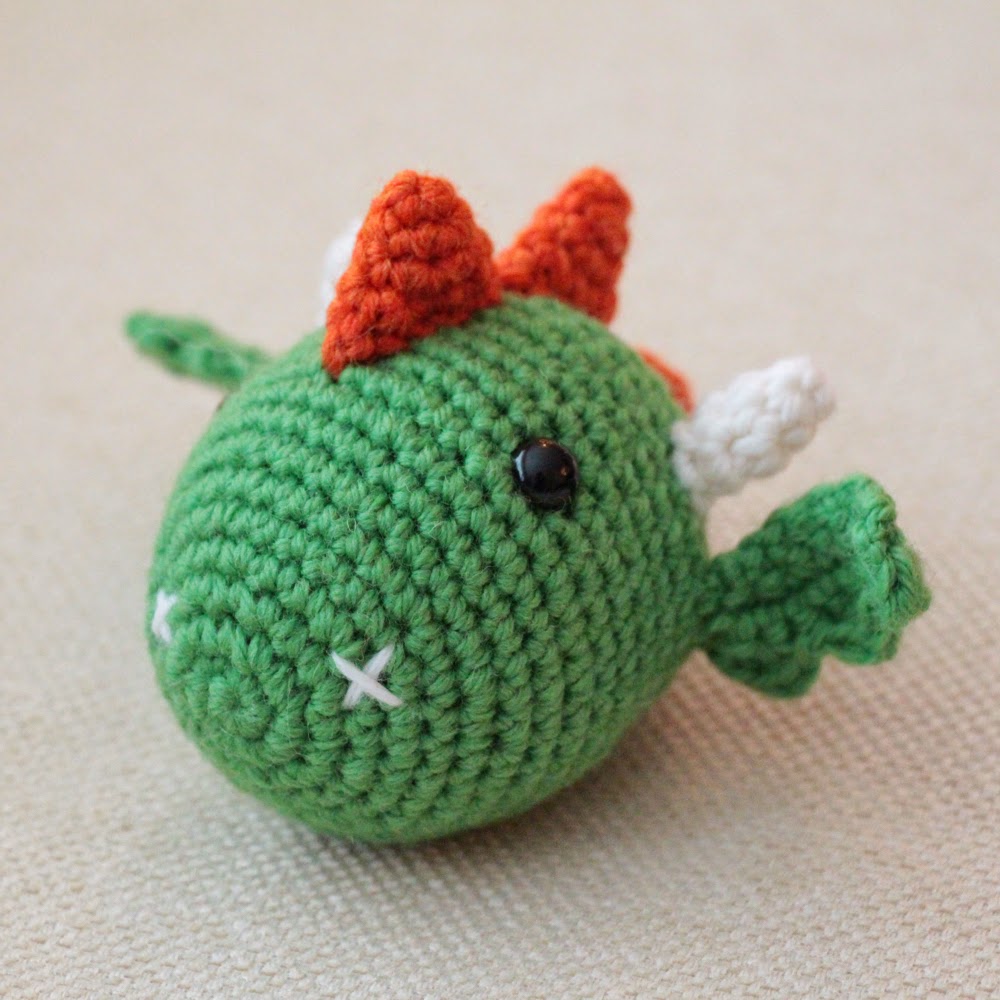
green yarn, white yarn, orange yarn in worsted weight
stuffing (polyfill or wool)
safety eyes
crochet hook (size A recommended but any hook up to size G will work)
*optional = long doll needle, stuffing fork
Key:
# or sc# = separate sc stitches (no increasing or decreasing)
hdc = half double crochet (yarn over, insert hook, pull up a stitch, yarn over and pull thru all stitches on hook)
Begin here:
R3 (1, INC) around (18)
R4 1, INC, 2, INC, 3, INC, 2, INC, 3, INC, 2 (23)
R10 INC, 38 (40)
R15 38, DEC (39)
R16 25, DEC, 12 (38)
R18 6, DEC, 9, DEC, 9, DEC, 5 (32)
R19 3, DEC, 6, DEC, 6, DEC, 6, DEC, 3 (28) (FILL WITH STUFFING)
R22 (DEC, 1) repeat around (12)
R23 (DEC, 1) repeat around. Fasten off. Weave loose end through each stitch in the opening. Fill completely with stuffing. Pull tightly to close. Sew in your end.
Squish each spike flat and sew bottom edge shut. Using the same tail, sew each spike onto the head starting between the eyes.
Embroider little nostrils in the shape of an “x” with white yarn.