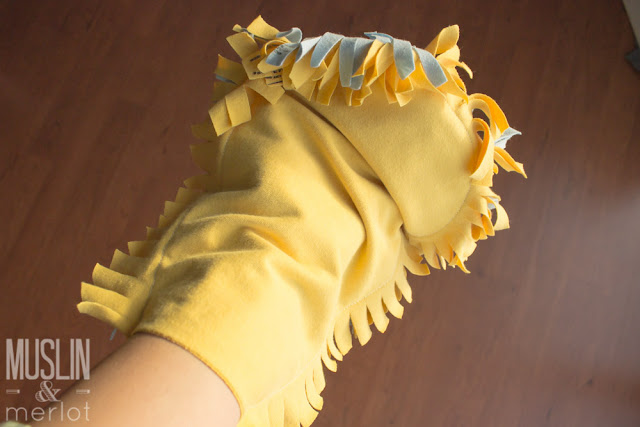
DIY T-Shirt Dusting Mitt
Hey there! Making your very own DIY T-shirt dusting mitt is a fantastic way to upcycle old shirts and keep your home clean at the same time. All you need is an old t-shirt that you no longer wear and some creativity. Simply cut the sleeve off the shirt, slide it onto your hand, and voila, you've got yourself a handy dusting mitt! It's an eco-friendly and budget-friendly solution that brings a touch of fun to your cleaning routine. Give it a try and see how this simple but effective hack can make dusting a little more enjoyable!
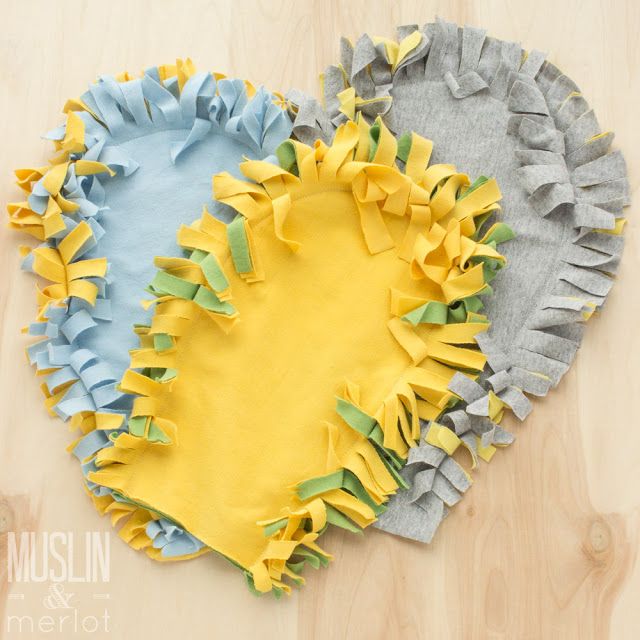
Supplies:
- T-Shirts (no graphics)
- Scissors
- Rotary Cutter & Mat
- Sewing machine, thread and Pins
Find some t-shirts to cut up. If the front of a t-shirt has a graphic, just use the back.
One adult large t-shirt will work, as long as there's no graphics. If you're using small t-shirts, you'll need at least four backs (or two graphic-less, small t-shirts). I used the backs of two large t-shirts.
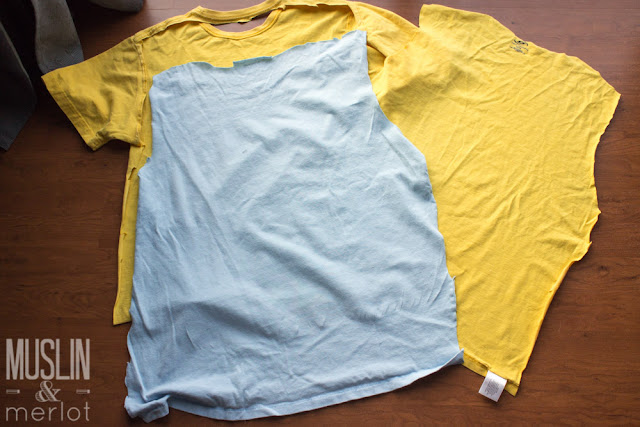
If using large shirts, fold each T-Shirt piece from collar to hem. Lay one piece on top of the other. If using small T-Shirts, lay them neatly on top of each other. Iron.
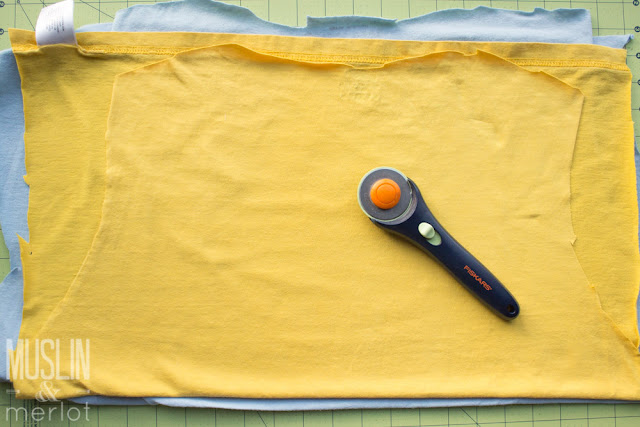
Cut away the uneven sides - the armpit sides.
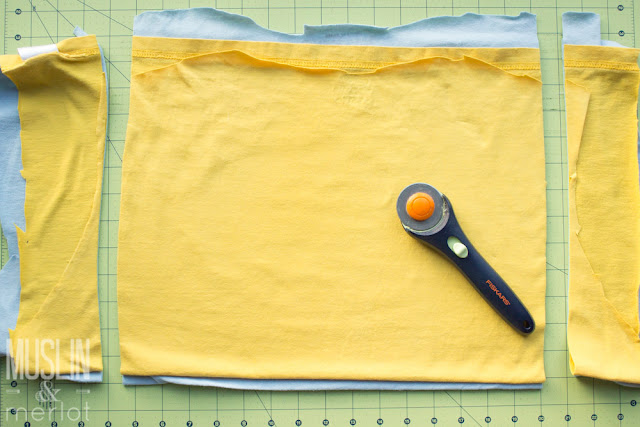
Lay your hand and wrist on the shirts. Leave some space around your fingers.
CAREFULLY cut about three inches around your hand. Taper in the bottom (wrist) edge.
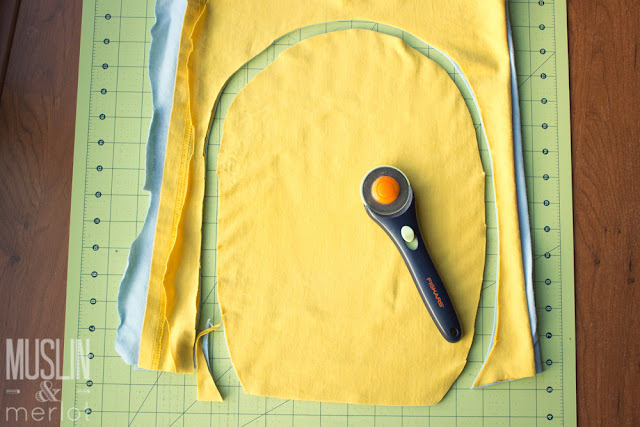
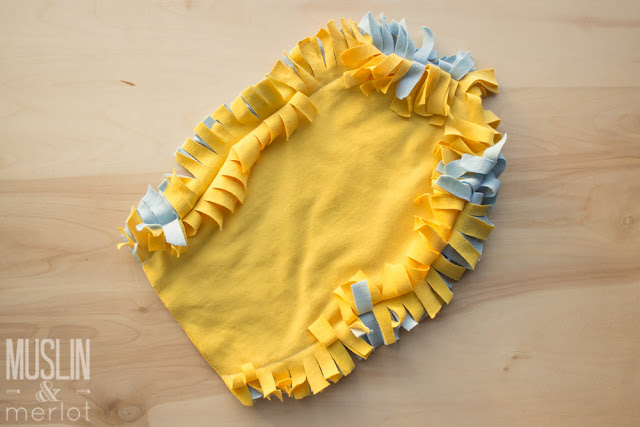
Pin and sew approximately 1 1/2 to 2 inches from the outer edge. Do not sew the bottom (wrist) area closed! Remember to backstitch :-).
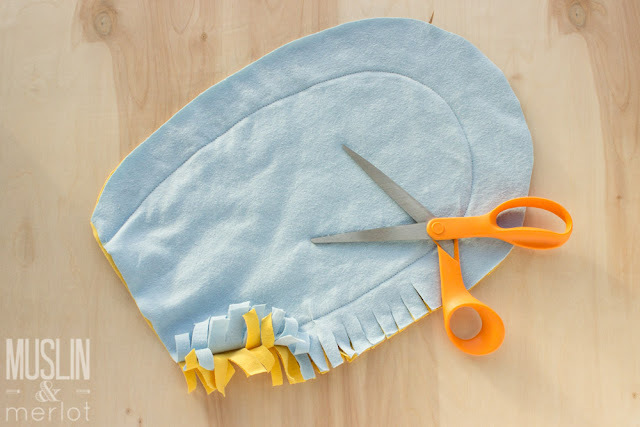
Use a sharp scissors to fringe the area between the hem and the edge. Make sure not to cut through the hem!
Wash and dry before use.