DIY Easter Gnomes
Looking to add a dash of whimsy to your Easter decor? DIY Easter gnomes are the perfect project for bringing some festive fun into your home! With just a few basic materials, you can create these adorable little gnomes that will bring a smile to everyone's face. Get creative with different colored fabrics and embellishments to make each gnome uniquely yours. Whether you display them on your mantle, table, or give them as thoughtful gifts, these charming Easter gnomes are sure to spread joy and cheer this holiday season! Happy crafting!

Supplies Needed to Make Bunny Happy Easter Gnomes
- Foam Cone
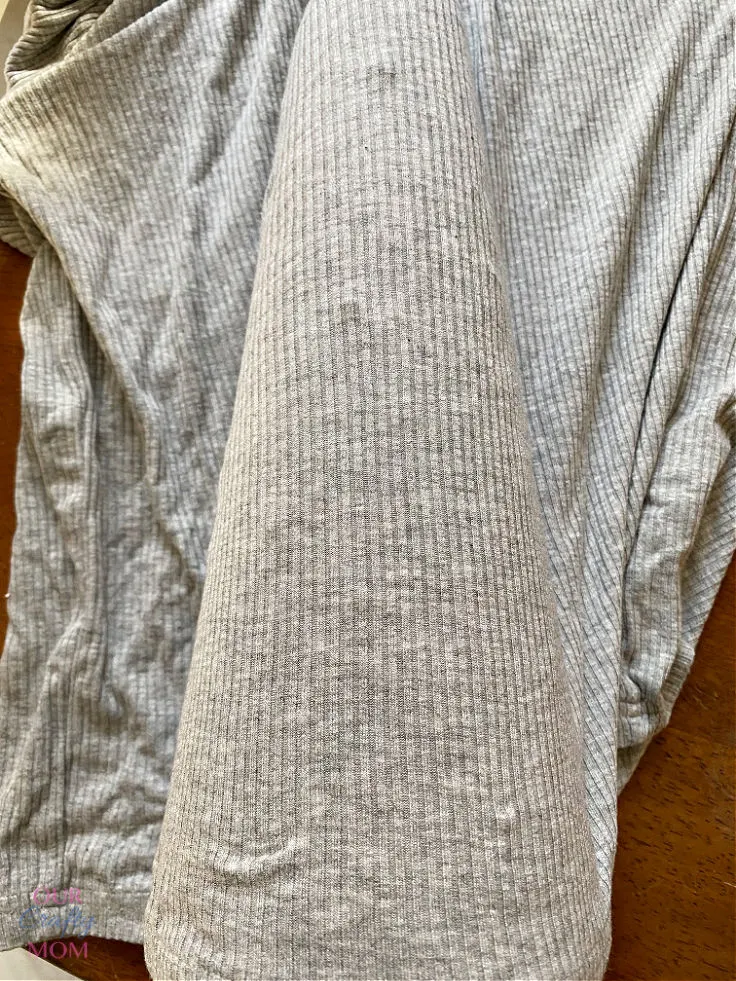
- Old Shirt – I used a gray turtleneck
- Faux Fur – choose any color you like. I went with pink.
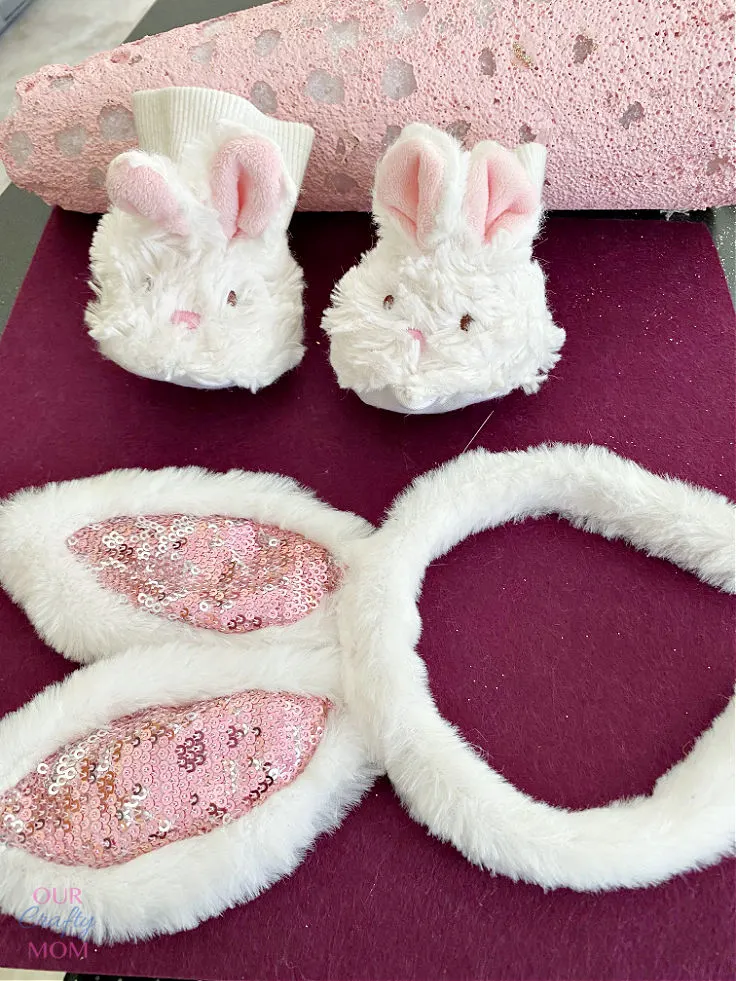
- Bunny Ears – mine was a headband
- Wood Bead
- Bunny Slippers – check the doll supply section at craft stores
- Hot Glue Gun
- Craft Knife
Gnome Tutorial
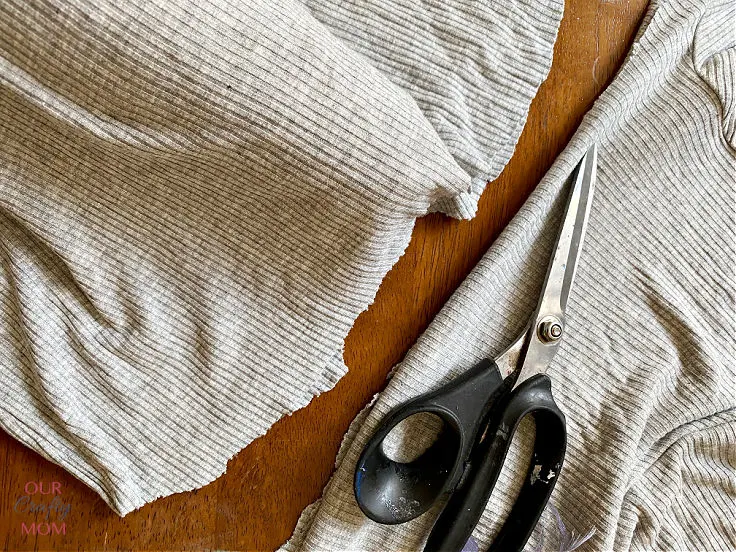
Step 1. Make the Gnome Body
Take your shirt and lay it flat. Place your cone on top of it and cut around it.
You want to make sure you cut it a little larger so you have enough material.
Wrap the material around the cone and trim off any excess material.
Use your hot glue gun to secure the edges. You want to fold the edges under so you have a nice finished edge.
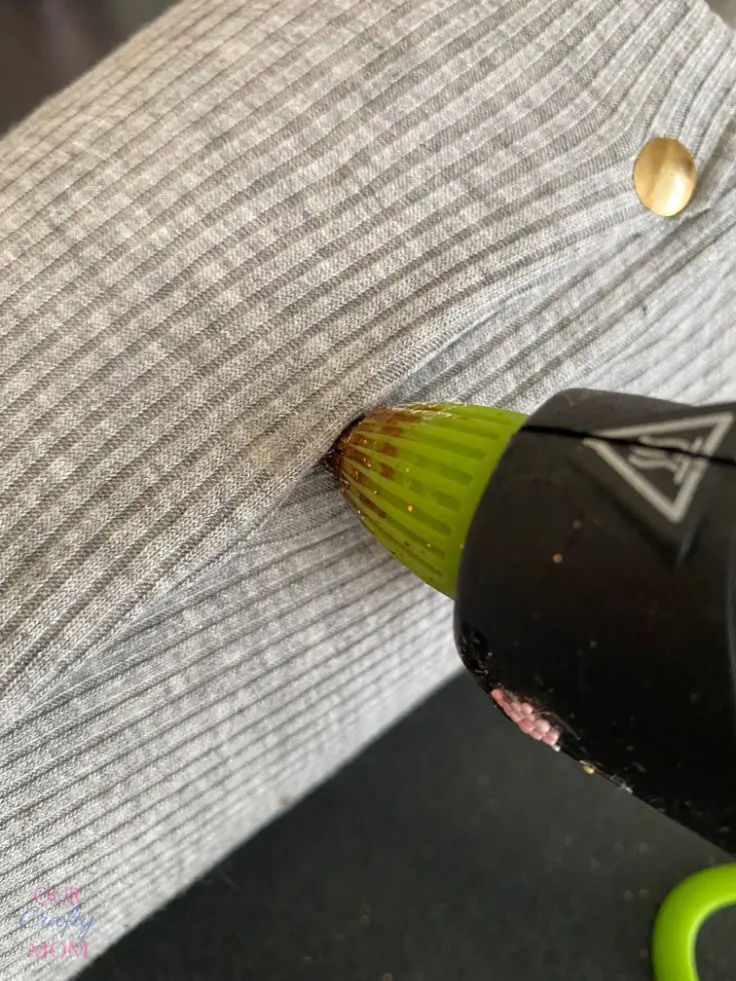
A quick tip is to use thumbtacks to secure the material before hot gluing.
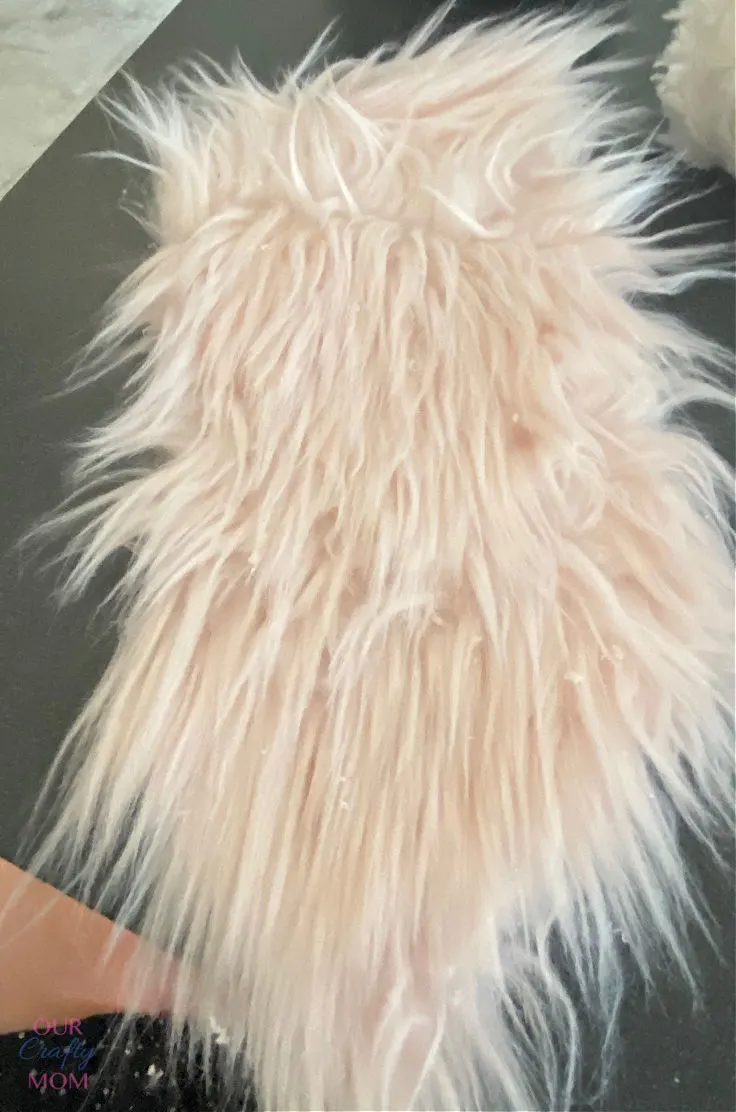
Step 2. Make the Gnome Beard
Now that you have the gnome’s body ready, it’s time to add the fur for the beard.
There is an important tip for cutting faux fur.
- Do NOT use scissors. You want to use a craft knife so you just cut the backing on the fur and not the fur itself.
Here is a close-up so you can see how it’s cut:
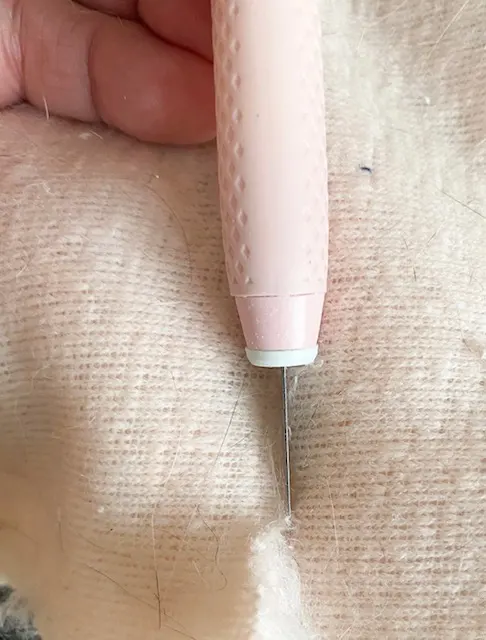
You also want to cut the fur so it is angled and comes to a point for the bottom of the beard.
Step 3. Make a Gnome Hat
For the hat, I used the same shirt that I used for the body.
You can certainly change that and go with something more colorful.
Because I used pink fur and pink glitter bunny ears I wanted to keep it neutral with the hat.
A shirt sleeve worked perfectly.
You want to cut it at on a diagonal line which will work perfectly for your bunny gnome.
I wanted a slouchy hat for this little guy so I just glued the back of the hat and let it hang to one side.
If you want a straight hat add a piece of wire or pipe cleaner to it.
Pull the hat down so it is just over the gnome beard.

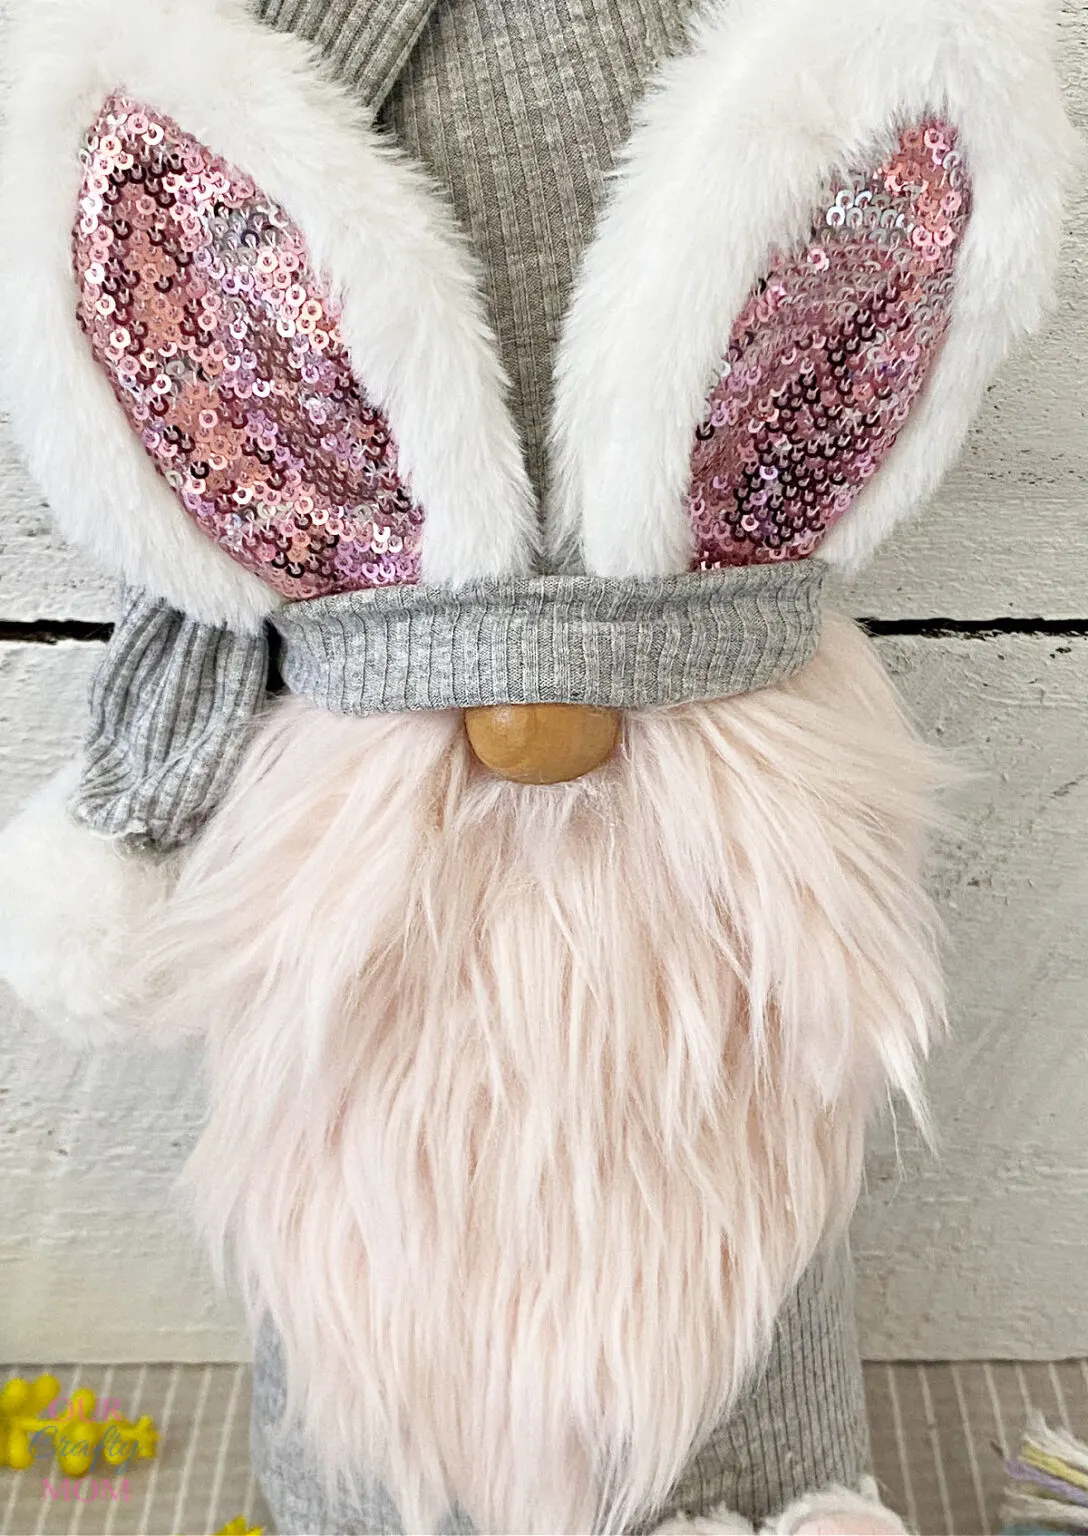
Step 4. Secure the Bunny Ears
Keep an eye out at craft stores for bunny headbands. They are perfect to use for Easter bunny gnomes!
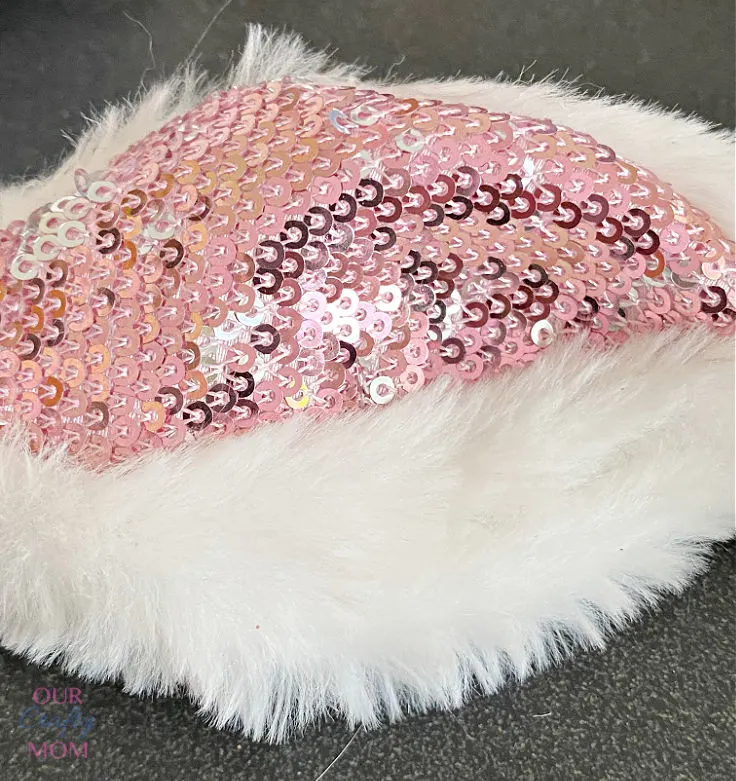
Just cut them from the headband and glue them to the bottom of the gnome hat.
Fold the hat up to cover the bottom of the bunny ears.
Step 5. Add the Nose
For my gnomes, I tend to prefer wood beads for the nose. I just like the look of it.
But, you can also use pompoms or mini ornaments depending on the size.
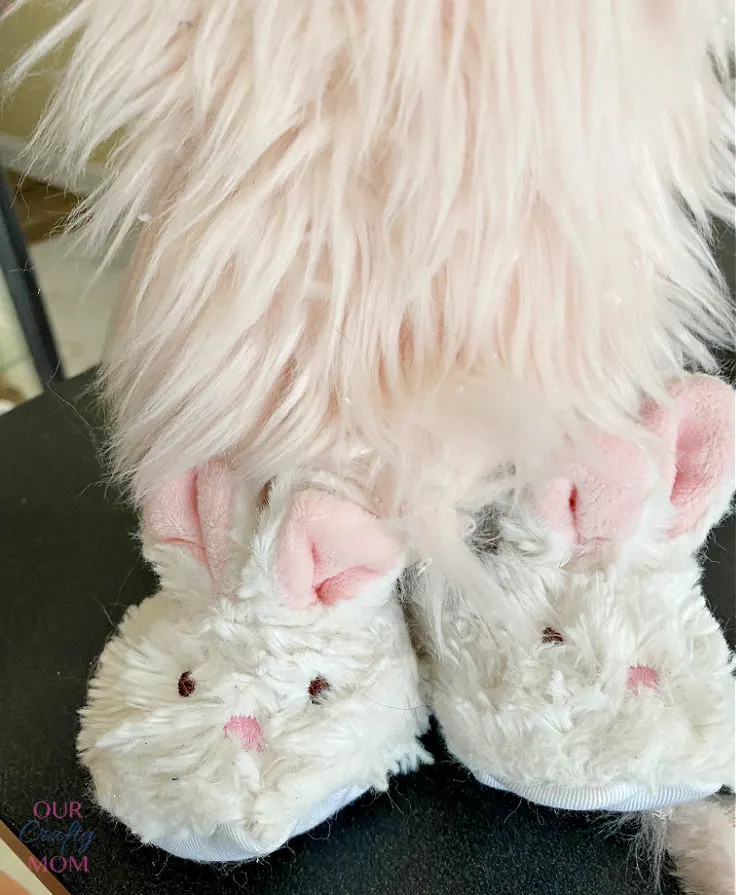
Step 6. Attach the Bunny Sippers
Because this is a large standing gnome, it was necessary to put dowels in the bottom of the foam body and secure them to foam in the bunny slippers.
If you can’t find gnome shoes or slippers, try using ankle socks.
Follow the same steps with the dowels.
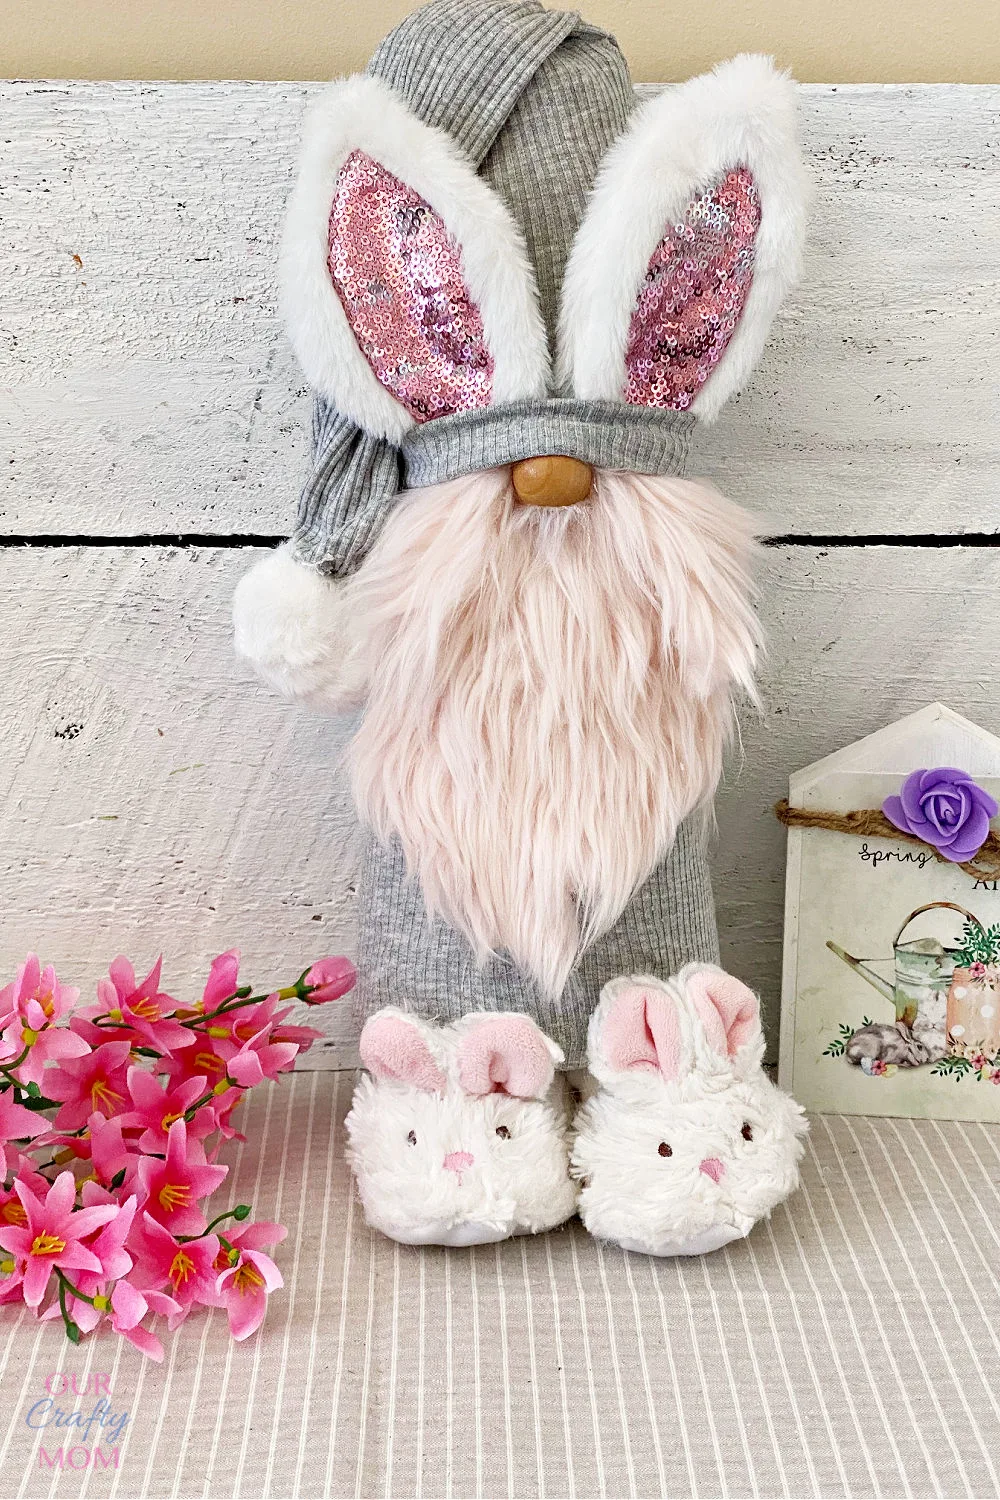
The assembled gnomes are about 15″ tall and would look great on a mantel.
It’s the perfect way to welcome spring!
Now it’s just a matter of trimming the beard and your sweet little gnome is ready to be displayed.
You could even attach an Easter sign or have him holding an Easter egg.
Look at how darling this little guy is: