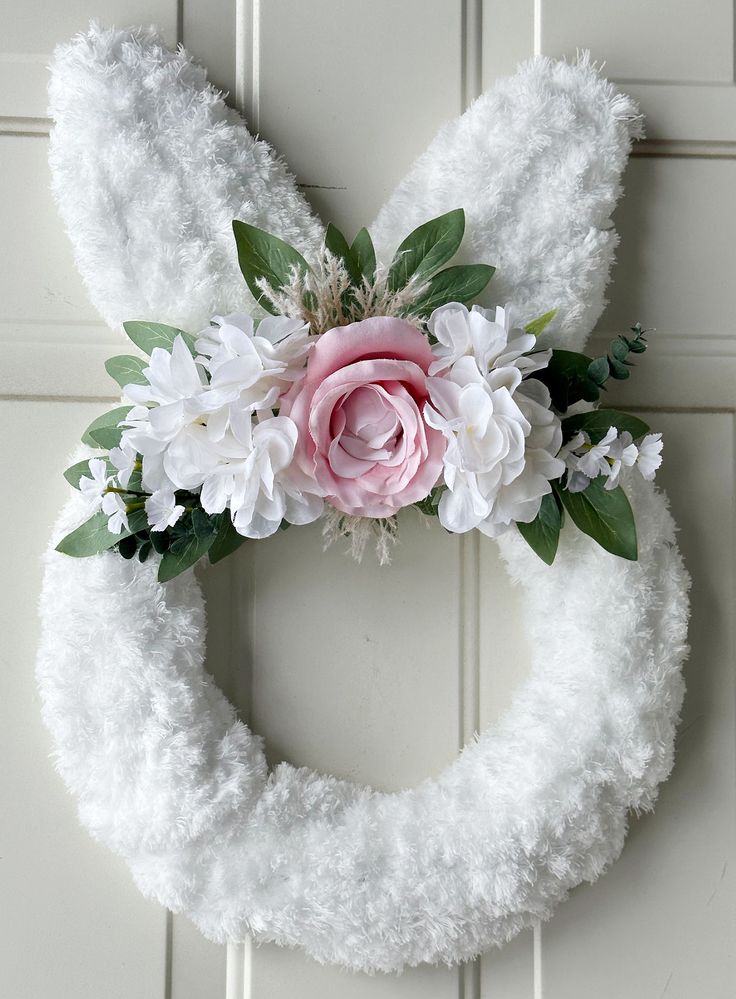
Easter Bunny Wreath
The Easter Bunny Wreath is a delightful and charming addition to any springtime décor! With its whimsical design featuring a fluffy bunny and vibrant pastel-colored decorations, this wreath brings a touch of festive cheer to your home. Hang it on your front door or use it as a centerpiece for your Easter celebrations to instantly lift your spirits and spread joy to all who see it. Celebrate the season in style with this adorable Easter Bunny Wreath that is sure to make everyone smile!
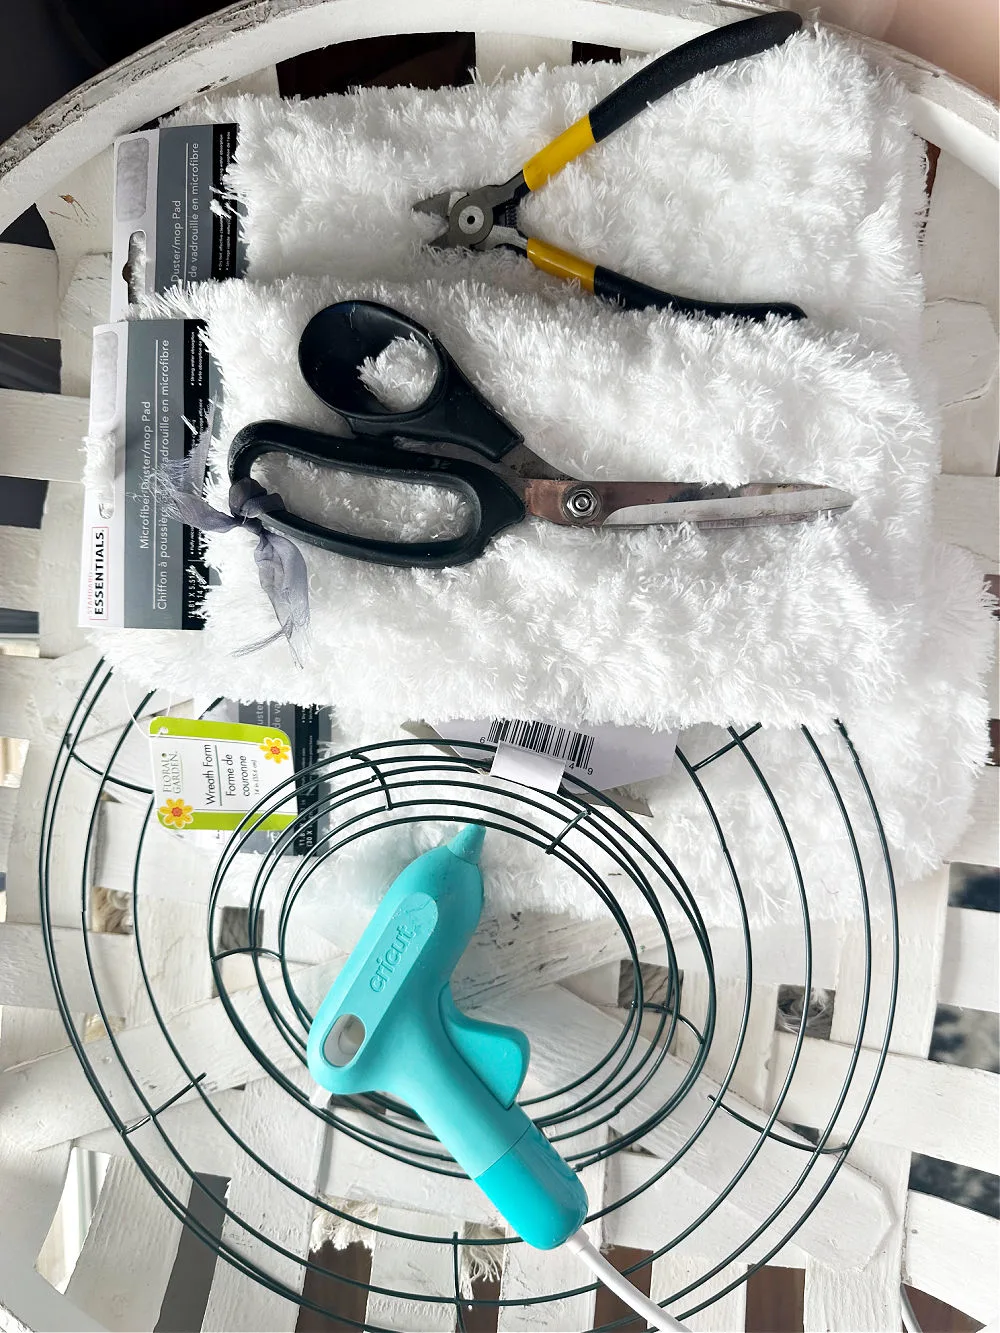
Supplies:
- Dollar Tree Bunny Wreath Form
- Wire and Cardboard for each bunny ear – not needed if you use the bunny wreath form
- Assorted Spring Flowers
- Dollar Tree Mop Heads 6 – use the duster style not the rope style so you get the fluffy bunny look
- Hot Glue Gun and Glue Sticks
- Wire Cutters
- Fabric Scissors
How to Make a Bunny Wreath
Here are the step-by-step instructions to make this DIY wreath
Step 1. Glue the mop heads
Start by using your hot glue gun to secure the mop heads to the wire wreath form.
The 12″ form uses 4 mops with 2 left to cover the bunny ears.
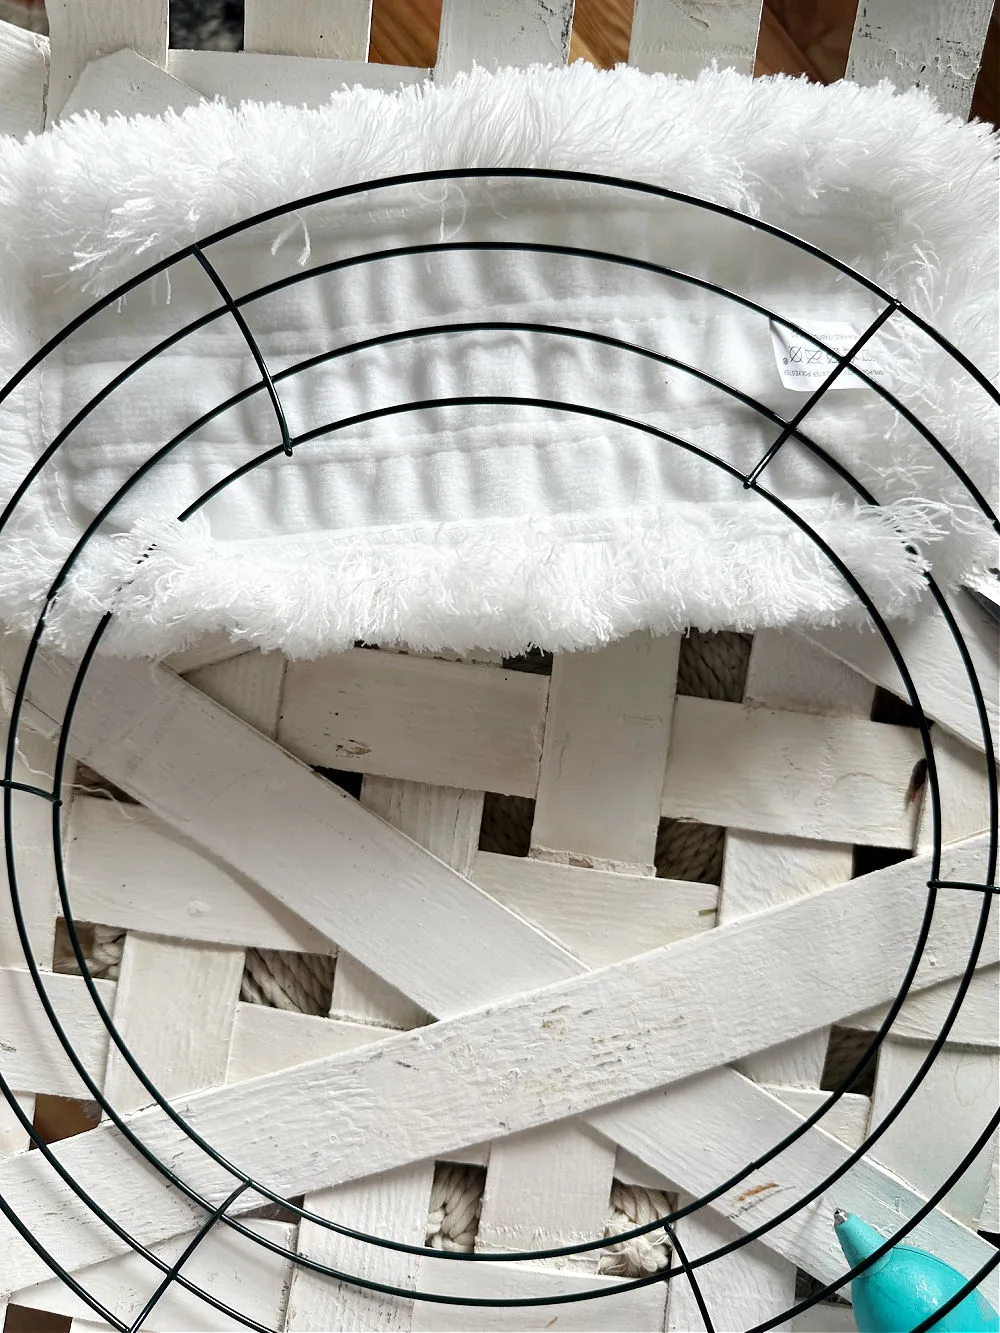
It is easier to lay the mop heads on a flat surface then place the wreath form on top.
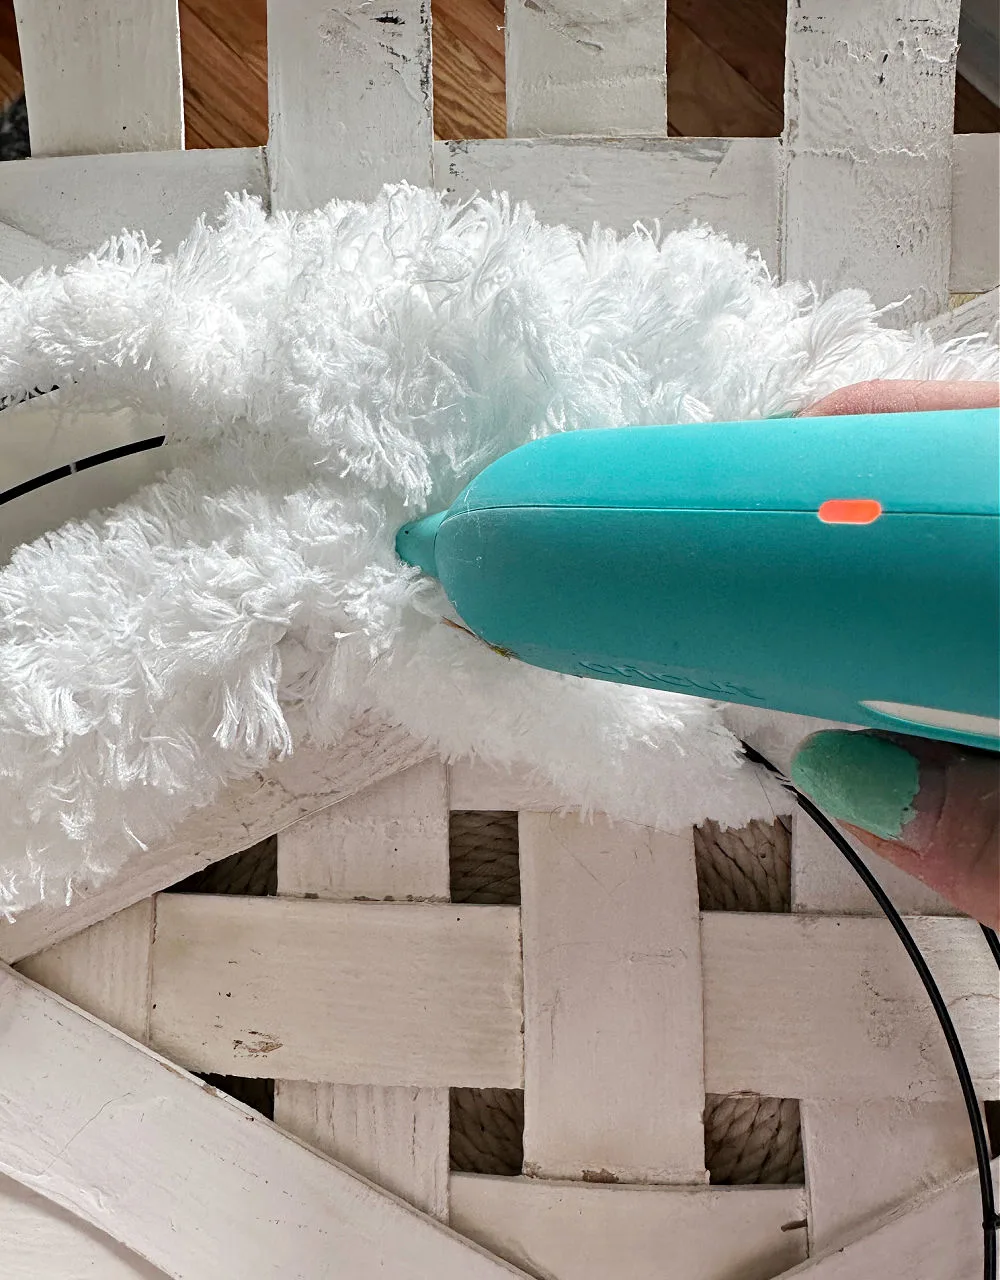
Simply fold the mops up and over the wire and hot glue. Pull it snug so there is no wire left showing on the sides.
The back of the wreath will not be covered. This doesn’t bother me as it will be hanging on a door or wall.
If you want to cover it, you can use felt or fabric.

Step 2. Create the Bunny Ears
If you are using the wreath form with the bunny ears all you need to do is hot glue a mop head to each bunny ear the same way you covered the wreath.
I didn’t have the bunny form so I had to get a bit creative with my bunny ears.
Once your ears are covered, skip this step and proceed to step 3.
To create bunny ears I used scrap cardboard. Don’t be too concerned with it being perfect as the fluffy mops will cover it.
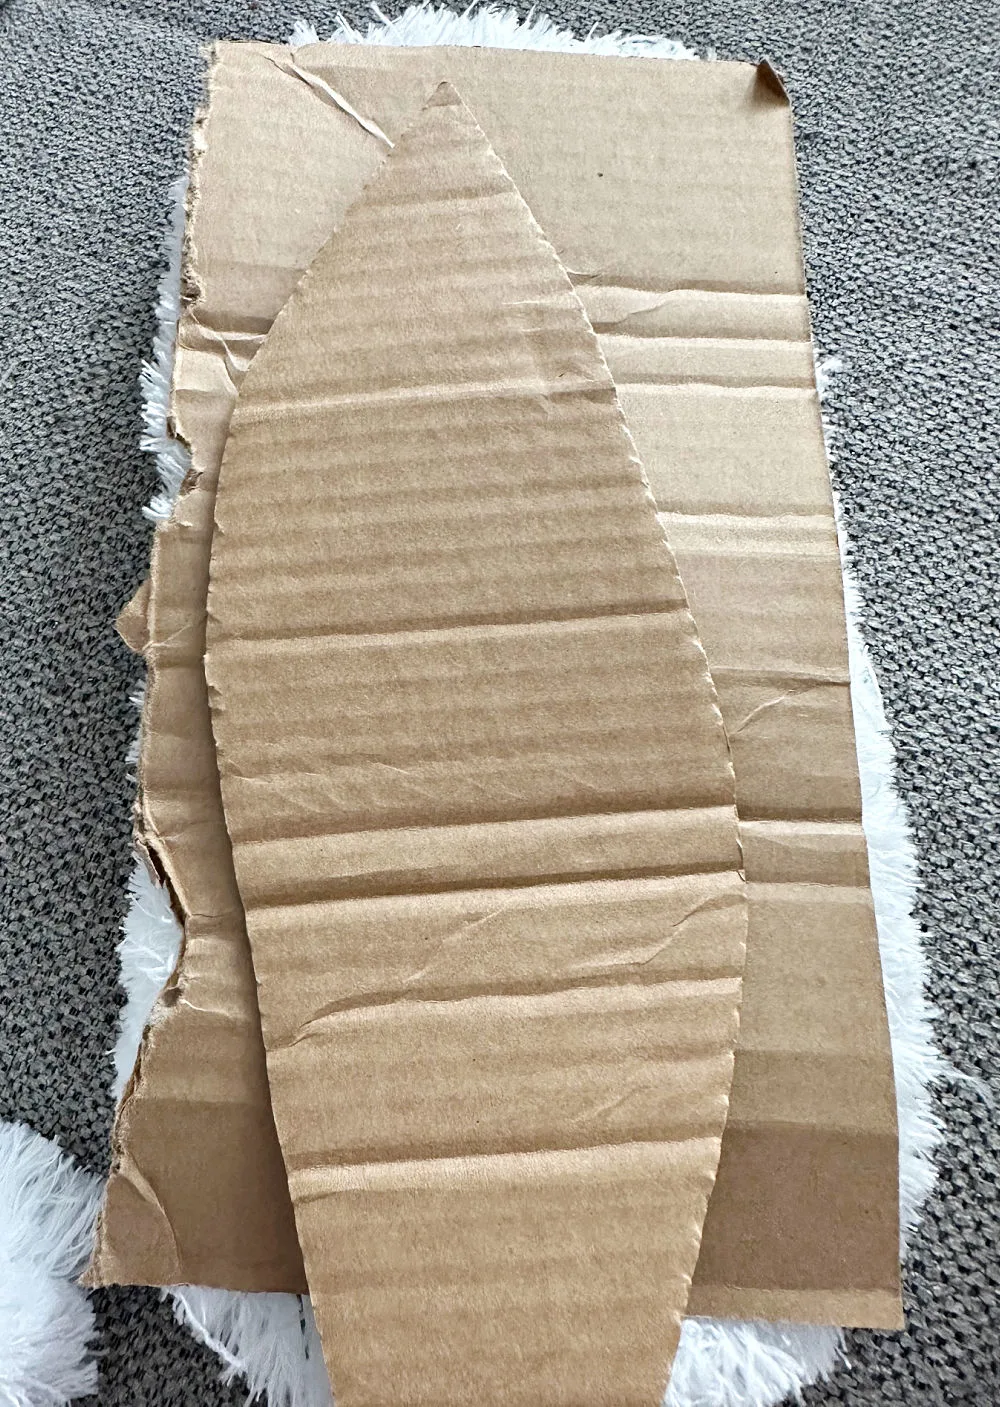
Just make sure you have the correct size for your bunny body and include a pointy top.
Fold the mop head over the cardboard and use your hot glue gun to secure it.
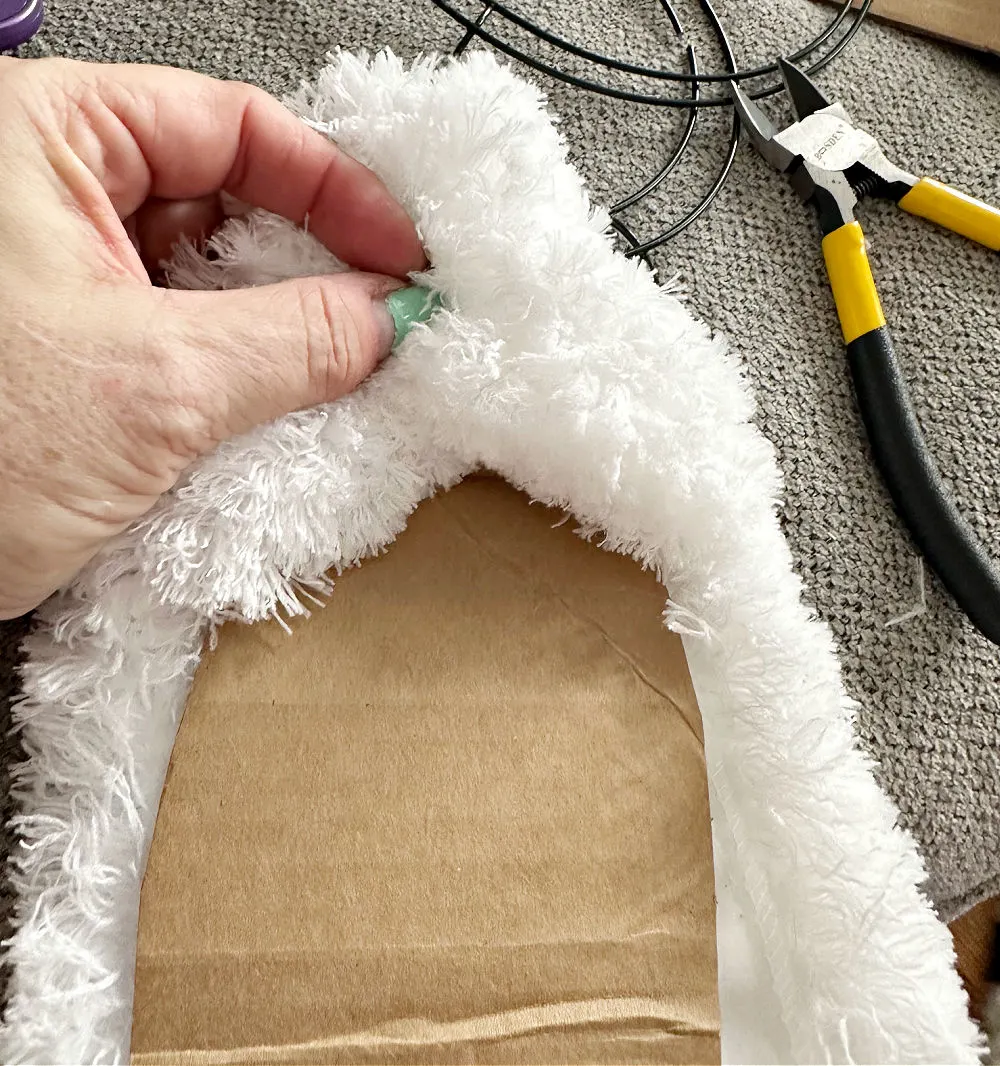
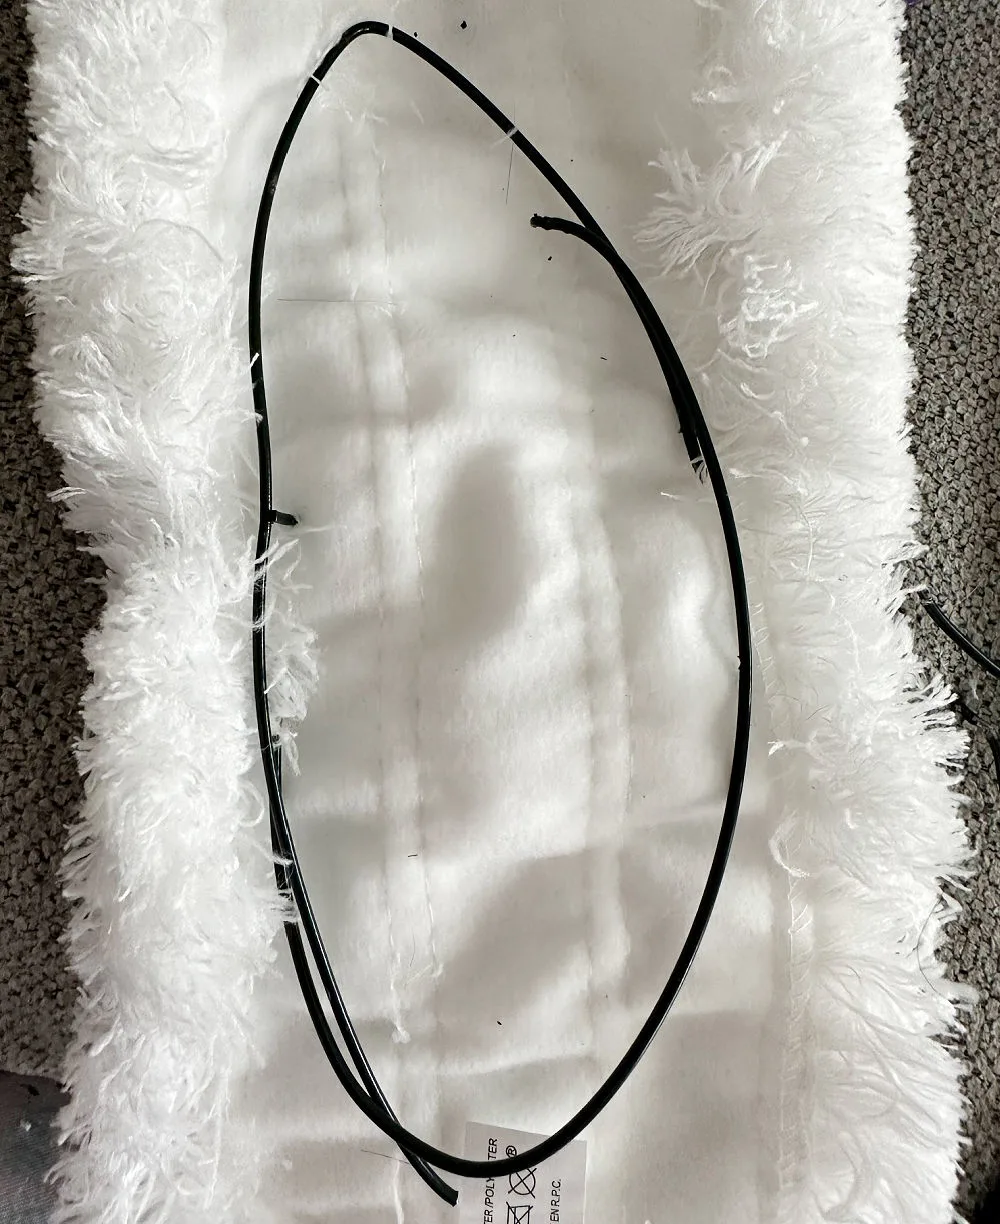
Before you close up the bunny ear, add floral wire to the ear. (I cut an old wreath form with wire cutters)
This will allow you to bend the ear if you like and it will give it more stability.
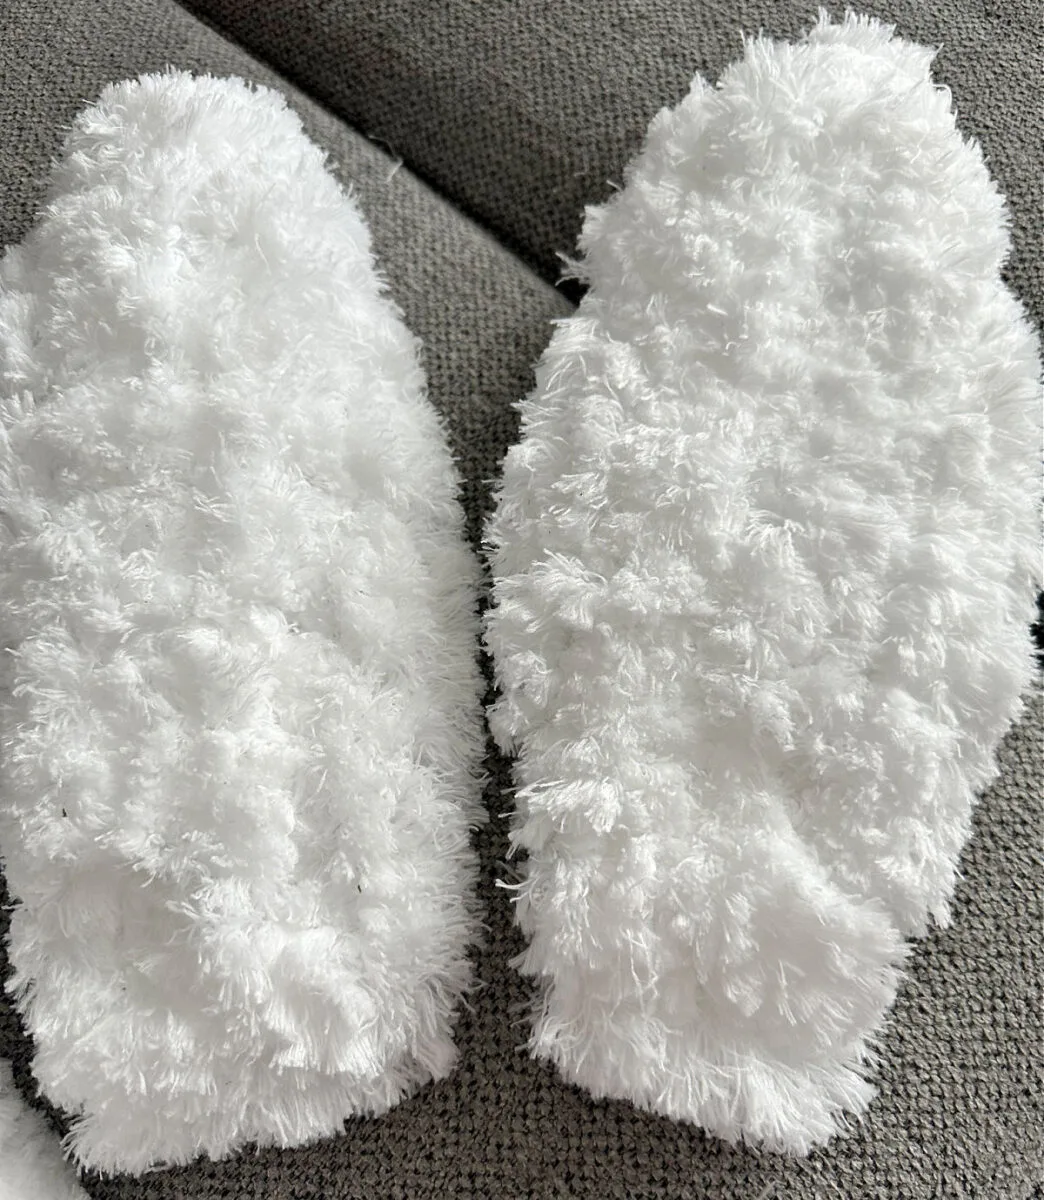
Continue gluing until it is covered. Repeat for the second bunny ear. So cute!
Place the bunny ears where you like them on the body and glue, glue glue!

Step 3. Decorate with spring flowers
You can find beautiful (and cheap) spring flowers at Dollar Tree.
Start by laying out your greenery to get an idea of the placement. Once you are happy with it, add a bit of hot glue.
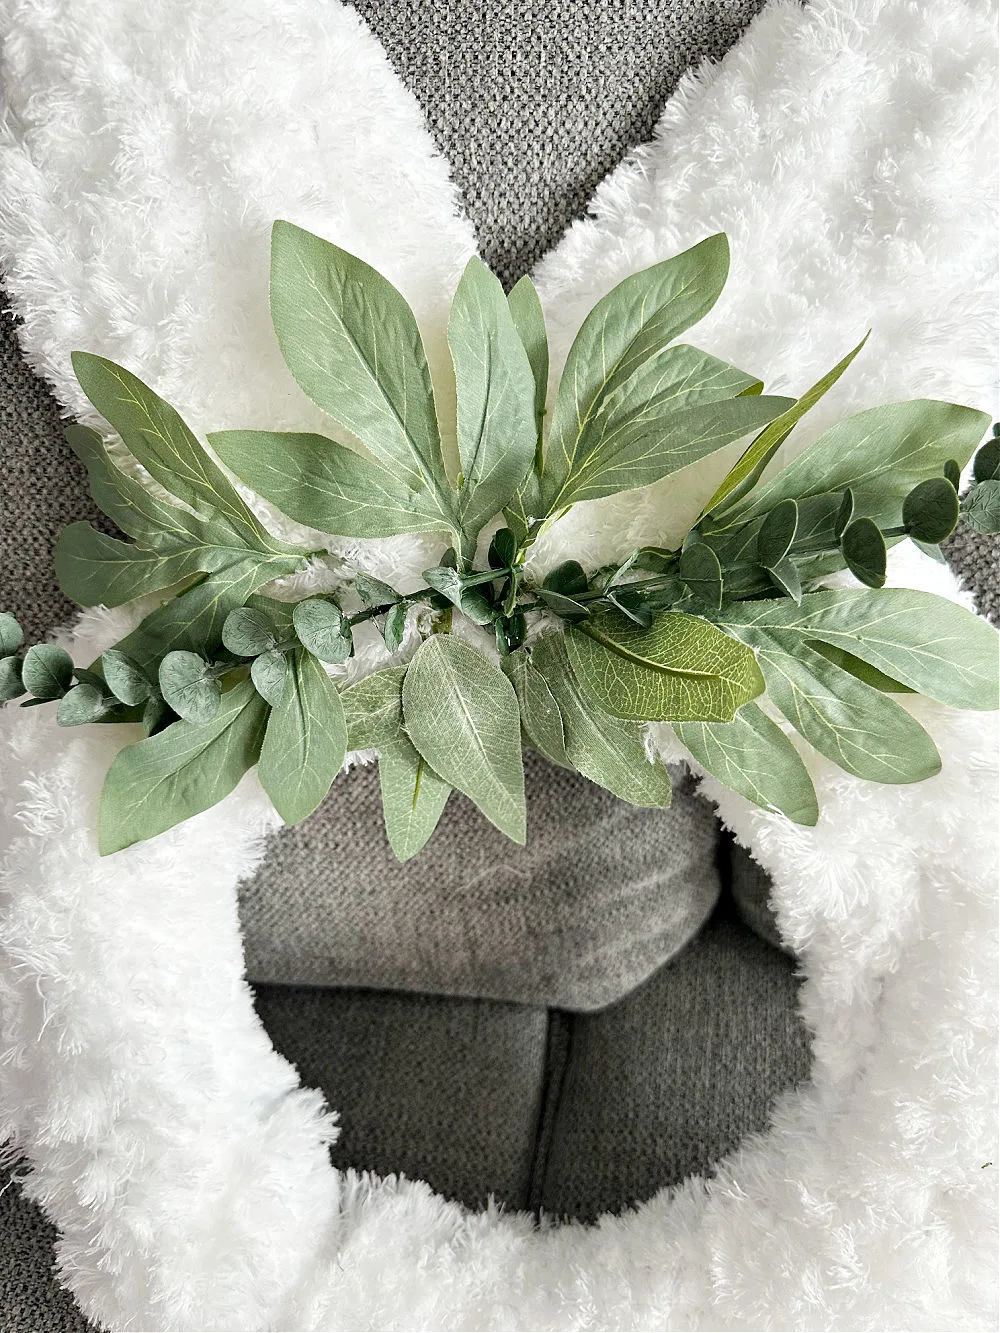
QUICK TIP: to get rid of those pesky hot glue strings, run a hair dryer over your craft and they will disappear!
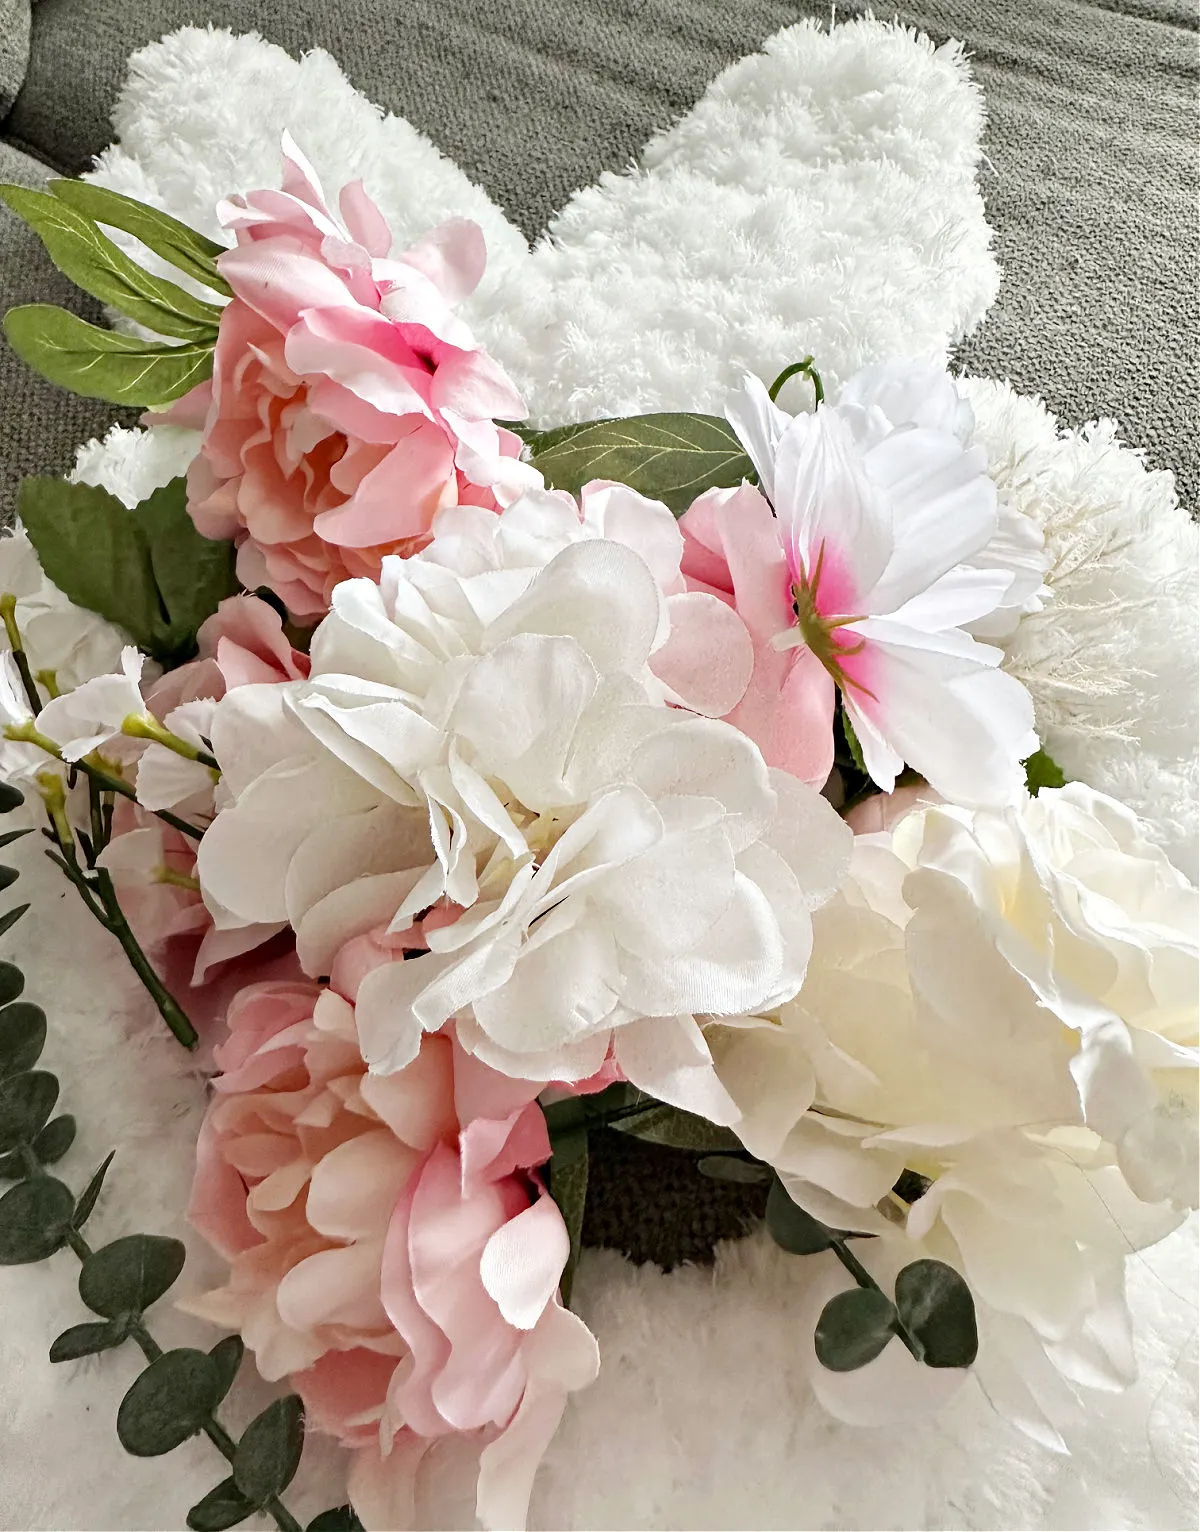
Once you have your greenery secured, start adding spring flowers.
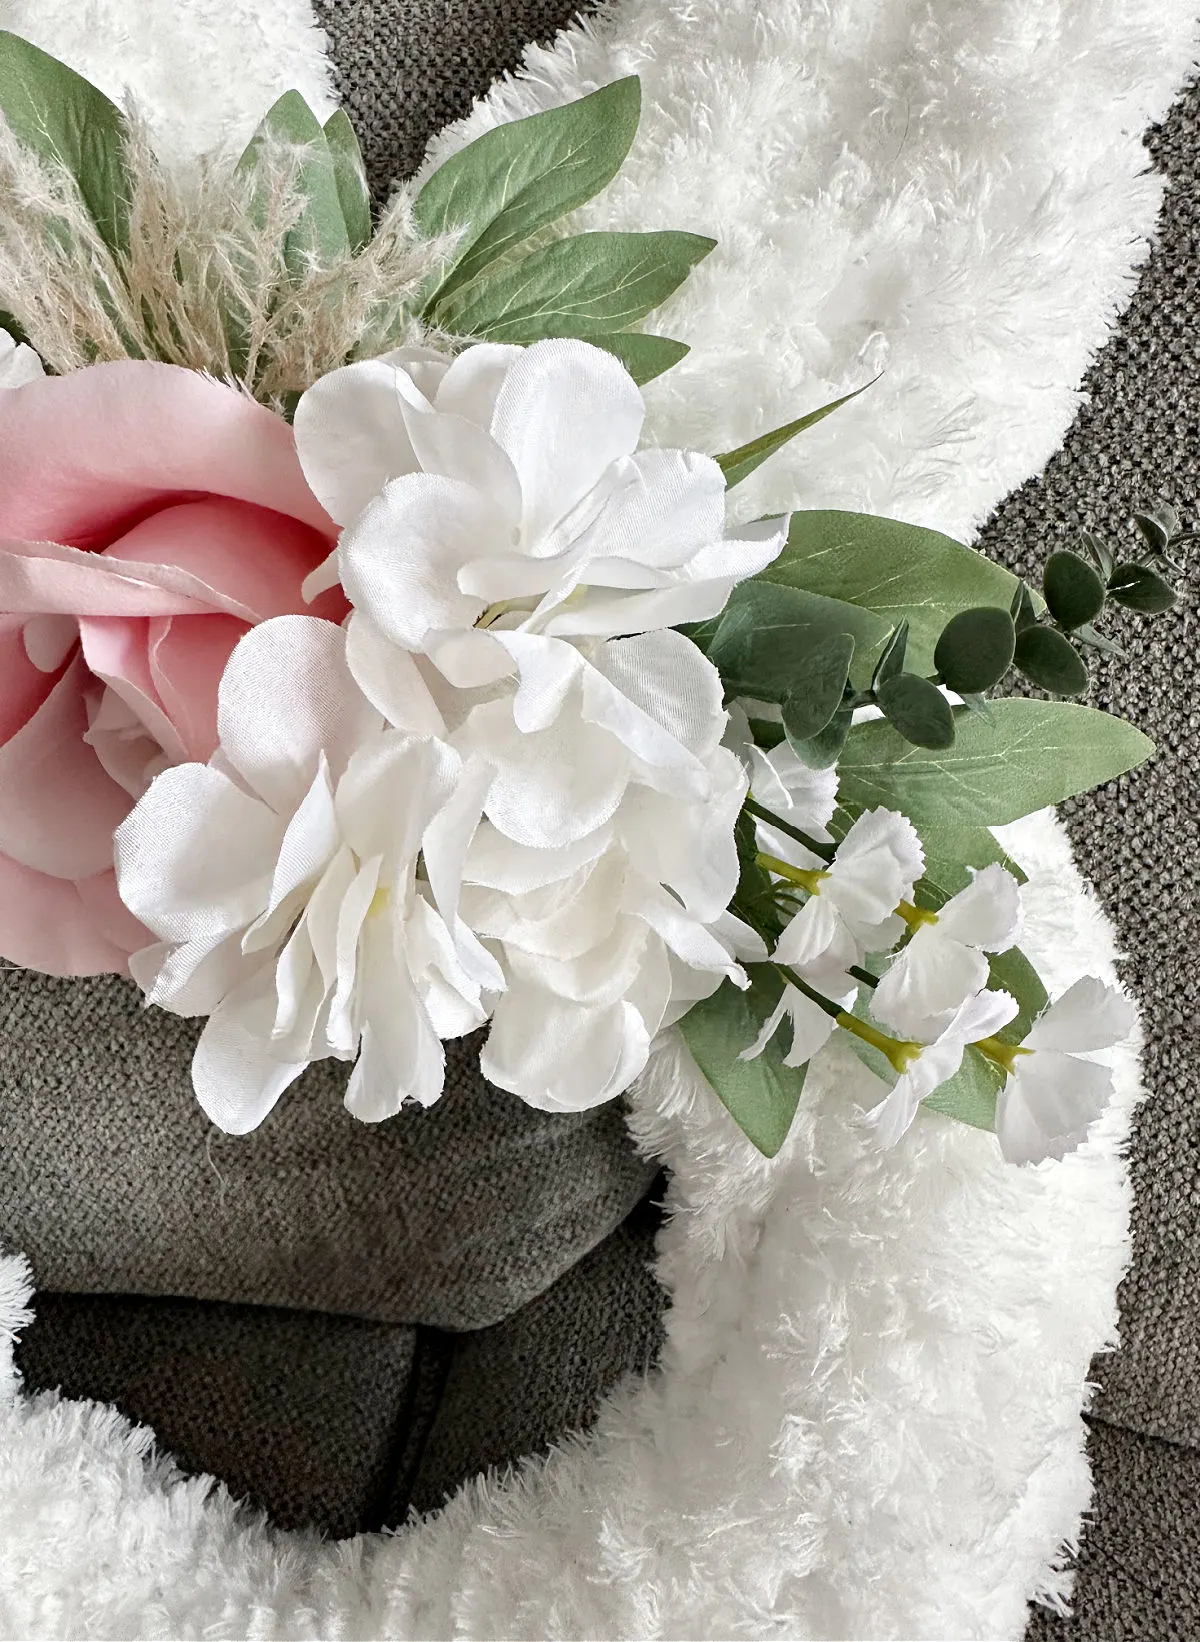
Add your largest piece to the center, then fill in around it with smaller accent flowers.
It’s always best to hang the wreath up, take a step back and see if the flowers are placed evenly, or if you need to add any more.

As a crafter it is hard not to “overdue” it.
This bunny wreath is really meant to be about the soft and fluffy white wreath. The flowers are just an accent.
Too many flowers will take away from the look, so less is more here. Another option in place of mop heads is to use loop yarn.
It is more expensive, but also gives a similar look.
Here is a fall loop yarn wreath so you can see what it looks like.
Step 4. Add twine for hanging
To hang the wreath, secure a piece of twine, ribbon, or even a zip tie through the wire on the back.
I was able to just hang it on my door using the wire base.
There is a large command hook on my door which makes it super easy to switch out my wreaths.