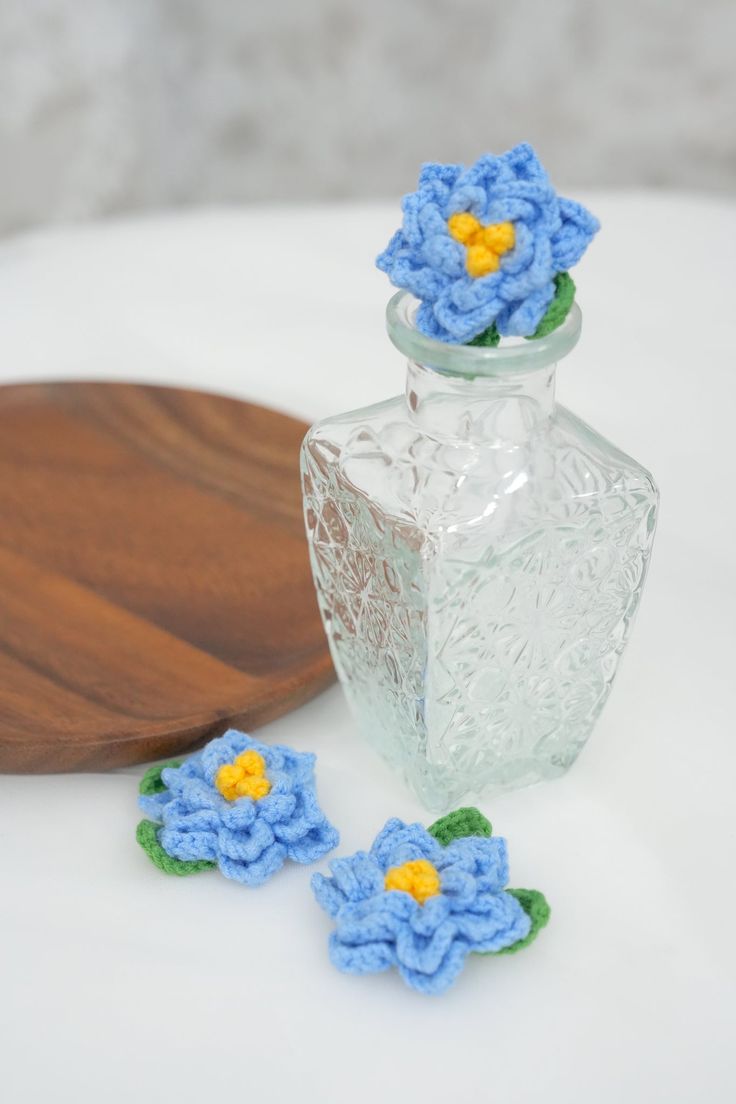
Crochet Gardenia Flower Applique
Creating your very own crochet gardenia flower applique can add a touch of charm and elegance to any project. With just a few basic crochet stitches and some yarn in your favorite colors, you can bring this delicate and beautiful flower to life. Whether you're embellishing a hat, scarf, or even a blanket, this gardenia applique is sure to make a statement. So grab your crochet hook, pick out your yarn, and let's get crafting together!
Materials Needed
- Yarn - Loopara 4ply combed cotton (Green 12, Blue 32 and Yellow 43)
- Hook - 2.0mm
- Hot melt adhesive
- Stitch marker
- Scissors
Step By Step Tutorial
How to Crochet a Flower Center (Make 1)
- R1: Magic ring, [ch 4, 3 sc in 2nd ch from hook, sl ] 3 times
How to Crochet the First Layer Petal (Make 1)
- R1: Magic ring, 6 hdc in ring, sl
- R2: FLO (ch 3, 2 tr, ch 3, sl) 6 times,sl in BLO
How to Crochet the Second Layer Petal (Make 1)
- R1: BLO, 6 hdc inc, sl
- R2: FLO[(ch 3, 2 tr, picot), (2 tr, ch 3), sl] 6 times,sl in BLO
How to Crochet the Third Layer Petal (Make 1)
- R1: BLO, (hdc, hdc inc) 6 times, sl
- R2: [(ch 3, tr, dtr, picot), (dtr, tr, ch 3), sl] 6 times
How to Crochet a Flower Base (Make 1)
- R1: Magic ring, 5 sc in ring, sl, ch
- R2: 5 sc inc, sl
- R3: [(ch 3, sc in 2nd ch from hook, hdc), sk 1, sl] 5 times
How to Crochet Leaves (Make 2)
- R1: Ch 10, sc in 2nd ch from hook, hdc, 5 dc, hdc, (sc, ch, sc), hdc, 5 dc, hdc, sc, sl
Crochet Small Gardenia Applique Assembly
- Hide the loose ends on the back of the flower, leaf, and flower base.
- Attach the flower center to the middle of the flower.
- Glue the leaf to the back of the flower.
- Apply glue to attach the flower base to the back of the flower.
Notes
Crochet Tips:
1. Maintain consistent tension throughout all layers of petals.
2. When working the front and back loop only stitches, be careful not to pull too tightly.
3. For the picot details on the petal edges, keep them small and neat.
Assembly Tips:
1. Use a small amount of fabric glue when attaching the flower center to ensure it stays in place without being visible.
2. Position the leaf slightly off-center behind the flower for a more natural look.