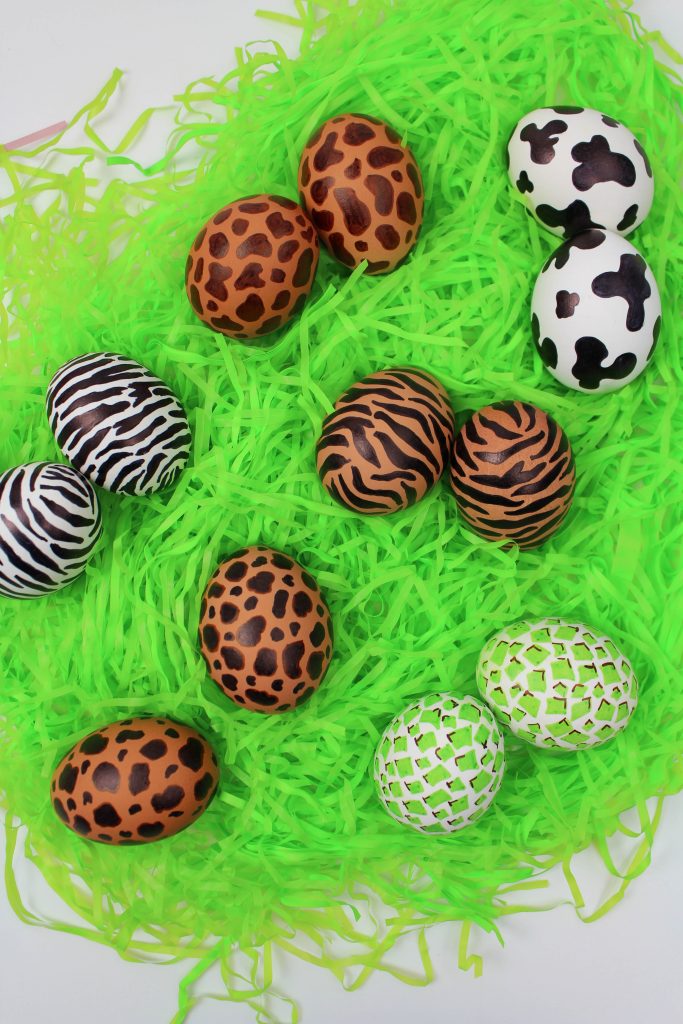
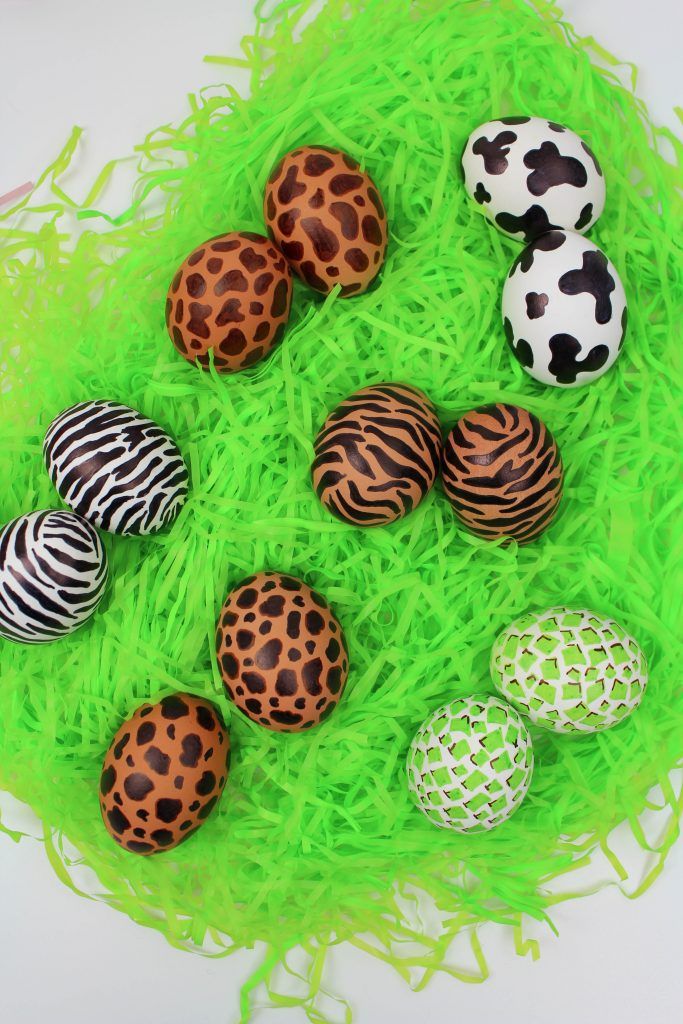
DIY Animal Print Easter Eggs
Looking to add a creative twist to your Easter egg decorating this year? Why not try making DIY animal print Easter eggs! Using a variety of animal print patterns, you can give your eggs a fun and wild makeover. This craft is a great way to bring some playful vibes to your Easter celebrations while also showcasing your artistic side. Whether you display them as part of your holiday decor or use them for an exciting Easter egg hunt, these DIY animal print Easter eggs are sure to be a hit with everyone!
Here’s what you’ll need to make your own:
- Sharpies – I used brown, black, green
- Brown Hard Boiled Eggs
- White Hard Boiled Eggs
Each pattern uses a different technique, but all of them are very simple to make! Some are more time consuming than others, but worth it in the end!
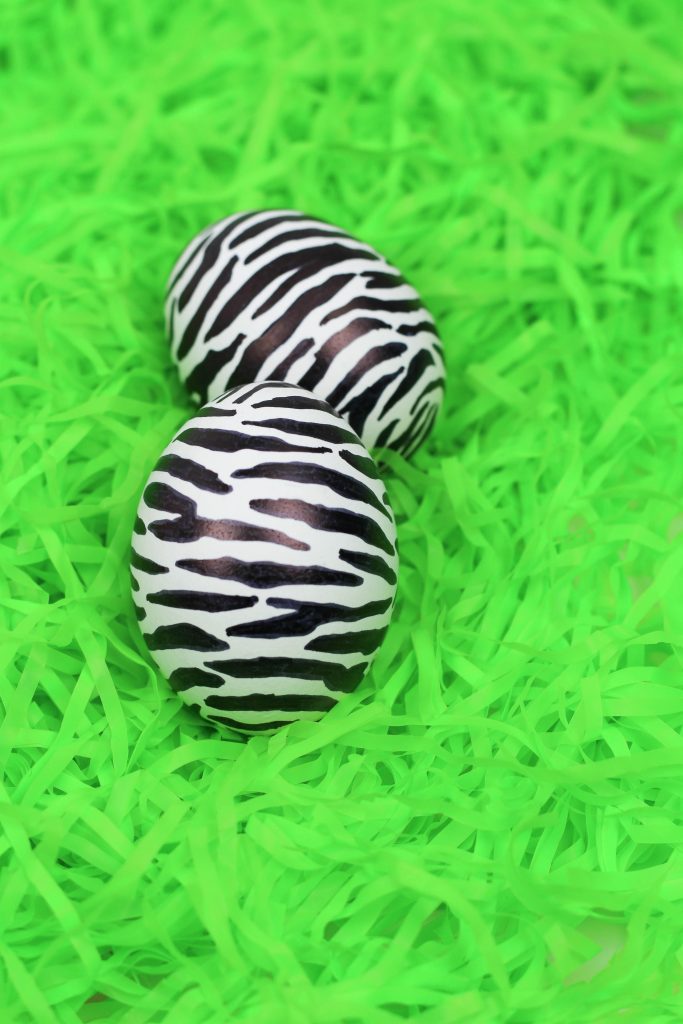
Print Eggs –
Using a black sharpie, create long, semi-squiggly lines on a white egg. Create some that branch out on the ends too. Alternate the sizes and directions of the lines. Fill in the whole egg and color the lines in completely.

Cheetah Print Eggs –
Using a black sharpie, draw irregular shaped “circles”. Fill them in with the black sharpie. Create smaller irregular “circles” around the larger ones. Once your egg is covered, use the brown sharpie to outline the larger “circles” only. Leave the smaller ones plain.
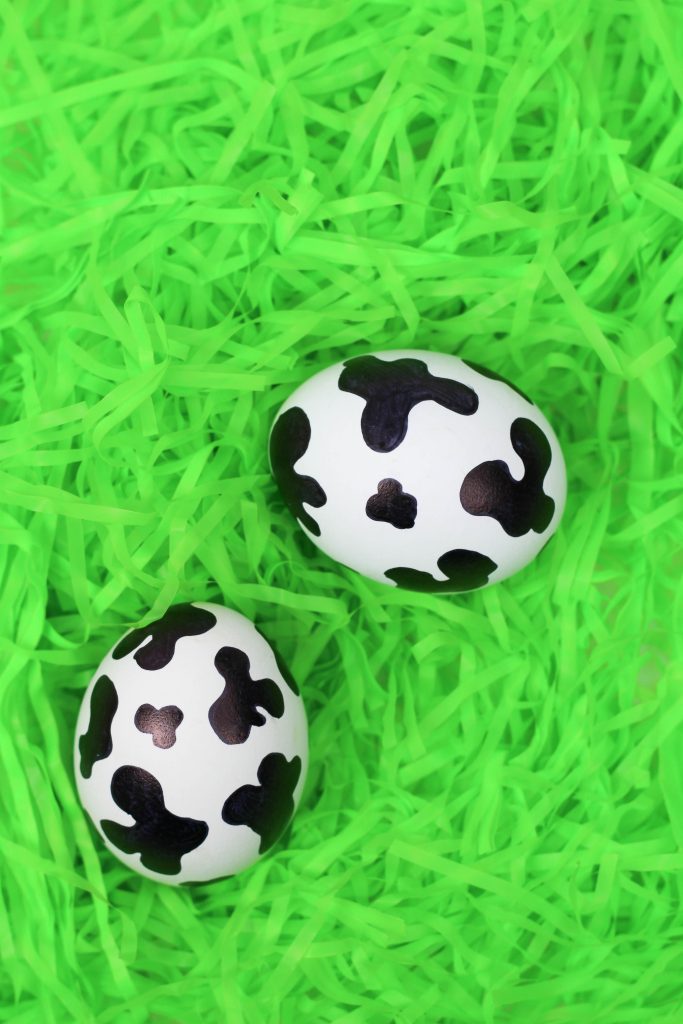
Print Eggs –
Using a black sharpie, create “blob” shapes on a white egg. Cover the whole egg and fill in each “blob” completely. Alternate between larger and smaller “blob” shapes.
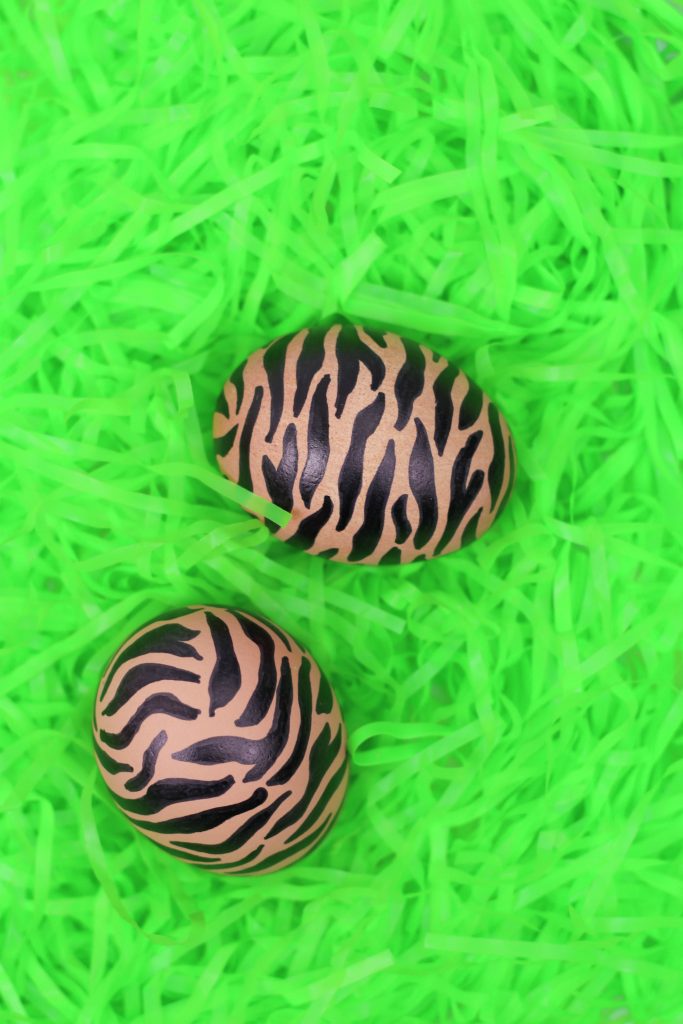
Tiger Eggs:
Print Eggs –
Using a black sharpie, create long, squiggly lines on a brown egg. Create some that branch out on the ends too. Alternate the sizes and directions of the lines. Fill in the whole egg and color the lines in completely.
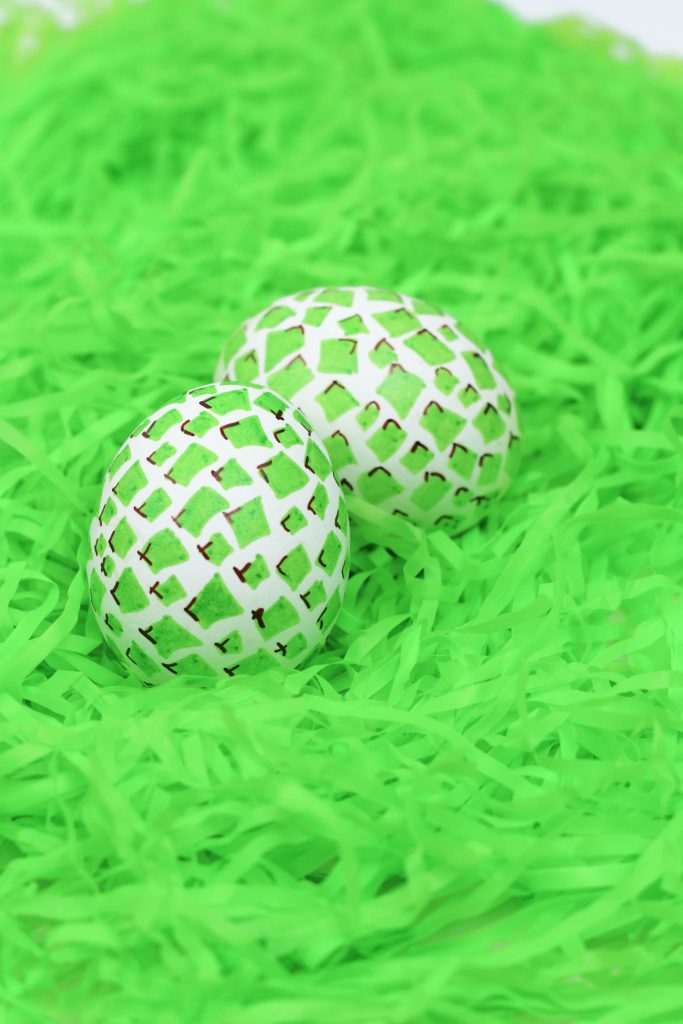
Snake Eggs:
Print Eggs –
First off, let me say that trying to create a snake print is no easy task! I chose not to use dye for these eggs, so I did what I could without a green background! Using a green sharpie, create “diamond” shapes around a white egg. Change the shapes and sizes of each diamond slightly, but try to keep them all going in the same direction. (Points of the “diamonds” going up and down). Color each diamond shape in completely. Using a brown sharpie, add an outline on one corner of each diamond, trying to stay as consistent as possible on all of the shapes.
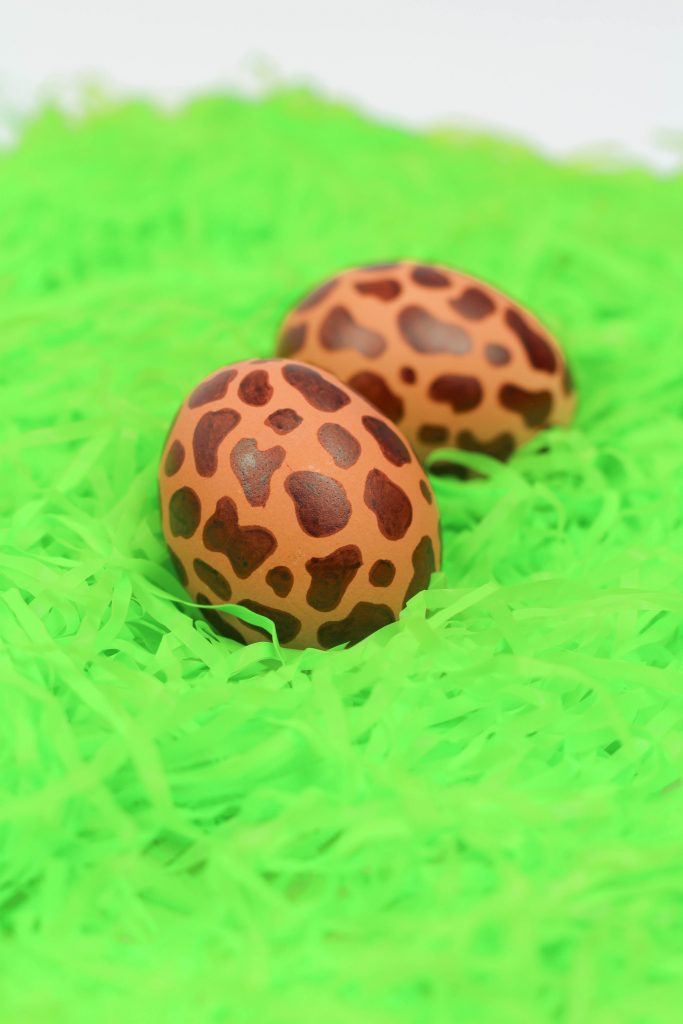
Giraffe Print Eggs –
Using a brown sharpie, create small “blob” shapes on a brown egg. Alternate the shapes and sizes of each “blob”, but keep them less defined and crazy than the cow print “blob” shapes. Try to maintain the same spacing in between each “blob” around the whole egg. Fill the shapes in completely with the brown sharpie