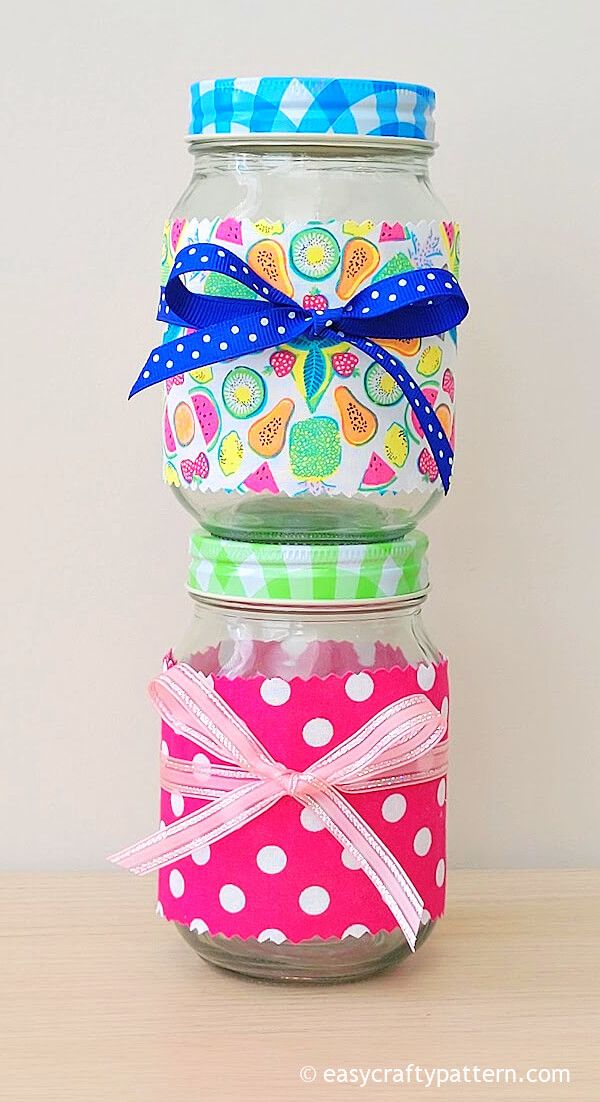
Fabric-Covered Mason Jar
Creating a fabric-covered mason jar is such a fun and creative DIY project to add a touch of coziness to your home decor! Whether you use it as a vase for fresh flowers or as a candle holder, your fabric-covered mason jar will surely bring a delightful flair to any room in your home. Enjoy getting crafty and adding your unique touch to this simple yet lovely project!
I used cotton quilt fabric for this project as I have so many stashes of fabric scraps. This fabric print is particularly from making a beverage holder cozy.
To prevent fraying, use the pinking sears to trim the fabric edge, use a fray check liquid, or sew the edge with a tiny hem.
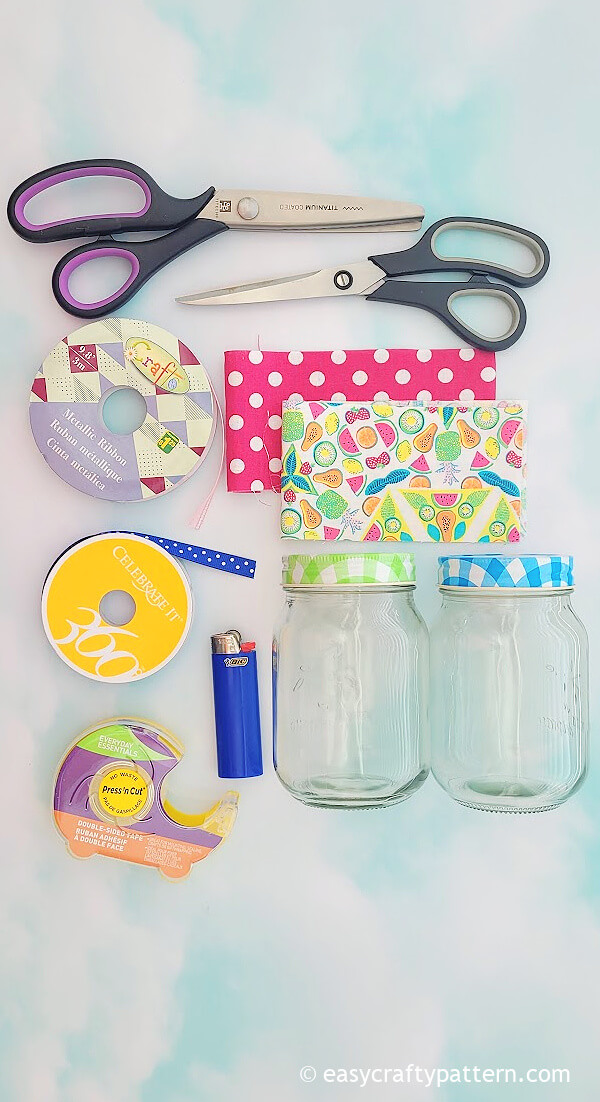
- Fabric scraps
- Mason Jar
- Double-sided tape
- Ribbon or twine
- Scissors
- Pinking Sears
- Lighter
Step By Step To Make Fabric Covered Mason Jar
To determine the fabric length you need, measure the middle circumference of the mason jar glass, then add 1″.
To determine the fabric width you need, measure the mason jar from below the jar neck to 0.5″ above the mason jar base.
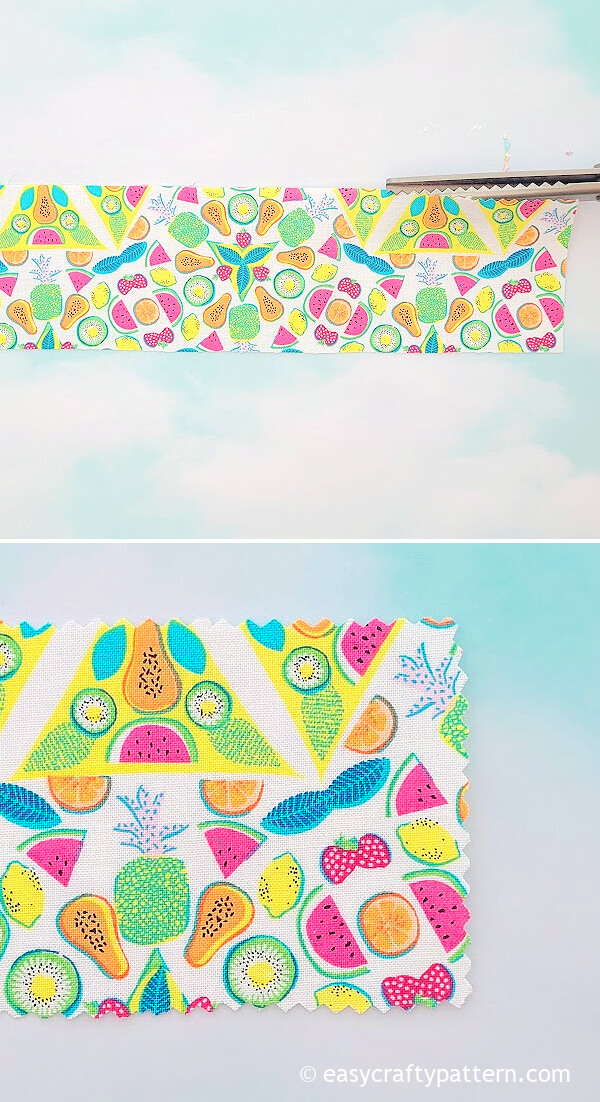
Cut the fabric based on the measurement length and width to have a rectangular piece. Trim the edge of the fabric with the pinking sears to prevent fraying.
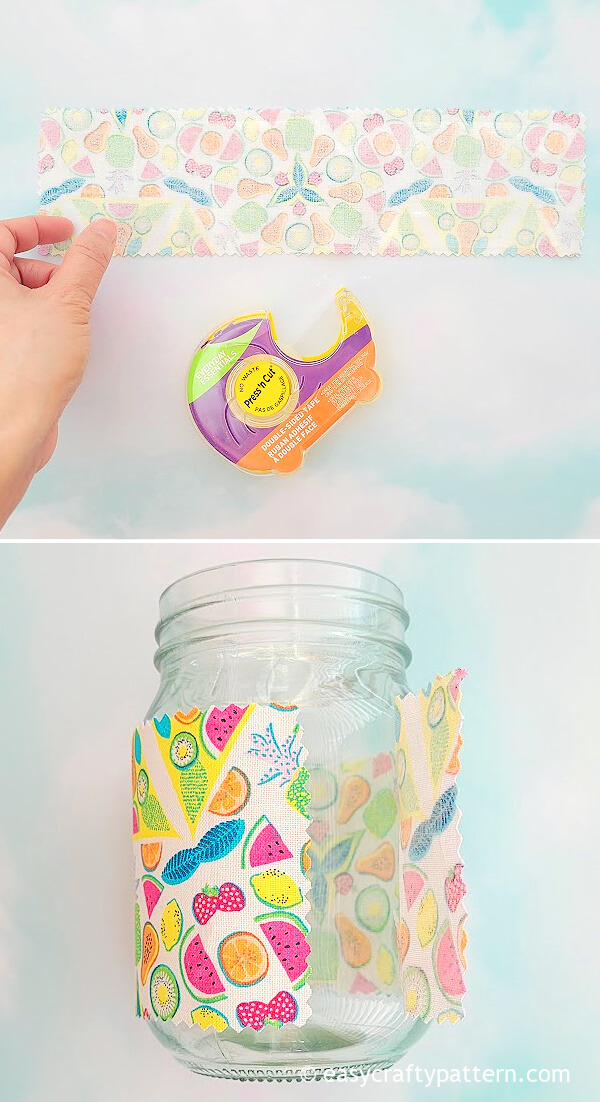
Attach the double-sided tape along the wrong side of the fabric edge.
If sticking the tape to the fabric is challenging, then attach the double-sided tape directly to the mason jar.
Wrap around the fabric to the mason jar. Add another piece of double-sided tape on the extra fabric’s short edge.
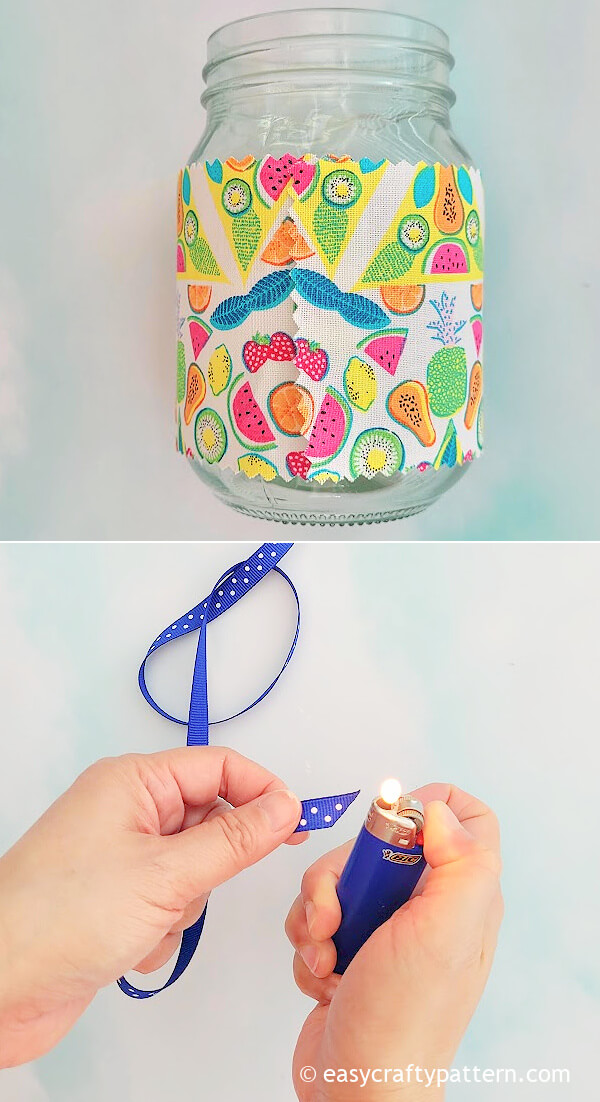
Cut the ribbon into 48″ and use a lighter to seal the ribbon’s raw edge.
Wrap around the ribbon to the fabric and make a bow knot.
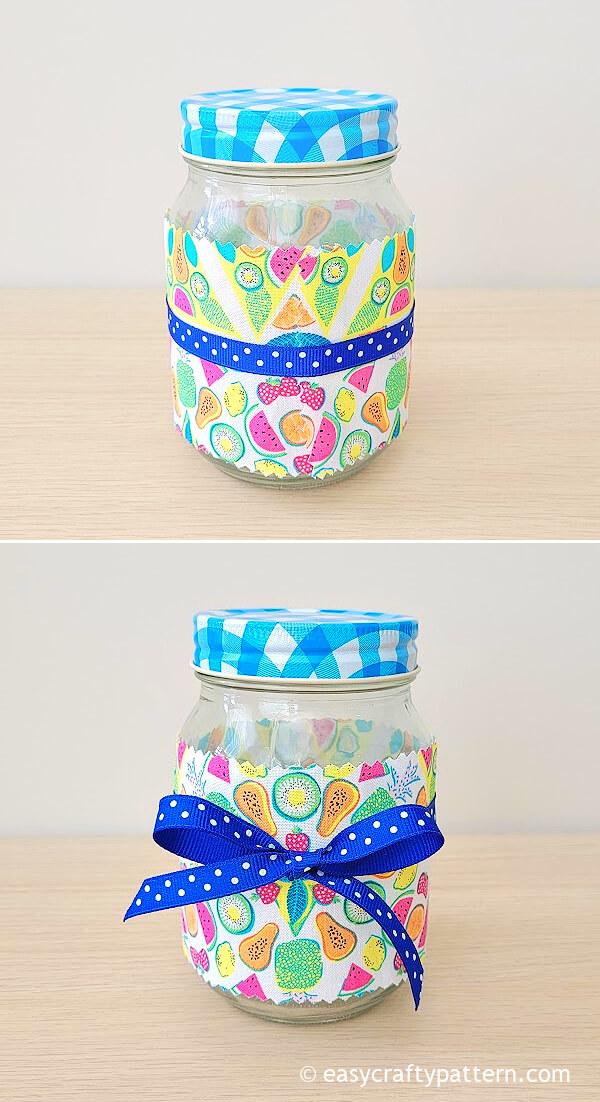
Now the ordinary-looking mason jar is ready for fun gift-giving or an easy DIY decor by wrapping it with a fun fabric print.