DIY Clay Bunny Bowls
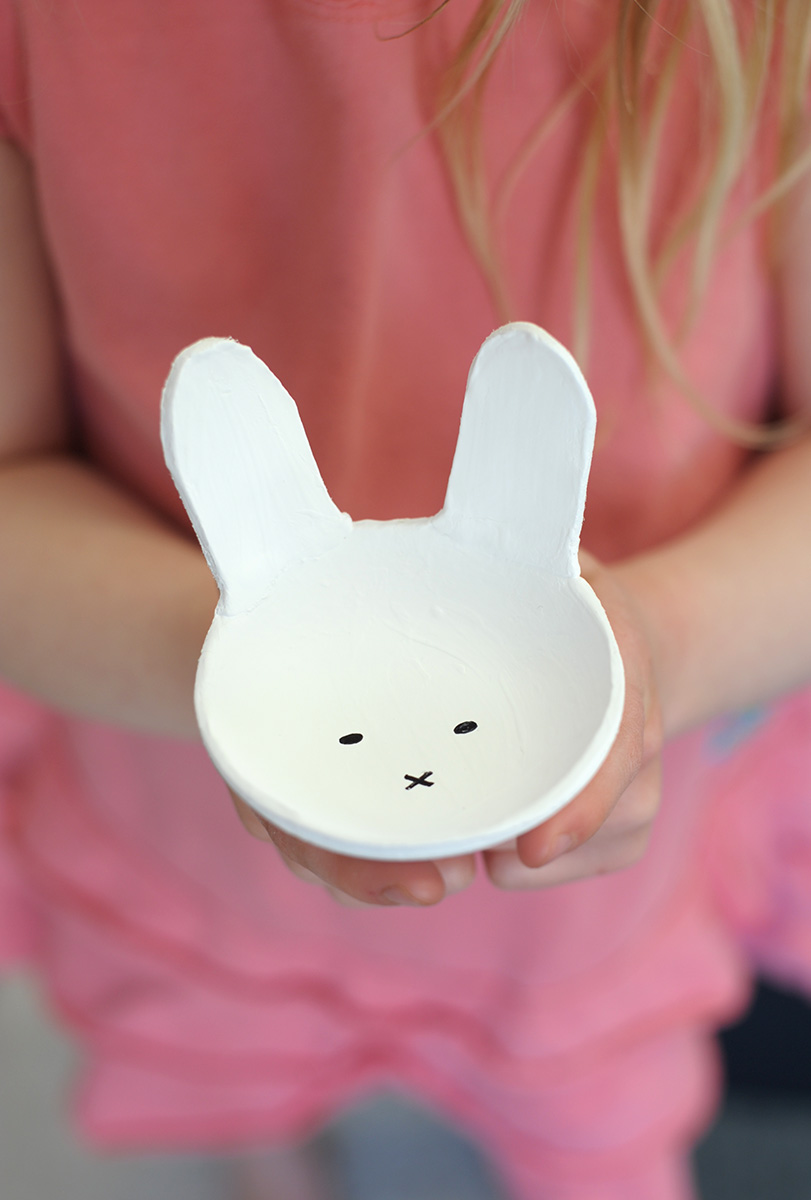
Looking to get crafty? DIY Clay Bunny Bowls are a fun and adorable project to try out! With just a few simple supplies as stated, you can create cute little bunny bowls perfect for holding small trinkets or jewelry. Let your creative juices flow as you shape the clay into bunny ear shapes, and don't forget to add the sweet bunny faces with a paintbrush. These little bowls make great gifts or simply a charming addition to your own decor. So, grab your supplies and enjoy a fun crafting session making these charming clay bunny bowls!
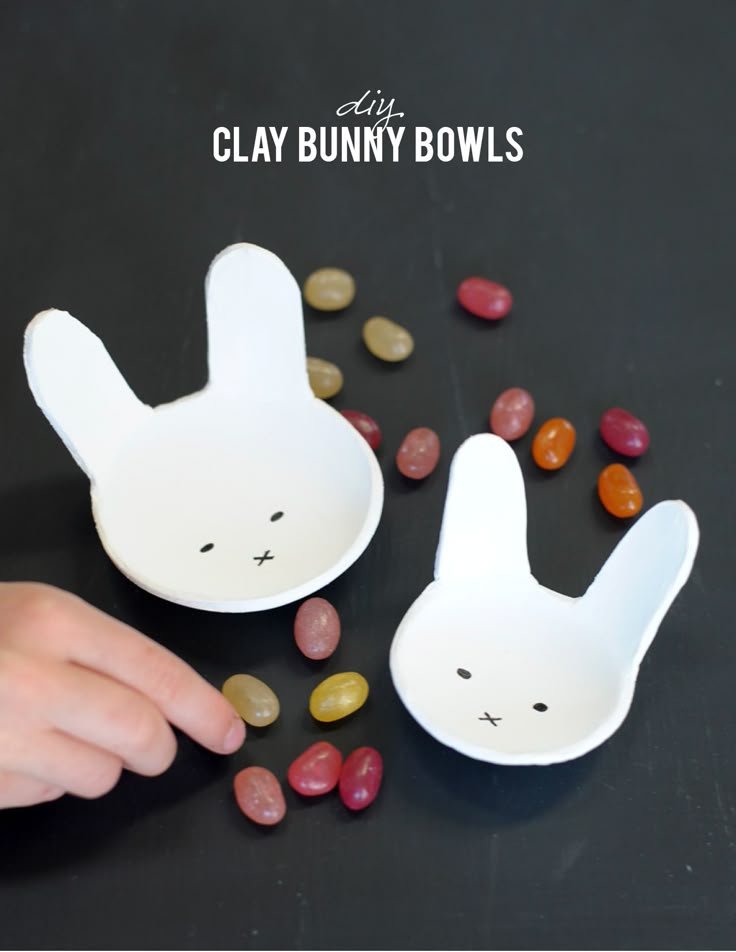
- Air Dry Clay
- acrylic craft paint – white
- rolling pin
- Sharpie Oil-Based Paint Marker
- glass bowls
- sandpaper
- paintbrush
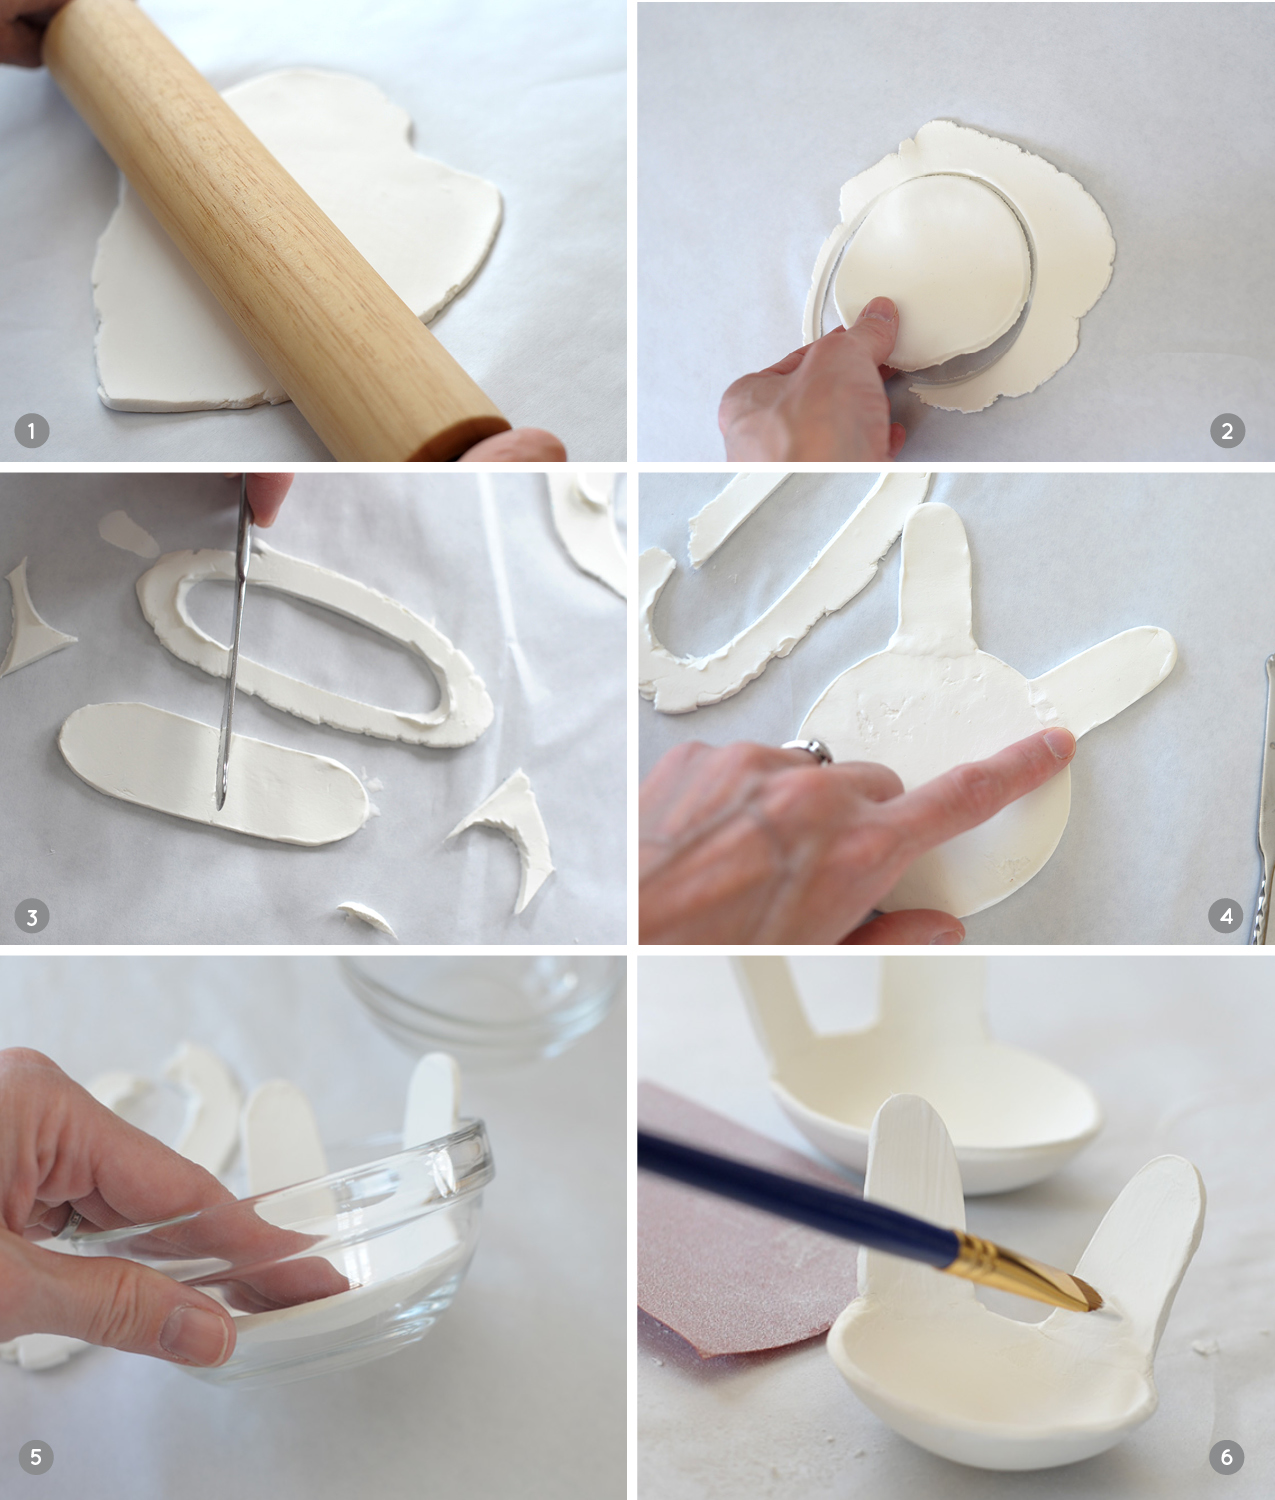
1. Roll out air dry clay on smooth surface like parchment paper. Roll to thickness of 1/4 inch.
2. Place bowl top side down on to clay. Cut around the edge of the bowl with a knife. Lift clay gently off of parchment paper.
3. Cut out long oval shape out of the remainder of the clay you’ve rolled out. Cut it in half to create the two bunny ears.
4. Place ears on backside of rolled out circle and gently push to create a good smooth seam.
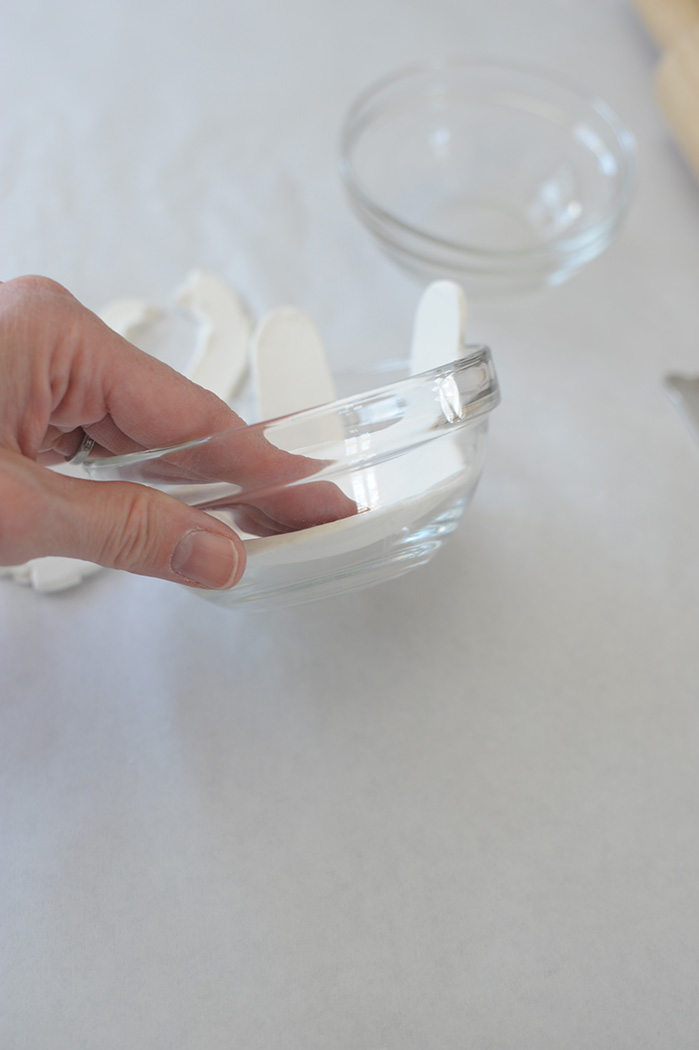
5. Push clay into bowl until it touches the bottom and side. Smooth edges with your finger. Let clay dry overnight, up to a day until dry. Pop out the dried clay from the glass bowls and sand the edges with the sandpaper.
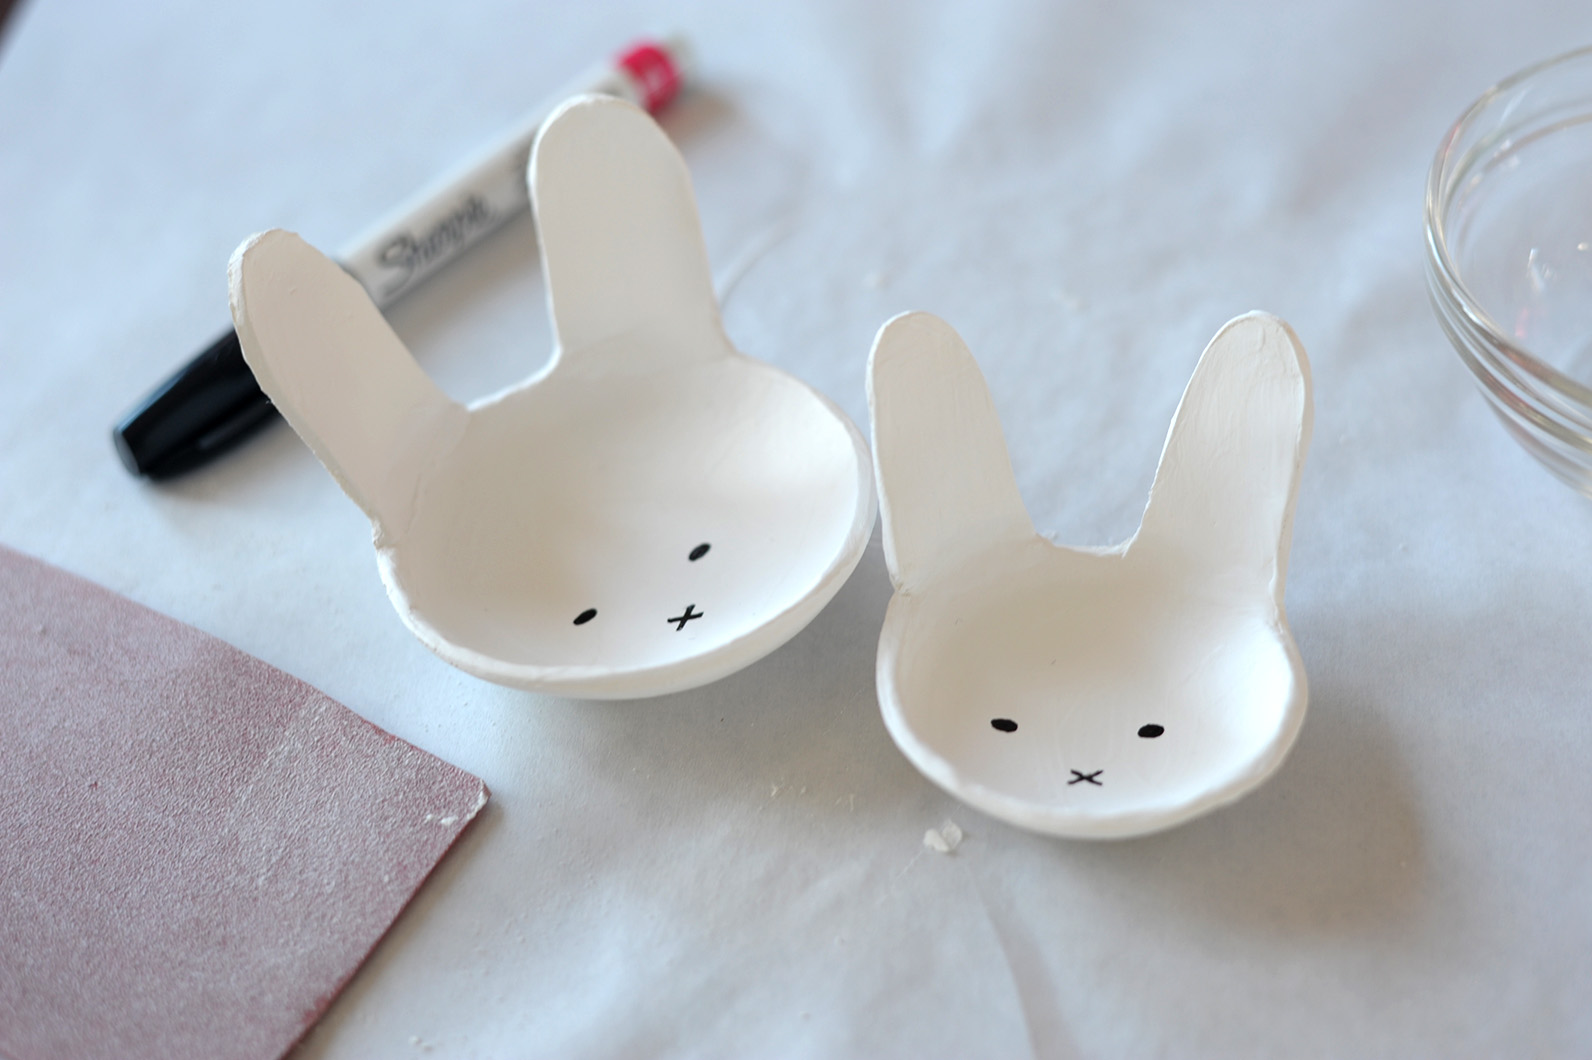
6. Paint the bowls however you’d like with acrylic craft paint. I painted the bunnies with white paint to smooth out the seams from the ears. Then I used a Sharpie oil-based paint marker to make the eyes and nose.
