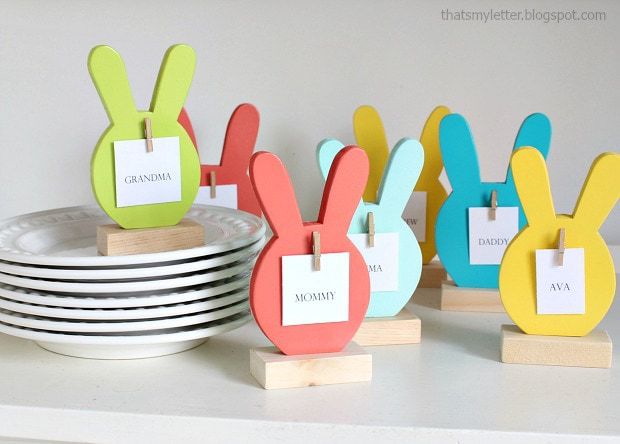
DIY Bunny Place Cards
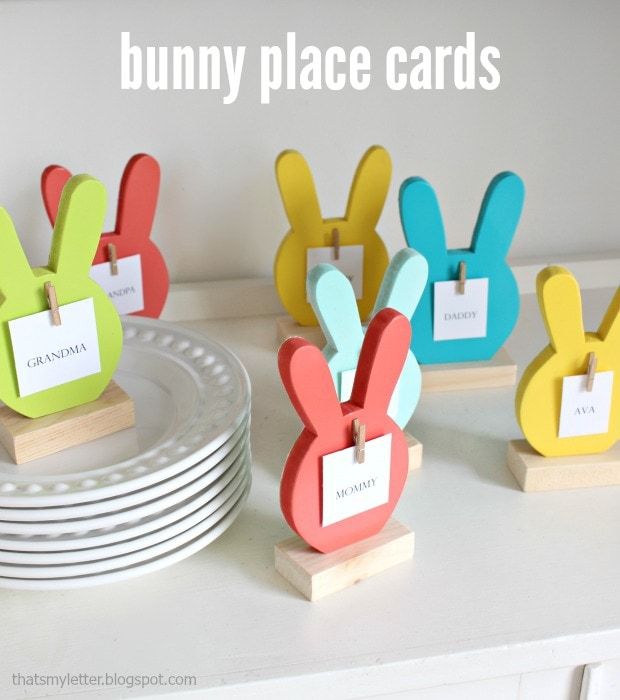
If you're looking to add a charming touch to your next gathering, why not try making DIY Bunny Place Cards? These adorable and easy-to-make place cards will not only impress your guests but also add a personal flair to your table setting. Your guests will surely appreciate the thought and effort you put into making their dining experience even more delightful!
Supplies:
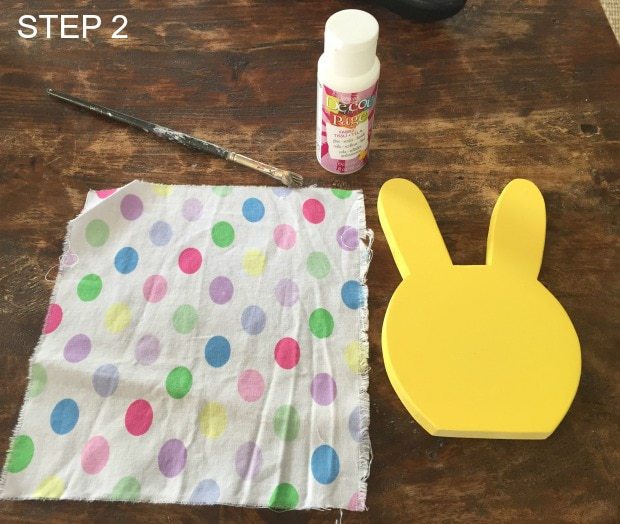
Step 2: Cut a piece of scrap fabric slightly larger than bunny head.
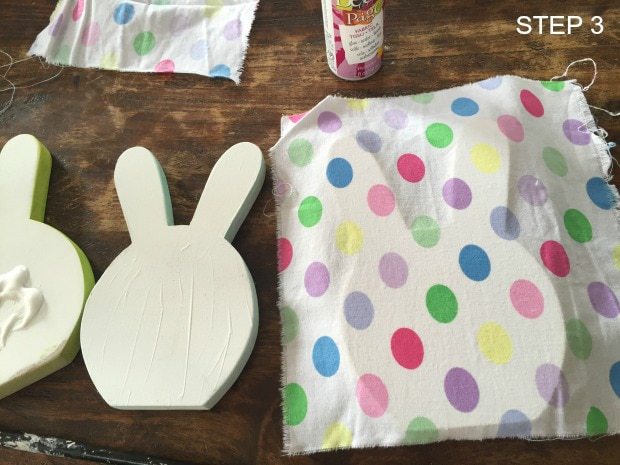
Step 3: Apply decoupage to back of bunny then lay fabric onto bunny and smooth in place. Let dry.
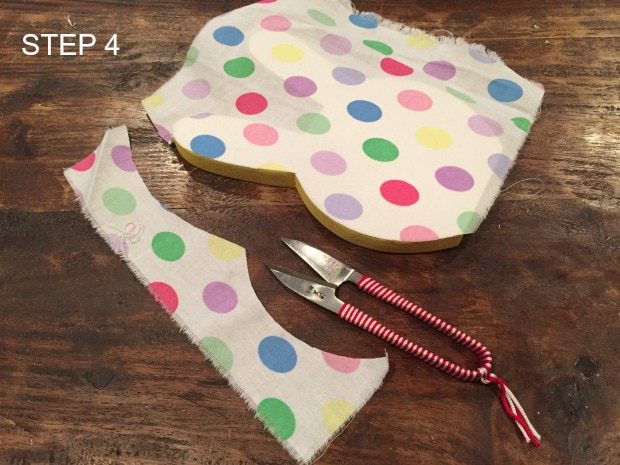
Step 4: Trim fabric as close to edge of bunny as possible. If your fabric starts to fray apply a small dab of decoupage to the cut edge.
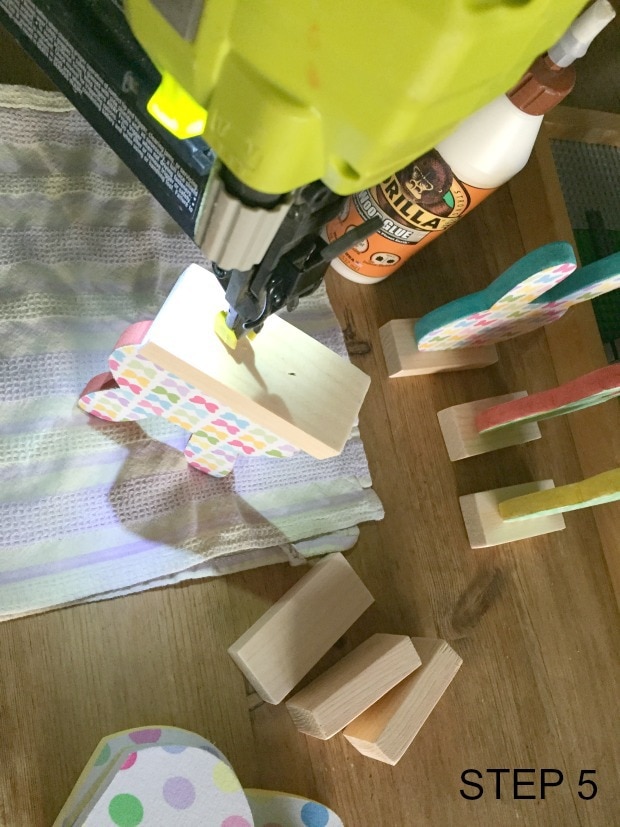
Step 5: Attach 1×2 base to bunny head using wood glue and 1 1/4″ finish nails.
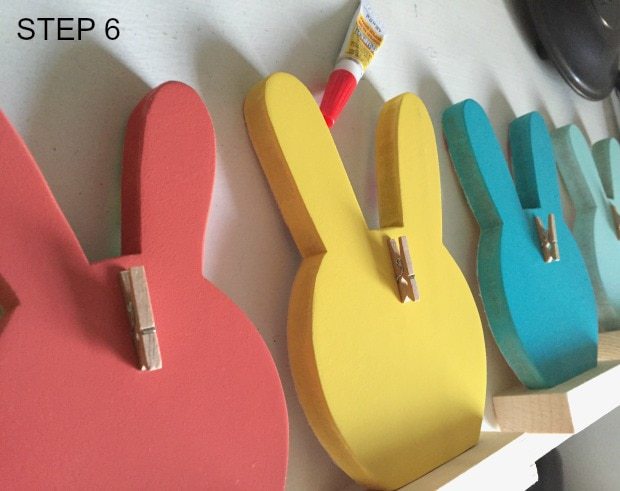
Step 6: Use super glue to attach one side of mini clothespin to center top of bunny head.
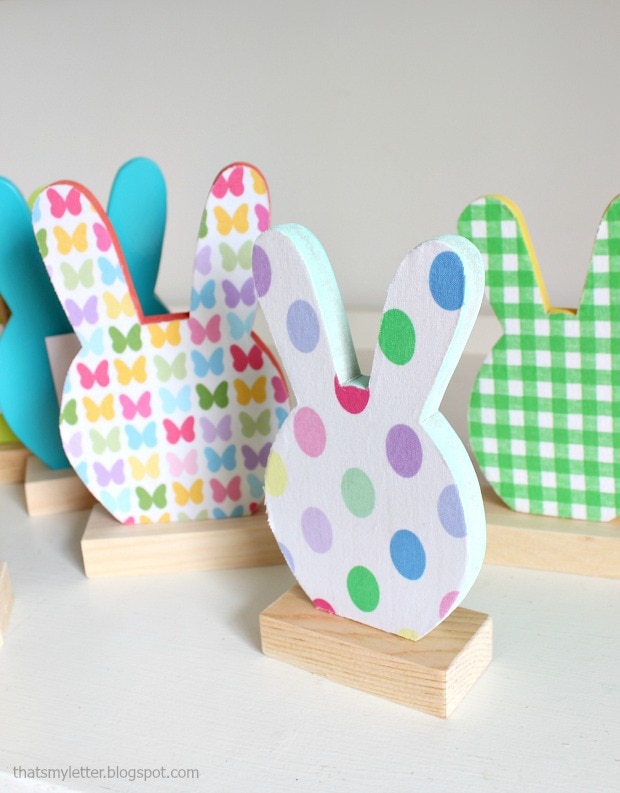
Now print out the names onto cardstock, cut out and slip into clothespin. Self standing, so colorful and the cutest nod to Easter.