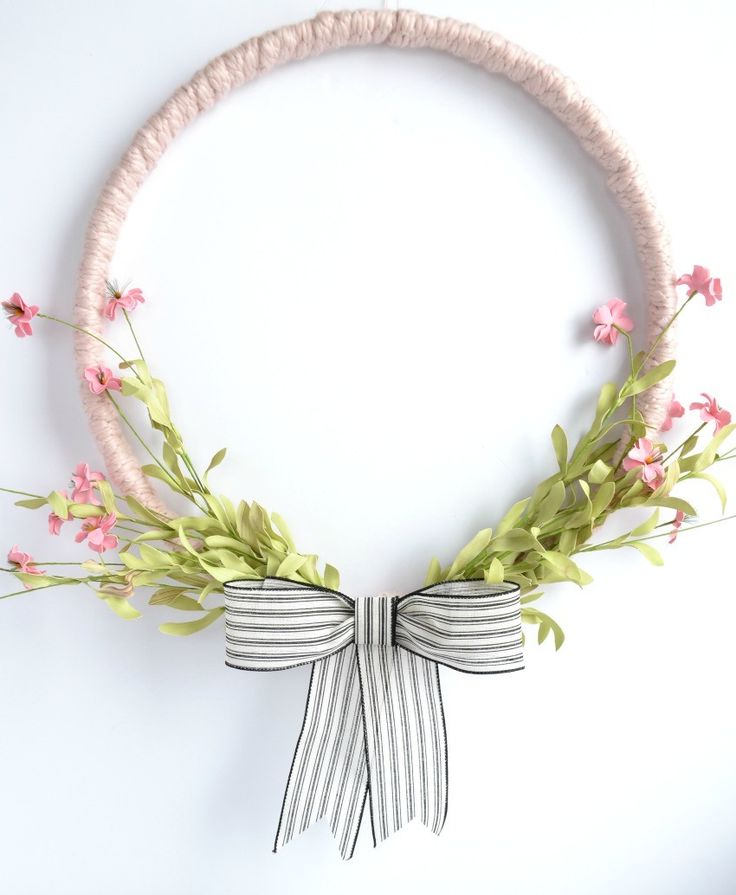
Easy Spring Wreath
Creating an Easy Spring Wreath is a fun and delightful way to brighten up your home decor! All you need are a simple wreath base, some colorful spring flowers, and a bit of creativity. With the stated materials, you are sure to make something charming and beautiful that will put a smile on your face at the end of the project. Feel free to add a cute ribbon or any other decorative elements to personalize your wreath. With a little effort and imagination, you'll have a charming spring wreath that will bring joy and cheer to your space!
What you need:
- Embroidery Hoop
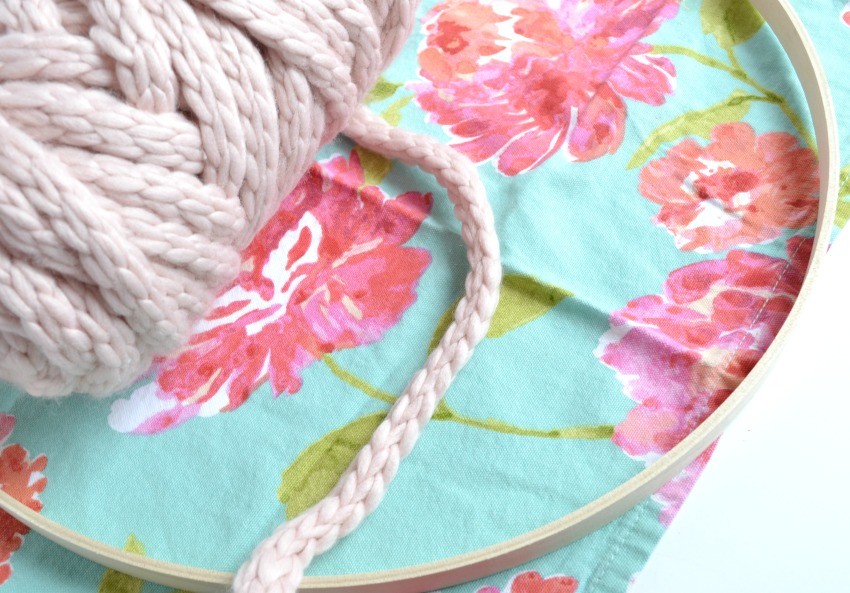
- Yarn Bee Chunky Knit Yarn in Blush
- Hot Glue
- Faux Flowers
- Ribbon
How to:
Step One.
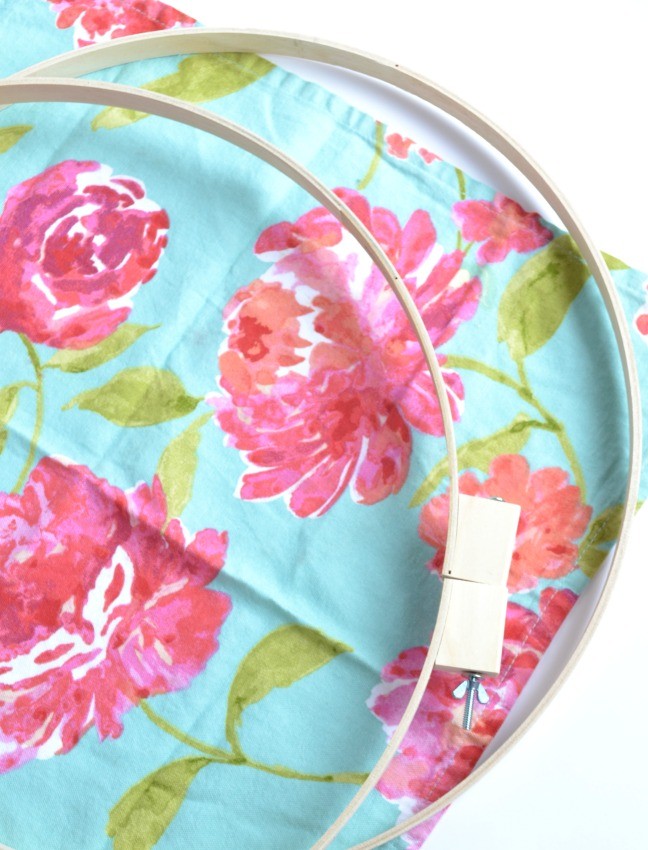
Start by disconnecting the inside and the outside of the embroidery hoop so that you have two hoops. Set one aside for another day.
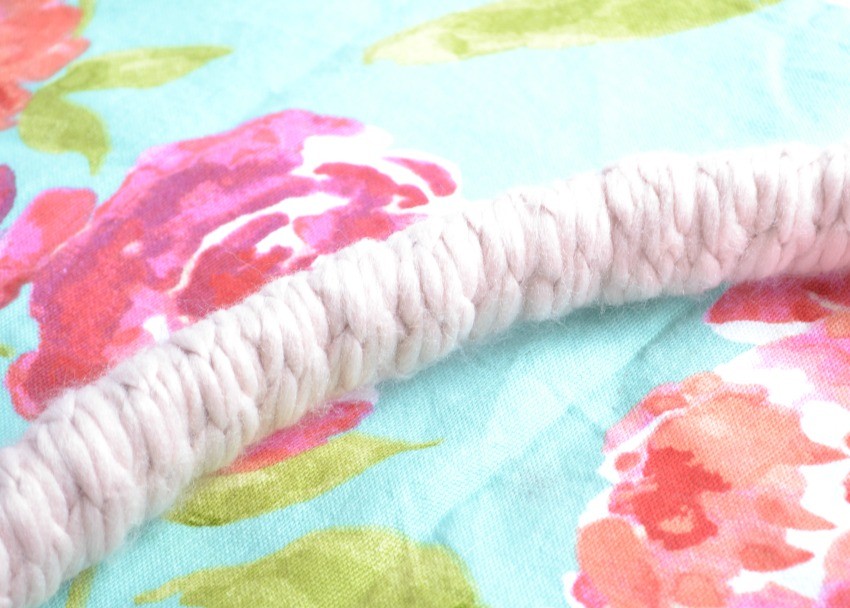
Step Two.
Find the end of your yarn and hot glue it in place to your embroidery hoop. Next up, start wrapping your embroidery hoop until all sides are covered, then hot glue the end down once fully wrapped.
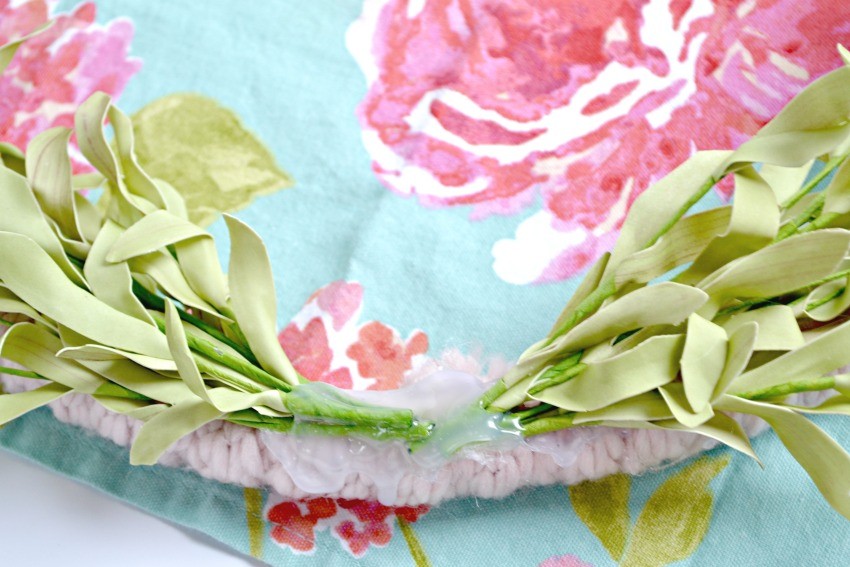
Step Three.
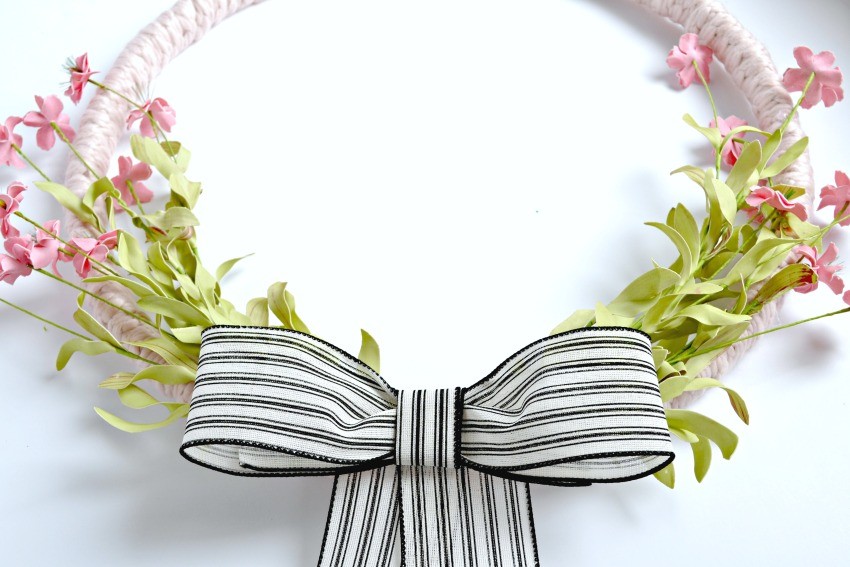
Next, I add my flowers by hot gluing them in place over the seams where the yarn meets and is already hot glued down. I added one stem of flowers to the right and another to the left, carefully spreading them out and layering them on the wreath.
Step Four.
Finally, I add a bow. I really like adding an unexpected ribbon to the wreath to make it pop, so I chose this black and white ribbon with kind of a simple farmhouse look. To make your ribbon, I start by pulling out about 12-18 inches of ribbon, then taking each end and bringing it to the enter to make a flat loop. I hot glue it in the center. Then I cut a smaller 5 inch piece and fold it in half and I wrap it around the center of the loop I just created to create the bow. Finally, I got two longer pieces and glue them to the back of my bow to create the “tails” of the bow. It’s really quite simple once you de-construct it a bit and think through how to make it.