DIY Jute Twine Easter Bunny
If you're looking to add a charming touch to your Easter decorations, consider crafting a DIY Jute Twine Easter Bunny! This adorable project will bring a rustic and whimsical flair to your home during the holiday season. It's a fun and budget-friendly way to add some personalized decor to your Easter celebrations. Get ready to hop into the spirit of the season with this delightful DIY project!

Supplies Needed:
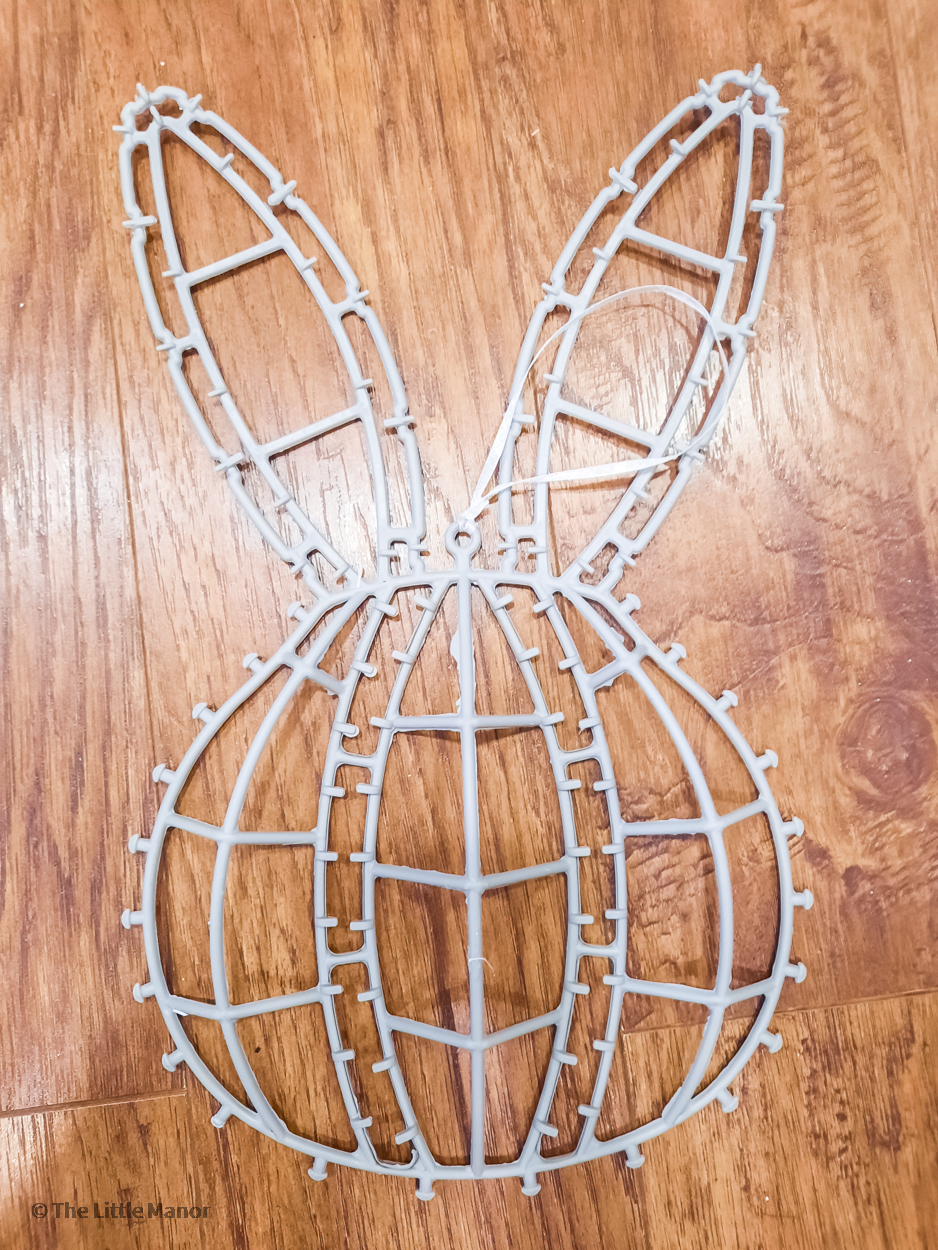
Just find a lose piece and begin pulling, it’ll come off pretty easily!
Once you have it completely unwrapped, you’ll want to take a pair of scissors and trim the ends off of each of the little plastic pieces that stick out from the bunny.
Here’s what it looks like before trimming them:
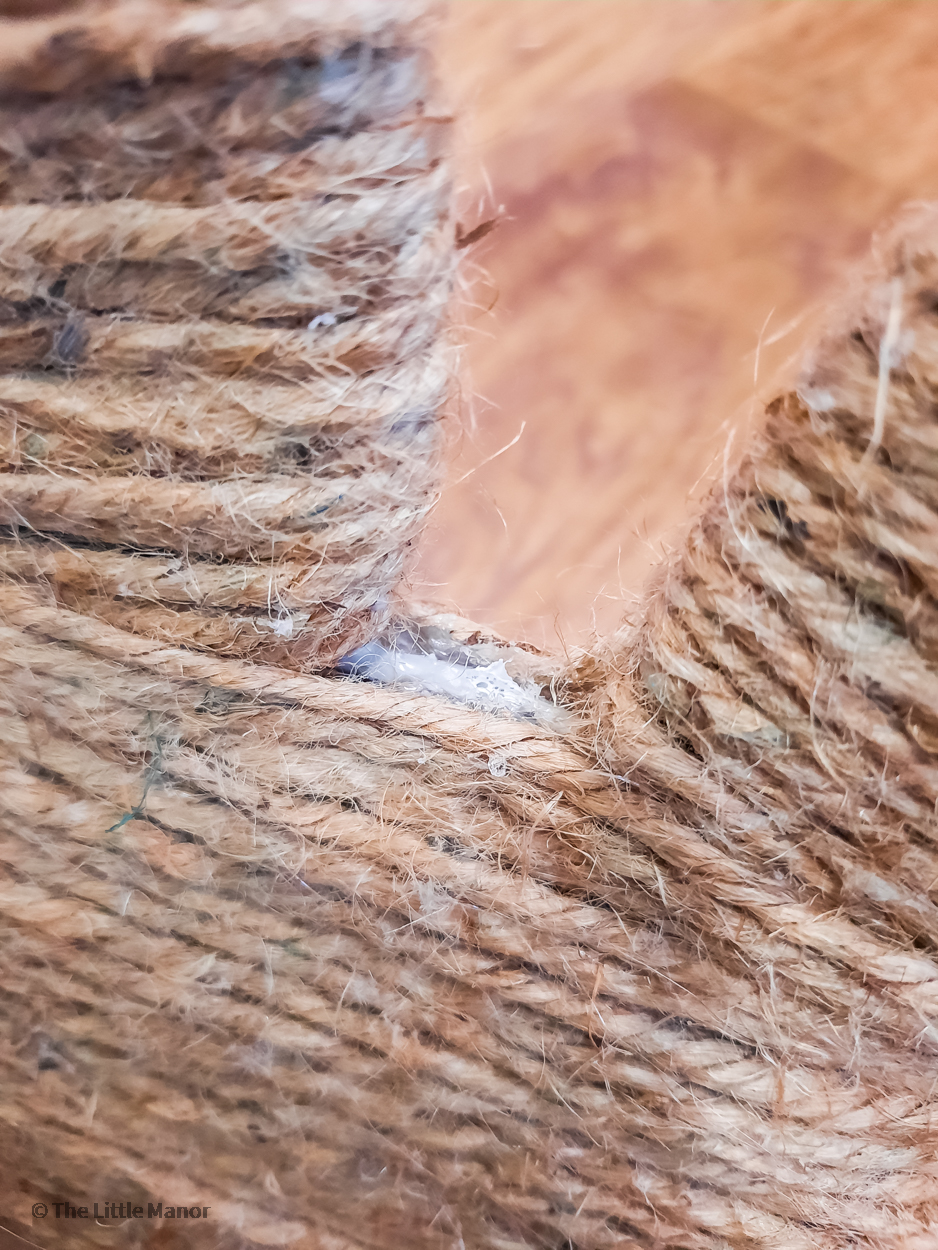
And it’ll look like this once you’re finished:
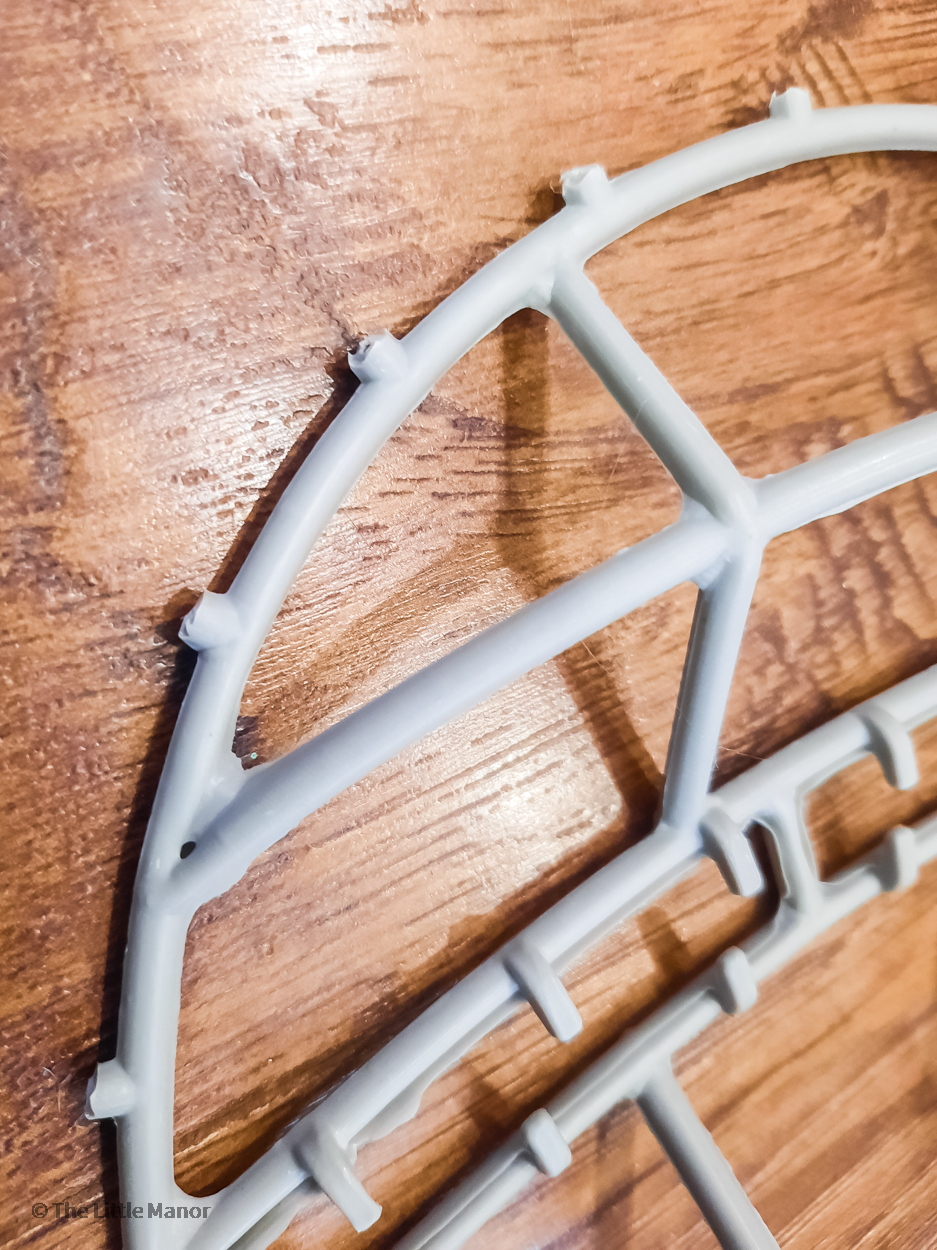
This will make it easier to hide those little plastic pieces when you’re gluing the twine around it in the next step.
Step 2: Glue Twine (Face)
Let me give you one little piece of advice before getting into this step…invest in some finger protectors, haha!
If you haven’t seen them before, they’re just little silicone caps that go on the end of your fingers, and protect them from getting burned while working with hot glue.
Dollar Tree actually sells them in a three pack in their craft section!
It may not seem necessary, but trust me, after burning yourself a few times like I did on this project, you’ll be running out to pick some up too!
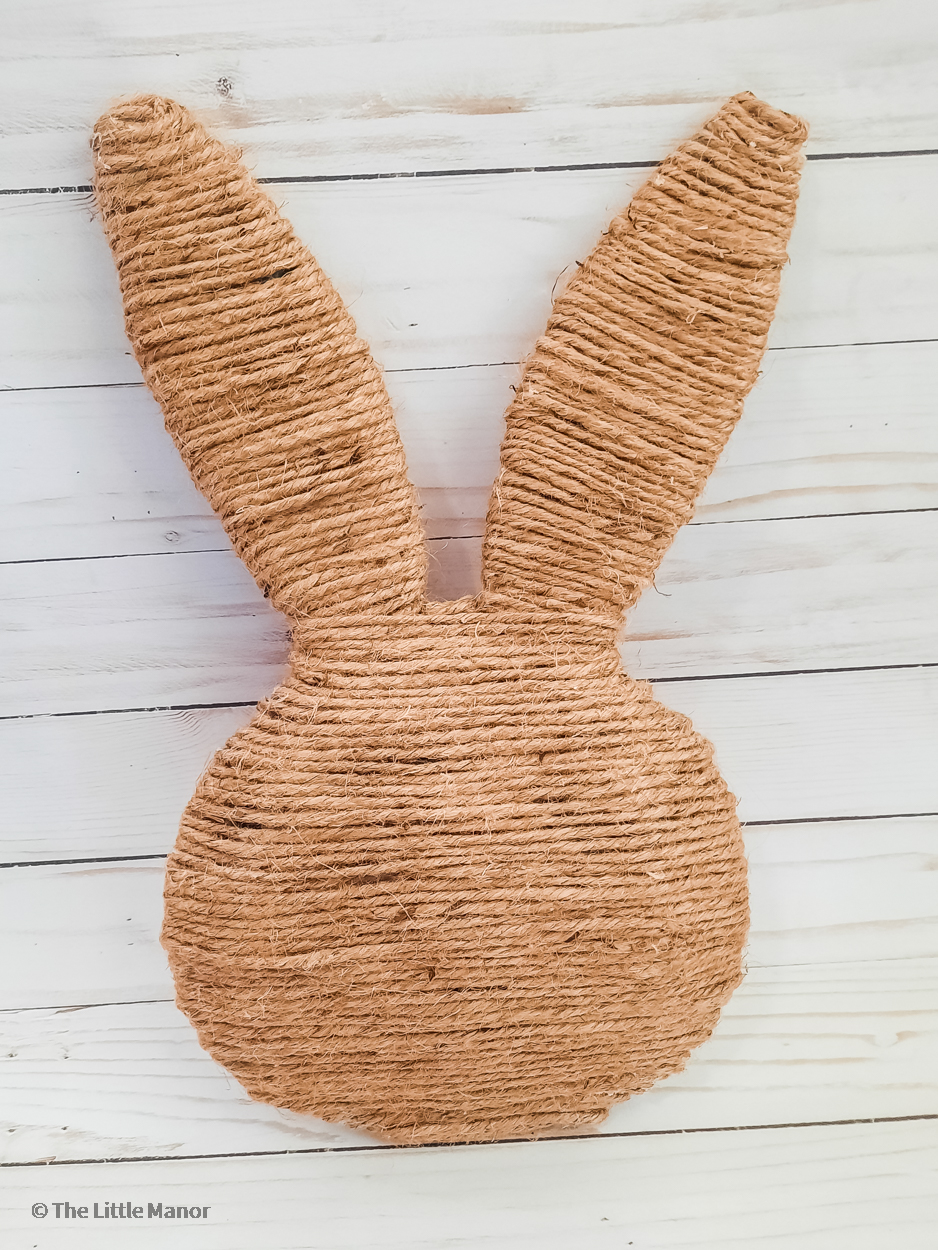
Start by gluing the end of your jute twine onto either the top or bottom of the bunny.
Then begin wrapping it around the bunny horizontally.
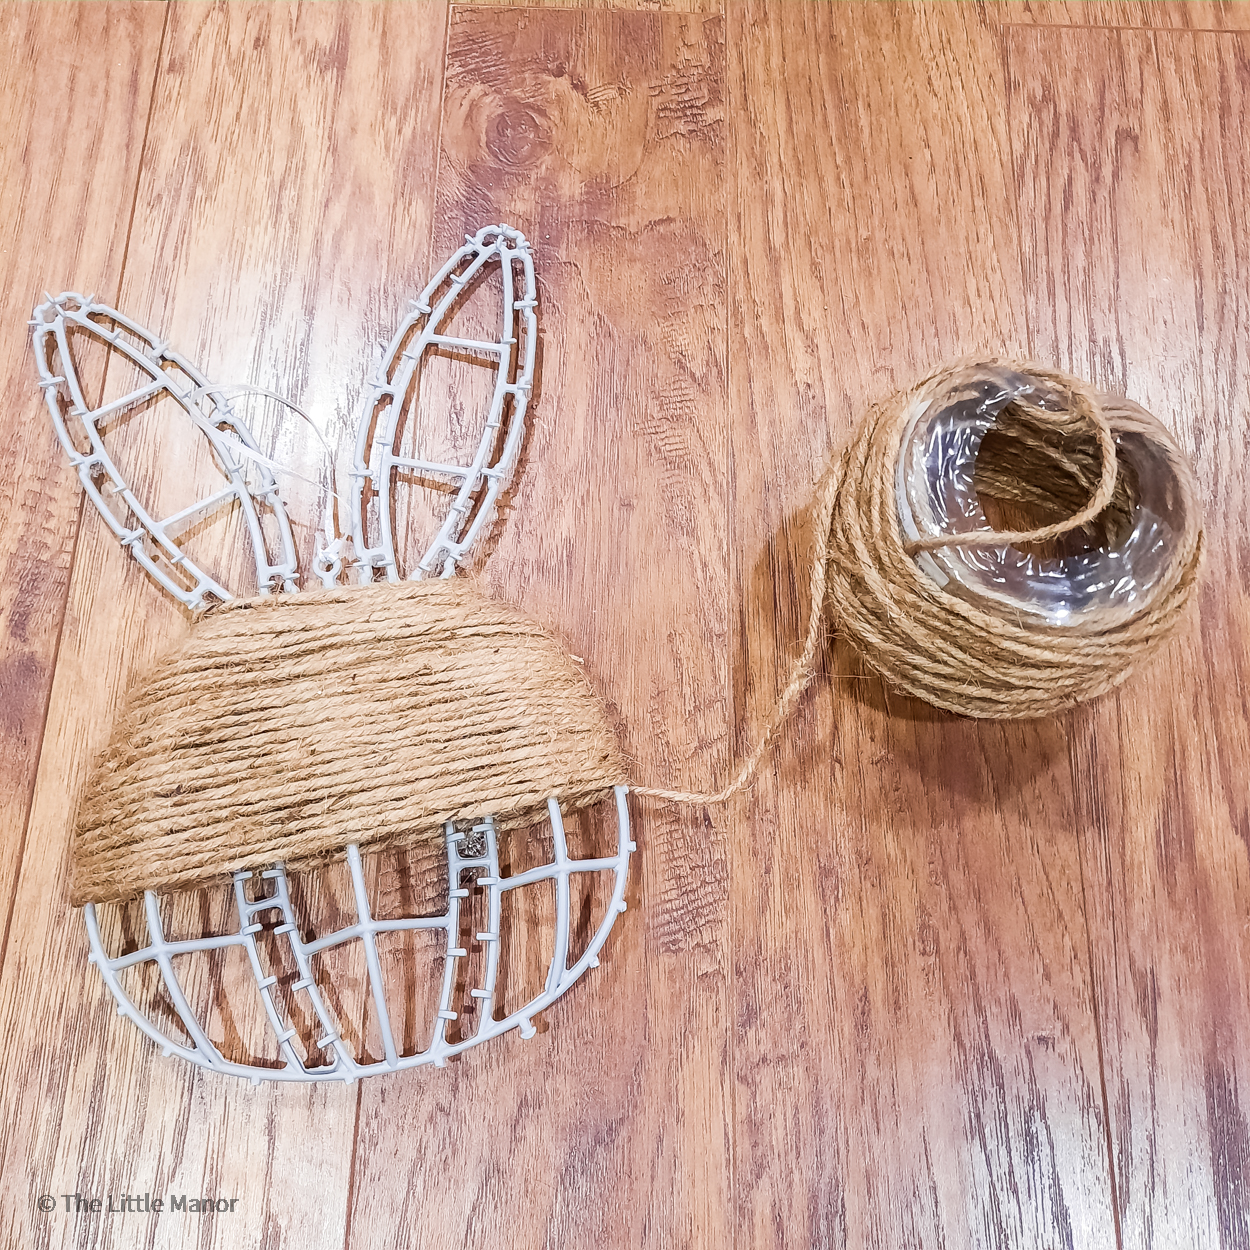
You can wrap it as neatly or as messily as you like, depending on what look you prefer!
For mine I tried to wrap the twine as neatly as possible, keeping each line of it pushed up tightly against the one before it.
As you wrap you’ll need to glue the twine down to the plastic underneath every so often using your hot glue gun.
You can do this intermittently, or you can glue it every time you wrap it around, it’s up to you!
Just know that the more often you glue the twine down, the more sturdy your project will be once it’s all finished!
Once you’ve glued twine to the entire face, cut the twine using scissors and glue the end down securely.
For the very top of the bunny, where the small circle is, you can either chose to leave it as is and hang it using that, or you can do what I did and break that part off.
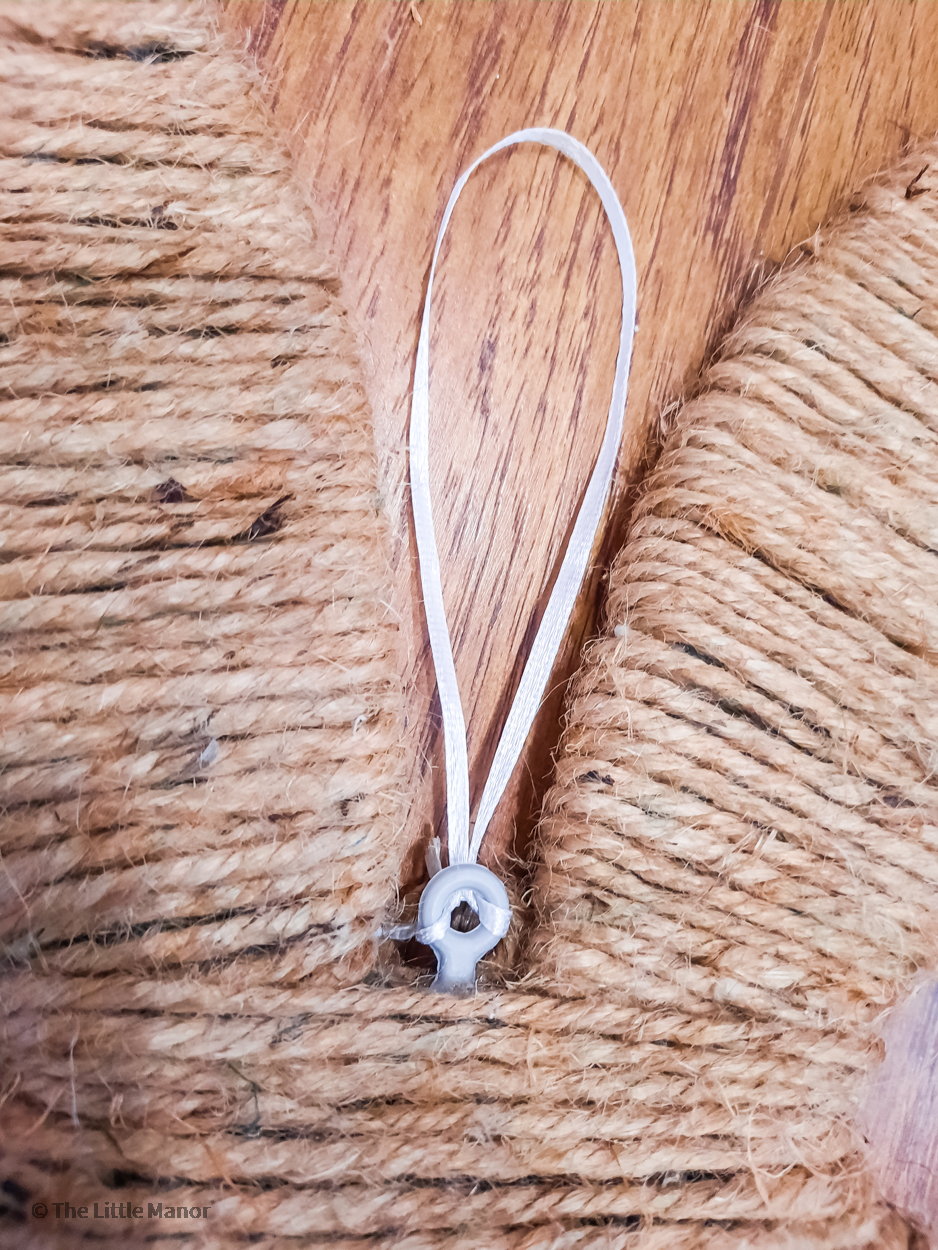
I just used a pair of pliers, and it broke off very easily.
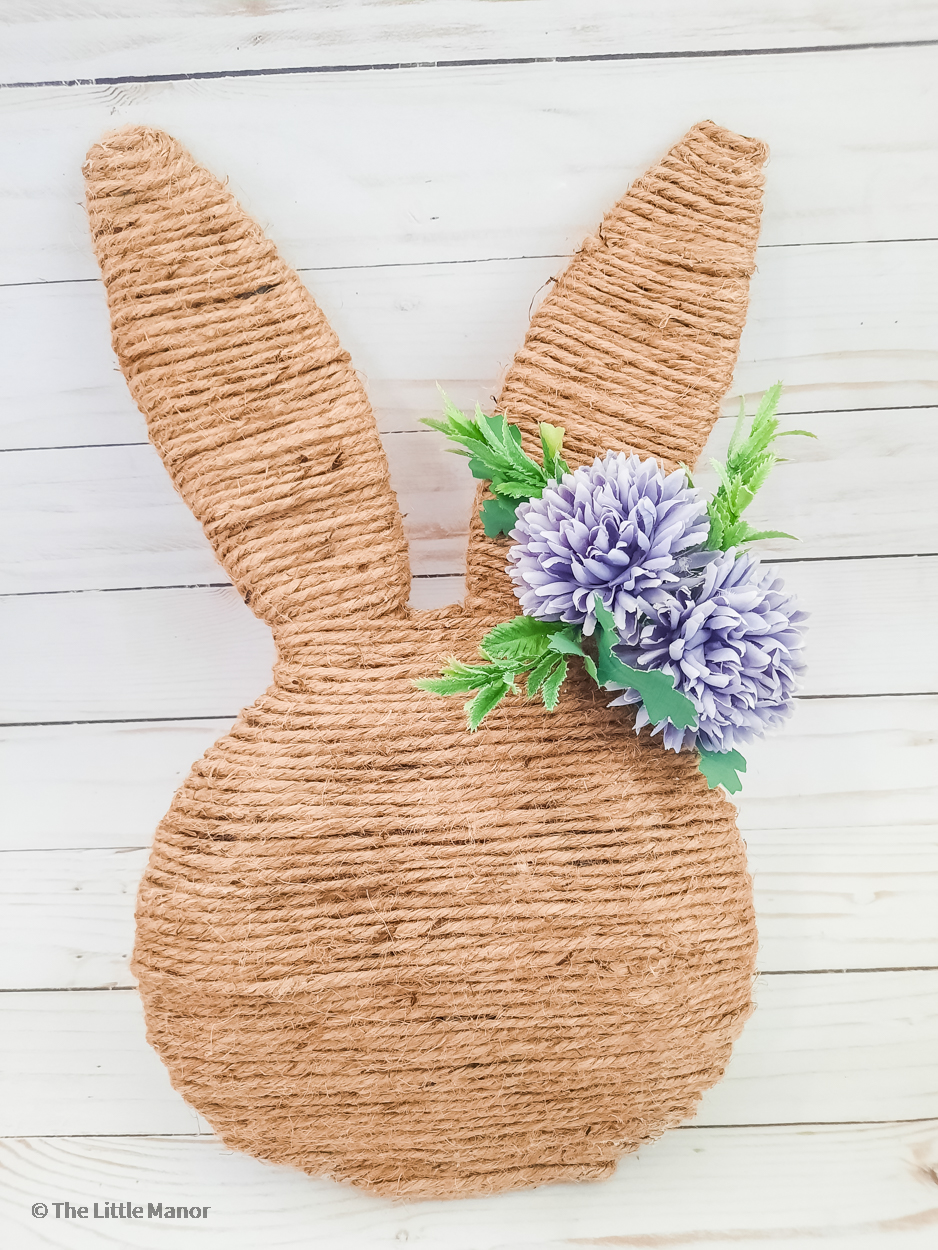
Luckily I had some faux flowers on hand!
I just cut the flowers off of their stems, and then hot glued them onto the bunny.