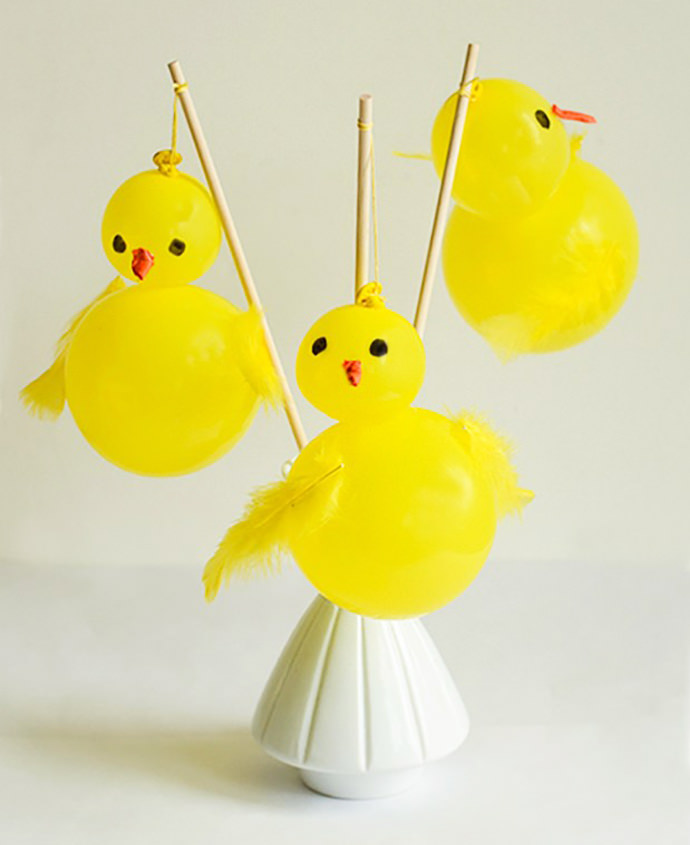
DIY Birdie Balloon Garland
Creating a DIY Birdie Balloon Garland is a fun and creative way to add a whimsical touch to any celebration! Once assembled, hang the adorable birdie balloons in a garland formation to instantly brighten up your party space and spread some joyful vibes! It's a delightful way to bring smiles to your guests and make your event truly special.

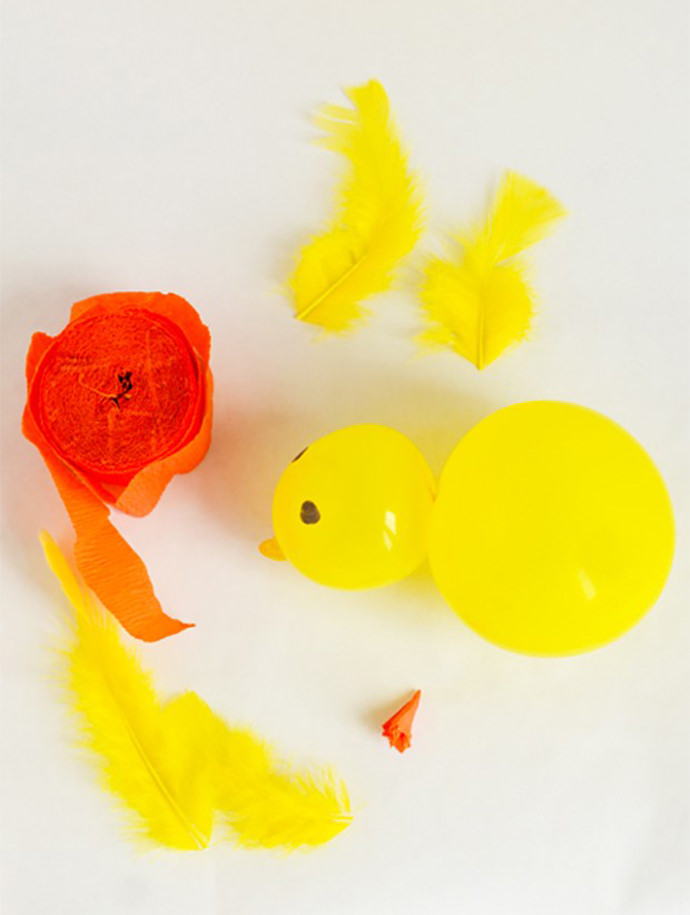
What you need:
How To:
Step 1
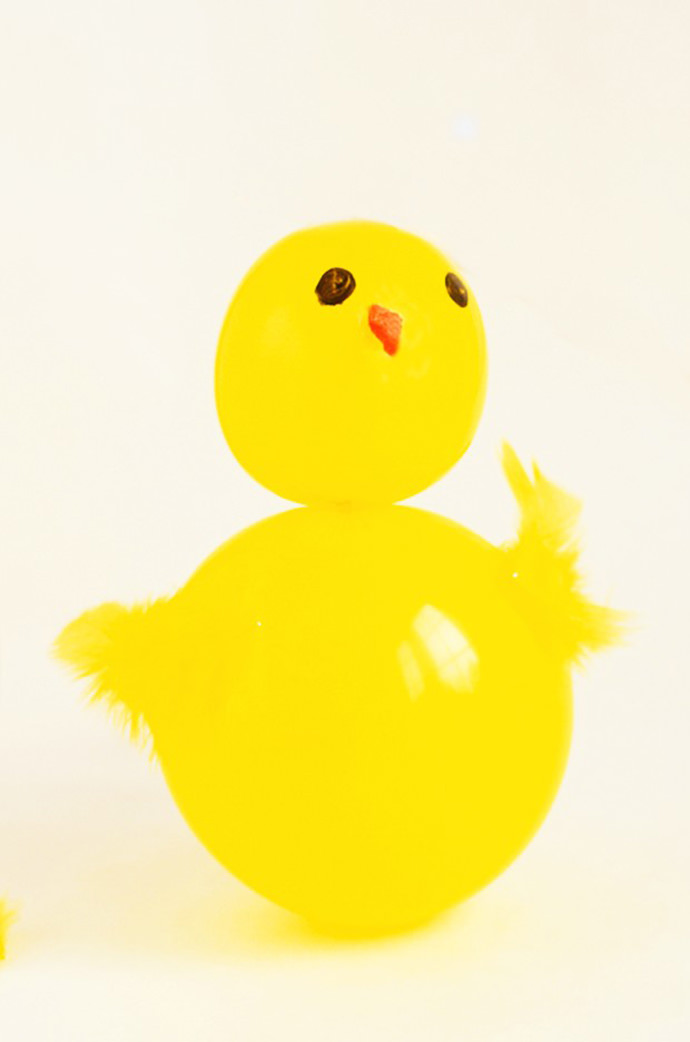
Inflate balloon to approximately 75%. Make sure the balloon is not too full with air or else it will pop when twisting it into sections. Flip the balloon upside down so that the knotted lip is facing upwards. Then rotate the top third of the balloon several times to create the chick’s head. (You may want to wrap a thin ribbon or string around the twist to make sure it stays in place.)

Step 2
Tear small pieces of double-sided tape and place them on either side of your chick. Stick one feather to each side to make your chick’s wings.
Step 3
Cut a tiny piece of crepe paper and twist it into a cone to make the beak. Place a small piece of double-sided tape in the center of the chick’s head and attach the beak. Draw on eyes with a black marker.
Step 4
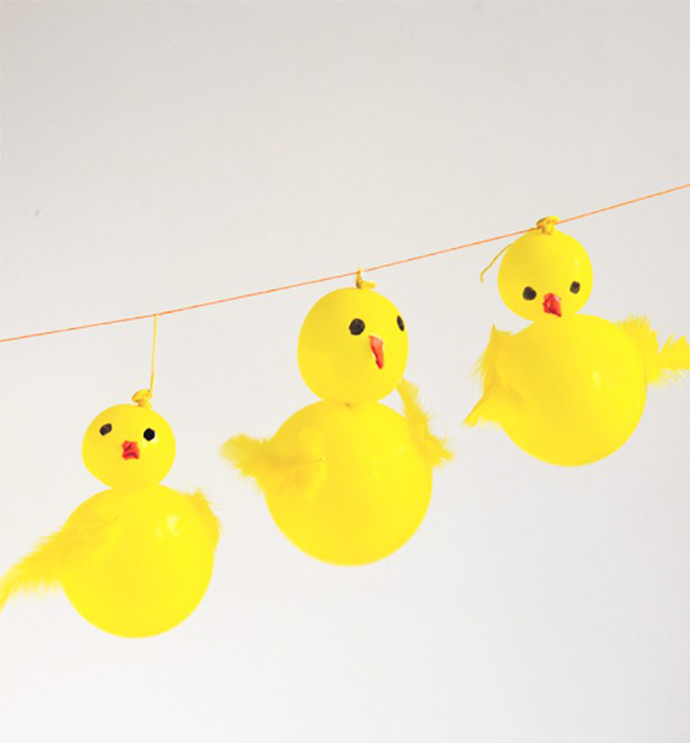
Tie small pieces of ribbon or string to the top of the balloon to make garland decorations. If you’re making a banner out of your birdie balloons, tie these smaller pieces to a longer ribbon/string. Use them to decorate your deck, hang from branches in your garden, dangle on doorknobs, or string across the mantle.