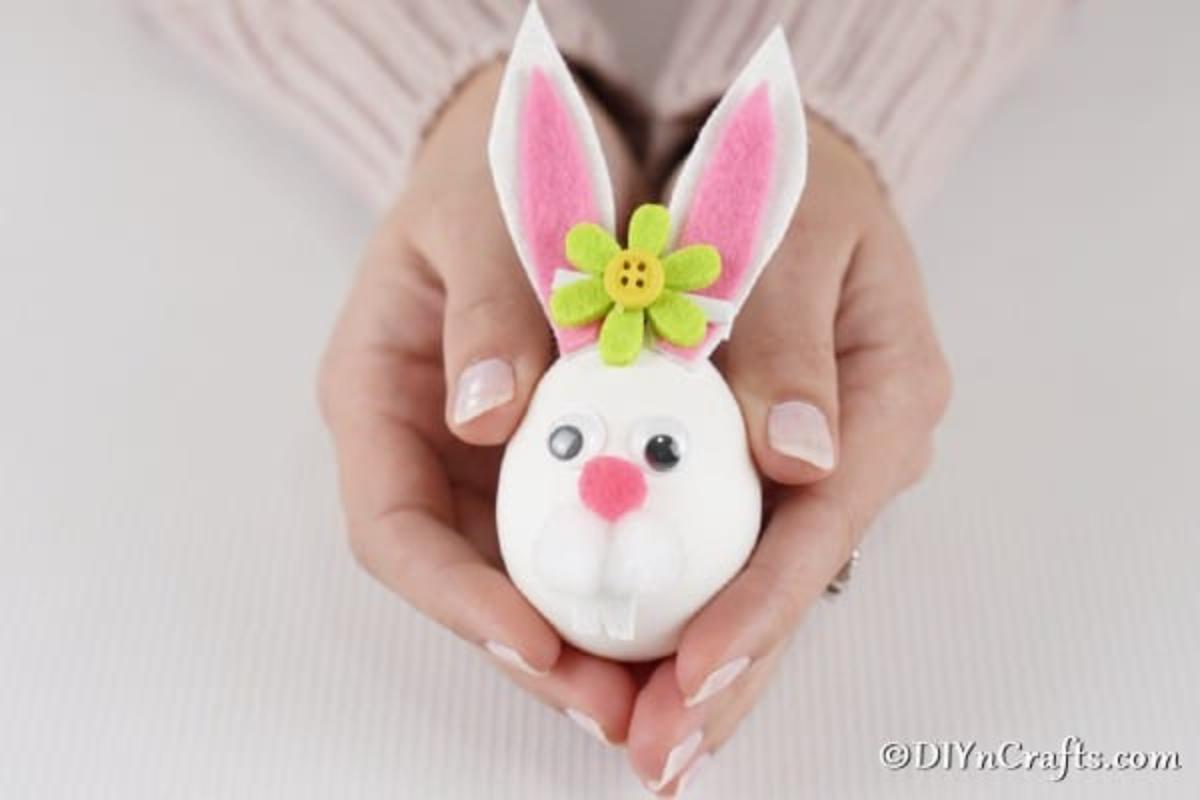
DIY Easter Egg Bunny
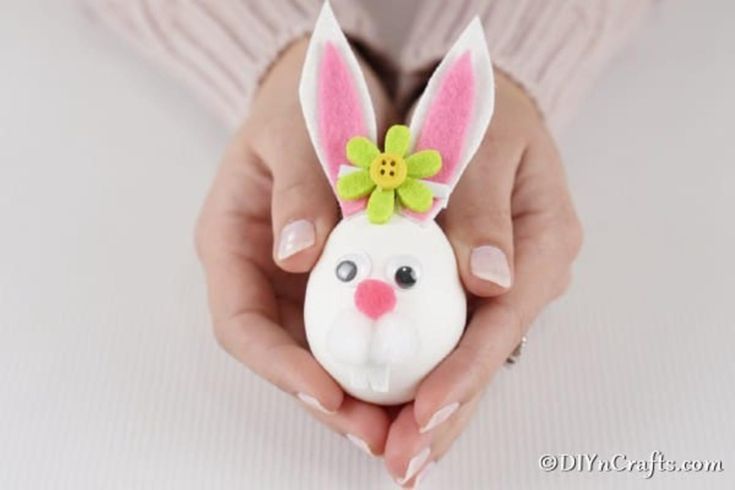
Creating a DIY Easter Egg Bunny is a fun and crafty project that anyone can enjoy! Get creative with the colors and designs to make each bunny egg unique and quirky. This delightful Easter craft is a great way to add a personal touch to your holiday decorations and surprise your loved ones with the cutest Easter eggs around! Get ready to hop into the Easter spirit with your handmade Egg Bunnies!
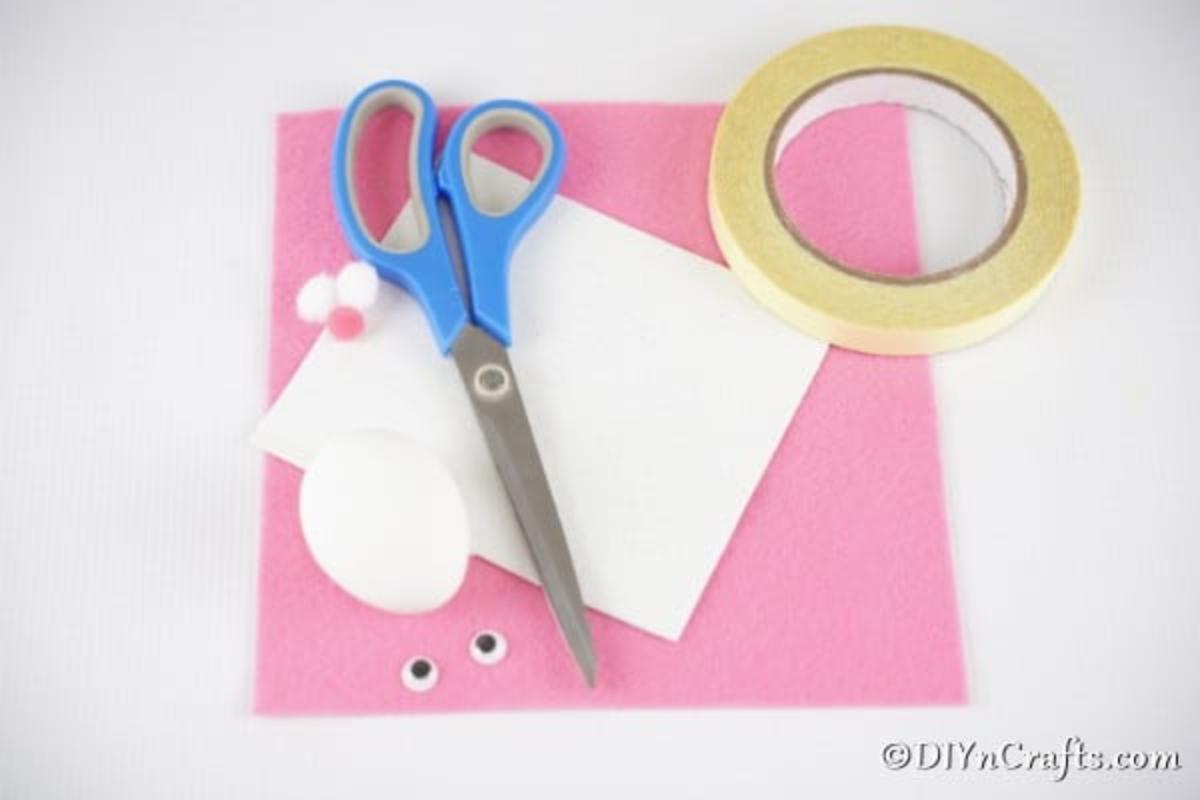
Supplies Needed
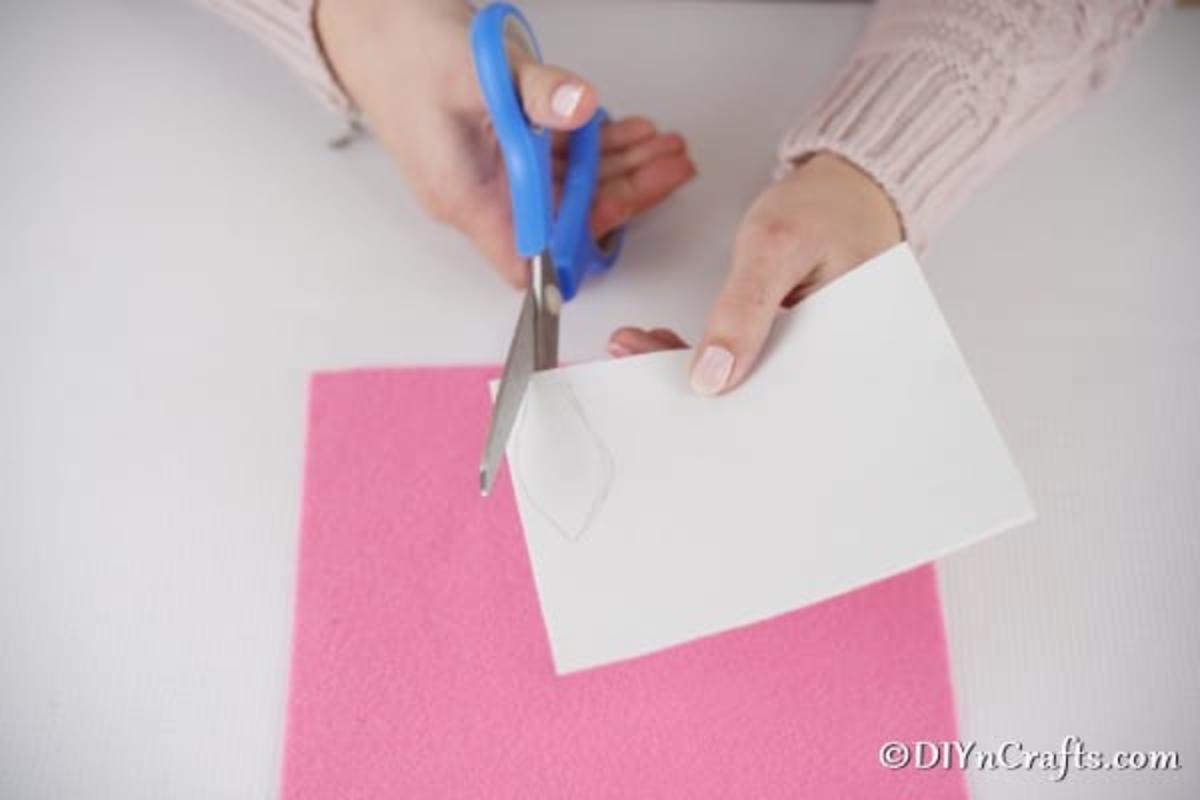
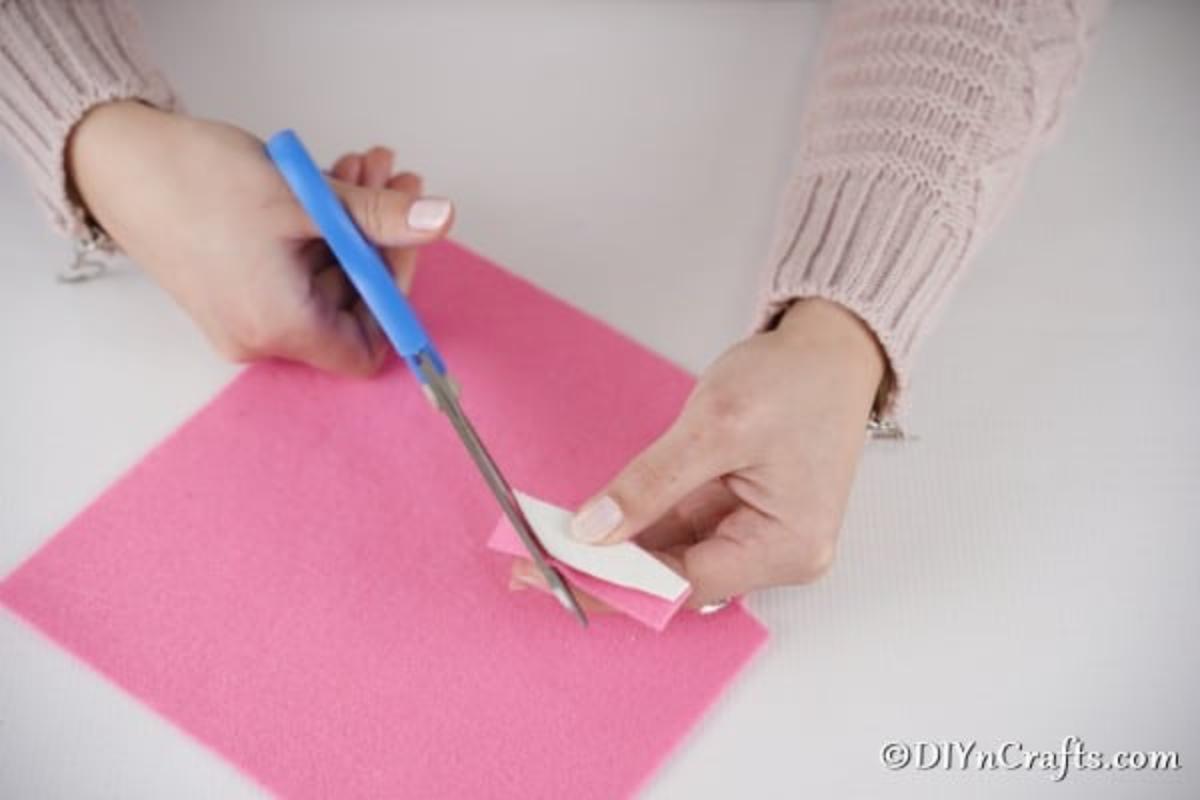
Then, you will use that as a template but cut the pink ear pieces slightly smaller.
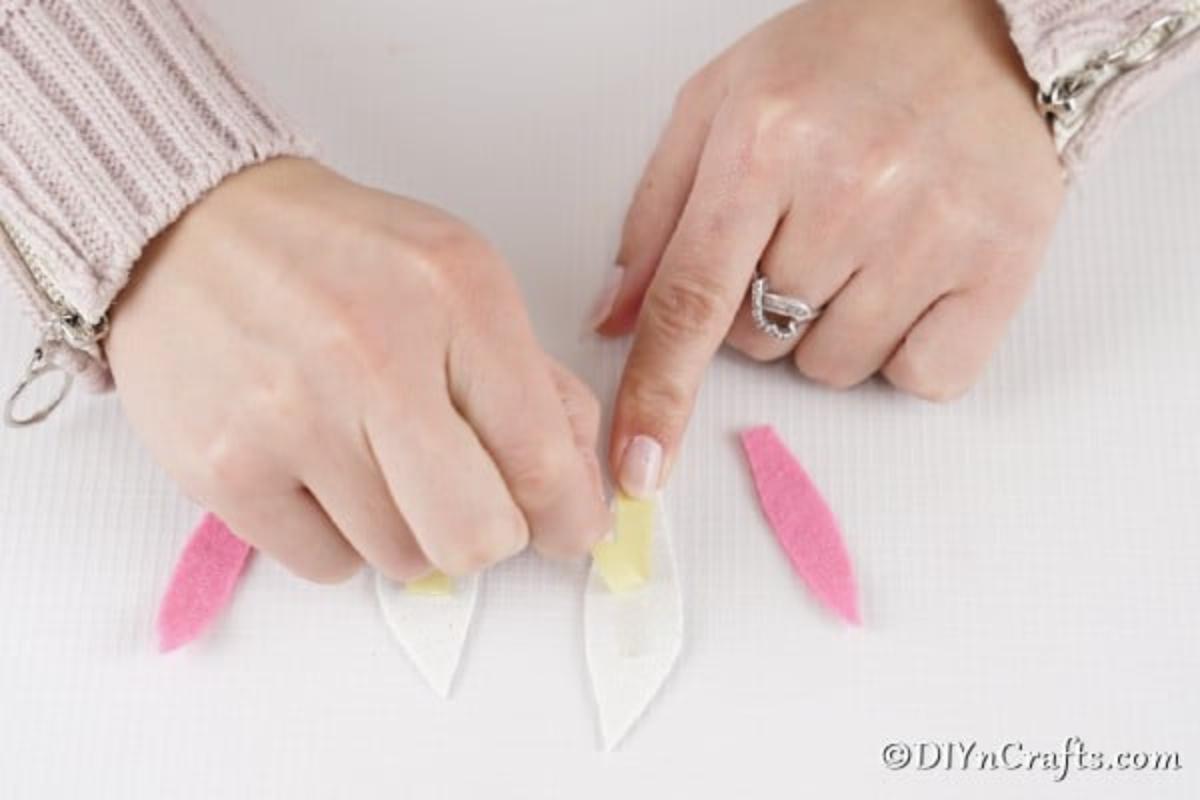
Attach the pink to the white with tape.
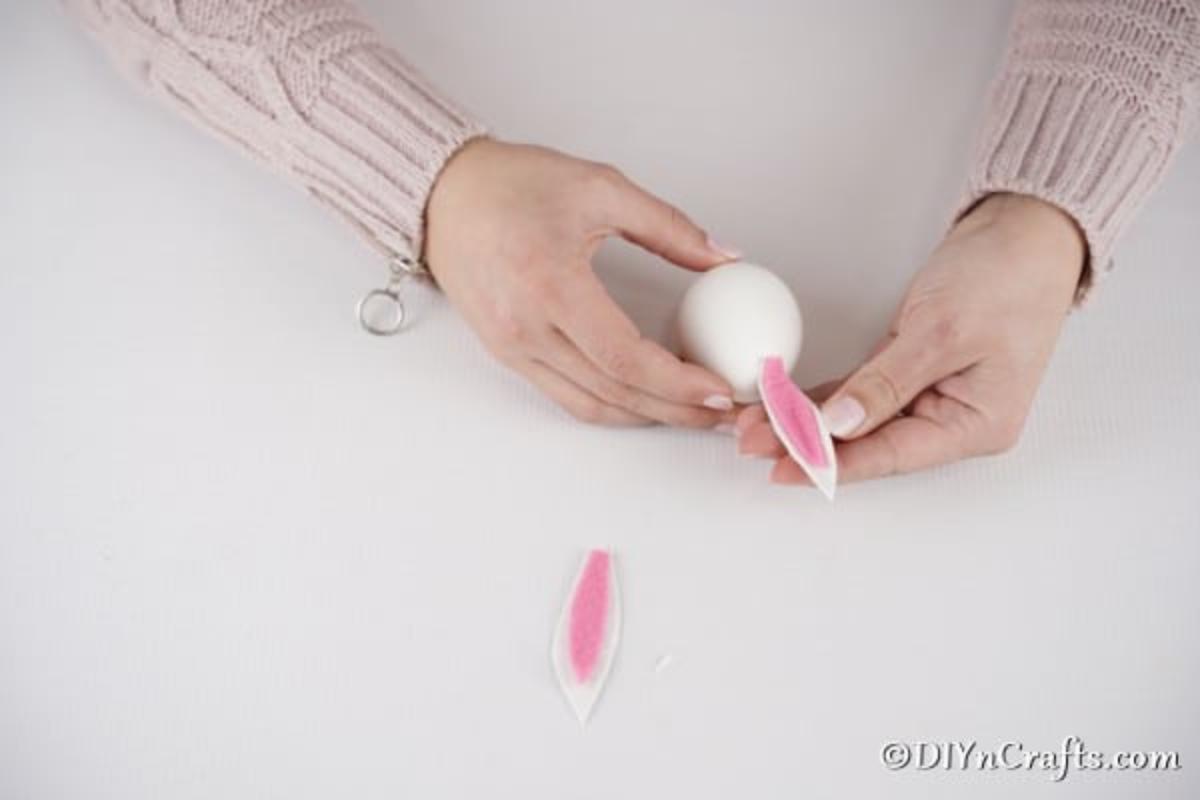
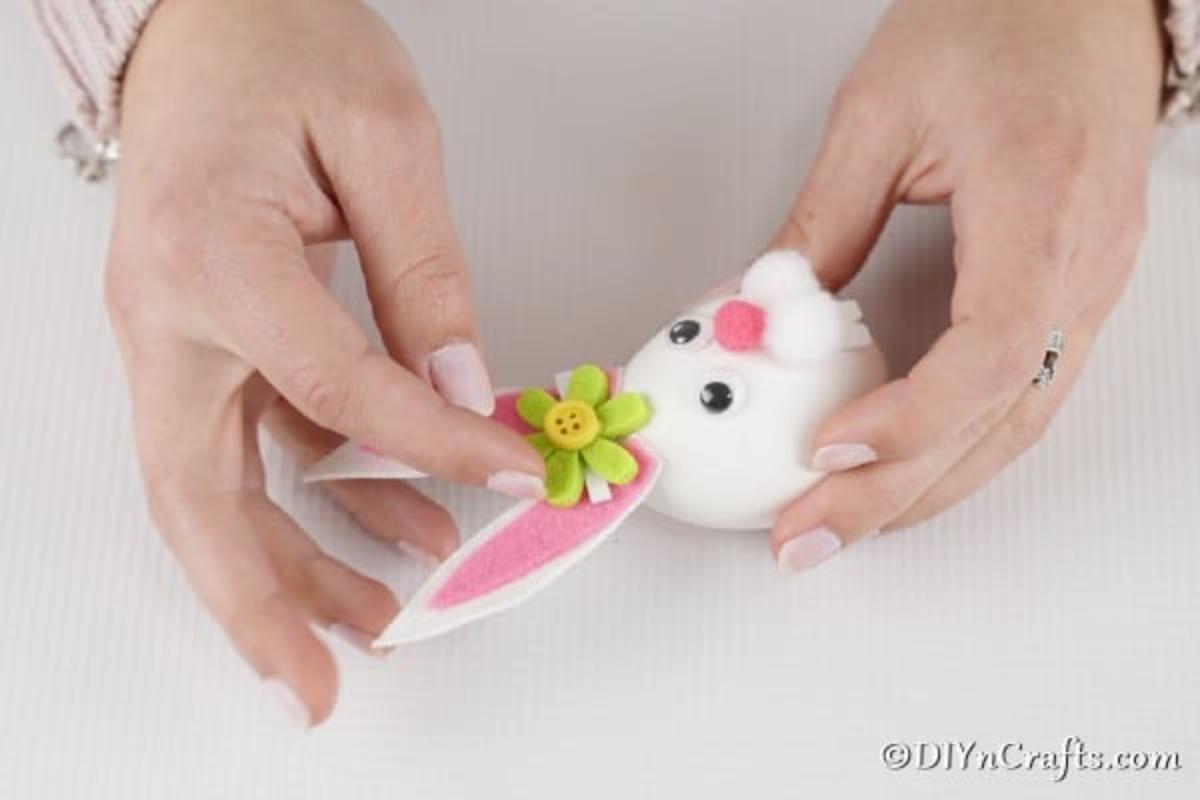
Attach the ears to the back of the top of the bunny with glue or tape.
Now, you will glue in place the googly eyes, the pink nose, and the two white pom poms for the mouth/fuzzy face.
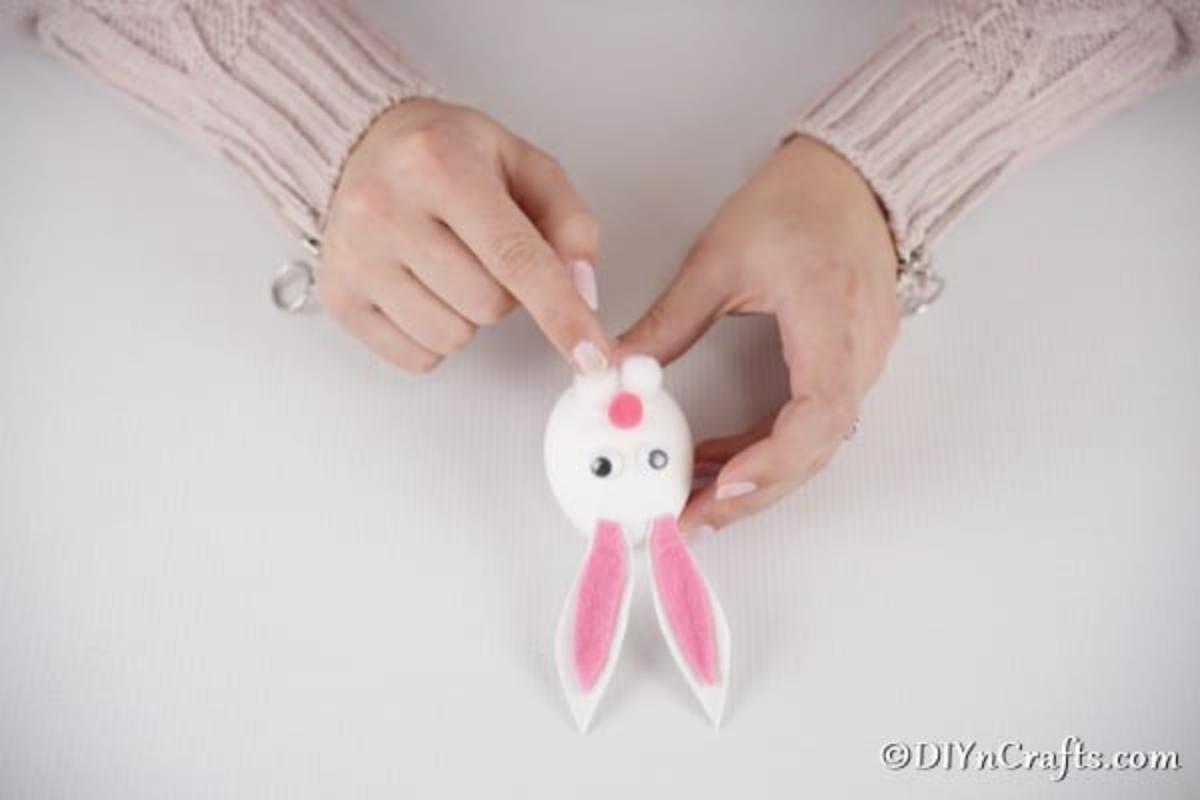
Add a flower or little embellishment between the ears if desired.
NOTE: If you are using a real egg, note that you will need to keep these refrigerated if you plan to eat them later.