DIY Rustic Twine Easter Egg Decoration
Looking to add a charming touch to your Easter decor? Why not try making DIY Rustic Twine Easter Egg Decorations! This fun and easy craft involves wrapping twine around plastic eggs to create a rustic and cozy look. You can customize them with different colors of twine or even add small embellishments like ribbons or beads for a personalized touch. These delightful Easter eggs will surely bring a touch of warmth and creativity to your holiday festivities! Have fun crafting and enjoy the cozy vibes these decorations will bring to your home.
Materials:

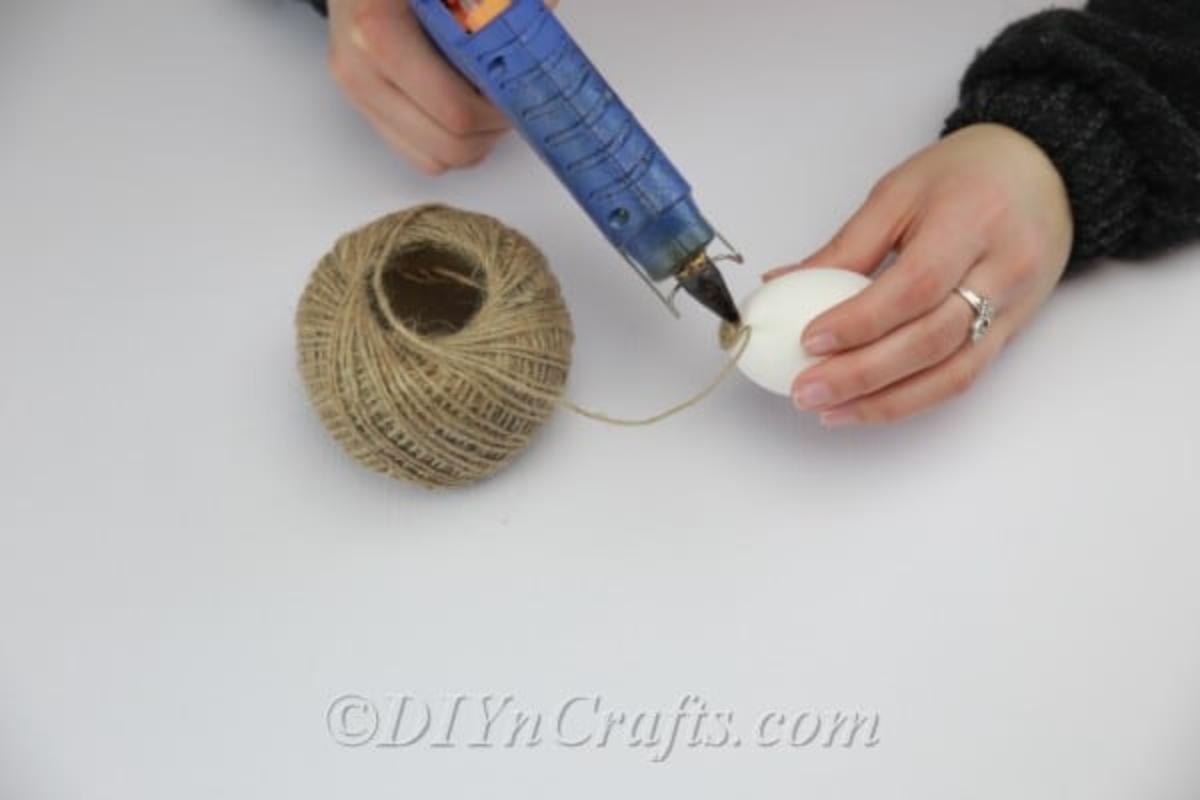
Begin winding the twine around and around your egg, gluing as you go, and work your way down.
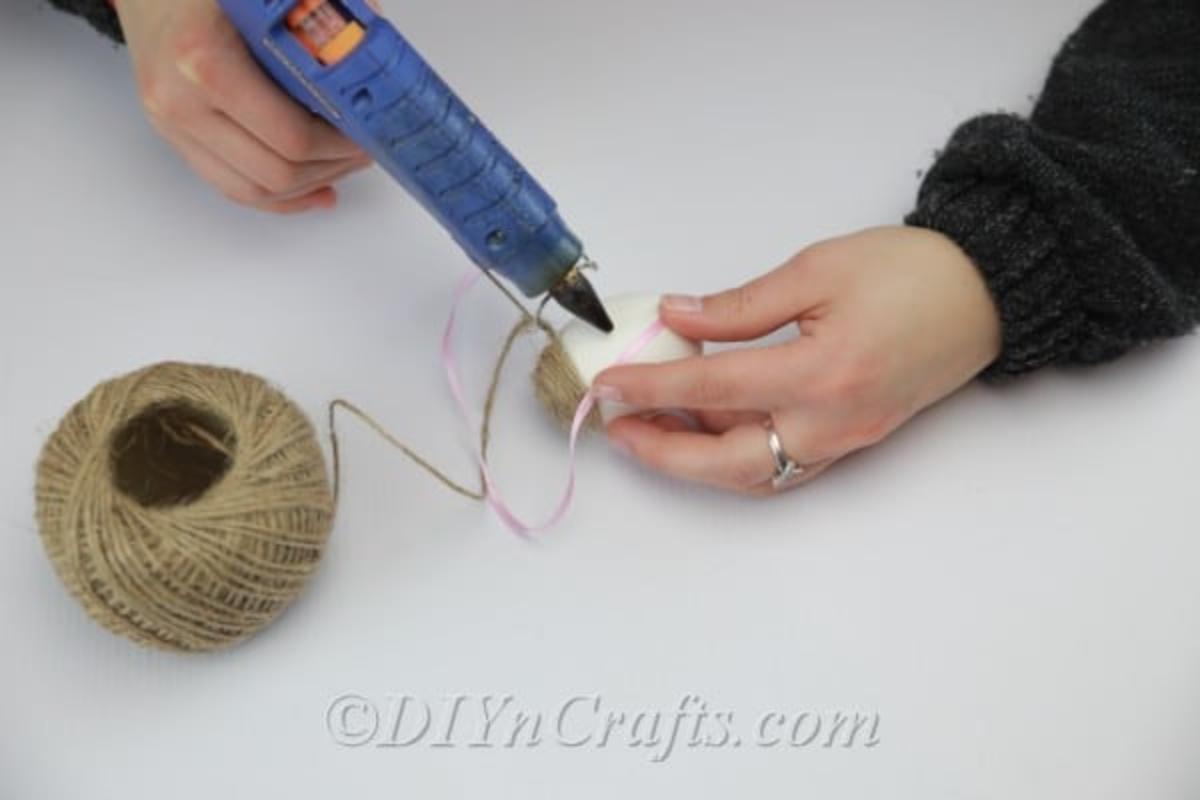
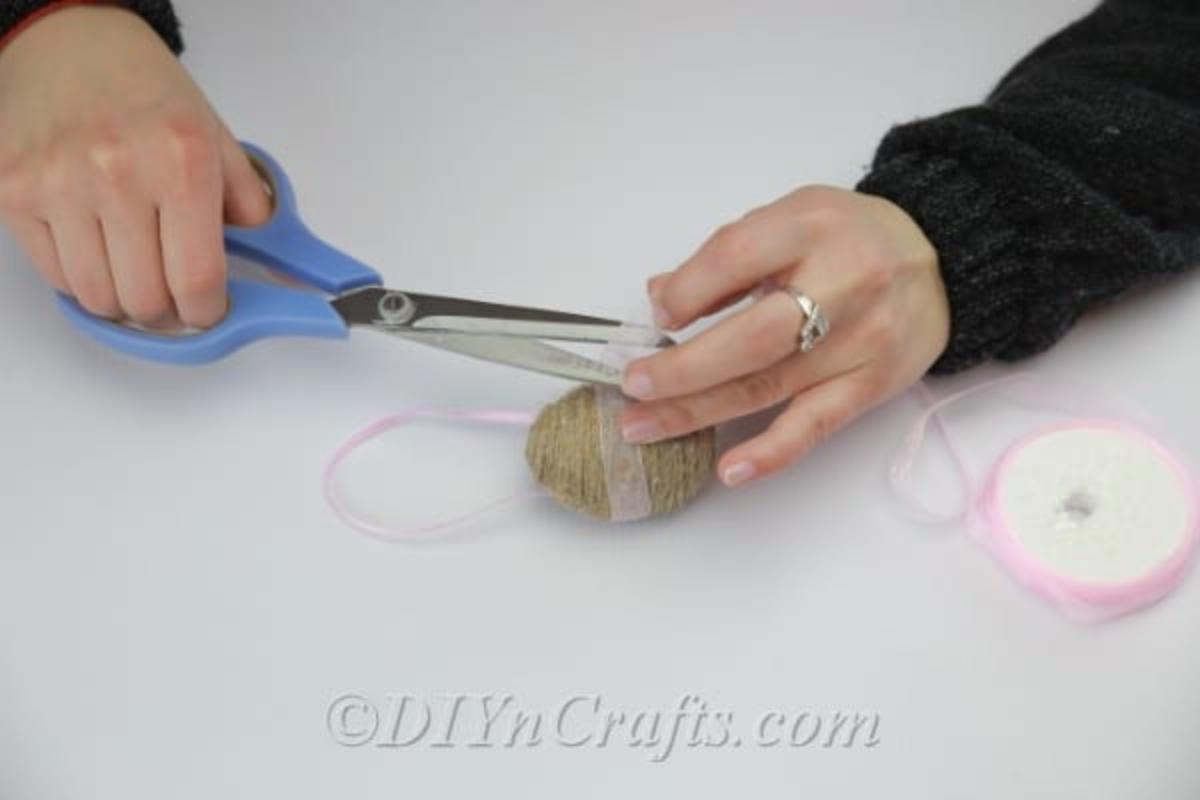
Pause what you are doing with the twine when it is about halfway down to the center of the egg. Get a narrow, small strip of ribbon, which you will use to create a loop or “handle” for the egg. Use hot glue to attach each end to opposite sides of the egg. You want to attach the ends a ways below the level the twine is at.
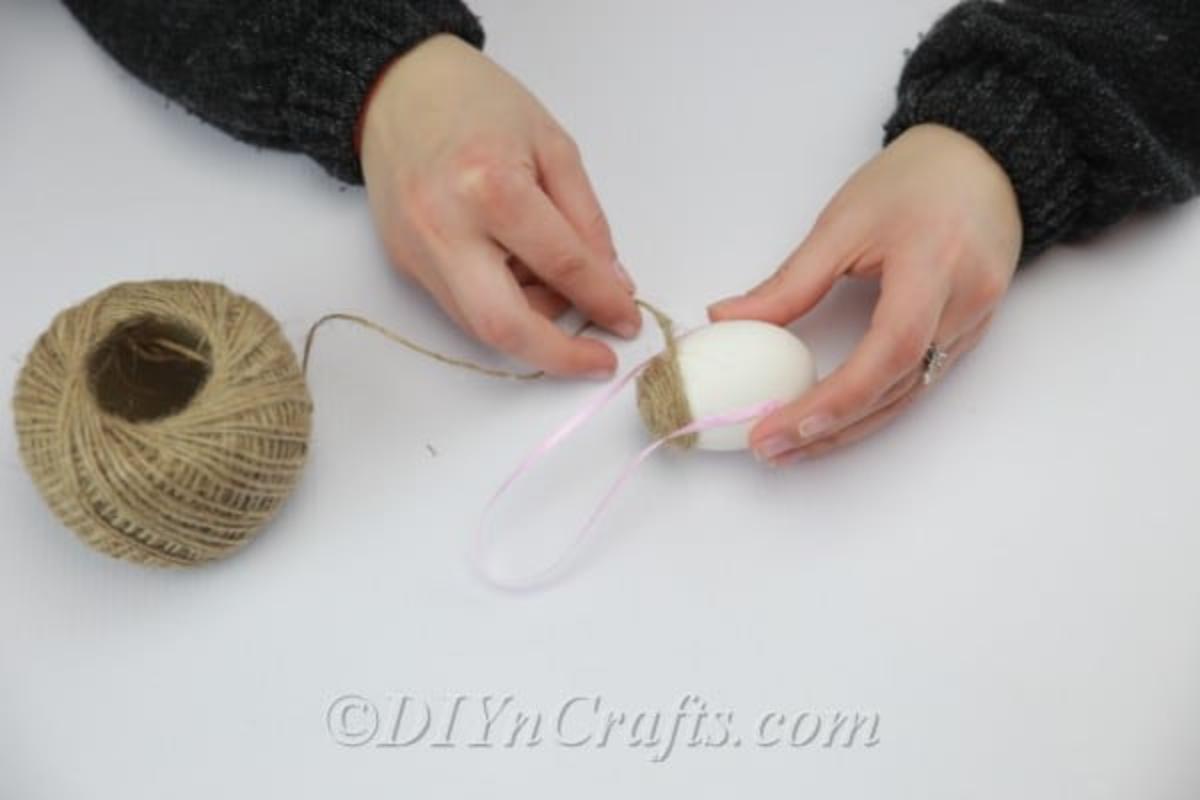
Once the glue on the ribbon ends has dried, you can resume what you were doing with the twine, continuing to work your way around and down the egg. Cover up the ribbon ends. That way the ribbon loop will emerge from underneath the twine.
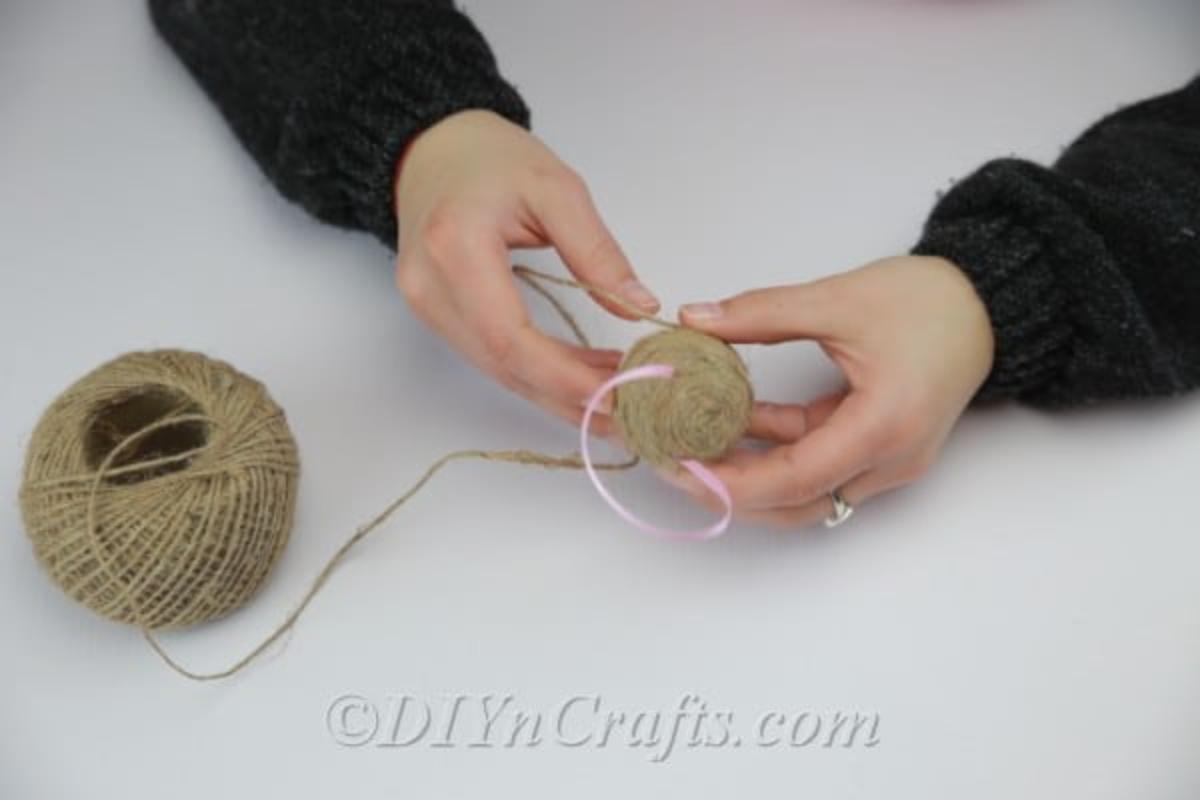
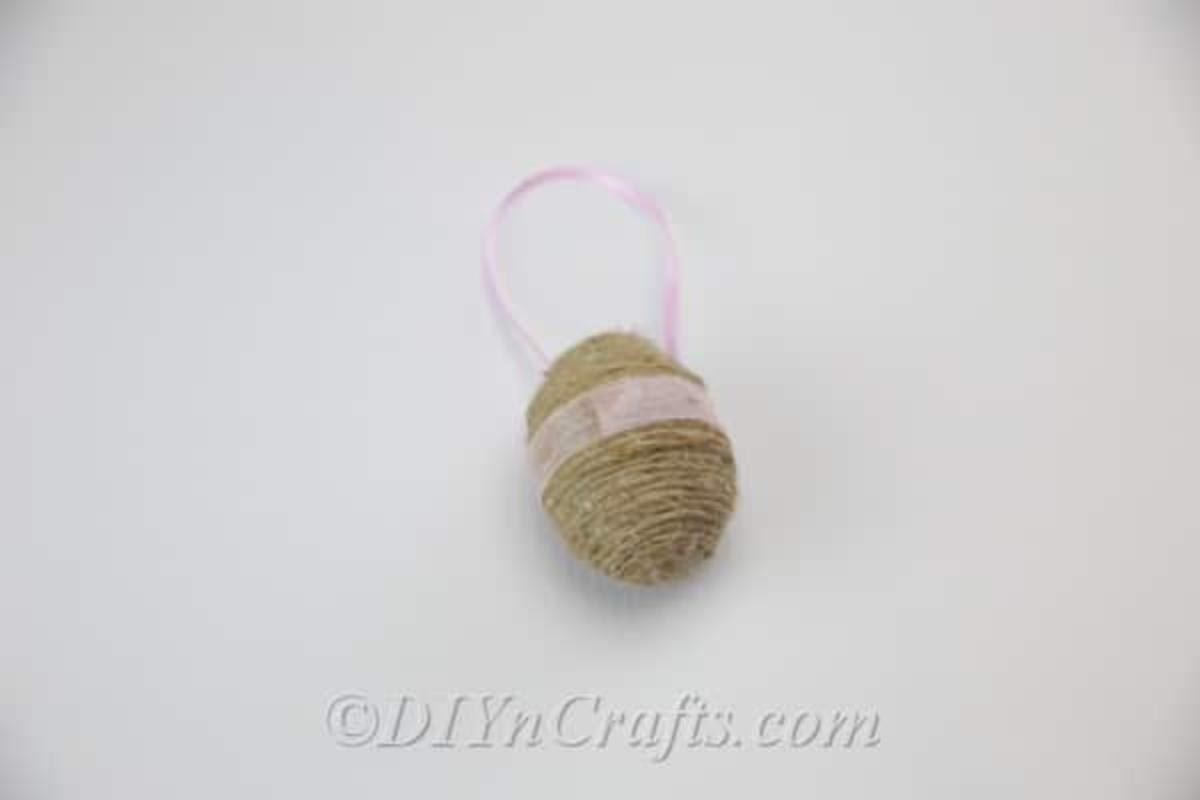
Continue with the twine until you have covered the egg completely.
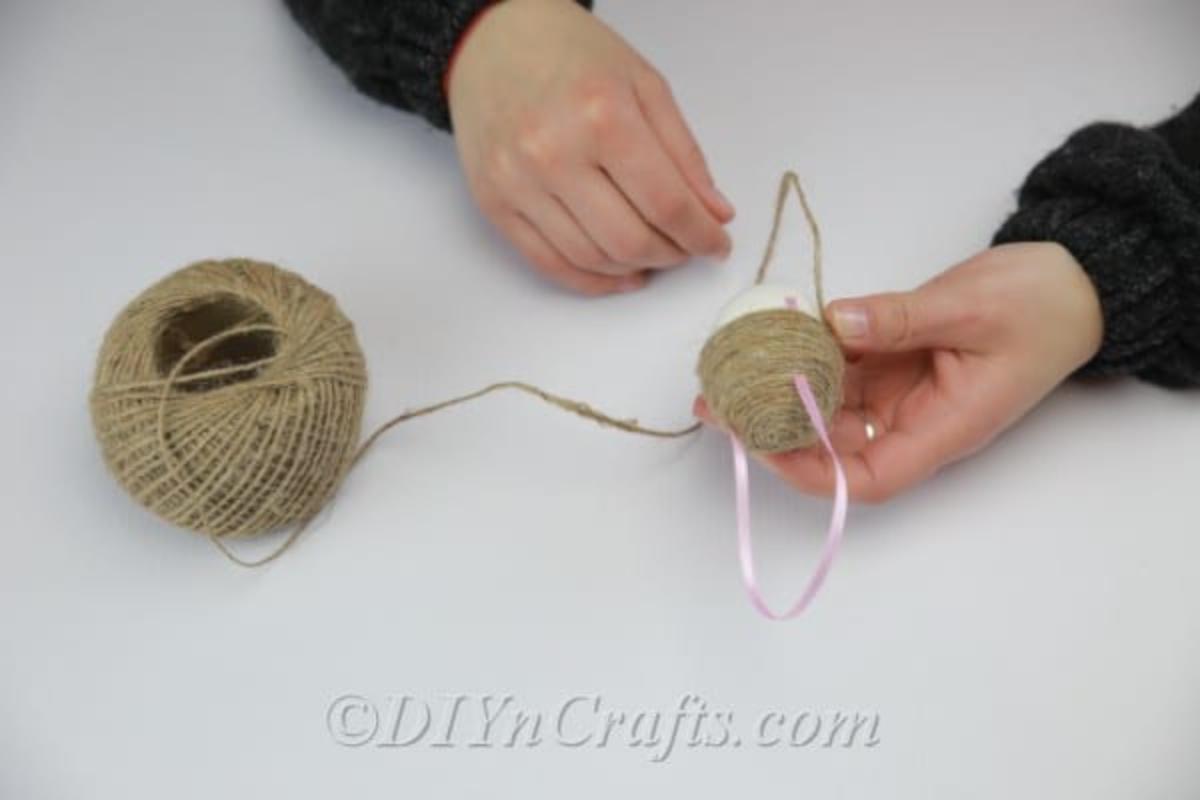
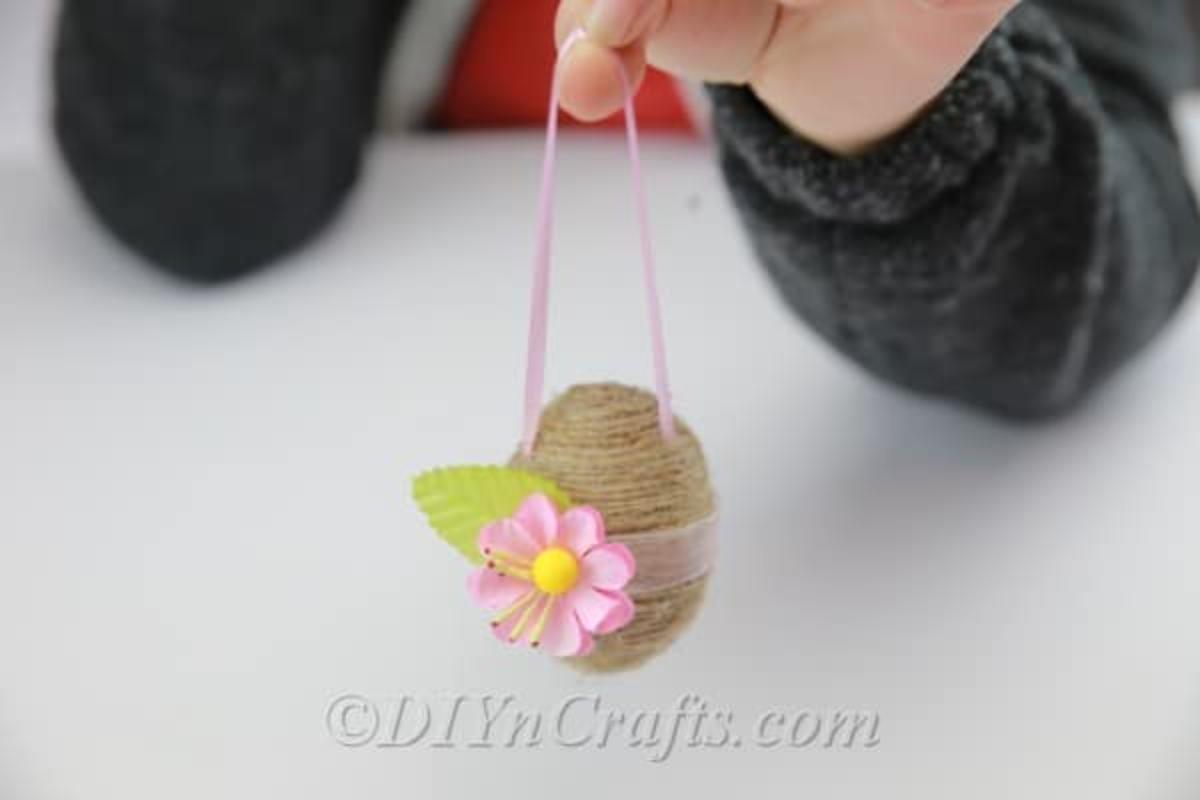
At this point, your egg will look like this:

Now, it is time to decorate it.
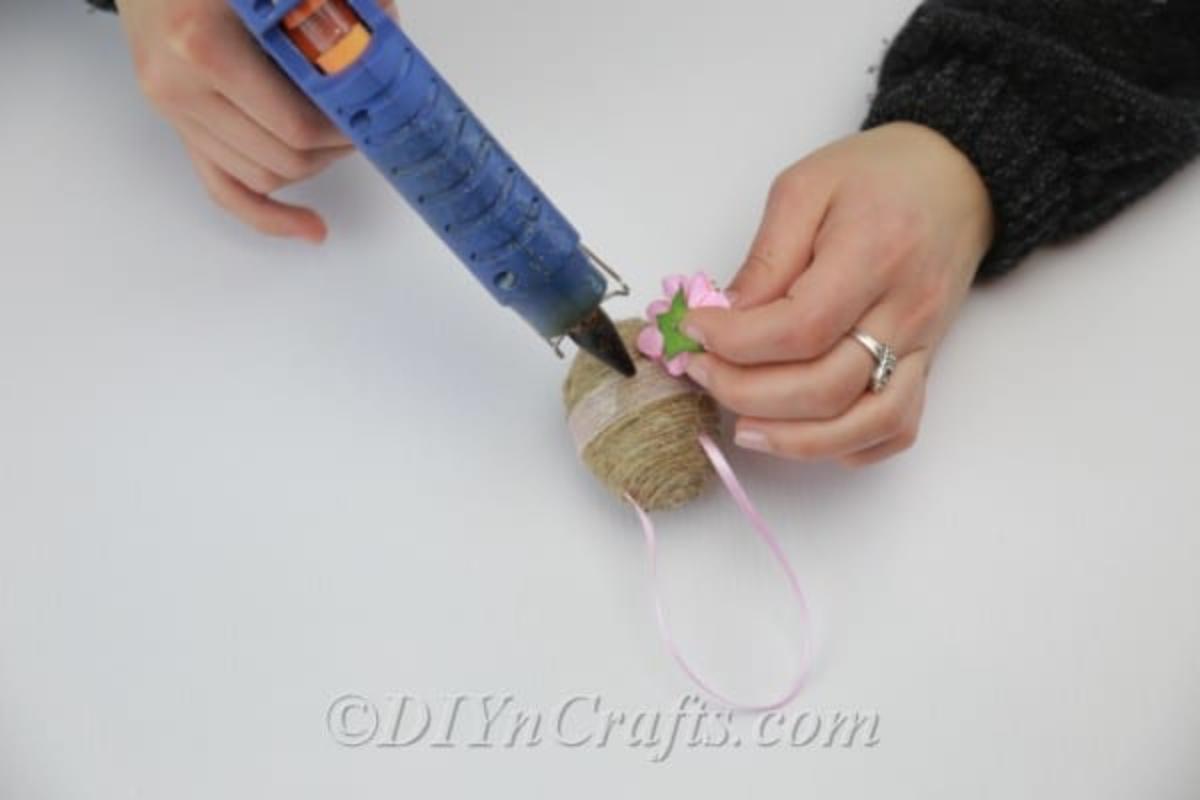
I had a wide, decorative ribbon to use, so I wrapped it around the center of the egg and glued it in place.
As a final step, I used hot glue to attach a faux flower and leave it to the egg.