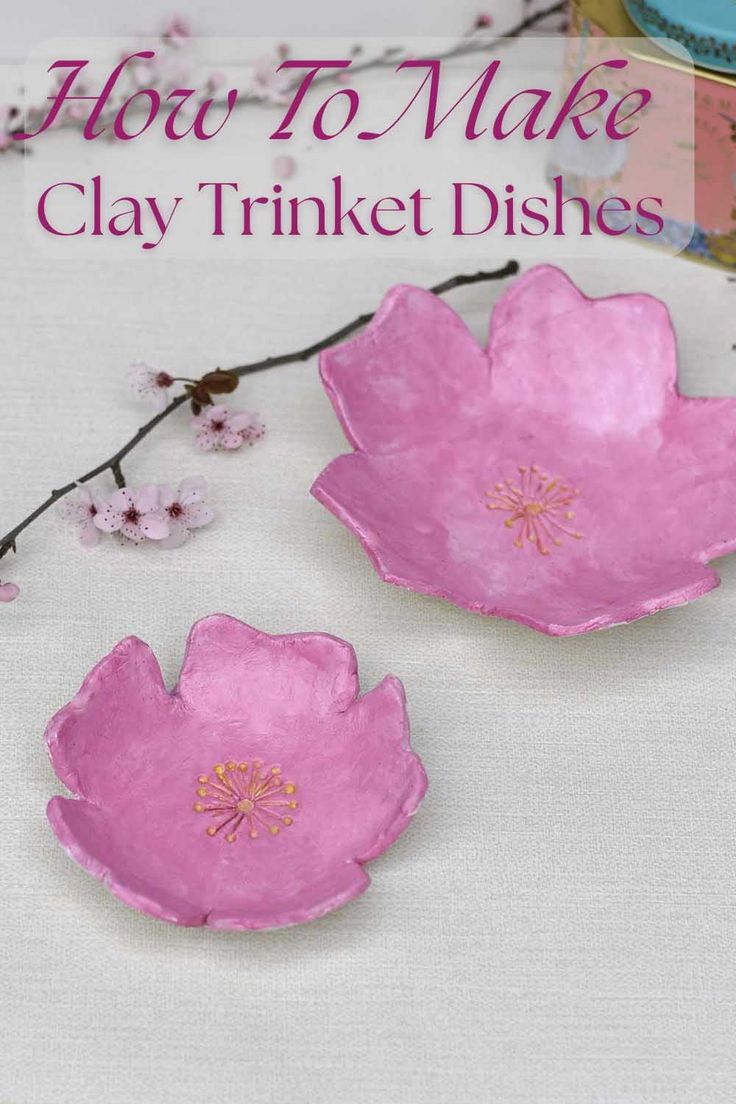
Creating your own DIY Air Dry Clay Trinket Dishes is such a delightful and rewarding craft project! Not only are they perfect for organizing your jewelry and small knick-knacks, but they also make fantastic handmade gifts for your loved ones. With just a few simple materials and a touch of creativity, you can customize these trinket dishes to match your personal style or decor. Whether you're a beginner or a seasoned crafter, this craft is sure to bring a smile to your face with each unique dish you create. So grab some clay, get your hands dirty, and let your imagination run wild as you mold and shape your one-of-a-kind trinket dishes!
Materials:
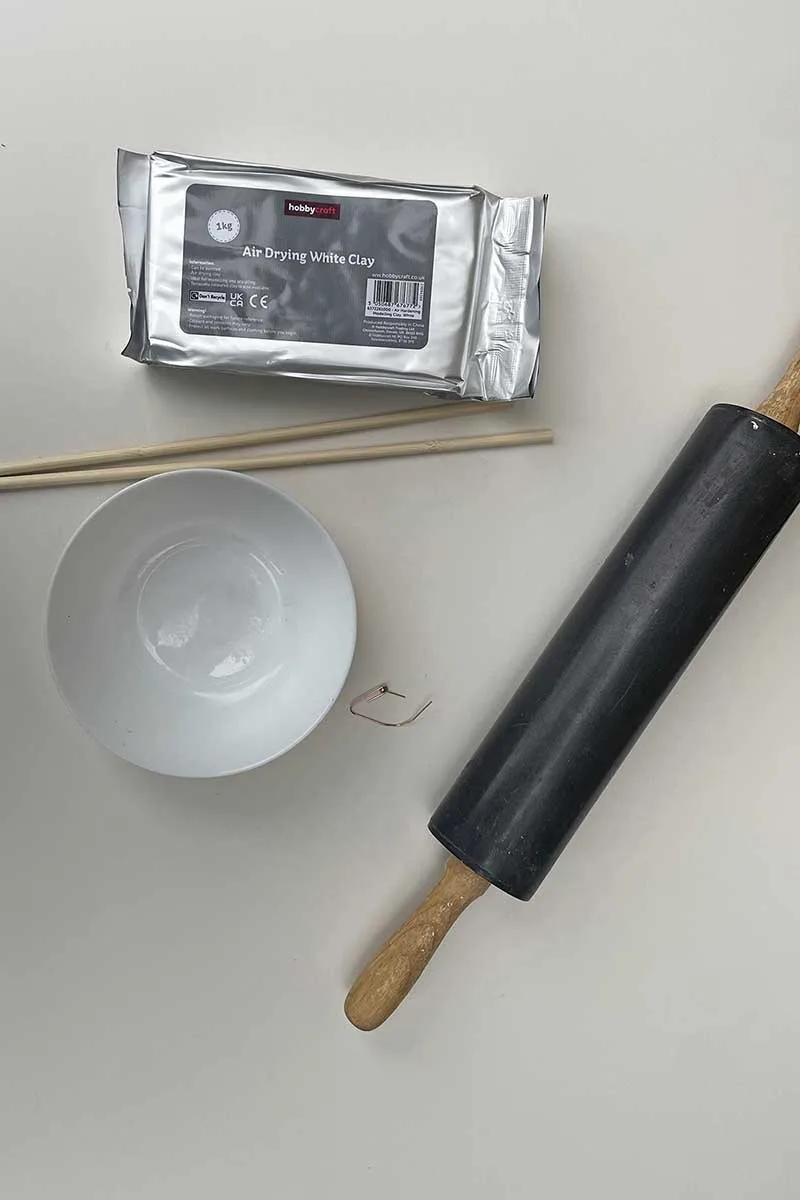
Non-toxic white air-dry clay
Acrylic paint or watercolour inks (in your choice of colours for the cherry blossoms)
A generous amount of glaze (to seal and protect your dish)
A small bowl of water and a small amount of water (for smoothing surfaces and edges)
Regular wooden rolling pin
Sandpaper
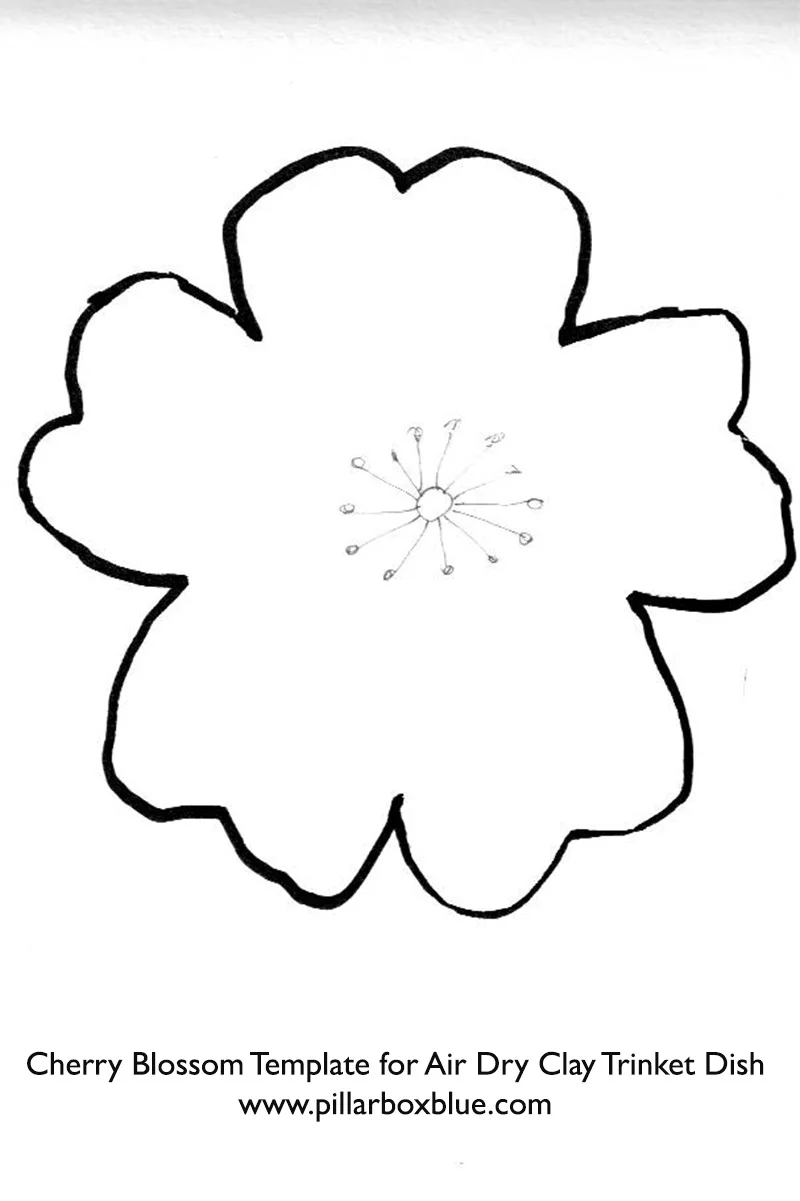
Hand-drawn cherry blossom template (available for download with this tutorial)
Paper clip and round drawing pin
Small bowls or ring dishes (as moulds or inspiration)
Work surface (protected with parchment paper or a silicone mat)
How To Make An Air Dry Clay Trinket Dish
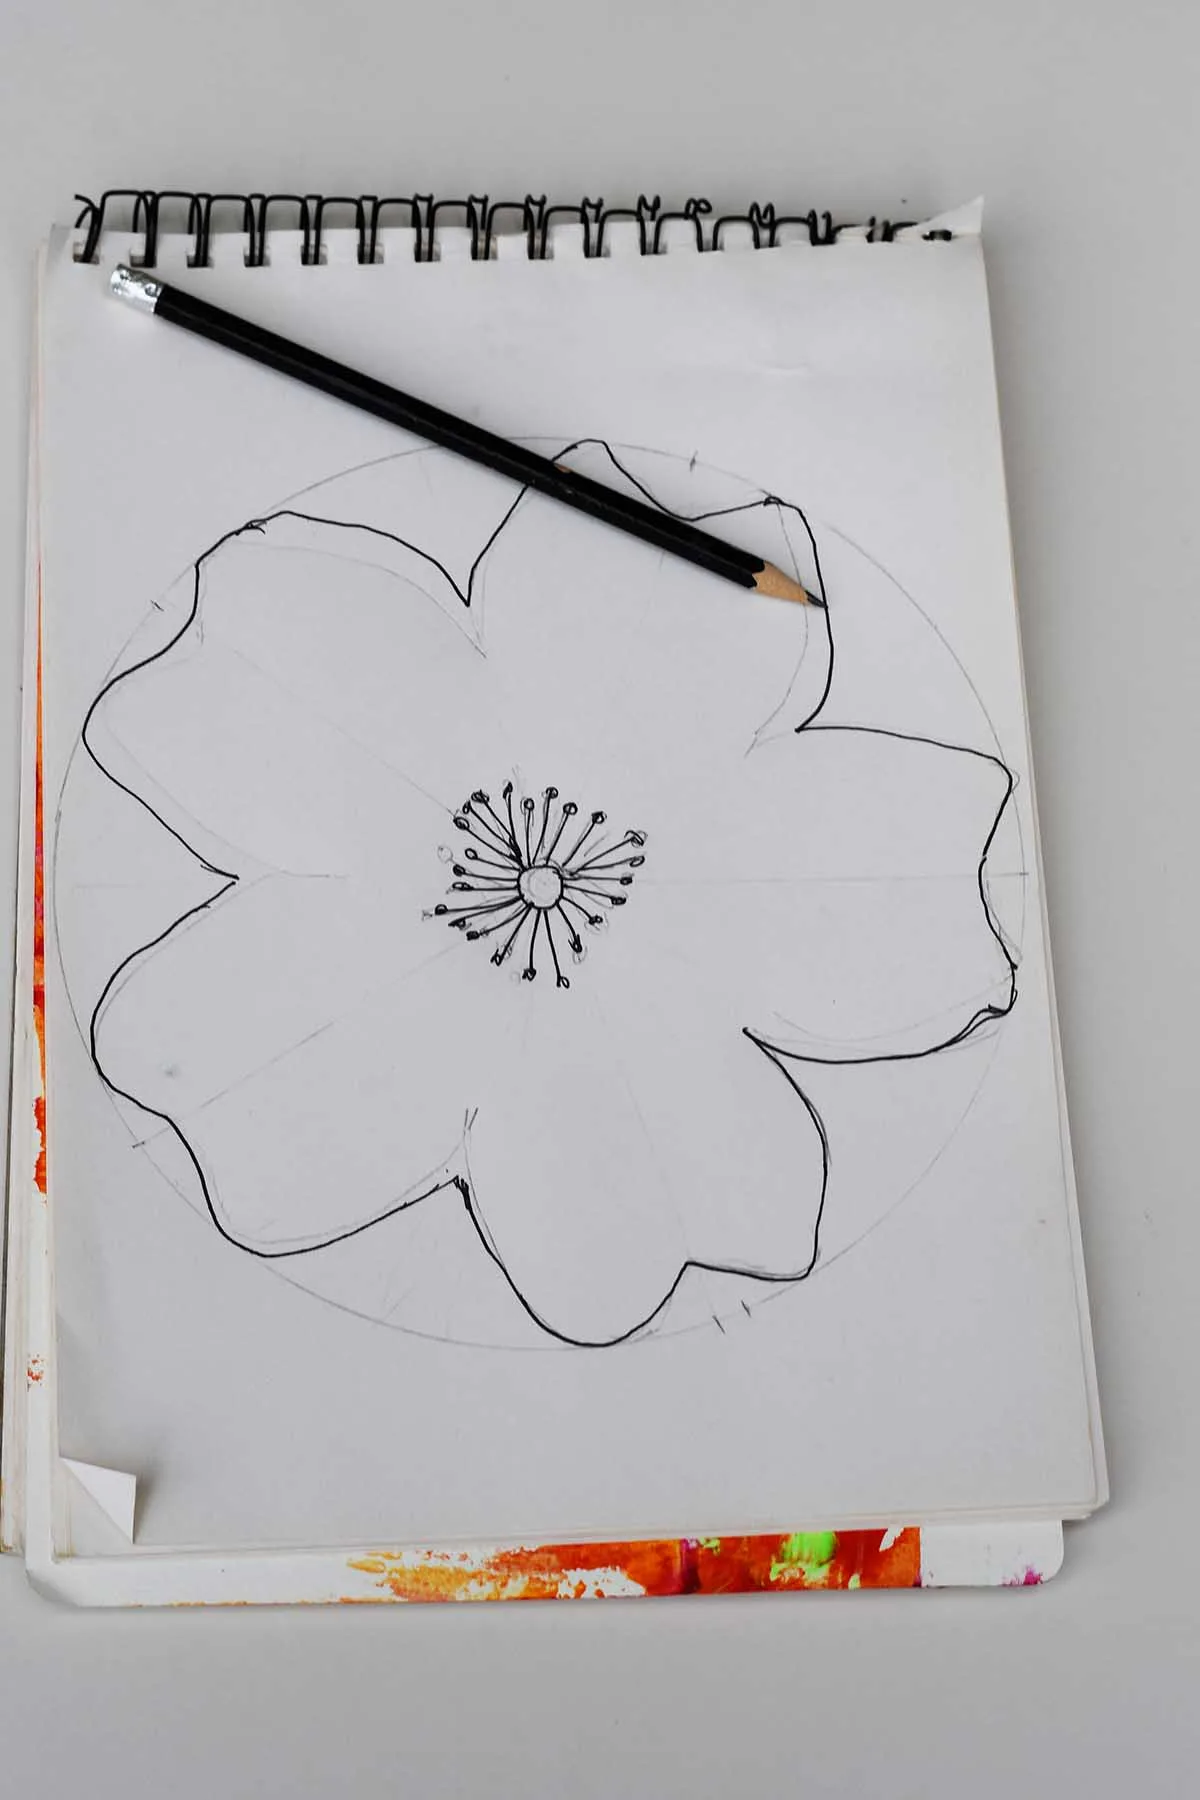
The Cherry Blossom Template
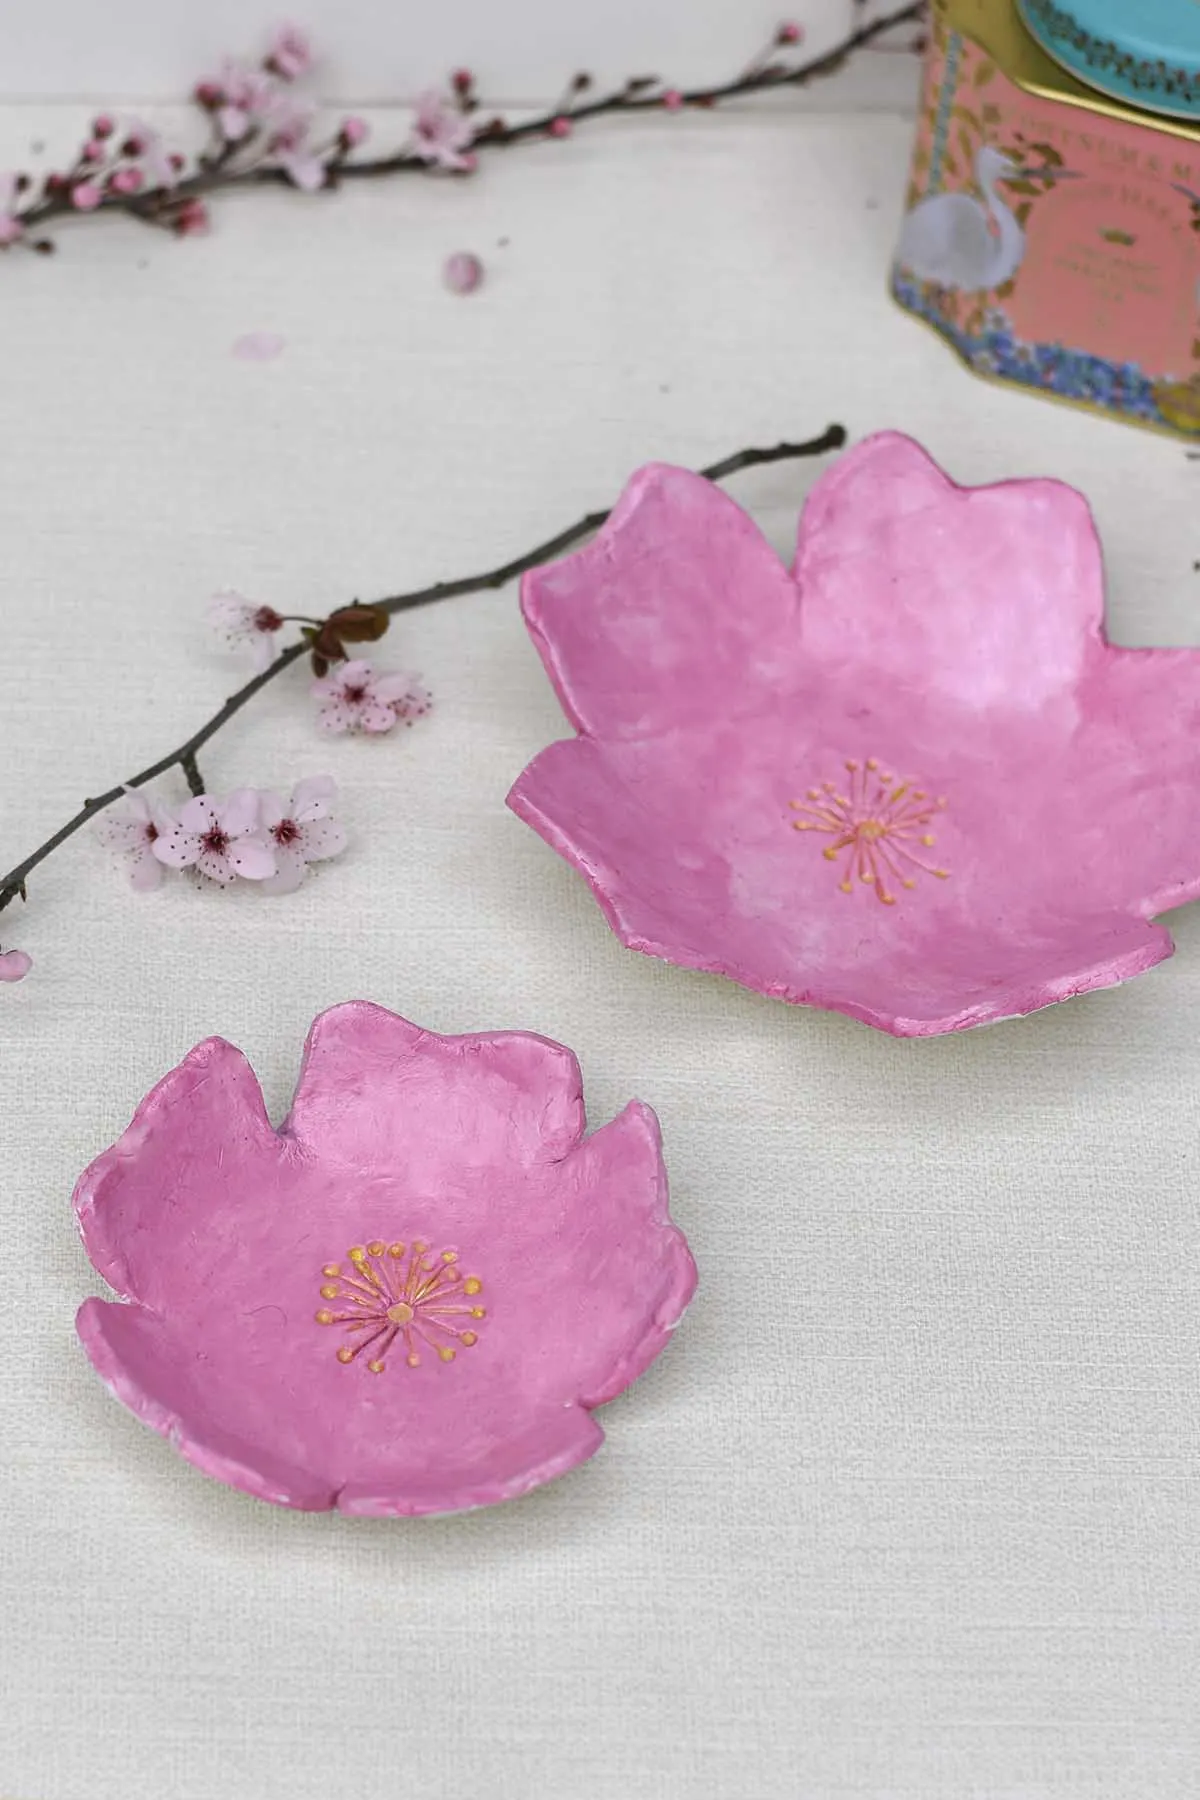
I used the template technique with this DIY ring dish. The template shape I chose was a Cherry Blossom, as it’s one of my favourite flowers and is a very simple shape perfect for this. But feel free to use any air-dry clay project templates you want; they could be anything from tropical leaves and mushrooms to pineapples and lemons.
I used this easy Cherry Blossom drawing tutorial for my trinket bowl templates. You can draw cherry blossoms of any size with the same tutorial. It’s very easy to do or print off my template below.
Preparing Your Clay
Step 1: Start with a Handful of Clay: Begin by kneading a small amount of white clay on your work surface. Add a little water to smooth it out if you encounter small cracks.
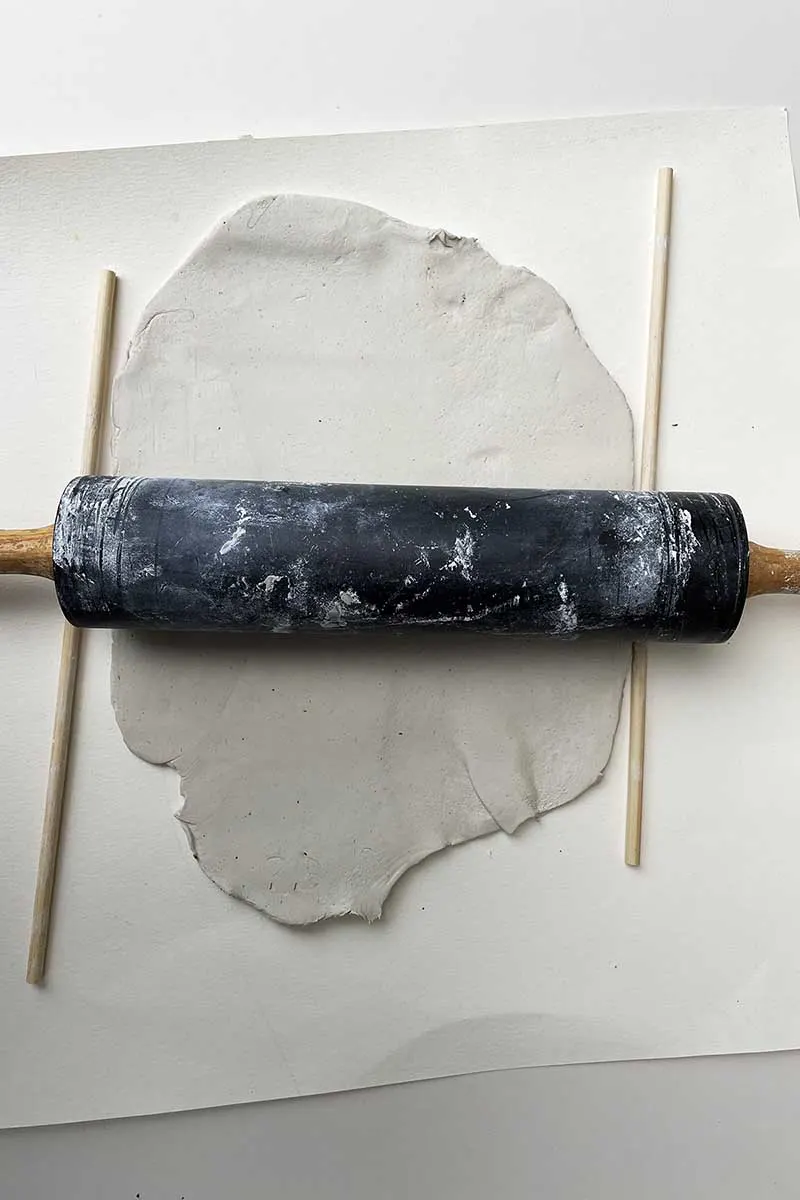
Step 2: Roll Out the Clay: Using your regular wooden rolling pin, roll out the clay to about 1/4 inch thickness over a large enough surface area. I roll between two wooden sticks to Ensure the clay is evenly spread to avoid thin spots that could lead to breakage.
Shaping the Dish
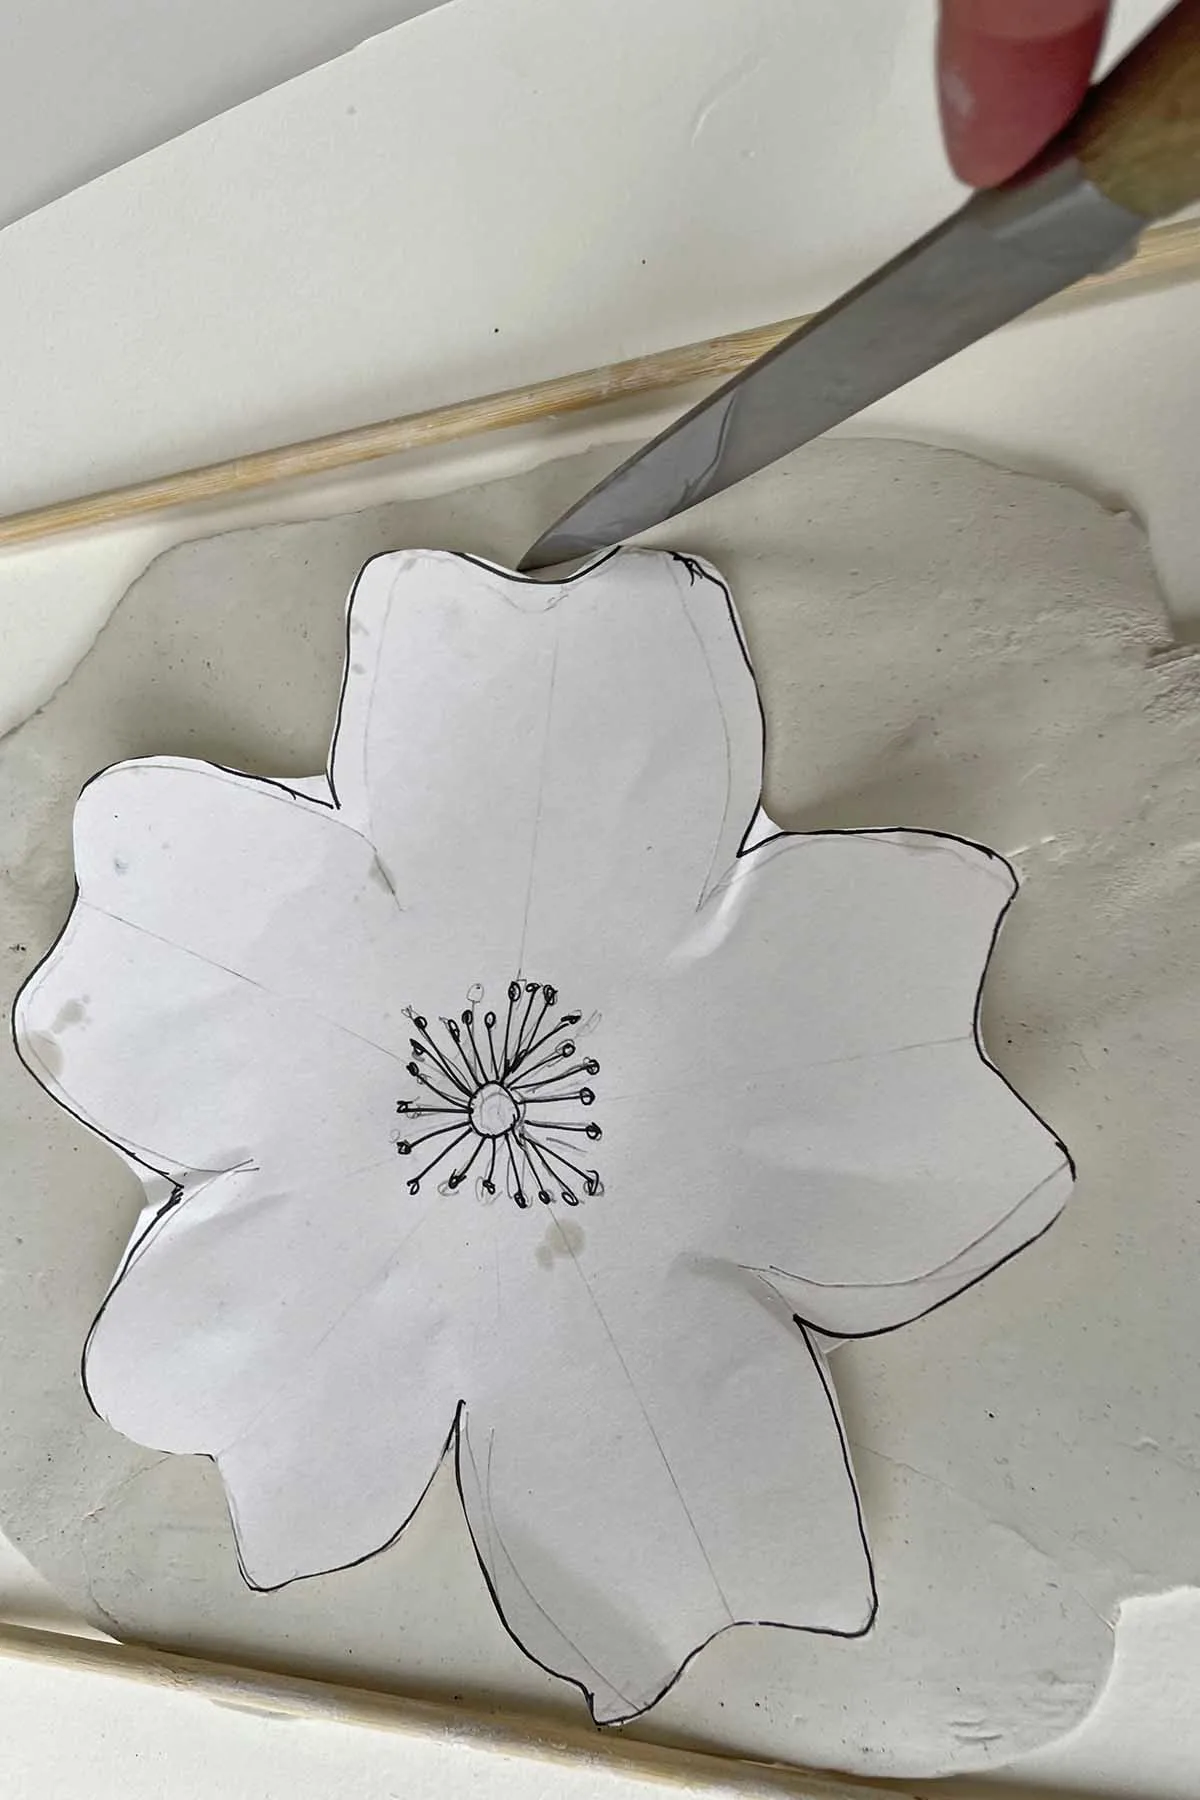
Step 3: Cut Out the Cherry Blossom Shape: Place your hand-drawn cherry blossom template over the rolled-out clay and carefully cut around it. The air-dry clay project template makes achieving the perfect cherry blossom shape for your trinket dish easy.
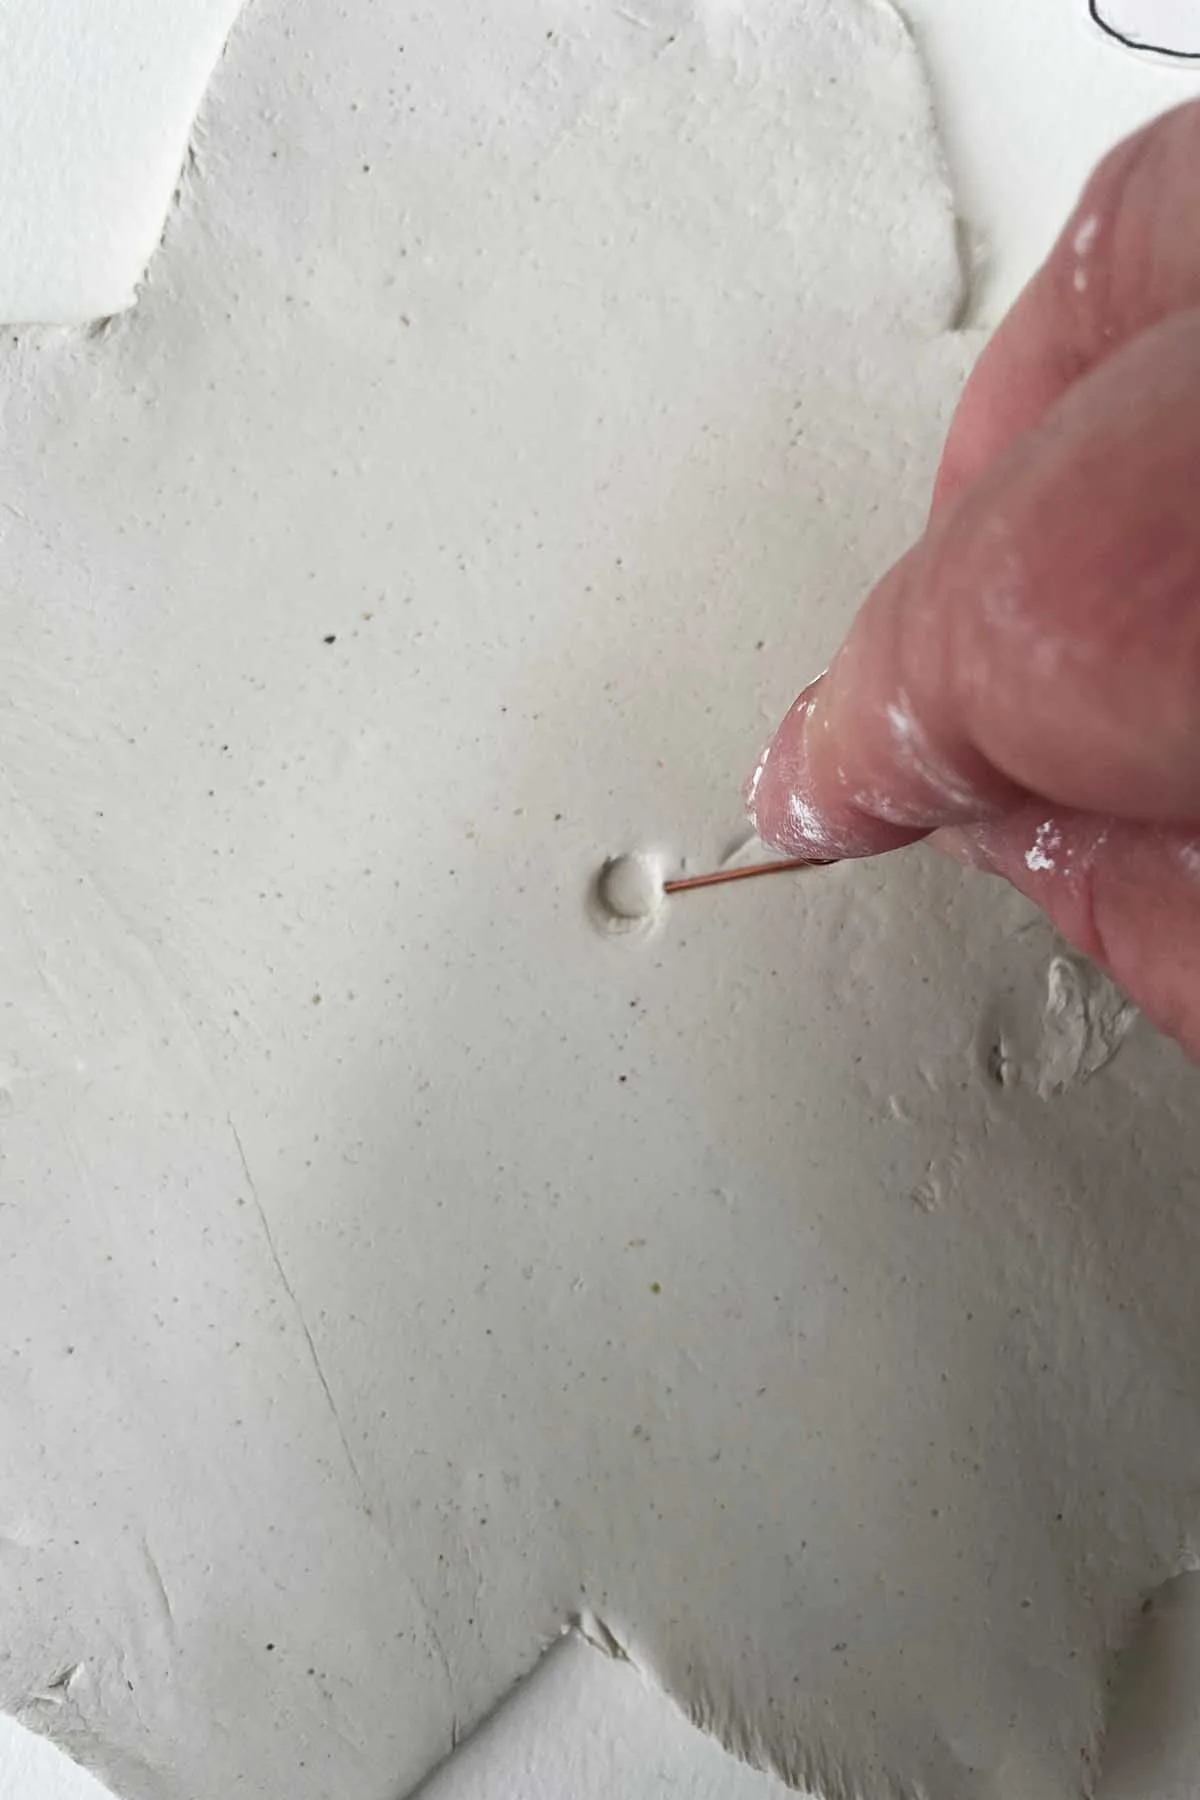
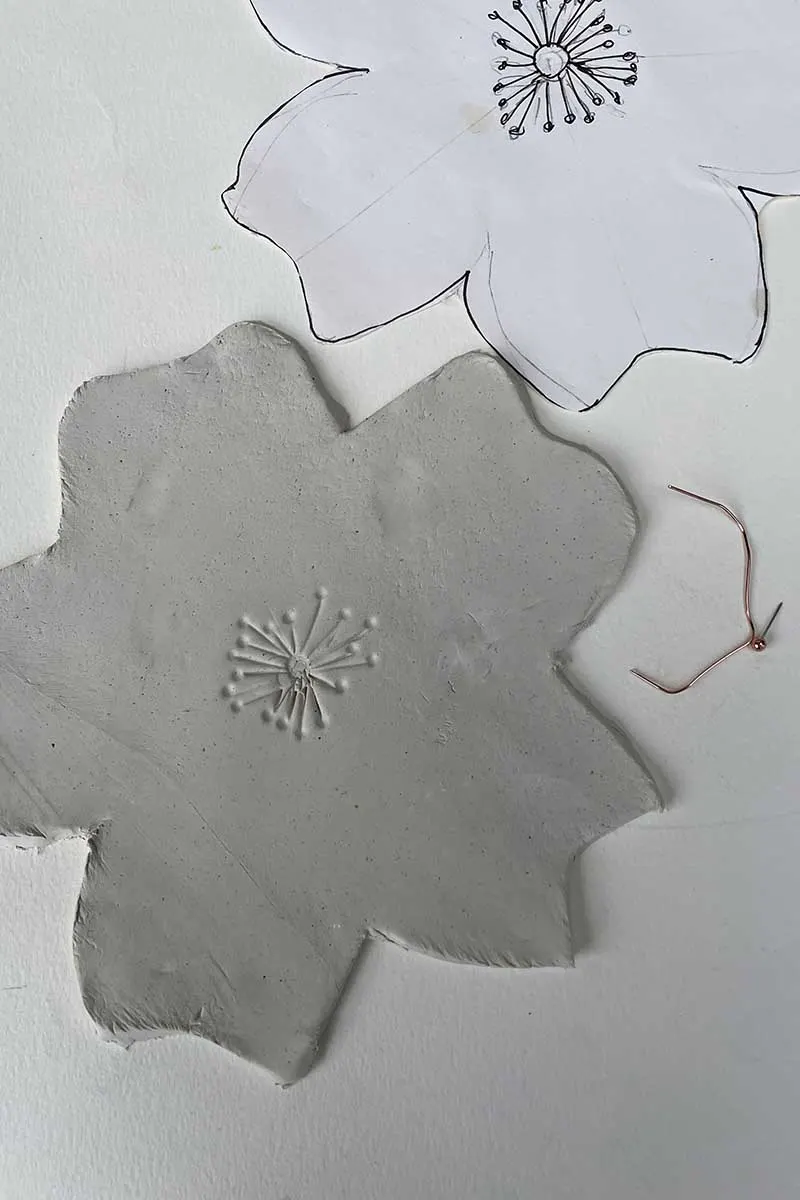
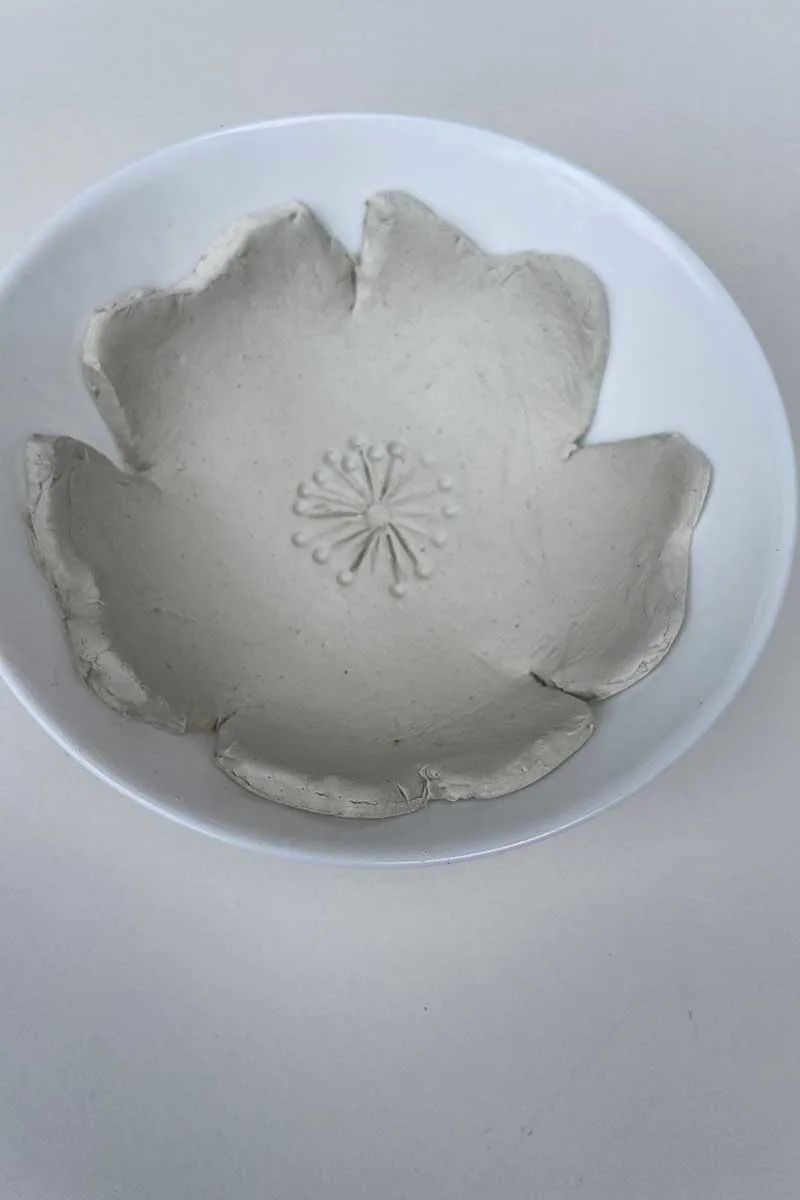
Step 4: Stamp in the Stamen: Use a bent paperclip and a round drawing pin head to stamp the stamen in the centre of the flower. Just press down firmly to make an imprint in the clay.
Step 5: Form the Dish: Gently lift the clay cherry blossom and place it in a small bowl or dish to slightly curve it. Use a small bowl of water to smooth any edges or fingerprints.
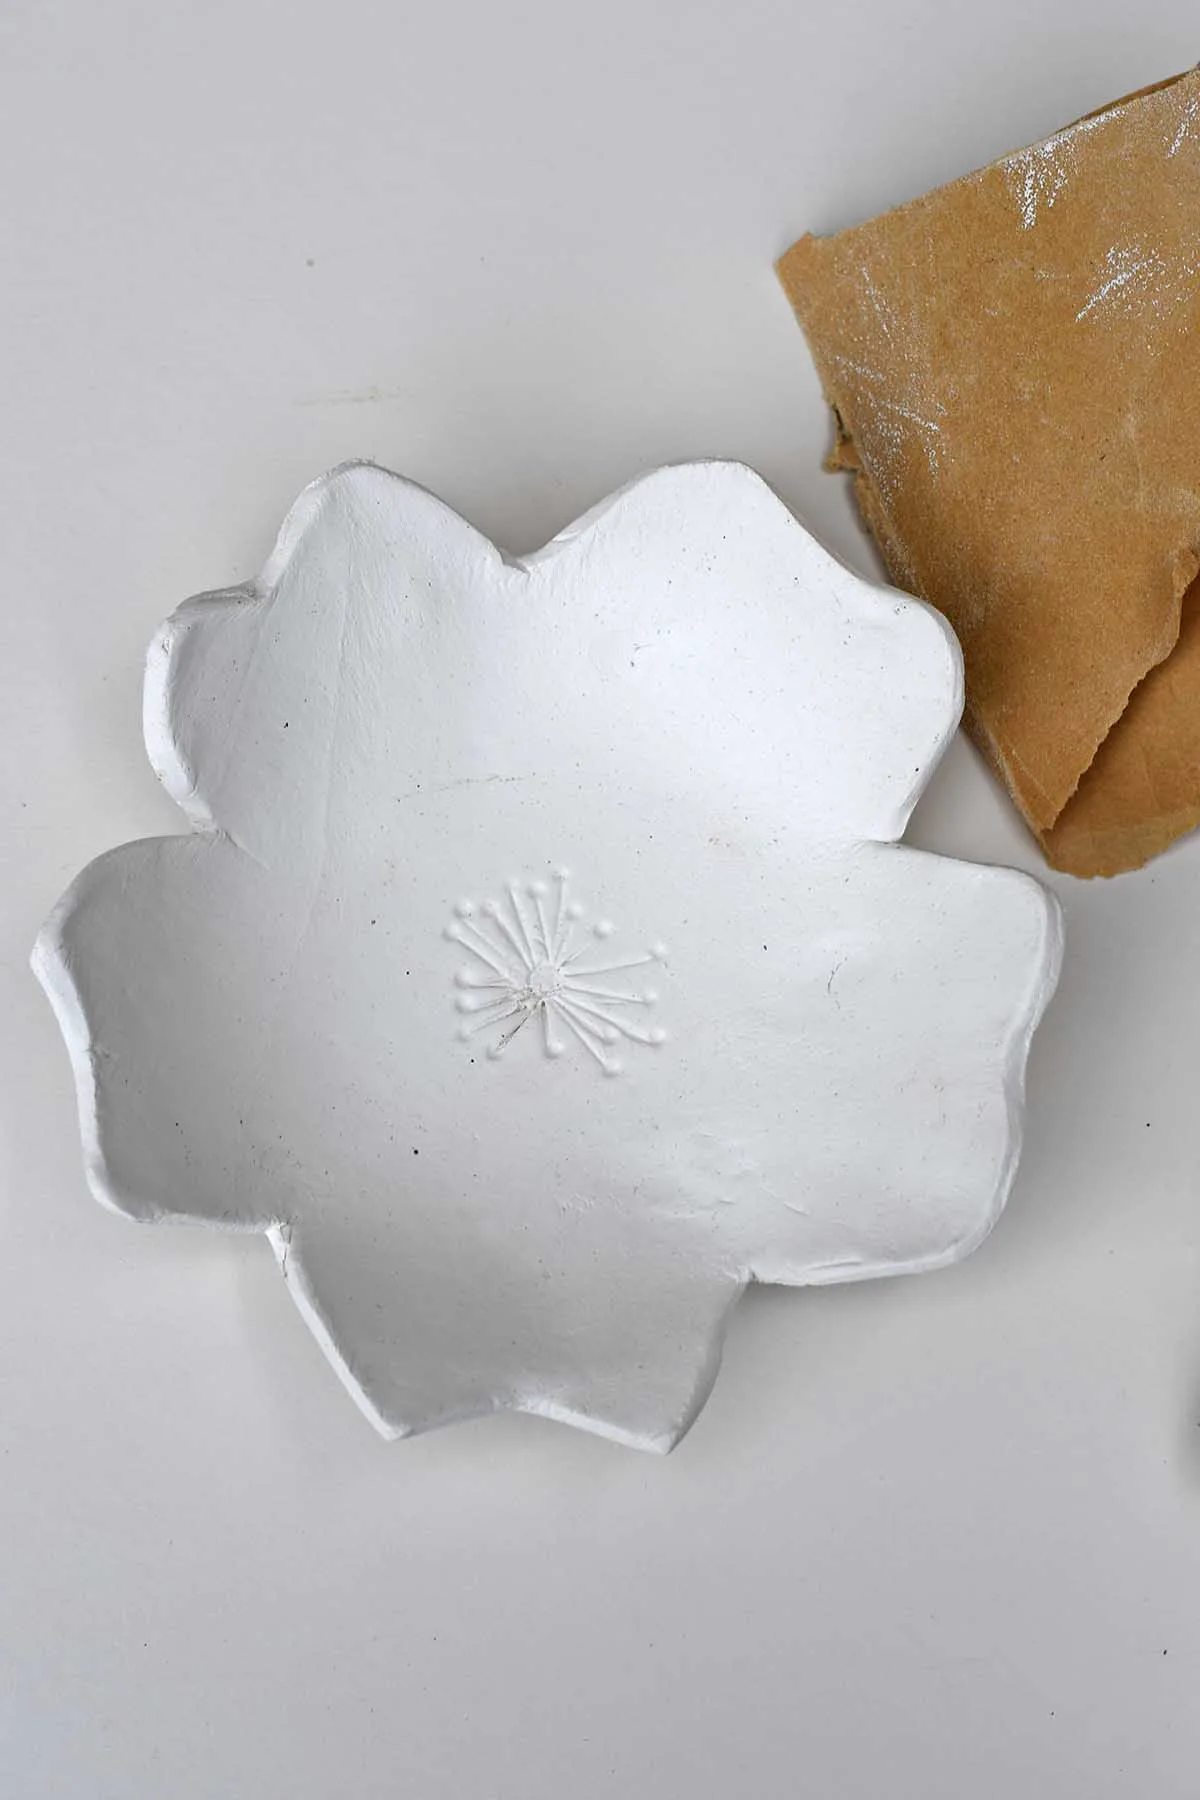
Step 6: Allow it to dry. The drying time for the clay varies based on your local climate; aim to place it in a warm, dry area for optimal drying. Since air circulation is limited when the clay is in bowls, drying can take longer.
To hasten the drying process, remove the clay from the bowl once it has maintained its shape and expose the entire trinket dish to open air, which will help it dry more quickly.
Step 7: Sanding: After thoroughly drying the clay, smooth the edges with fine-grade sanding paper.
Adding Details and Color
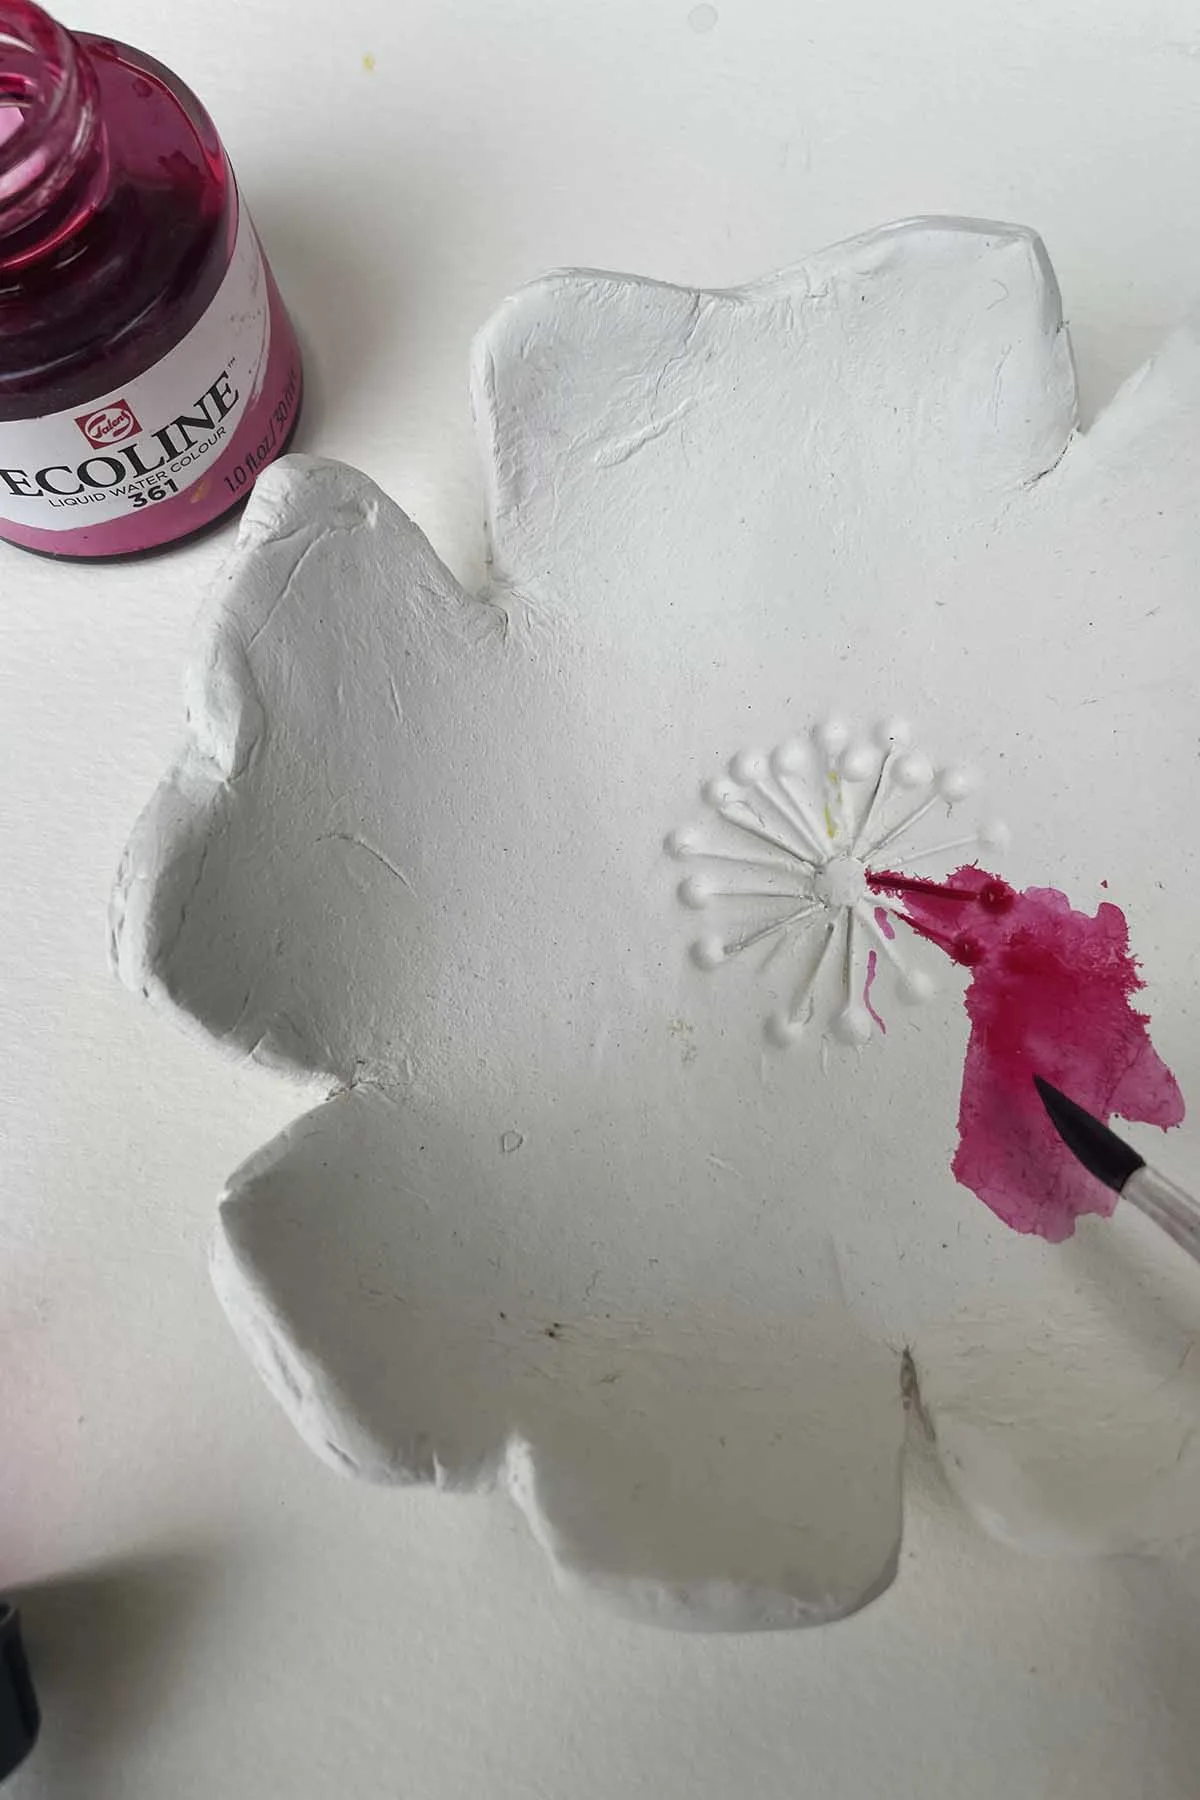
Step 8: Painting: Once your clay dish is dry, it’s time for the fun part! Use paint to add colour to your cherry blossom. You can follow traditional pink hues or go in different directions with your colour scheme. You can use a variety of paints on air-dry clay, including acrylic paints, spray paints, and watercolour inks.
I used watercolour inks as that is what just happened to have to hand in a pink hue.
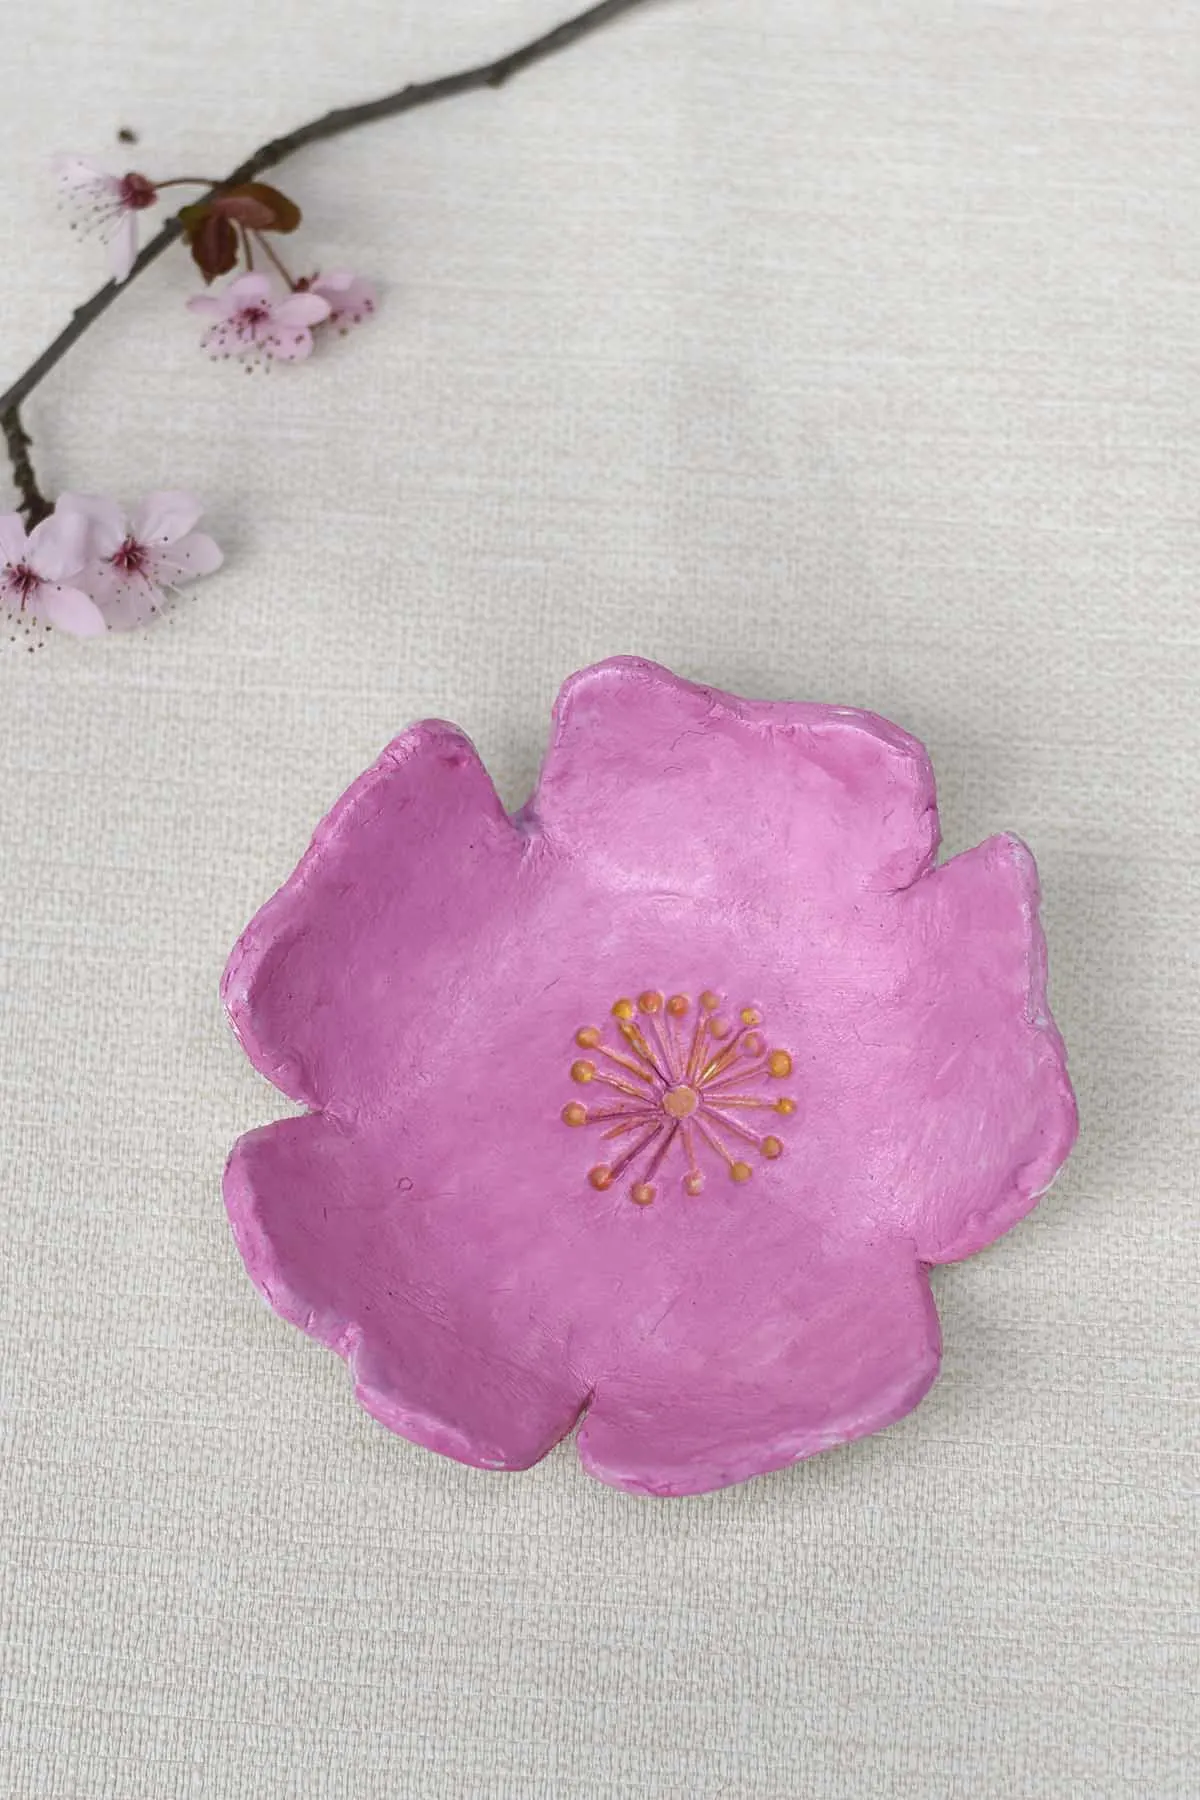
Once the pink paint had dried, I used a gold Sharpie to colour the stamen in the centre of the flower bowl.
Step 9: Glazing: Apply a generous amount of glaze to your dish after the paint dries. This seals the acrylic paint, gives your dish a beautiful glossy finish, and adds durability.
Finishing Touches
Step 10: Drying: Allow your trinket dish to dry thoroughly according to the glaze instructions. This usually takes a few hours to a day.
Step 11: Little Finishing Details: Add any additional touches you like, such as painting the edges or adding a second coat of glaze for extra shine.