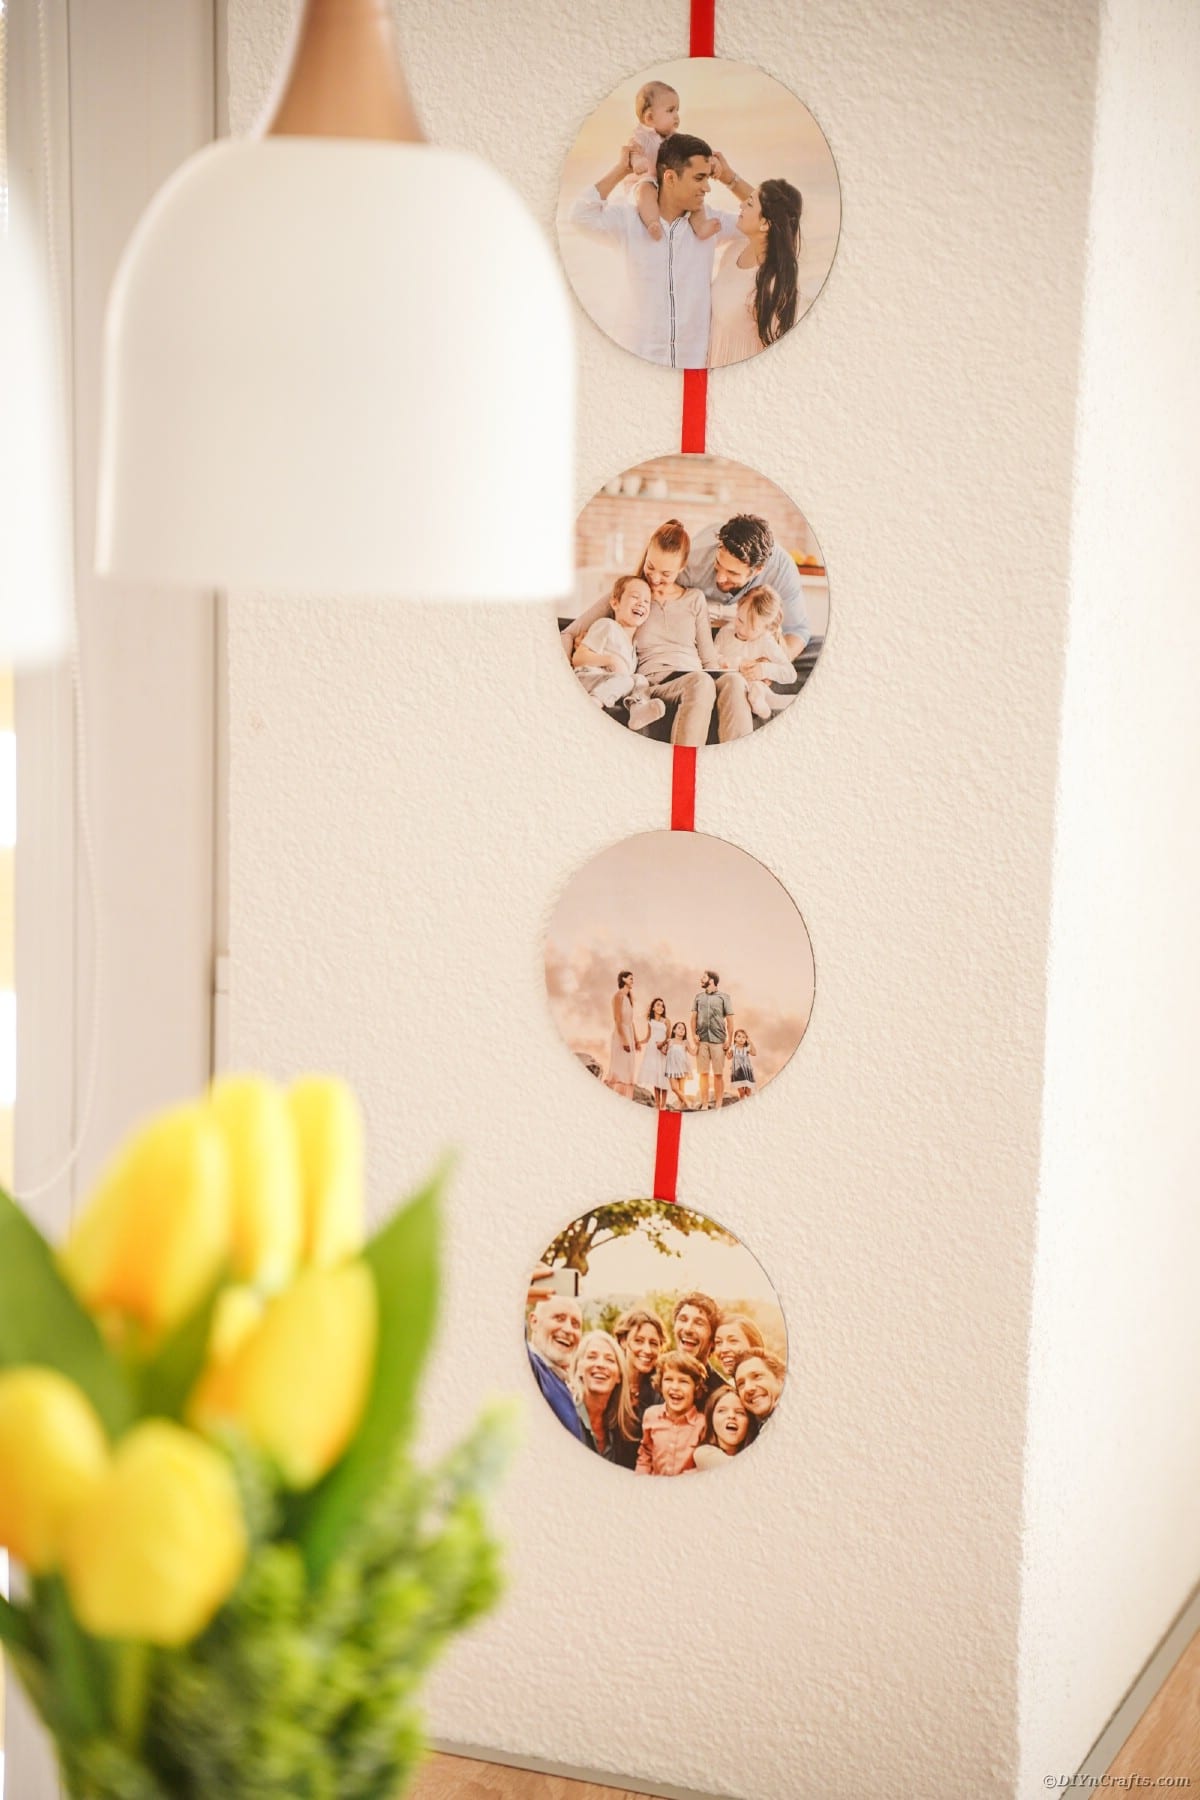
Upcycled CD DIY Photo Ribbon to Display Family Photos
Looking to add a touch of creativity to your family photos? Why not try making an upcycled CD DIY photo ribbon to display them! Not only is it a fun and eco-friendly craft project, but it also gives old CDs a new life. By attaching your favorite family photos to the CDs and stringing them together with a ribbon, you can create a unique and personalized display that will showcase your cherished memories beautifully. So gather your materials, get crafting, and let your creativity shine with this fun and easy project!
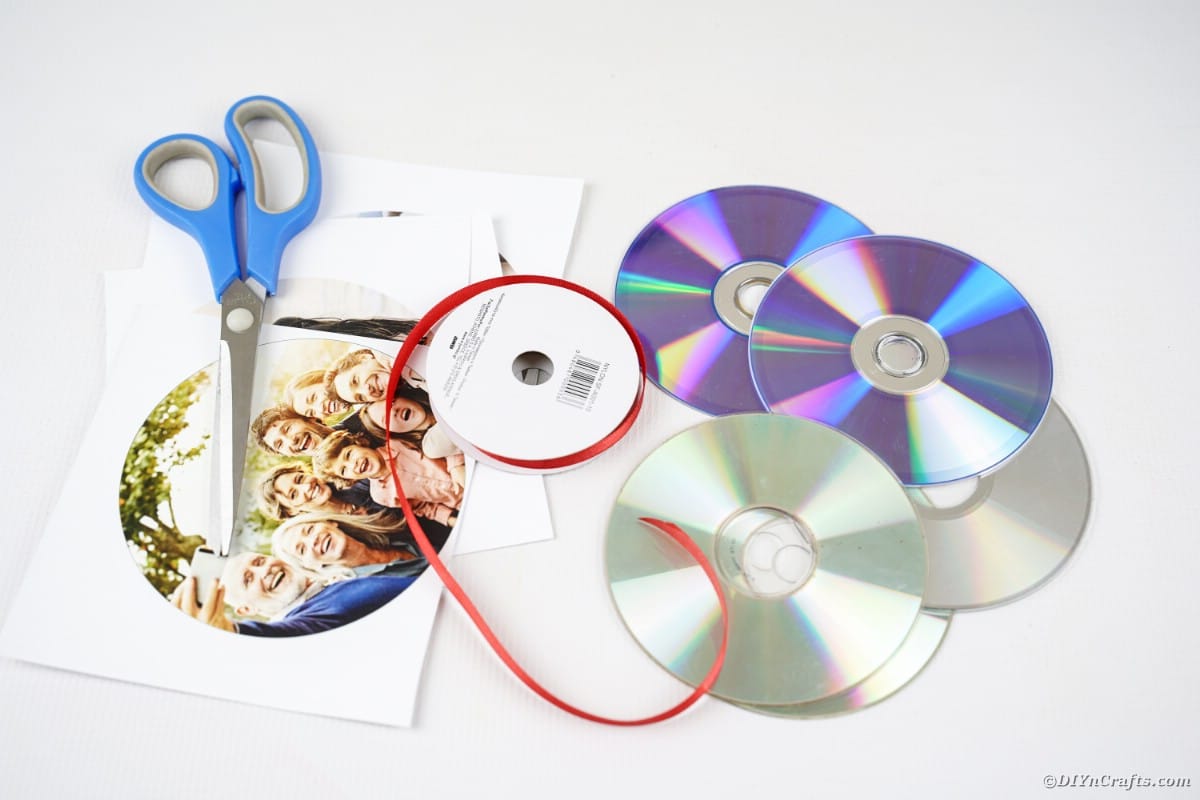
- Old CDs and DVDs
- Ribbon
- Printed pictures
- Hot glue gun
- Hot glue rope or hot glue sticks
- Scissors
- Sealant (if desired)
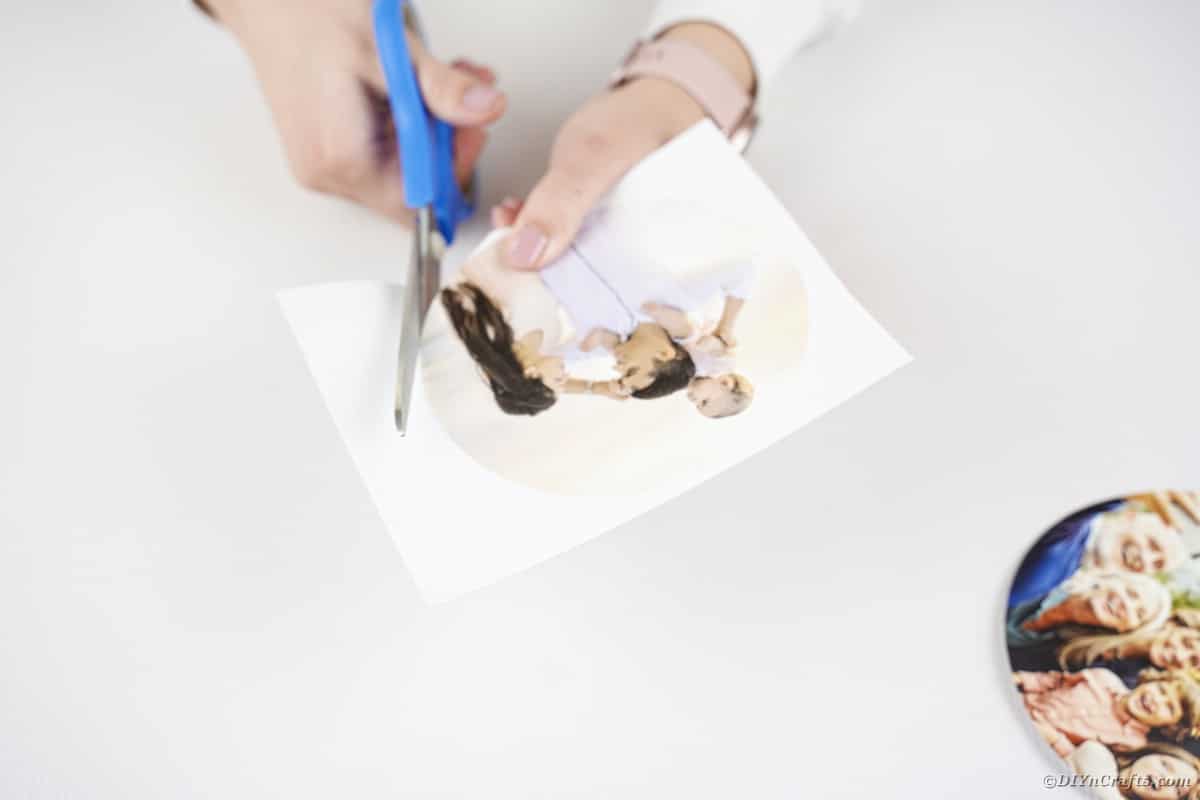
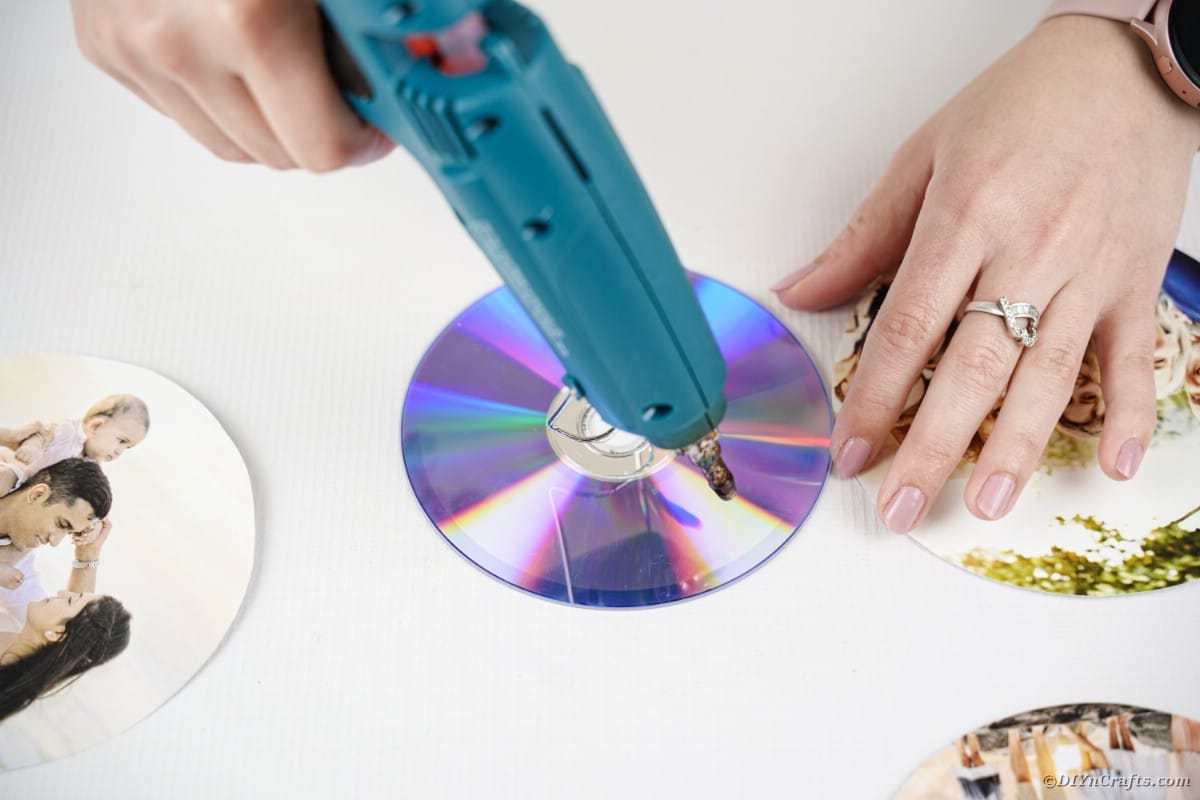
Attach the printed pictures to the CD with hot glue or craft glue making sure it is sealed especially well around the edges and center of the CD.
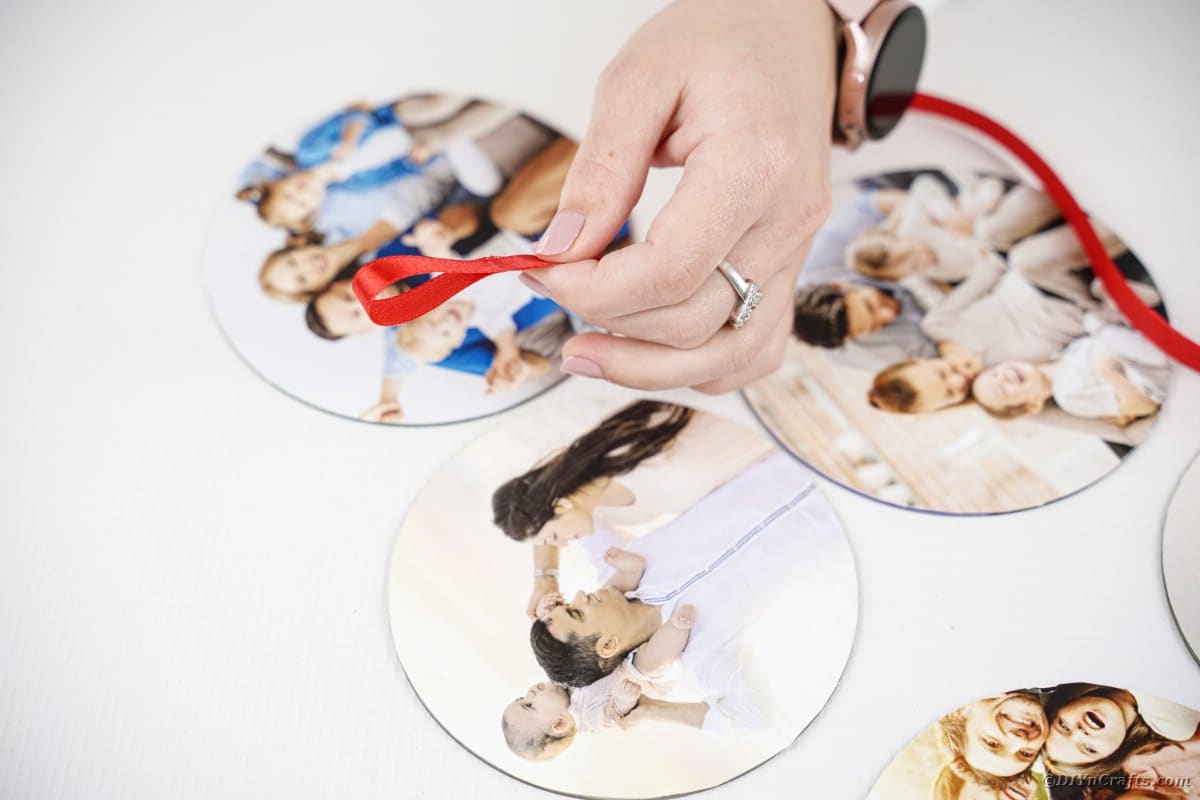
Choose the ribbon or twine you want as the hanger, and cut a length that will hold all of your images with a few inches between each image.
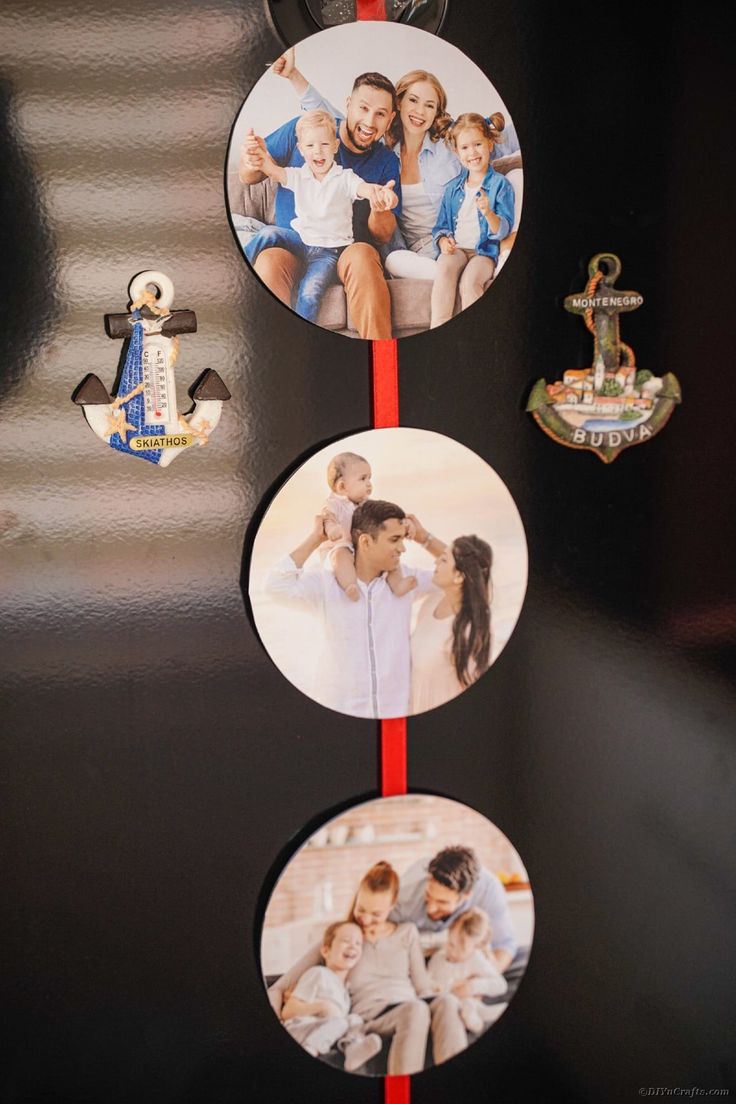
You can pin the ribbon to the wall as is, or you can add a loop to the end so it can slip over a hook easily.
Add glue directly to the ribbon where the CDs will be placed.
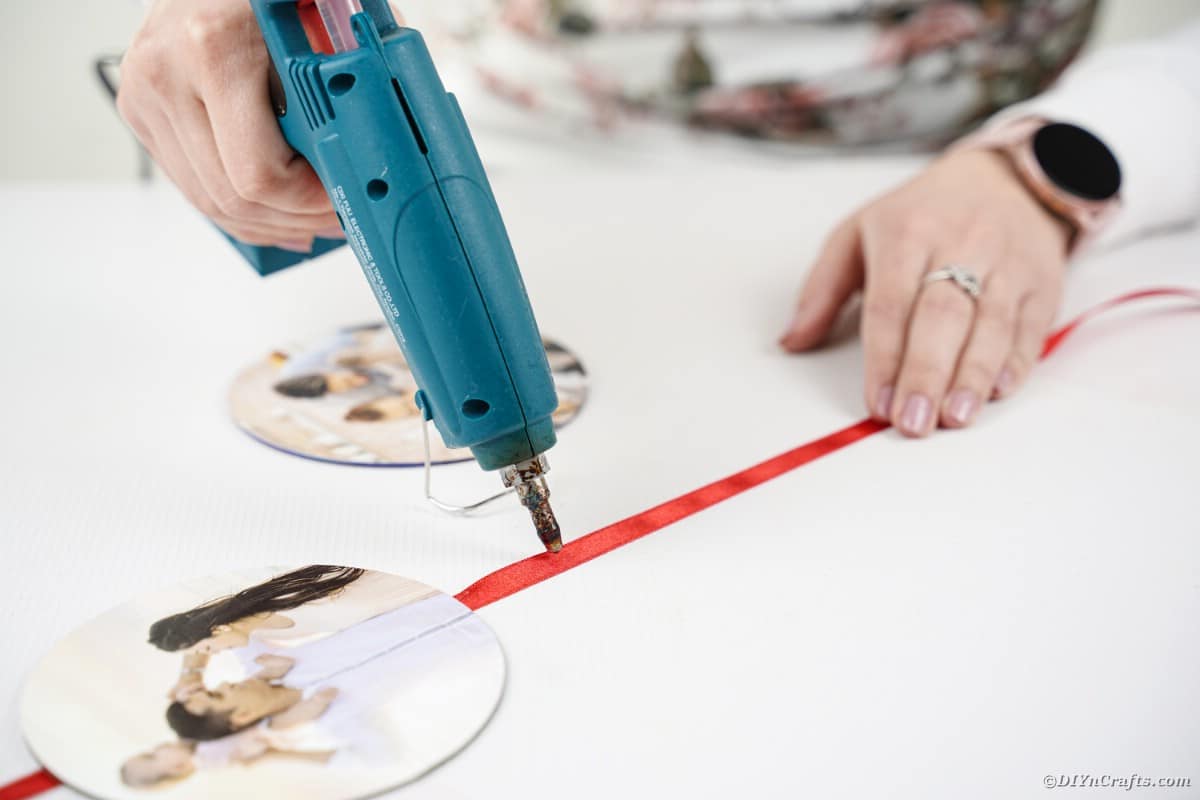
Glue the CDs every few inches of the ribbon then trim the end off at the bottom if desired.

Add other embellishments like beads, sequins, or lace onto the ribbon if desired then hang it on the wall or tuck away in a box and gift to friends and family!