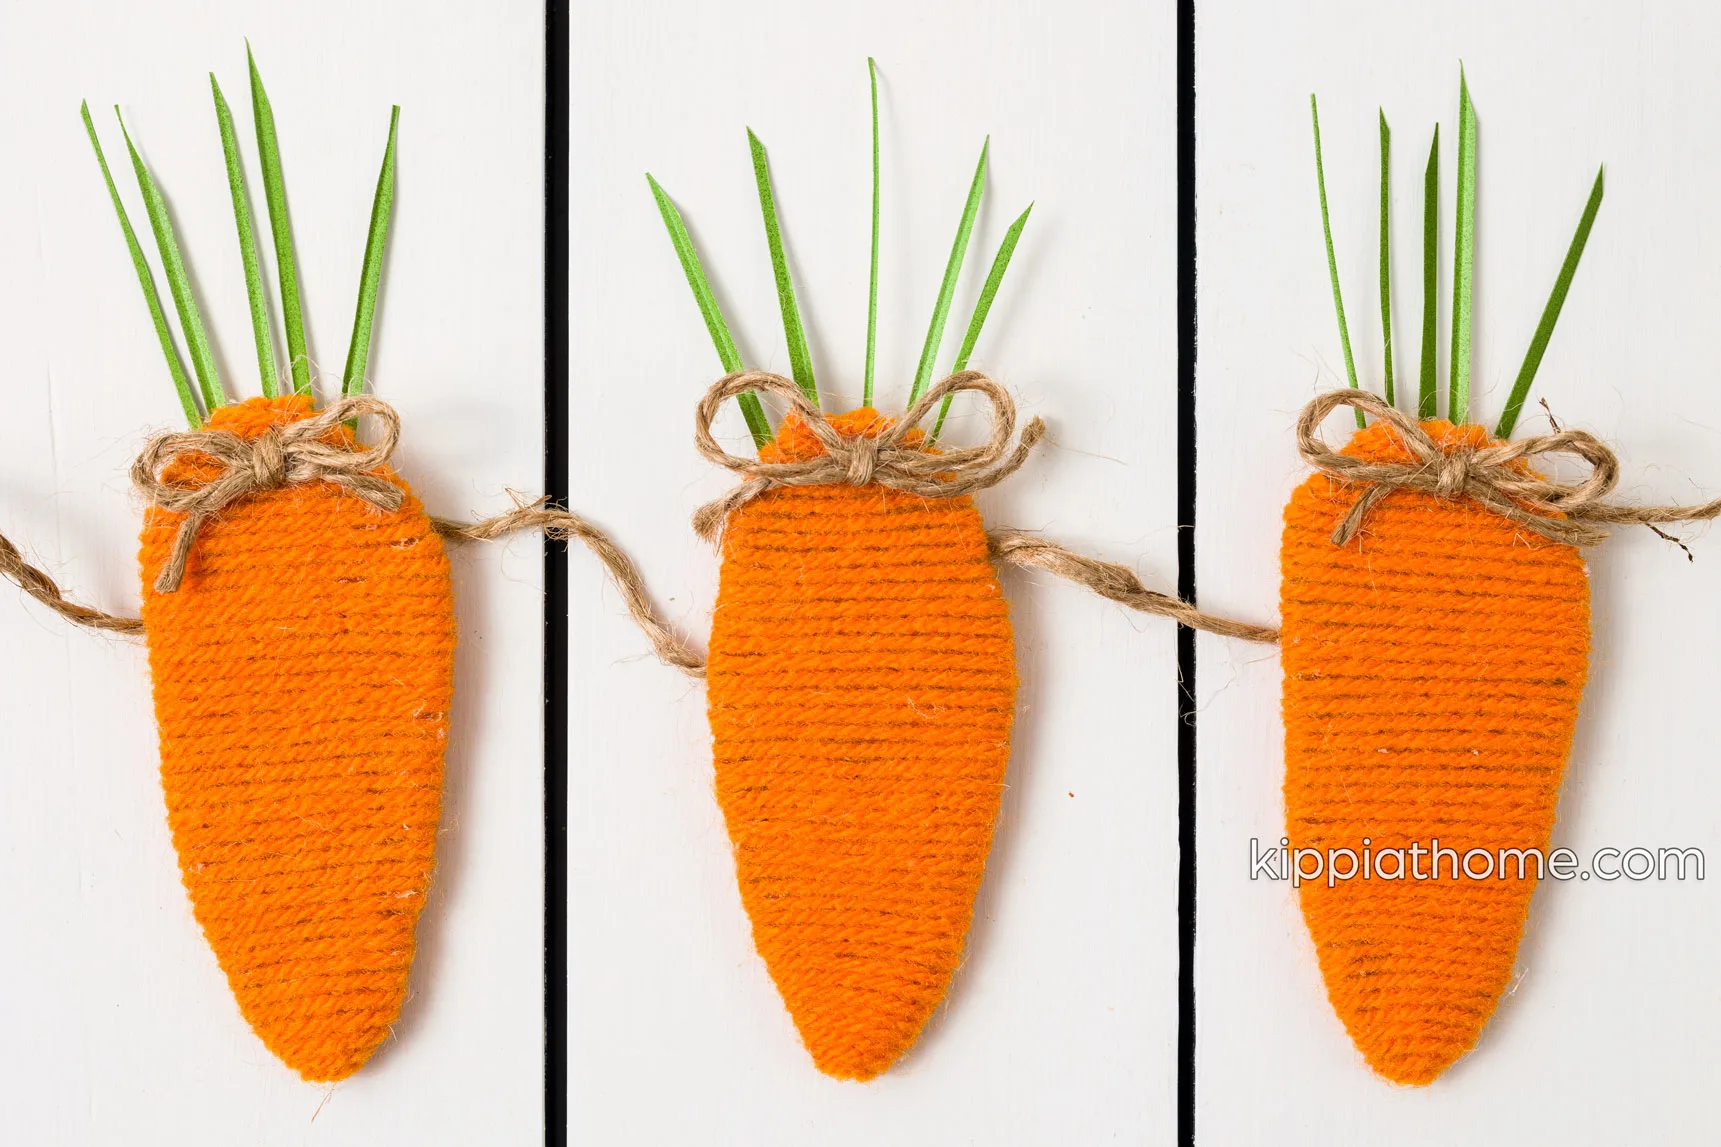
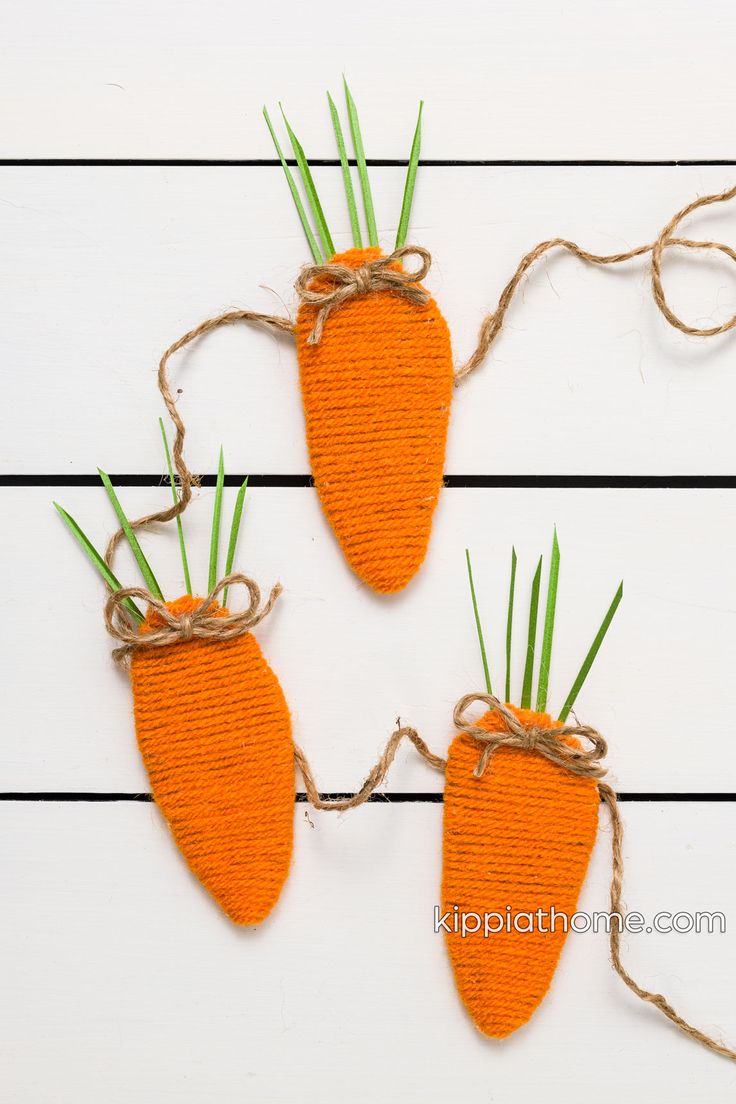
DIY Yarn Carrots
If you're looking for a fun and crafty project, consider making DIY yarn carrots! These adorable decorations are perfect for adding a touch of whimsy to your home or garden. All you need is the stated materials, and a bit of time to twist and wrap the yarn to create your very own fluffy carrots. They make great additions to Easter displays, centerpieces, or even as cute gifts for friends and family. Get creative and let your imagination run wild as you craft these charming yarn carrots that are sure to bring a smile to everyone's face!
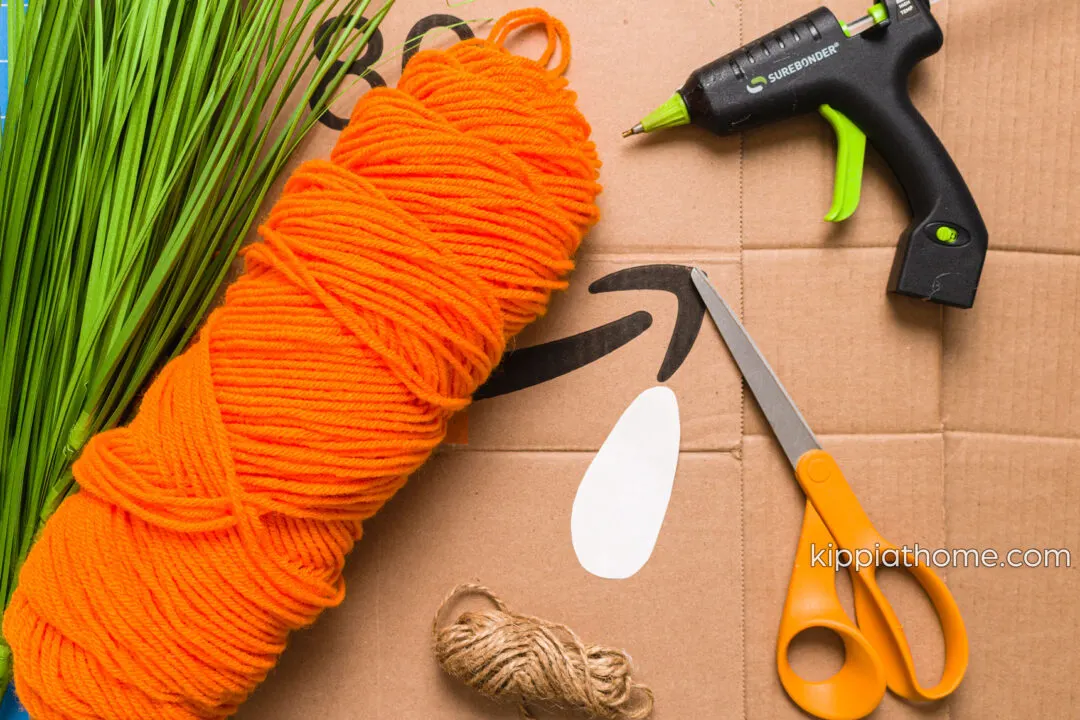
Materials:
- Cardboard (I used a shipping box)
- Pattern
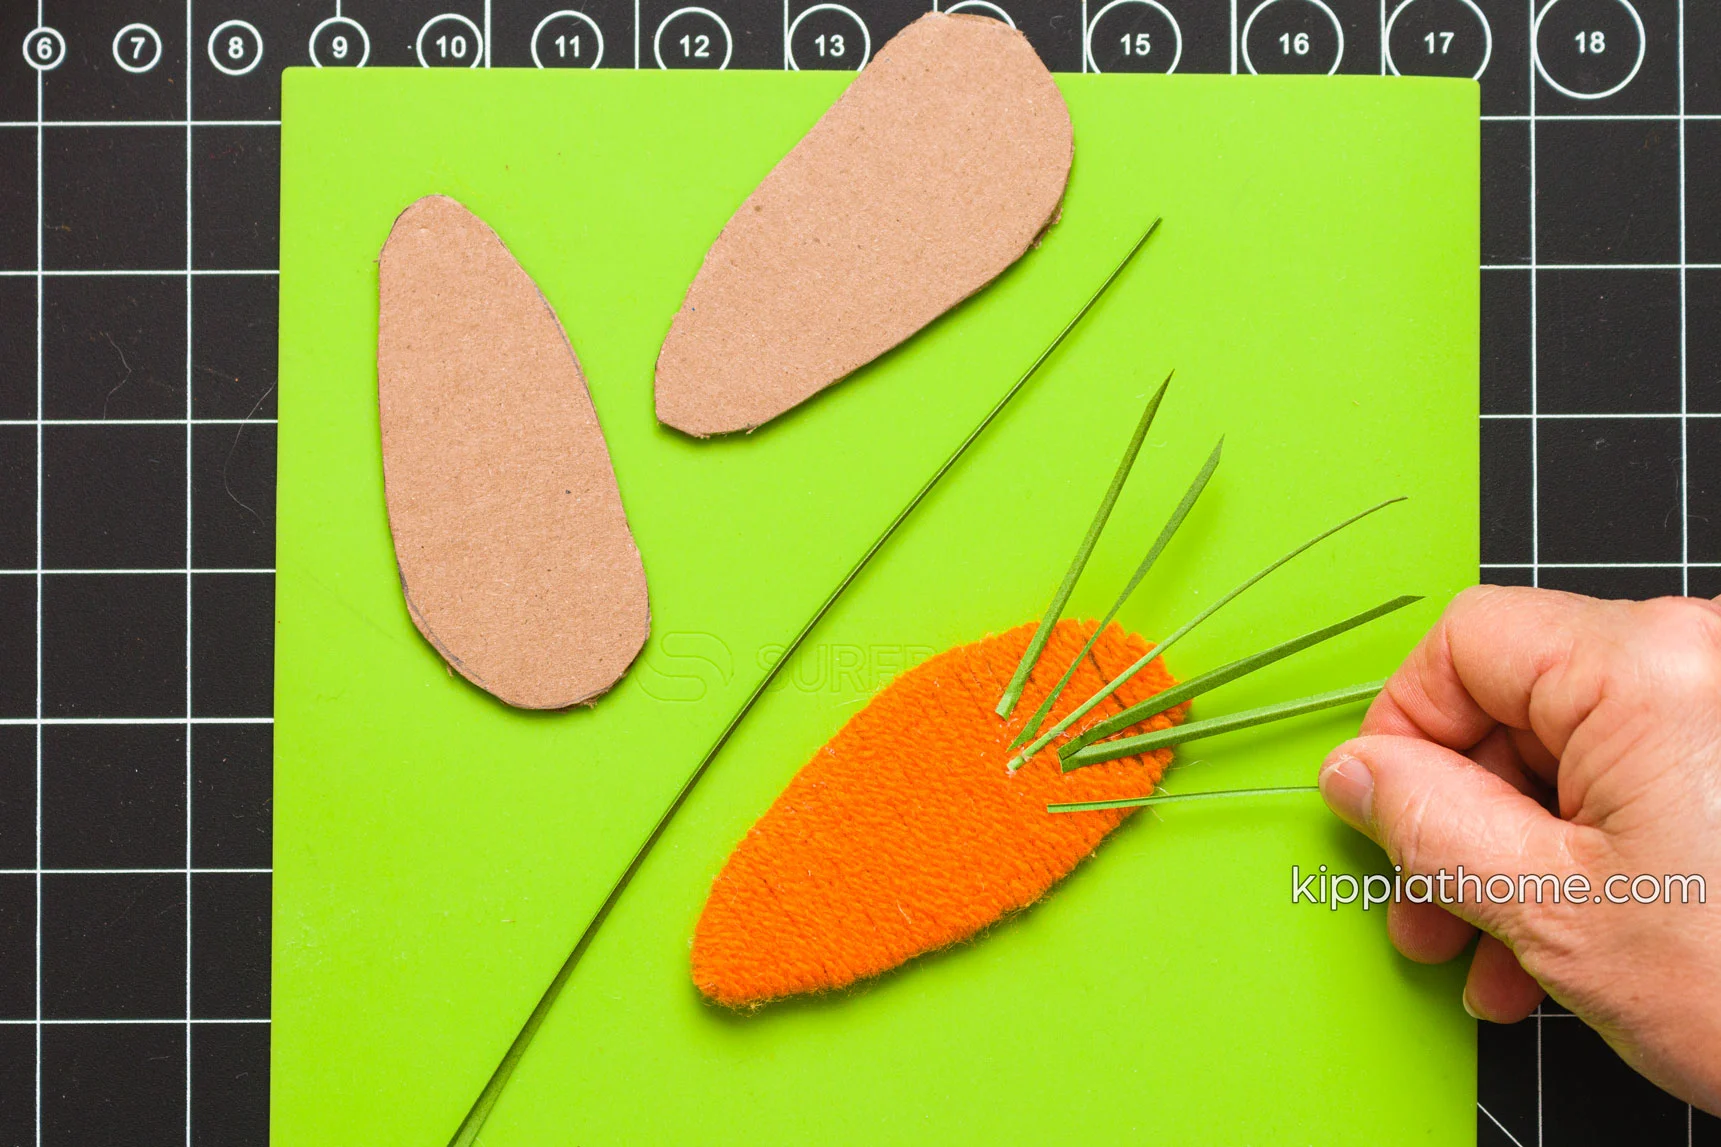
- Yard
- Grass bush
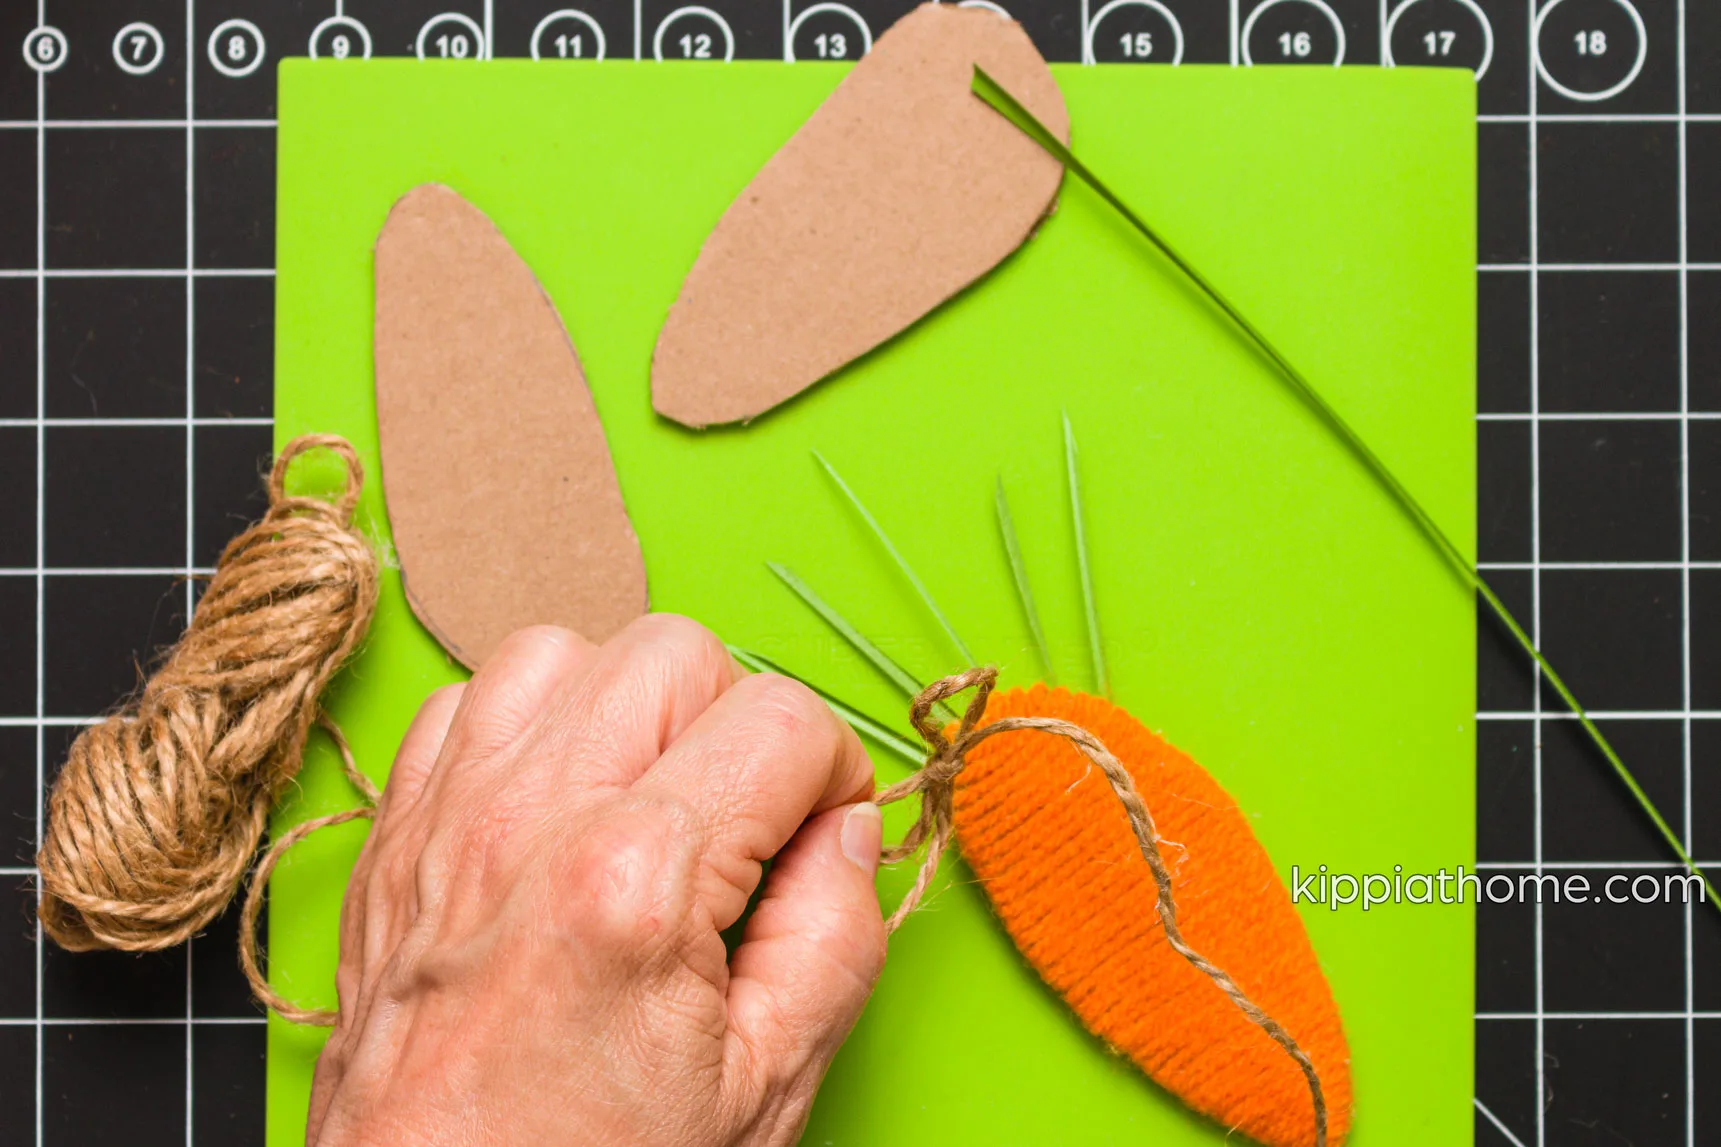
- Twine
- Hot glue and glue sticks
- Scissors
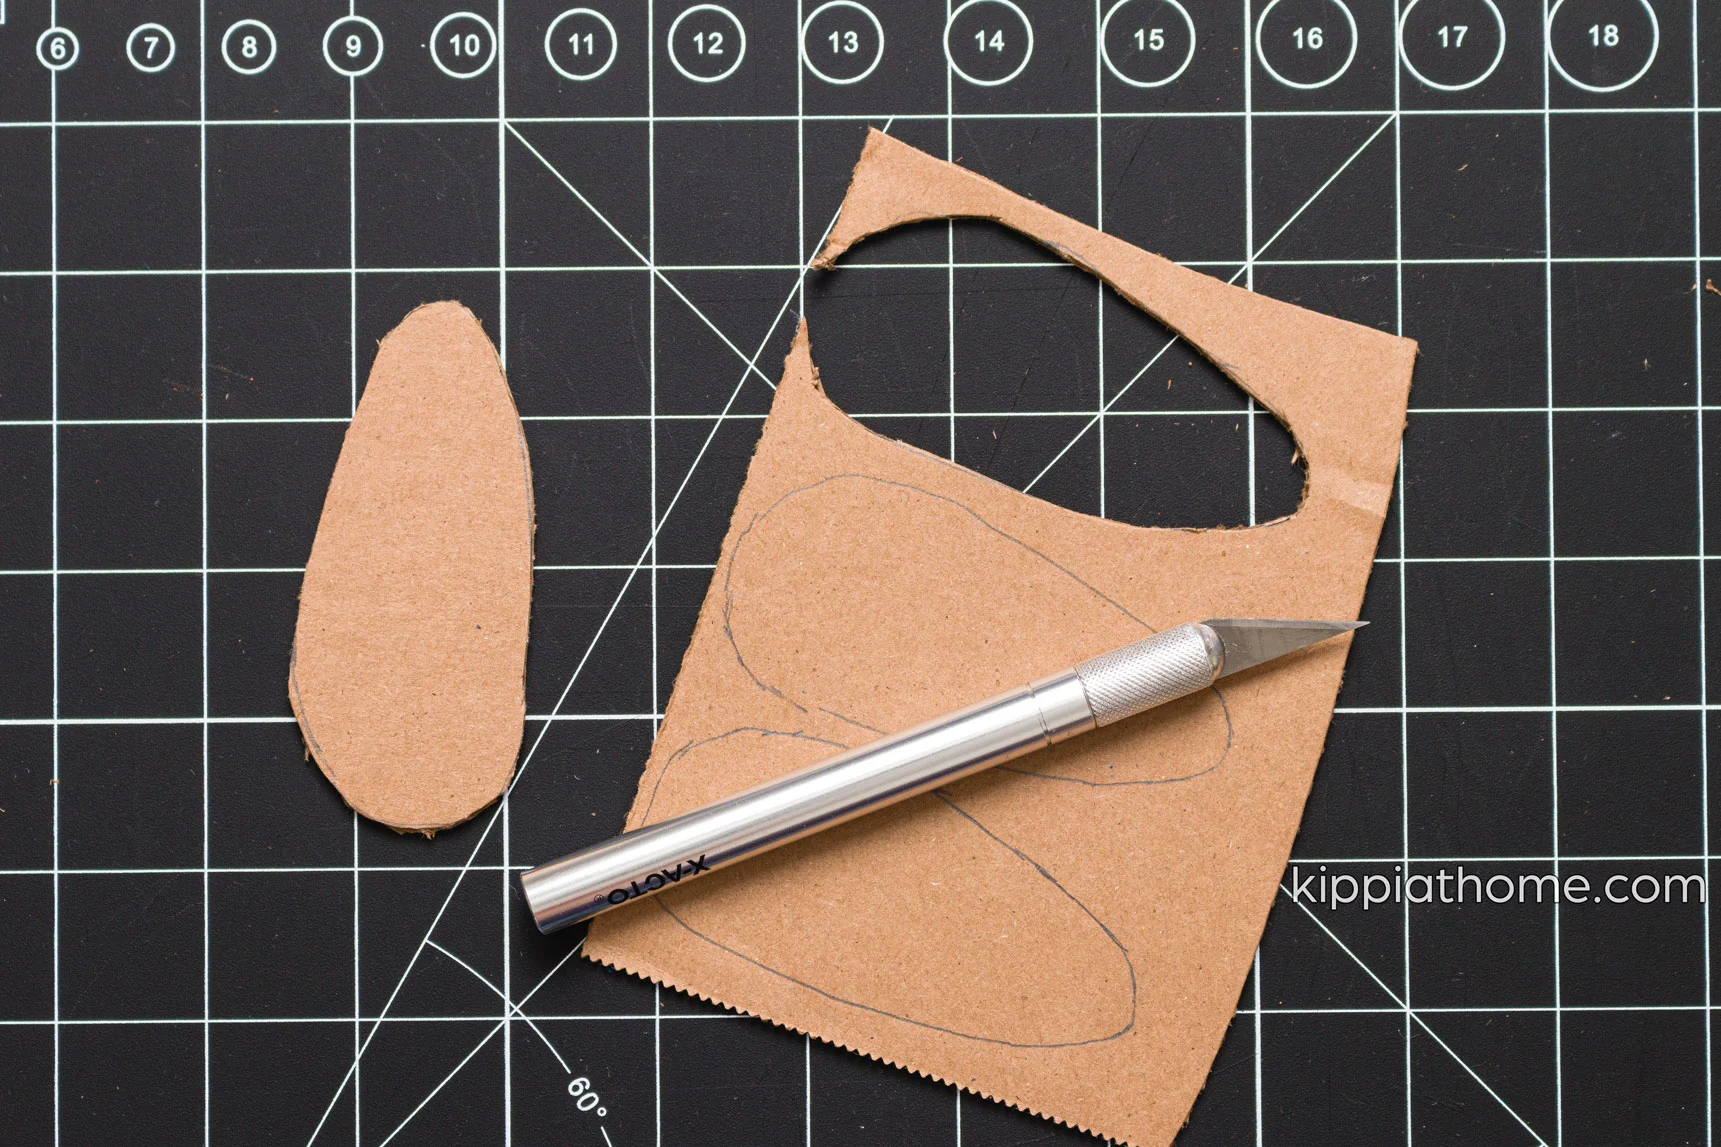
- Craft knife
- Pencil
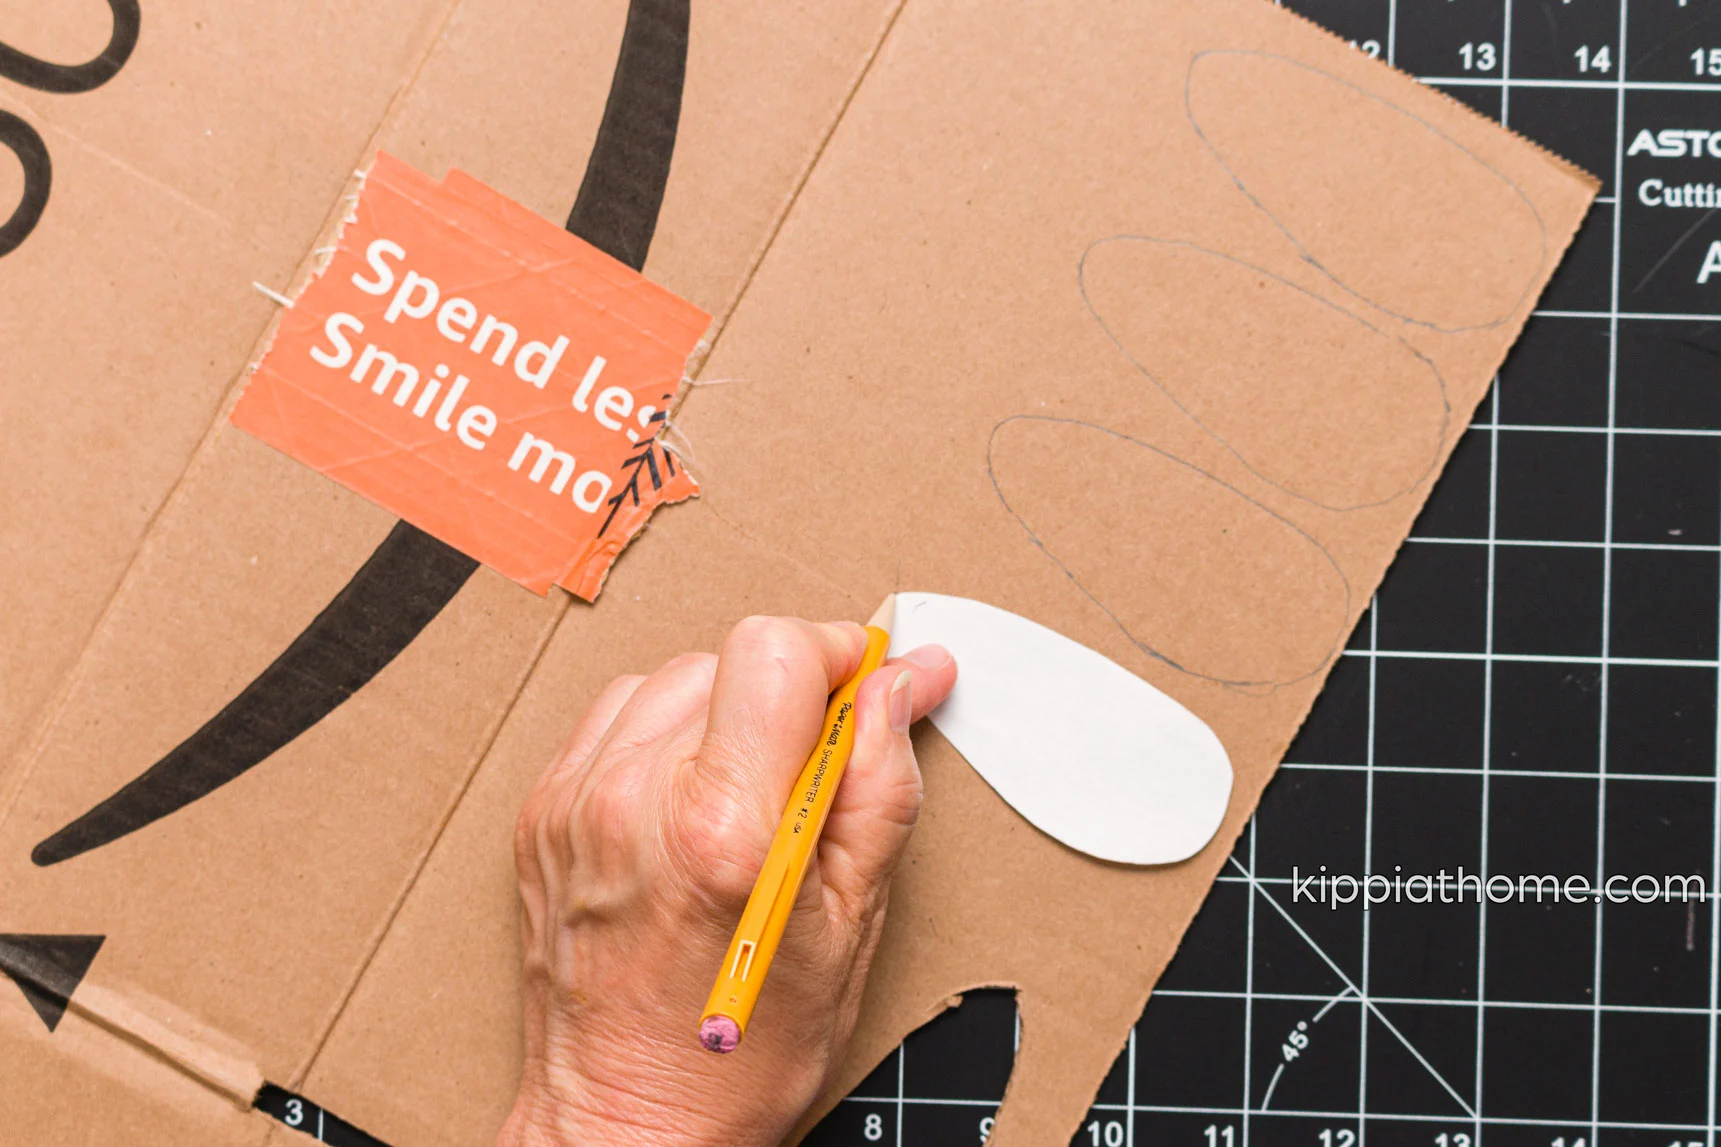
Using a craft knife and a cutting mat, I removed the pencil traced area to make it easier to cut.
Next, I used a craft knife on a cutting mat to cut out the designs.

You can use these carrots to decorate in various ways. For example, I used some to make a garland and others to decorate a chalkboard. The possibilities are endless.