DIY Clay Earrings
Creating your own DIY clay earrings is a fantastic way to unleash your creativity and design unique pieces that perfectly match your style! With just a few simple tools and your favorite colors of clay, you can craft beautiful earrings that are as fun to make as they are to wear. Whether you prefer elegant studs or statement dangles, the possibilities are endless when it comes to shaping and decorating your clay creations. So, grab your clay and let your imagination run wild as you embark on this delightful jewelry-making adventure!
Equipment
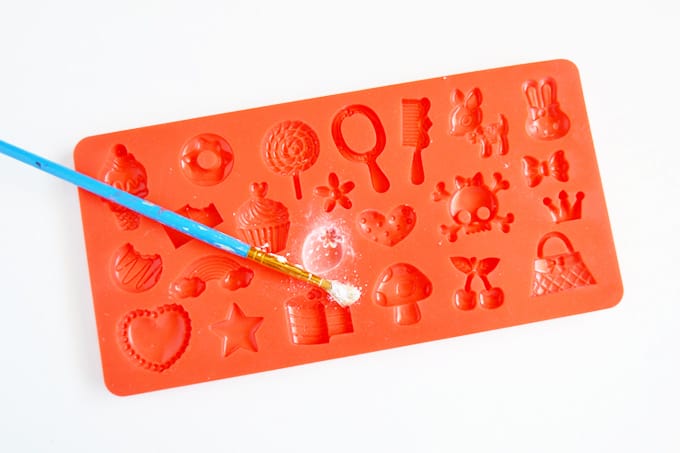
Knead your polymer clay until it's softened and roll into a small ball. Press the ball of clay into the mold shape of your choice, forming it to the edges. Release your clay from the mold and chill in the fridge for about 20 minutes to harden.
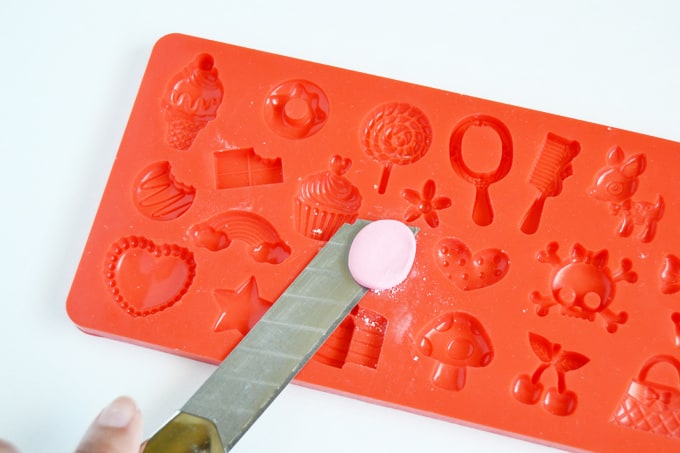
After hardening, put it back in the mold and use a box cutter or X-Acto knife (coated with a bit of cornstarch so it doesn't stick to the clay) and saw off the excess clay.
After removing the excess clay, press your clay once again to the mold to flatten the back.

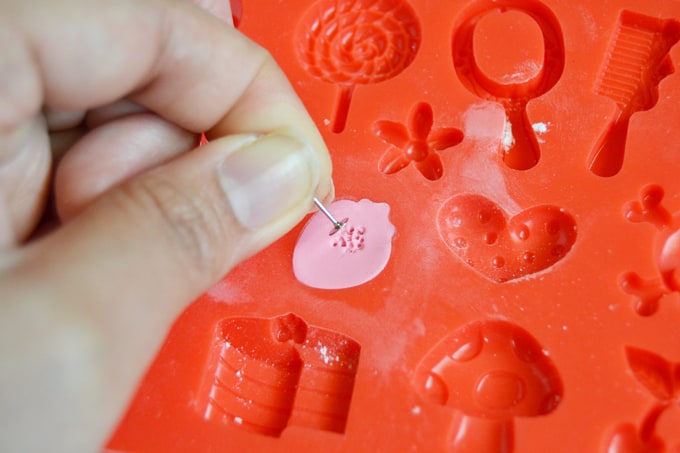
Poke some holes on the back where you want to adhere your earring posts. The holes will allow more glue to seep in and form a better bond when you attach.
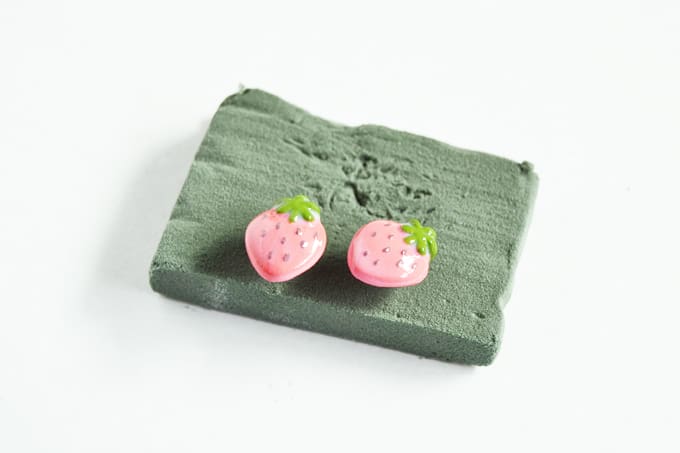
Release the clay from the mold. Bake according to your polymer clay package's directions.
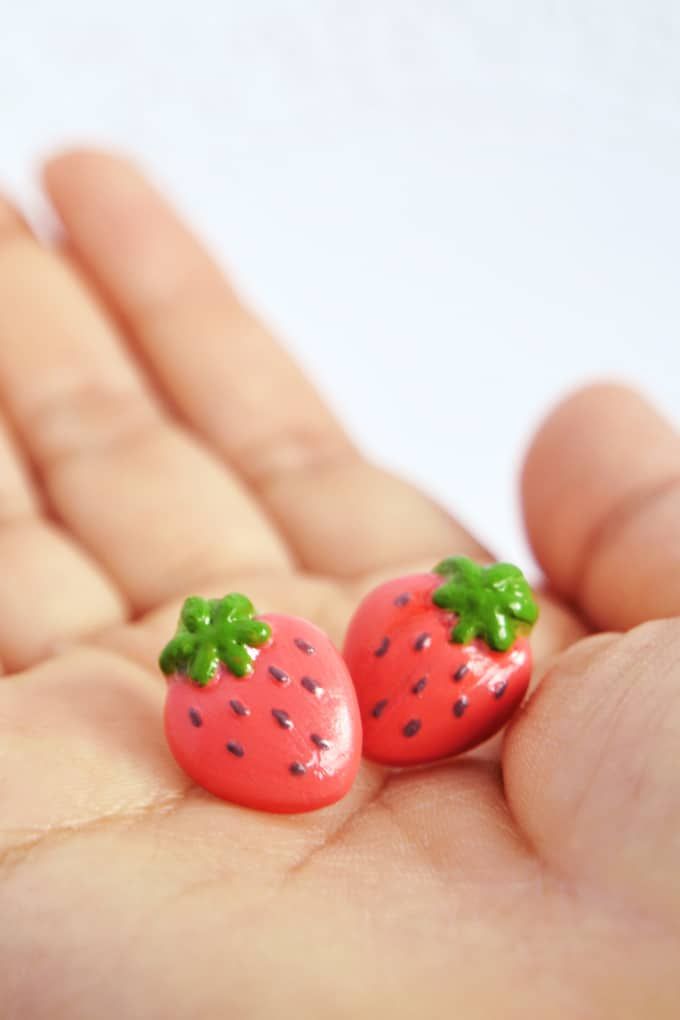
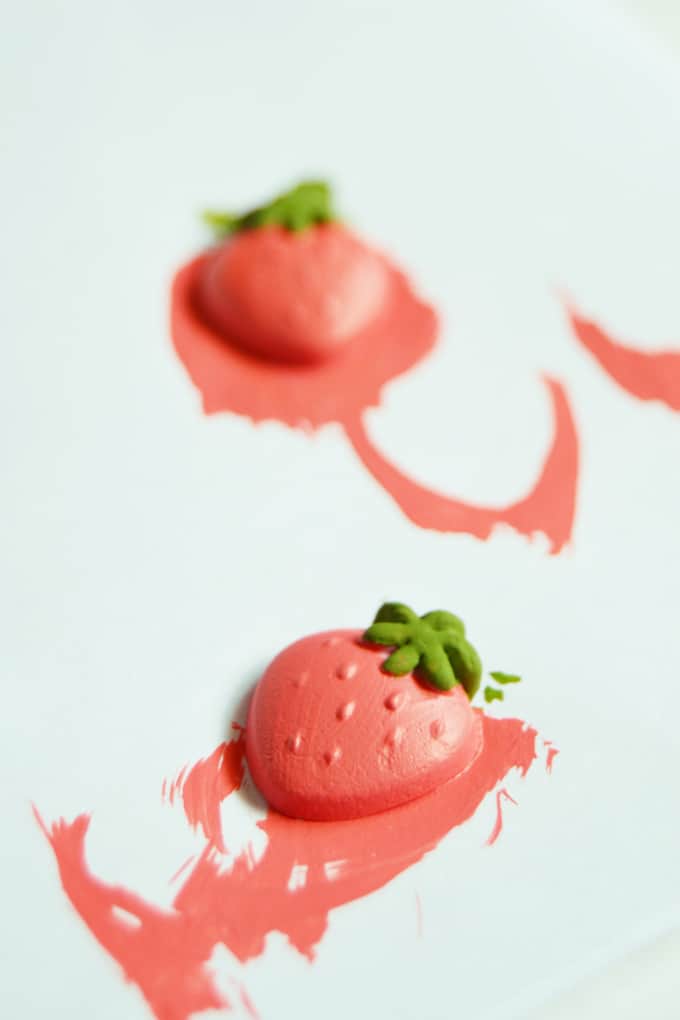
Start painting the details of your clay shapes. Use a pin for the details. Let dry.
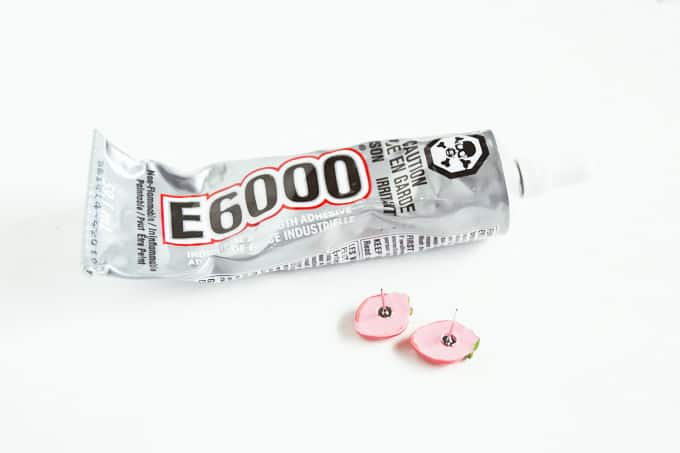
Attach the earring posts using E-6000 or other jewelry glue. Let dry.
Coat with Dimensional Magic and let dry for several hours to finish.