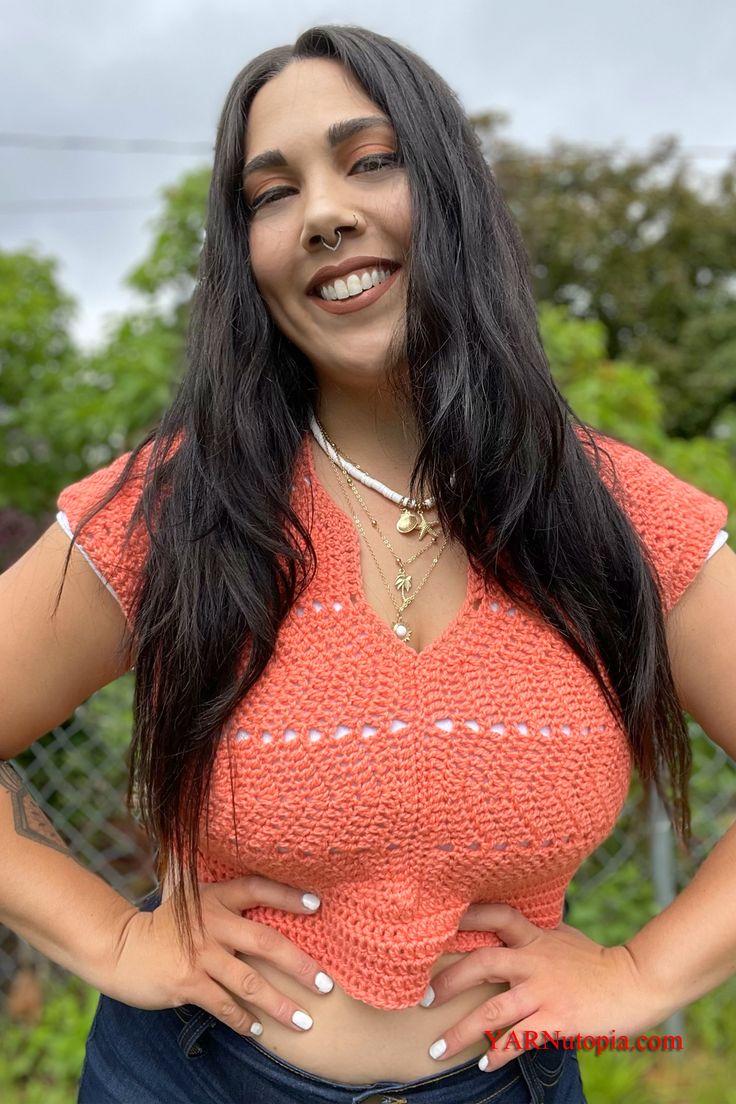
Crochet Waves Crop Top
The Crochet Waves Crop Top is the ultimate fashion statement for the summer season! With its trendy design and eye-catching waves pattern, this crop top is perfect for adding a touch of style to any outfit. Whether you pair it with high-waisted jeans or a flowy skirt, you'll be sure to turn heads wherever you go. Made with soft yarn and delicate craftsmanship, this top is not only stylish but also comfortable to wear all day long. Embrace your playful side and rock the Crochet Waves Crop Top for a fun and fashionable look that screams summer vibes!
Materials you will need:
–Knitologie Wisp in Clay Pot (472 yards – 2 balls of yarn)
–SizeH-5.00mm Crochet Hook
–Yarn Needle
–Scissors
NOTES:
-Use a smaller hook to make these smaller
-Use a bigger hook to make these bigger
-The measurements of this top are: Bust: 38 inches around, Waist: 38 inches around, Length: 18 inches from shoulder to bottom, but you can make this as big as you want by continuing the repeat.
Special stitches:
- Ch(s): chain(s)
- YO: Yarn Over
- St(s): Stitch(es)
- Sl st: slip stitch
- SK: Skip
- SC: Single Crochet
- DC: Double Crochet
Pattern:
Crop Top:
Ch 111 or any multiple of 12+3
Row 1: 2 DC in 3rd Ch from hook, *DC in next 5 chs, Sk 1 ch, DC in next 5 chs, 3 DC in next ch, repeat from * across, ending with 2 DC in last st. Ch 2, Turn.
Row 2: 2 DC in first st, *DC in next 5 sts, Sk 2 sts, DC in next 5 sts, 3 DC in next st (this should be in the middle st of the 3 dc grouping), repeat from * across, ending with 2 DC in last st, Ch 2, Turn.
Row 3: 2 DC in first st, *DC in next 5 sts, Sk 2 sts, DC in next 5 sts, 3 DC in next st, repeat from * across, ending with 2 DC in last st, Ch 2, Turn.
Row 4 to 16: Repeat Row 3 (make it wider if half of your chest is not covered)
Make 2 panels like this.
Assembly step:
Sew the center seam together up the middle and in the middle of the back as well
Bottom band:
Attach your yarn at the corner of the panels that you sewed together. DC along the edge of the front side, then Continue DC stitches along the side of the Back edge to make it attached as a circle to wrap around the mid section. Sl st to first st and then ch 2 and continue onto next row.
I did 6 rounds total of 128 sts all around for each row.
You can continue to do more rows to make your shirt longer if you’d like.
Assembly step:
Sew up the sides to make the arm holes smaller if you’d like! Leave it open for a more free feel!
Weave in all ends. Enjoy!
No comments
Write a comment