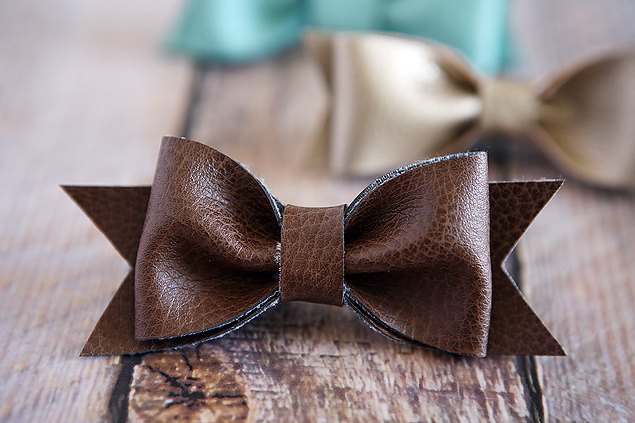
DIY Leather Hair Bows
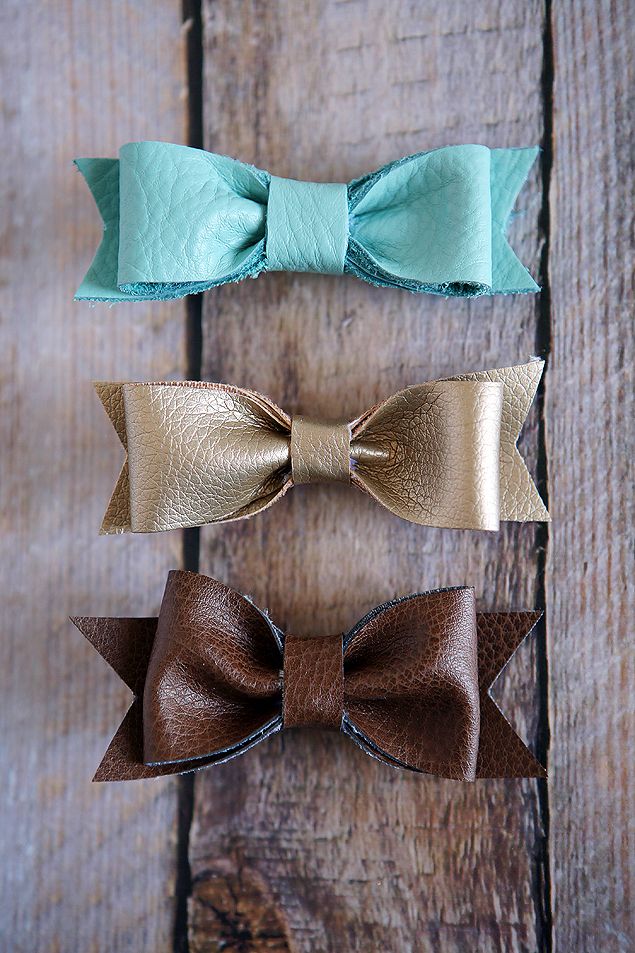
Creating your own leather hair bows is a fun and trendy DIY project that adds a personalized touch to your accessories. Add some embellishments or leave it minimalistic; it's all up to you! Once you attach the hair clip to the back, voila! You've got a cute and unique hair accessory that is sure to make a statement. Get creative, enjoy the process, and let your style shine through with these adorable DIY leather hair bows!
Supplies:
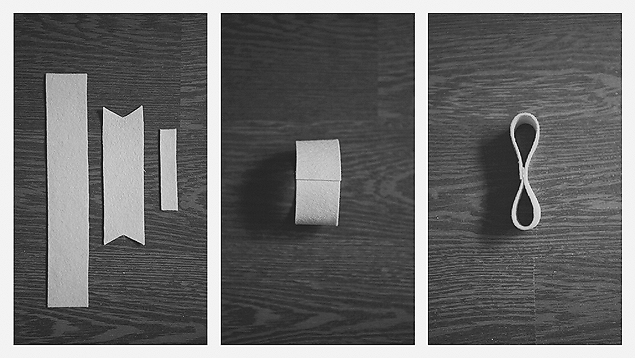
Step #2– Glue the ends of the largest leather piece together.
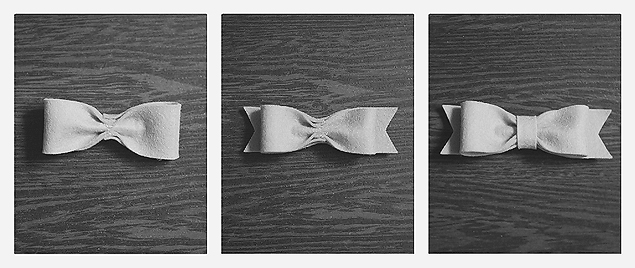
Step #5– Take your 2nd piece of leather and notch the ends. Then, center your bow on top and glue to the “pinched” part of the bow. (Continue to squeeze the bow together in the middle while completing the next and final step.)
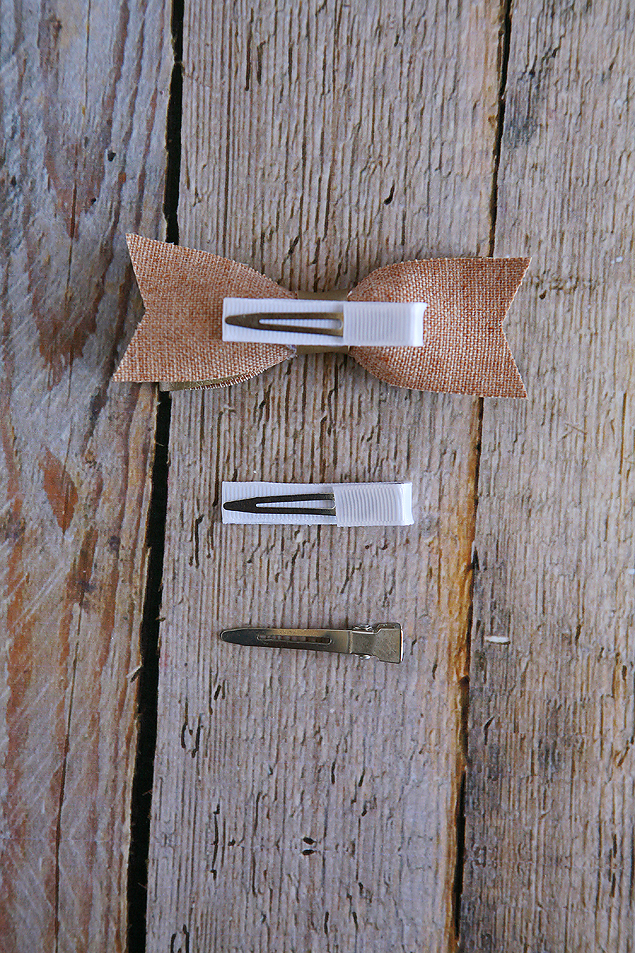
Step #7– Decide what you want to attach the bow to. I love to use an alligator clip (pictured above) because even if you decide you want to wear a headband, you can clip the bow onto the headband. If you decide to go that route, you can cover your clip with some ribbon and hot glue. Then, hot glue the bow to the clip.