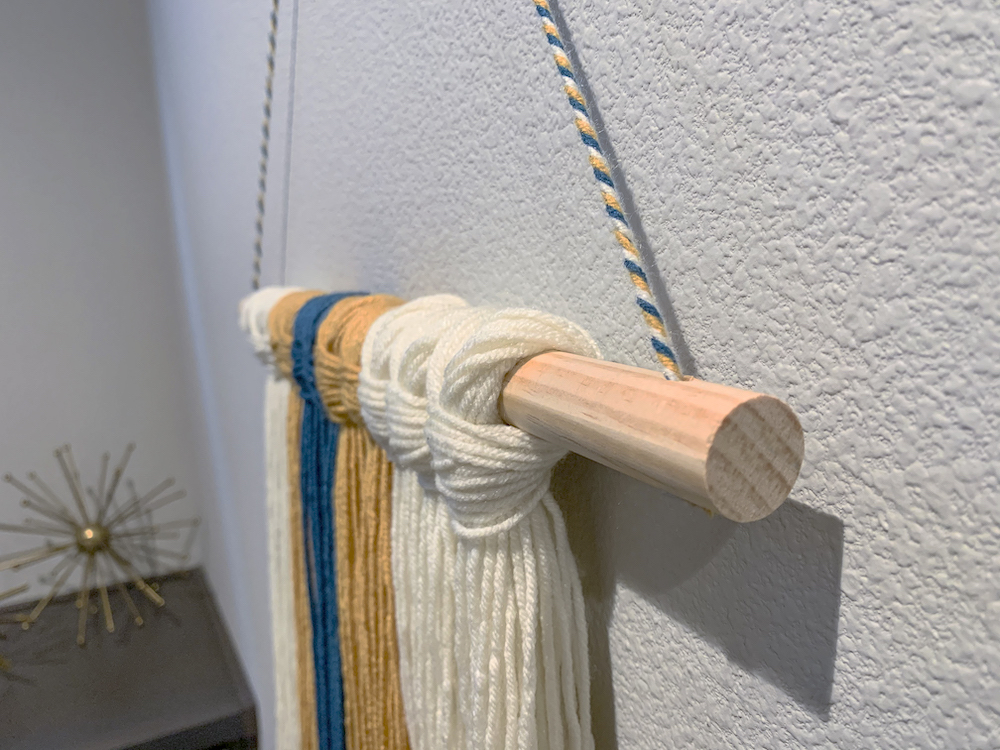
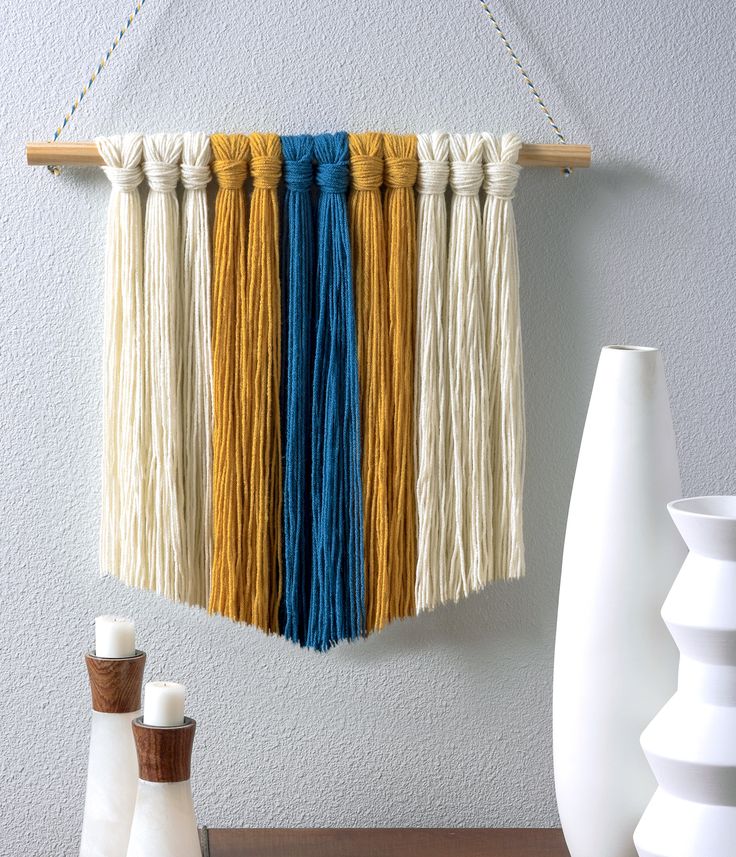
Gorgeous Yarn Wall Hanging
The Gorgeous Yarn Wall Hanging is simply delightful! Its vibrant colors and intricate patterns effortlessly add a touch of warmth and artistic flair to any space. The way the yarn is carefully knotted together creates a sense of charm and coziness that is hard to resist. Hanging it up in your room or living area will definitely brighten up the atmosphere and invite a feeling of creativity and comfort. Just imagine how inviting your space will look with this lovely wall hanging proudly displayed!
Gather These Supplies
For wrapping the yarn: I used a board that was about 21″ inches in length that I had leftover from another project for wrapping. Stiff cardboard would also work.
Instructions
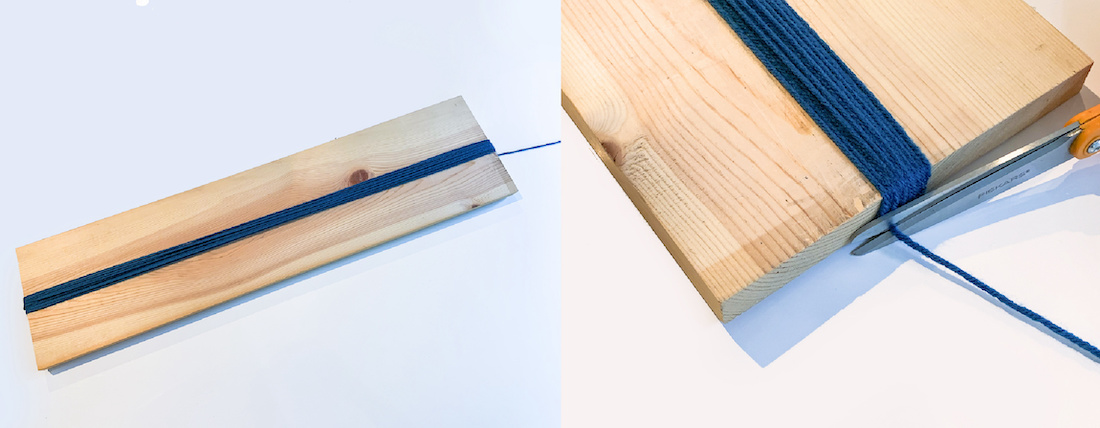
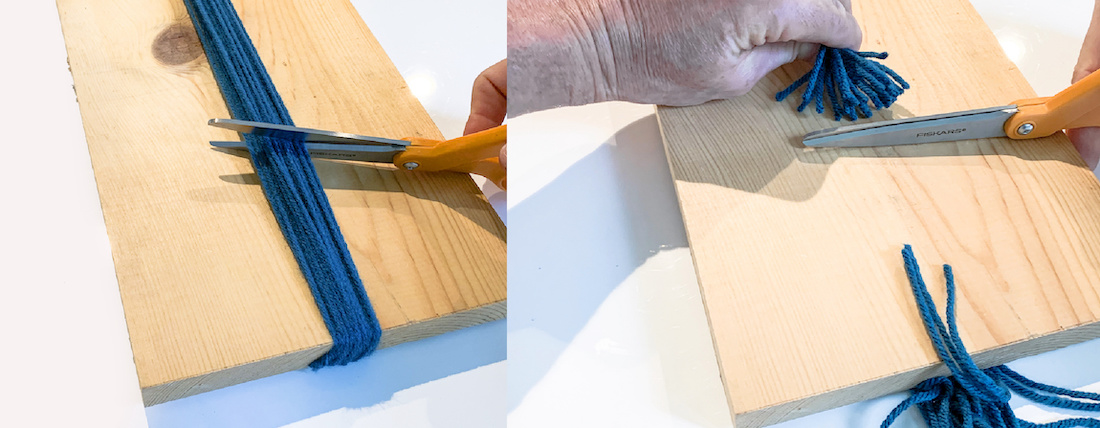
Once you are done wrapping and have trimmed the end from the skein, cut across the yarn. You'll basically have 15 – 16 pieces of yarn together that will be tied to your dowel.
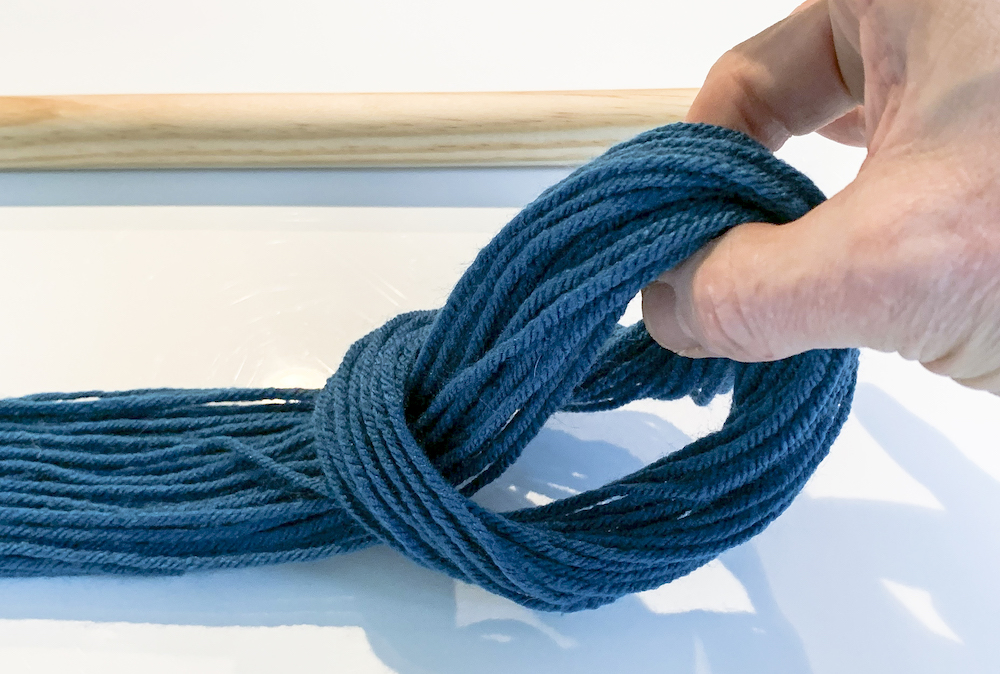
Double the yarn (fold it in half) so that there is a loop at the top and the ends are all at the same length. Take the top of the yarn stands and flip it over as shown in the picture, creating a loop with the yarn.
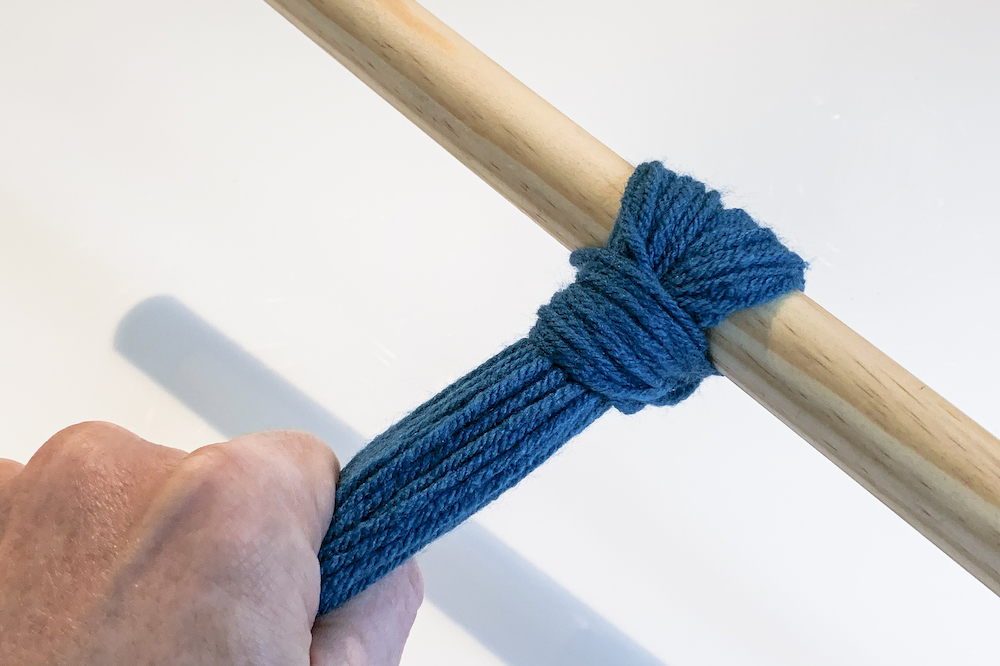
Select color B, and then make four yarn strands to put on your dowel rod, two on either side of color A. Finish with color C – using three strands each on either side of color B. You will end up with 12 total lengths of yarn.

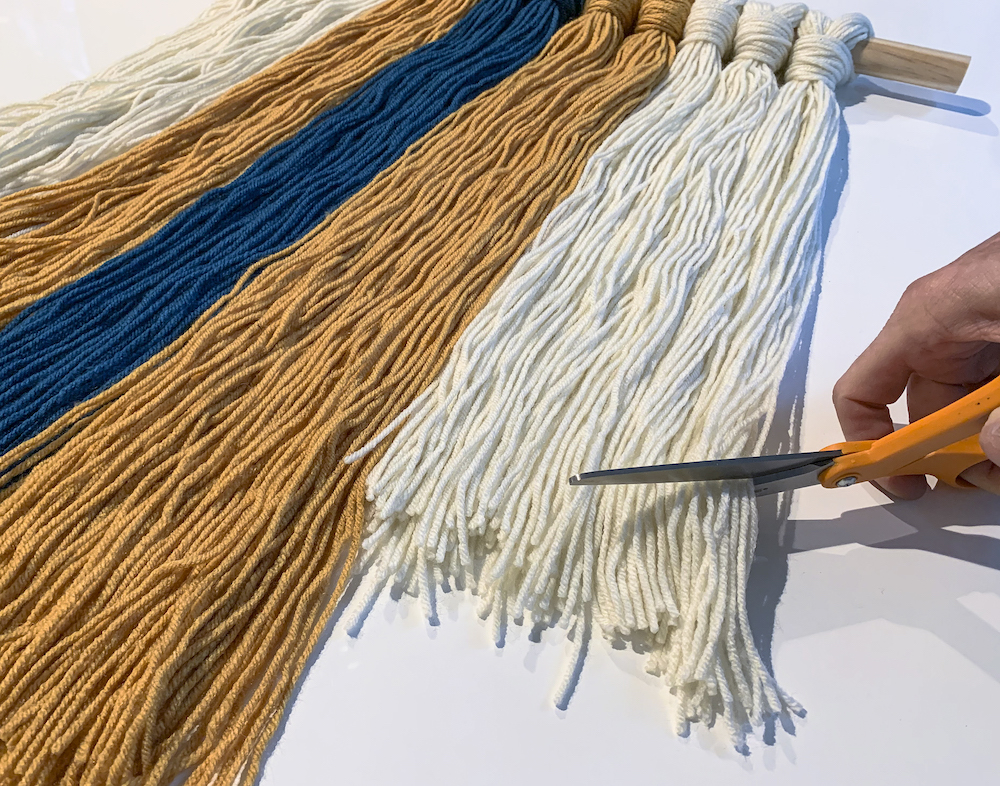
Clean up the yarn by trimming the ends. You could cut straight across, create a "v" shape; whatever you like. I chose to create a v-shape.
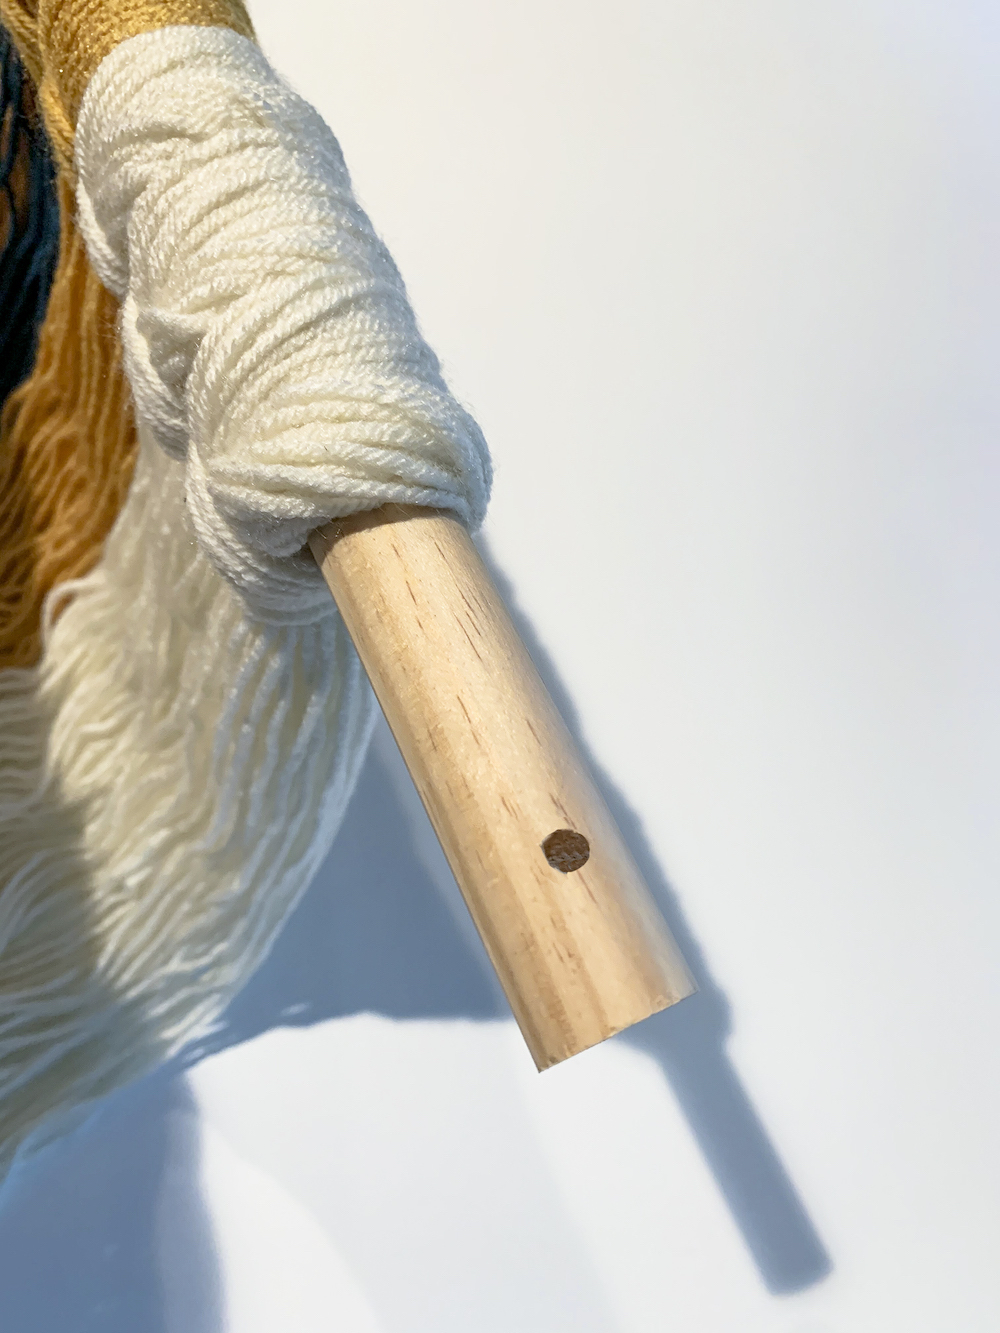
Create a braid of the three colors of yarn about 24" long, then feed through the holes and knot for hanging. Display on a thumb tack or nail.