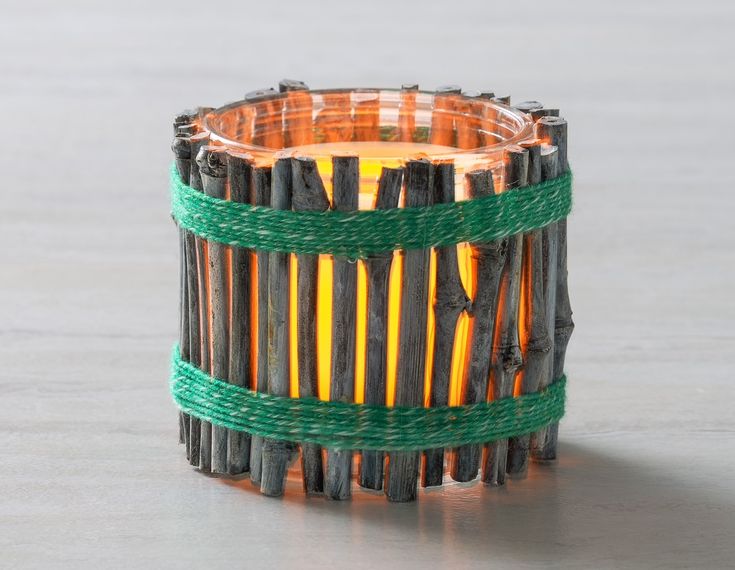
DIY Twig Candle Holders with a Rustic Charm
Creating DIY twig candle holders brings a delightful touch of rustic charm to any space. Picking up twigs from your backyard or a nature walk, this craft project is not only budget-friendly but also a lovely way to add a cozy ambiance to your home decor. By assembling the twigs around a glass jar or a simple candle, you can personalize your candle holders with a unique and natural aesthetic. Whether you're looking to spruce up your dinner table or create a warm atmosphere for a relaxing bath, these homemade candle holders are a simple yet creative way to infuse warmth and earthy vibes into your home.
Instructions
Before beginning, wash and dry your glass jars or votives inside and out with warm water and mild soap. Let dry.
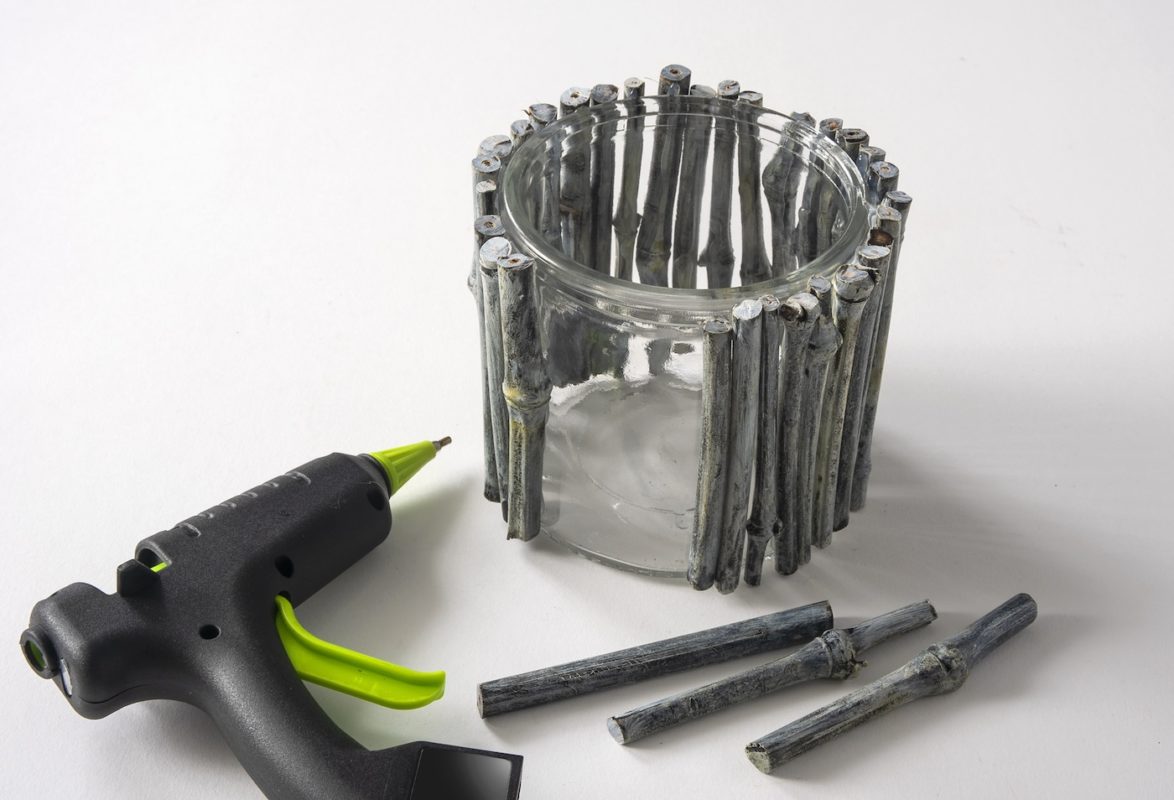
Begin gluing your twigs around the jar, getting them as close to each other as possible. You can use either craft glue or hot glue. If you use craft glue, you’ll need to position the glass on its side and work one section at a time (and let dry) so the sticks don’t fall off. Once all the twigs have been added, let the glass and twigs dry completely.
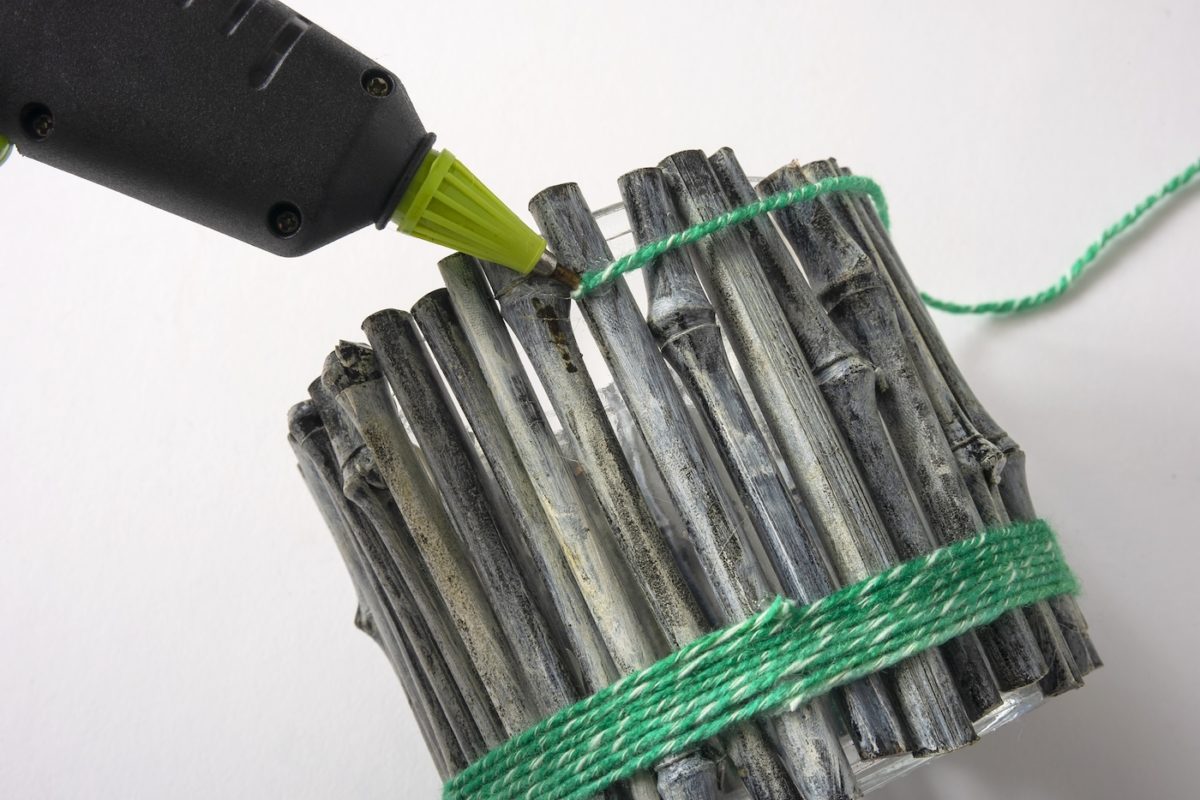
Add the twine or yarn to the lantern. Place a dab of glue on one twig and place the twine down into it. Let set. Wrap the twine around several times and glue. Trim with scissors.
Repeat at the bottom with more twine and let your lantern dry completely before using. Add an LED tea light and enjoy the glow.