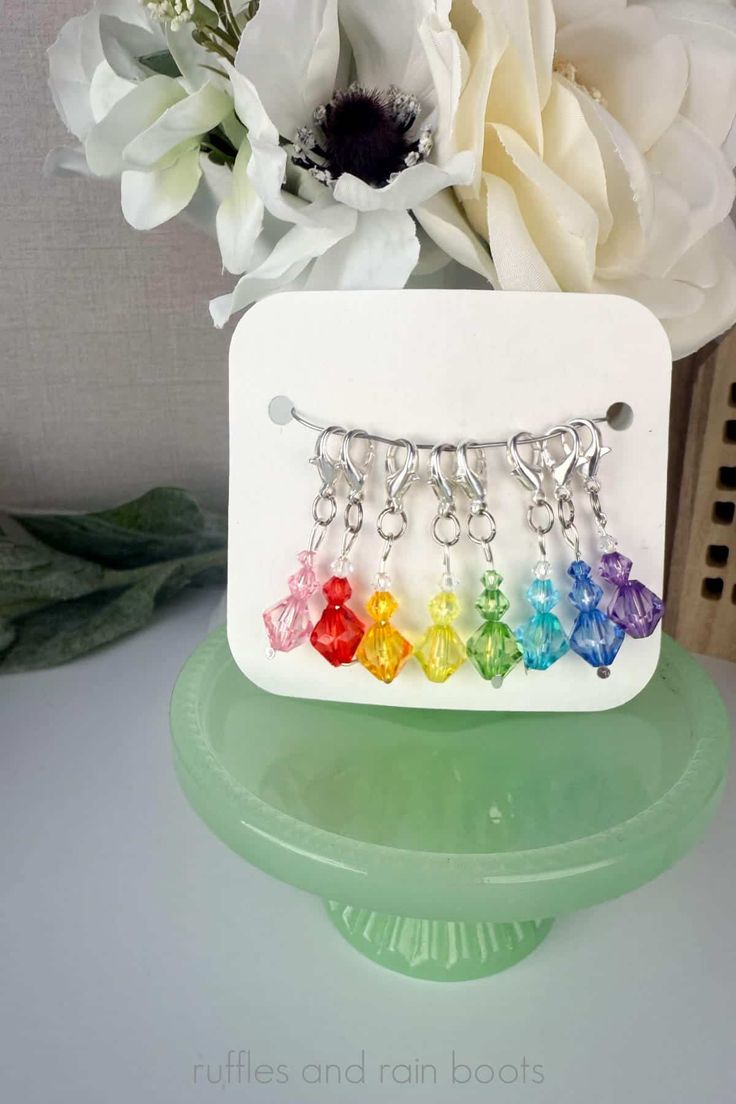
DIY Bead Stitch Markers
Making DIY bead stitch markers is a fantastic way to add a personal touch to your knitting or crochet projects! Not only are they practical for keeping track of your stitches, but they can also be fun and stylish. You can customize them with beads in your favorite colors and designs, making each marker unique to you. Plus, crafting your own stitch markers is a great way to save money and unleash your creativity. So, gather your supplies, get those creative juices flowing, and start making some adorable bead stitch markers to elevate your crafting game!
Materials You Will Need
I used the following for this project, but keep in mind that ANYTHING will work if you can attach a jump ring to it. Thrift store finds like baubles, buttons, and vintage jewelry will work. Craft store items like charms, tassels, and anything that catches your fancy will probably work, too.
beads (I used this set because it had three different sizes included)
lobster clasps
head pins (anything between 30 and 50 mm will work)
jump rings (I recommend 6 mm)
You will need a pair or two of needle nose pliers. A jump ring ring (I know it’s hard to read, but it’s correct) will make things go faster, as well. You can get these in some jump ring sets or on their own.
How to Make Beaded Stitch Markers
First, sort the beads you would like to use. I used three on some, two on others.
Next, use the needle nose pliers to bend over the flat end of the head pin.
Slide on beads in descending size order and bend over the remaining head pin using the pliers. The goal is to put the end of the head pin along the pin nearest to the top bead’s hole.
Use the jump ring ring and needle nose pliers to open a jump ring. Slide on the beads and the lobster clasp and close the jump ring.
Repeat to make as many as you would like.
No comments
Write a comment