DIY Wood Doormat with Mid-Century Style
Looking to elevate your entryway with a touch of mid-century charm? A DIY wood doormat is a fun and creative project that can instantly spruce up the front of your home with a trendy twist. By combining the warmth of wood with sleek geometric designs reminiscent of the mid-century era, you can create a stylish and welcoming doormat that reflects your personal style. Not only will this project add a unique flair to your home, but it also offers a sense of satisfaction knowing you crafted it yourself. So grab your tools and let's get crafting – your guests will be impressed before they even step foot inside!
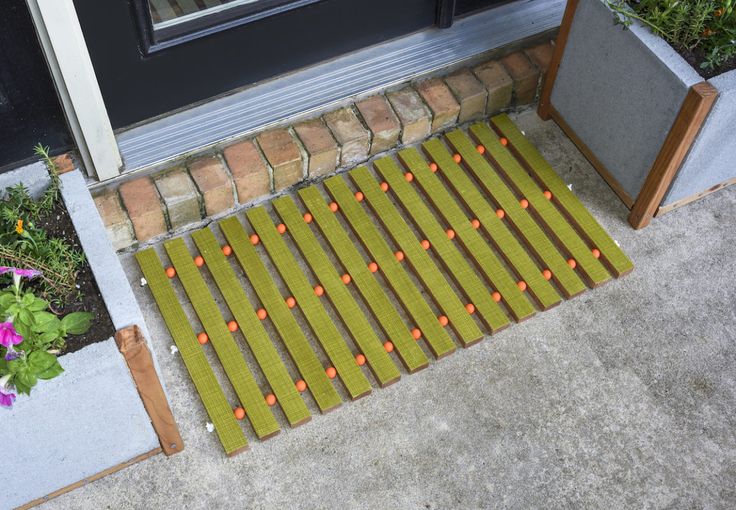
Make a Wood Doormat
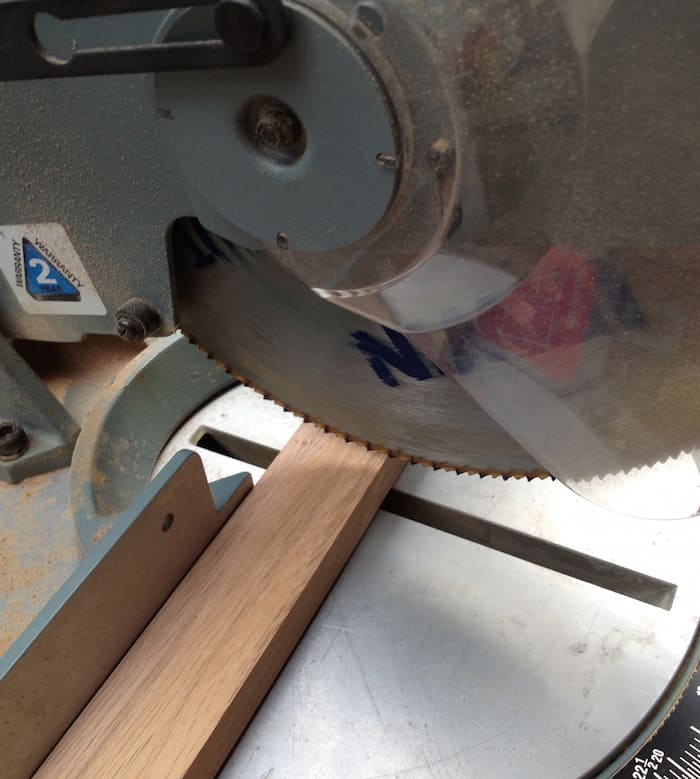
- Two 8-foot 1 x 2s – cut into fifteen 18 inch pieces (these will be your slats)
- Mod Podge Outdoor
- Thompson’s Water Seal – Nutmeg
- FolkArt Multisurface paint – Pure Orange
- Clear outdoor spray sealer – I believe we used Rustoleum
- Fabric – pattern of your choice
- Wood beads – 42 total, 3/4″ round
- Nylon cord – around 13 feet (make sure it fits through your beads)
- Paint brush
- Brayer
- Craft knife and mat
- Wax paper
- Table saw
- Drill
- Tape measure
- Pencil
Cut and Drill the Wood

While the fabric is drying, paint the beads with your multi-surface paint, or another paint made for the outdoors.
It can be hard to paint (and annoying) to paint wood beads. Using a dowel rod helps. Slide the beads onto the dowel while painting.
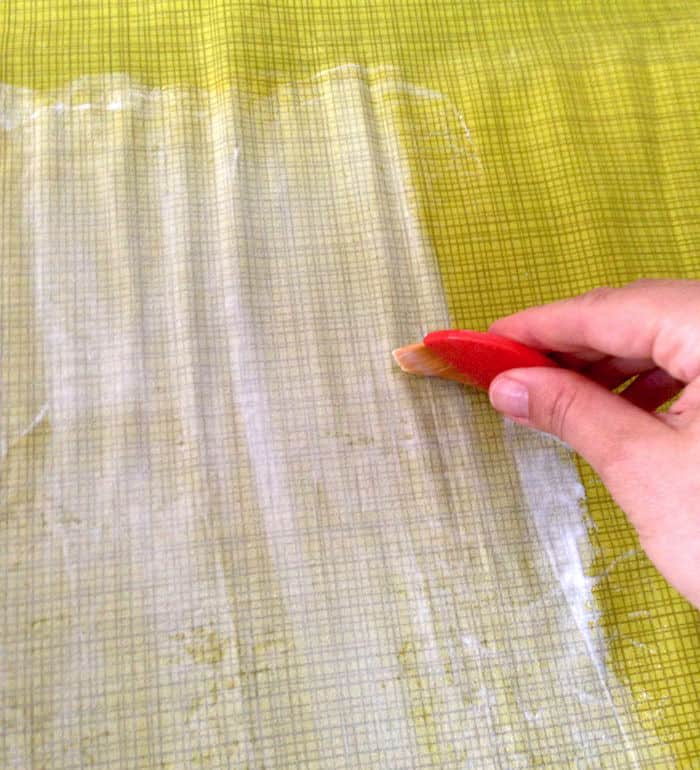
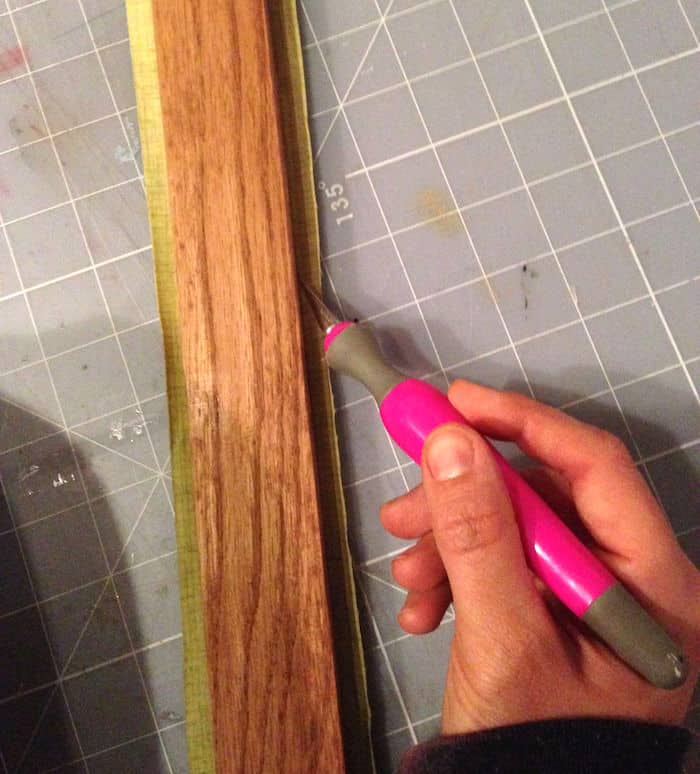
Attach the Fabric to the Slats
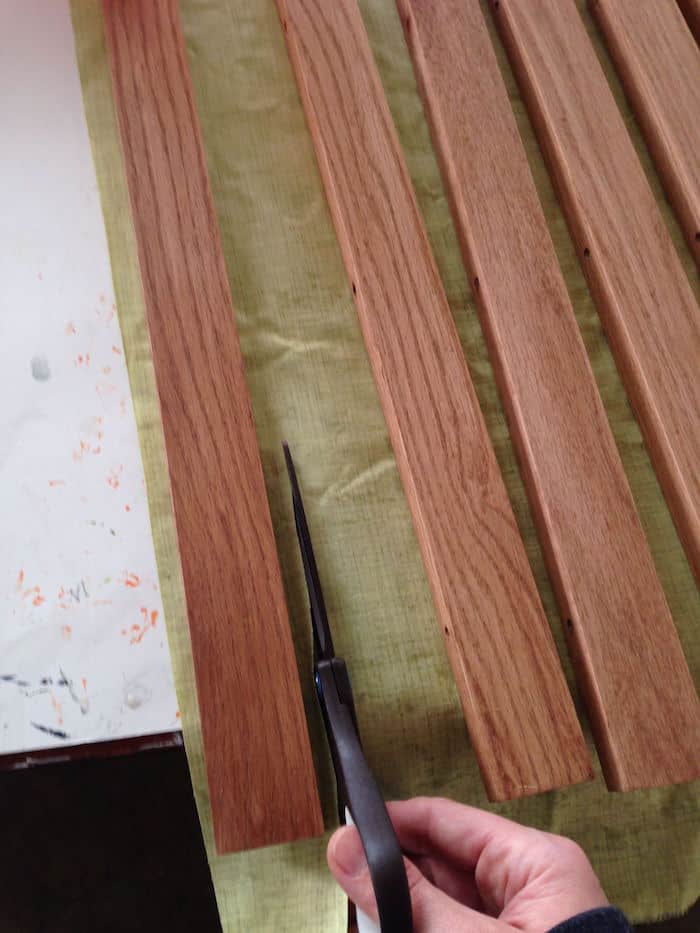
This is part of the reason why I prepped the fabric with Mod Podge. I cut a piece of fabric slightly larger than each slat with the scissors. Your fabric won’t fray during this step because you prepared it (and there’s an even better reason coming up).
Repeat for each slat.
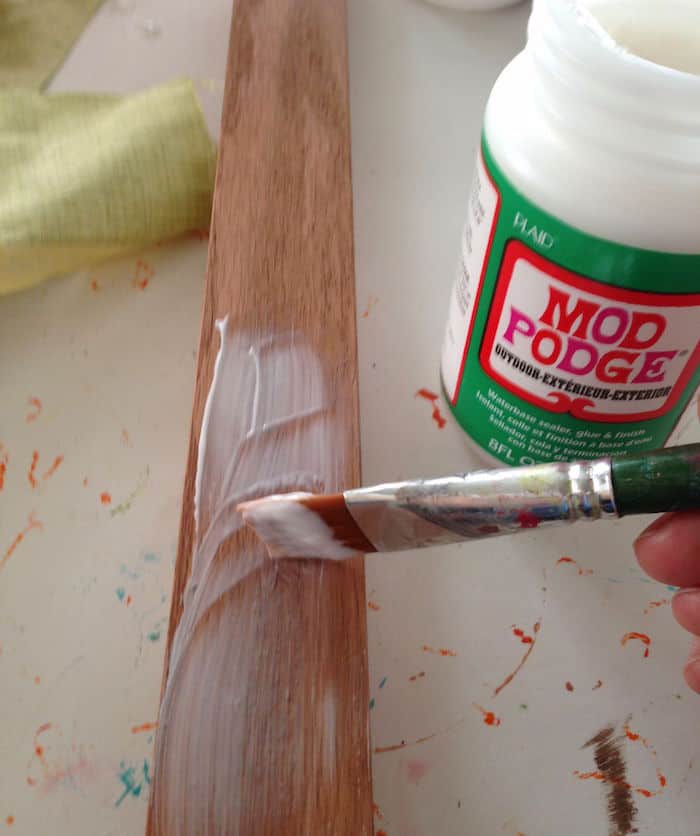
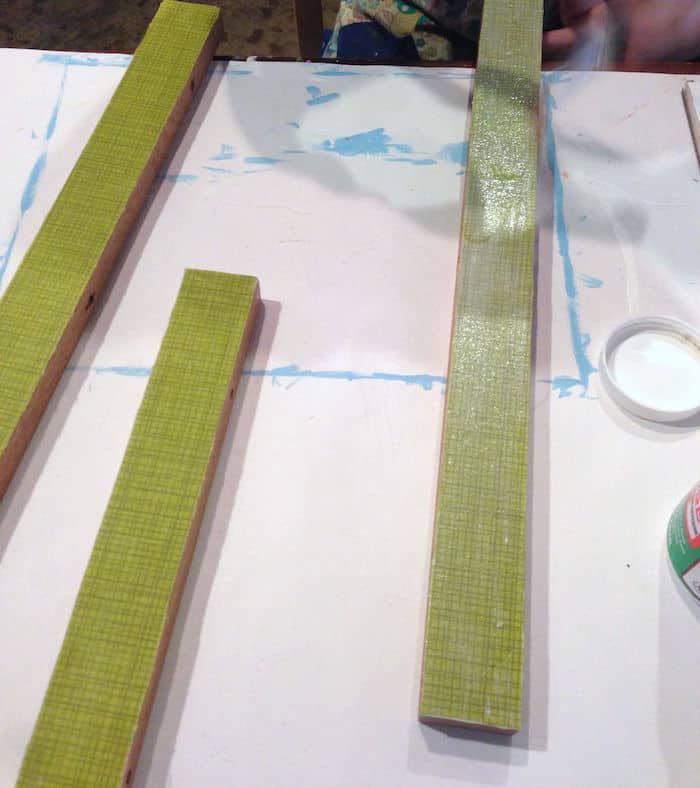
Work one slat at a time, applying Outdoor Mod Podge
and smoothing the fabric down onto the slat, gluing it in place. I find that it worked best when I laid the fabric down on my surface, face down, and smoothed the slat down onto the fabric.
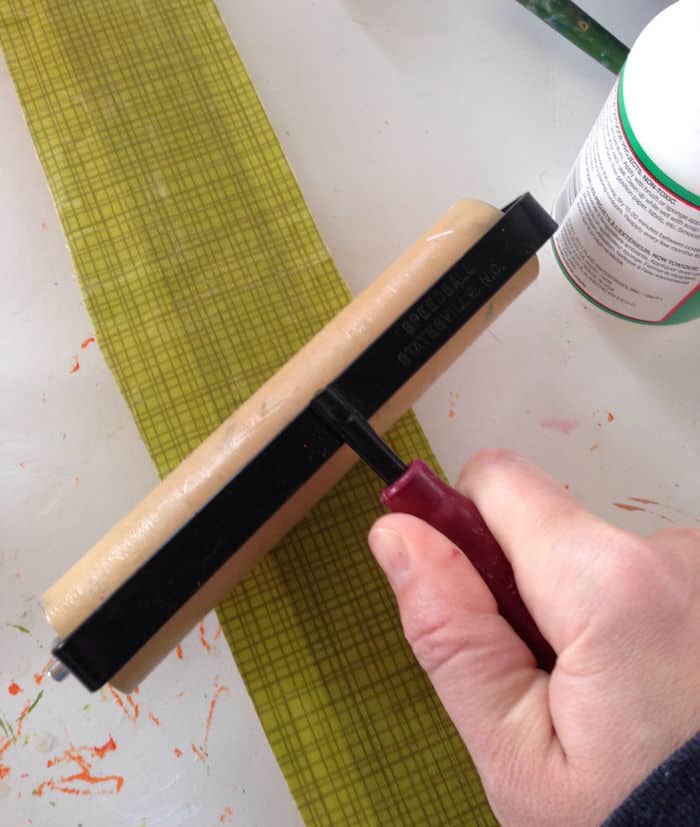
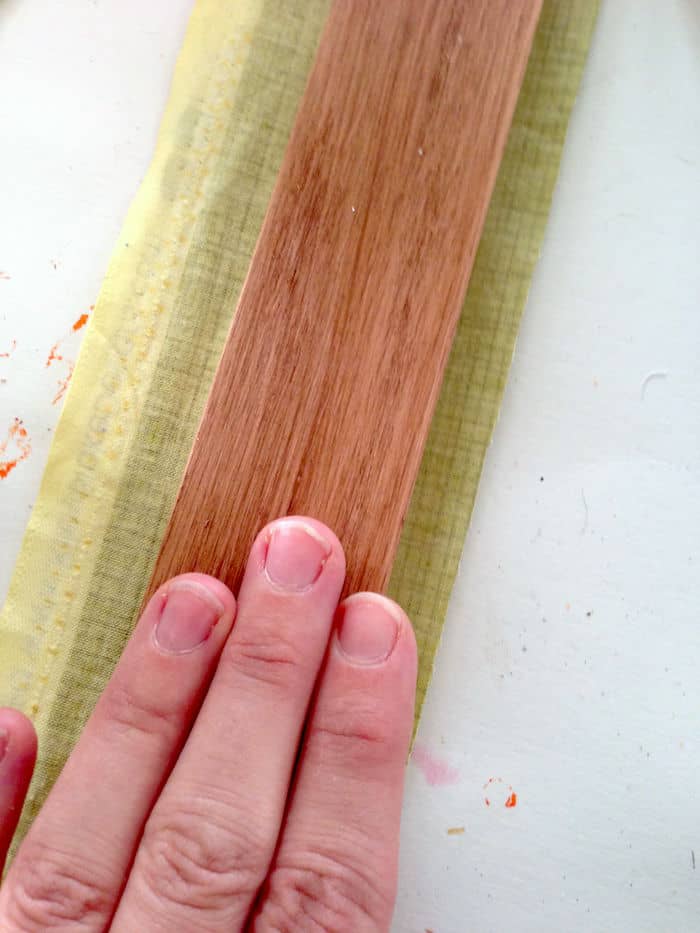
Then I turned each slat over and used the brayer to completely smooth it out. Wipe away any Mod Podge that squeezes out the sides between the fabric and slat with a brush.
Repeat with the rest of the slats and let dry for an hour or so.
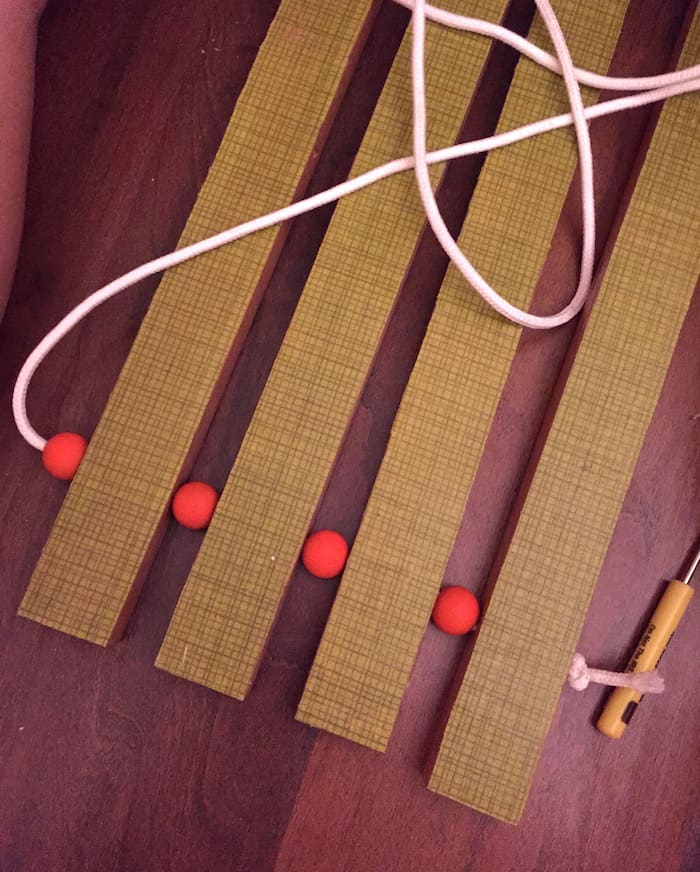
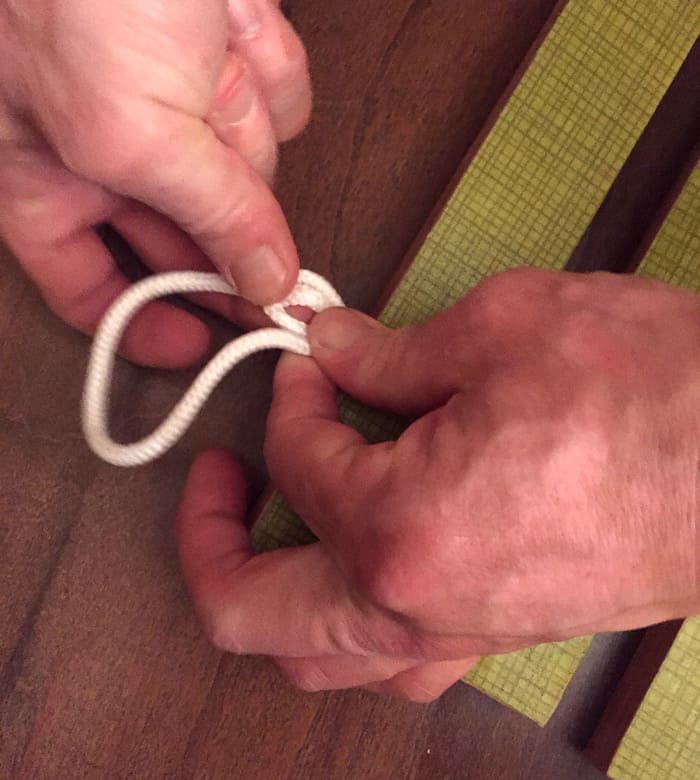
Now comes the super fun task of threading everything together! I started by tying a knot at one end and twisting the nylon cord through the beads
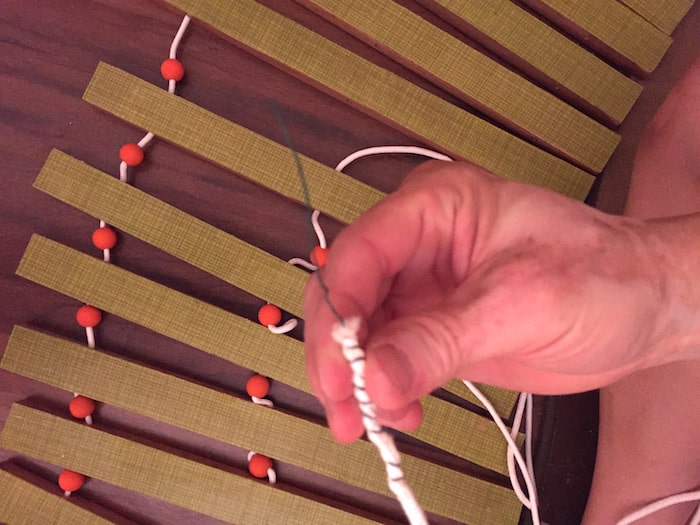
THEN I realized that wrapping some wire around the cord made an amazing “needle” for threading our wood doormat!
I threaded all of the slats together with wood beads in between